The Nursery: Decorative Sign

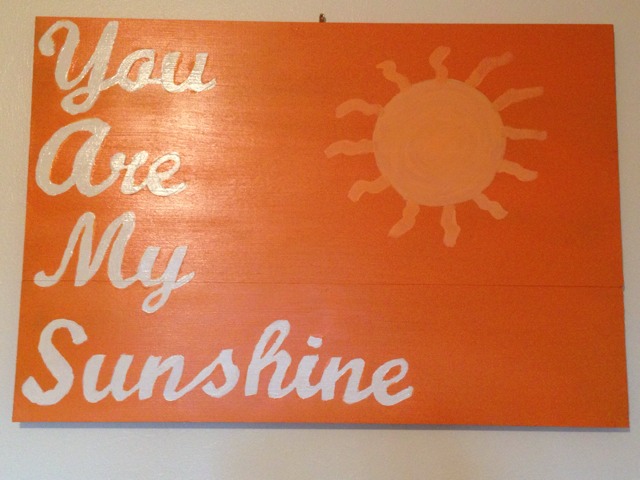
I love all the trend of the quote signs. Just basic letters with a quote or saying that reflects something important to you or a central theme. I knew I wanted one for Jack’s nursery, but didn’t want to spread $200 for some of the ones I found on Etsy, so I decided to make my own!

When I was little, my mom always sang “You Are My Sunshine” to me. It still think of it when I think of her. I have dreamed of the day I get to sing to to my own children. I thought it was very fitting quote for my son’s room.

So it seemed pretty simple. Buy some boards, put them together, paint and hang. Or so I thought….

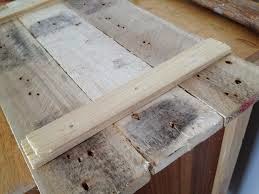
I showed Michael some examples of the sign, and he pointed out that the sign we have above the fireplace is the same basic idea. So he looked at it’s construction. Three boards across with two boards to secure the others in place.

source

So Michael bought 3 pieces of finished hobby board from Home Depot and cut them to the appropriate lengths, resulting in 3 long and 2 shorter pieces. Our sign is about 2 feet by 1.5 feet, because the wall we wanted to place it on the wall is not that big. If you have a larger room, you may want to make your dimensions bigger.

source

Then Michael glued the the 3 longer pieces on the edges together with basic Elmers Wood Glue widthwise. Then he glued the smaller boards across on the bottom lengthwise. Similar to the image above.

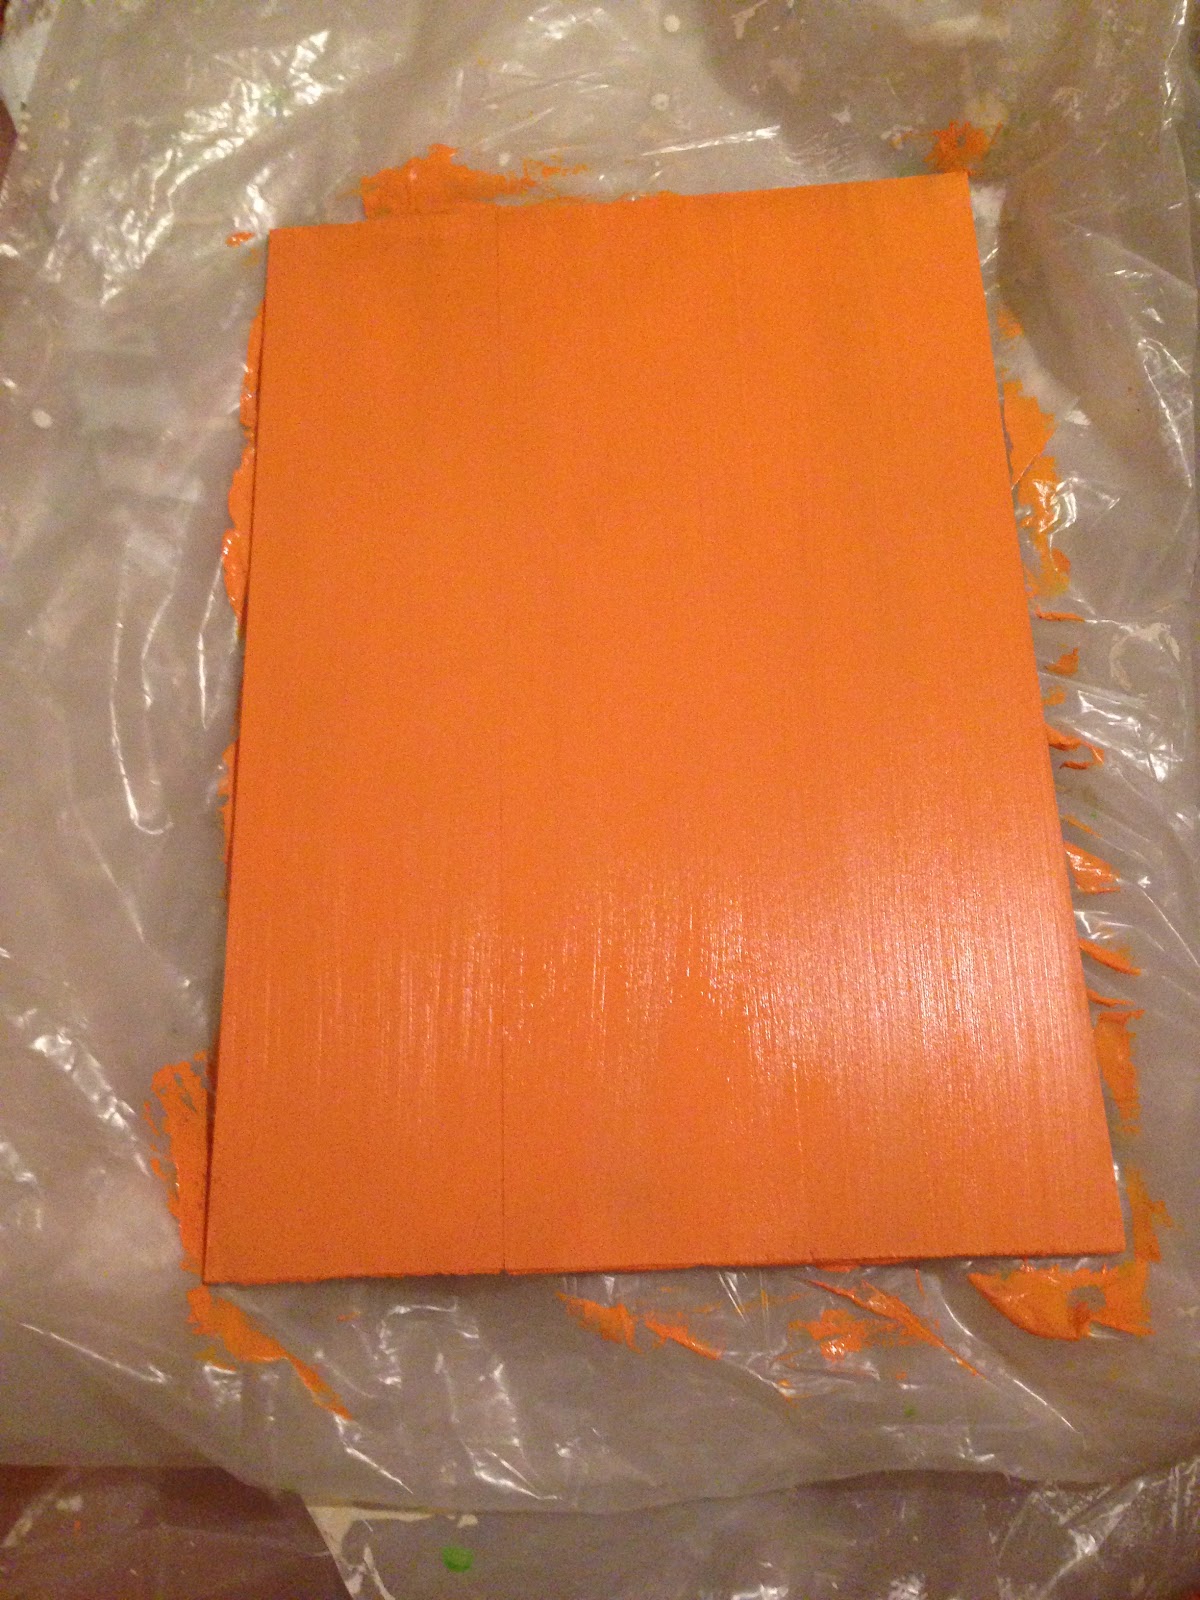
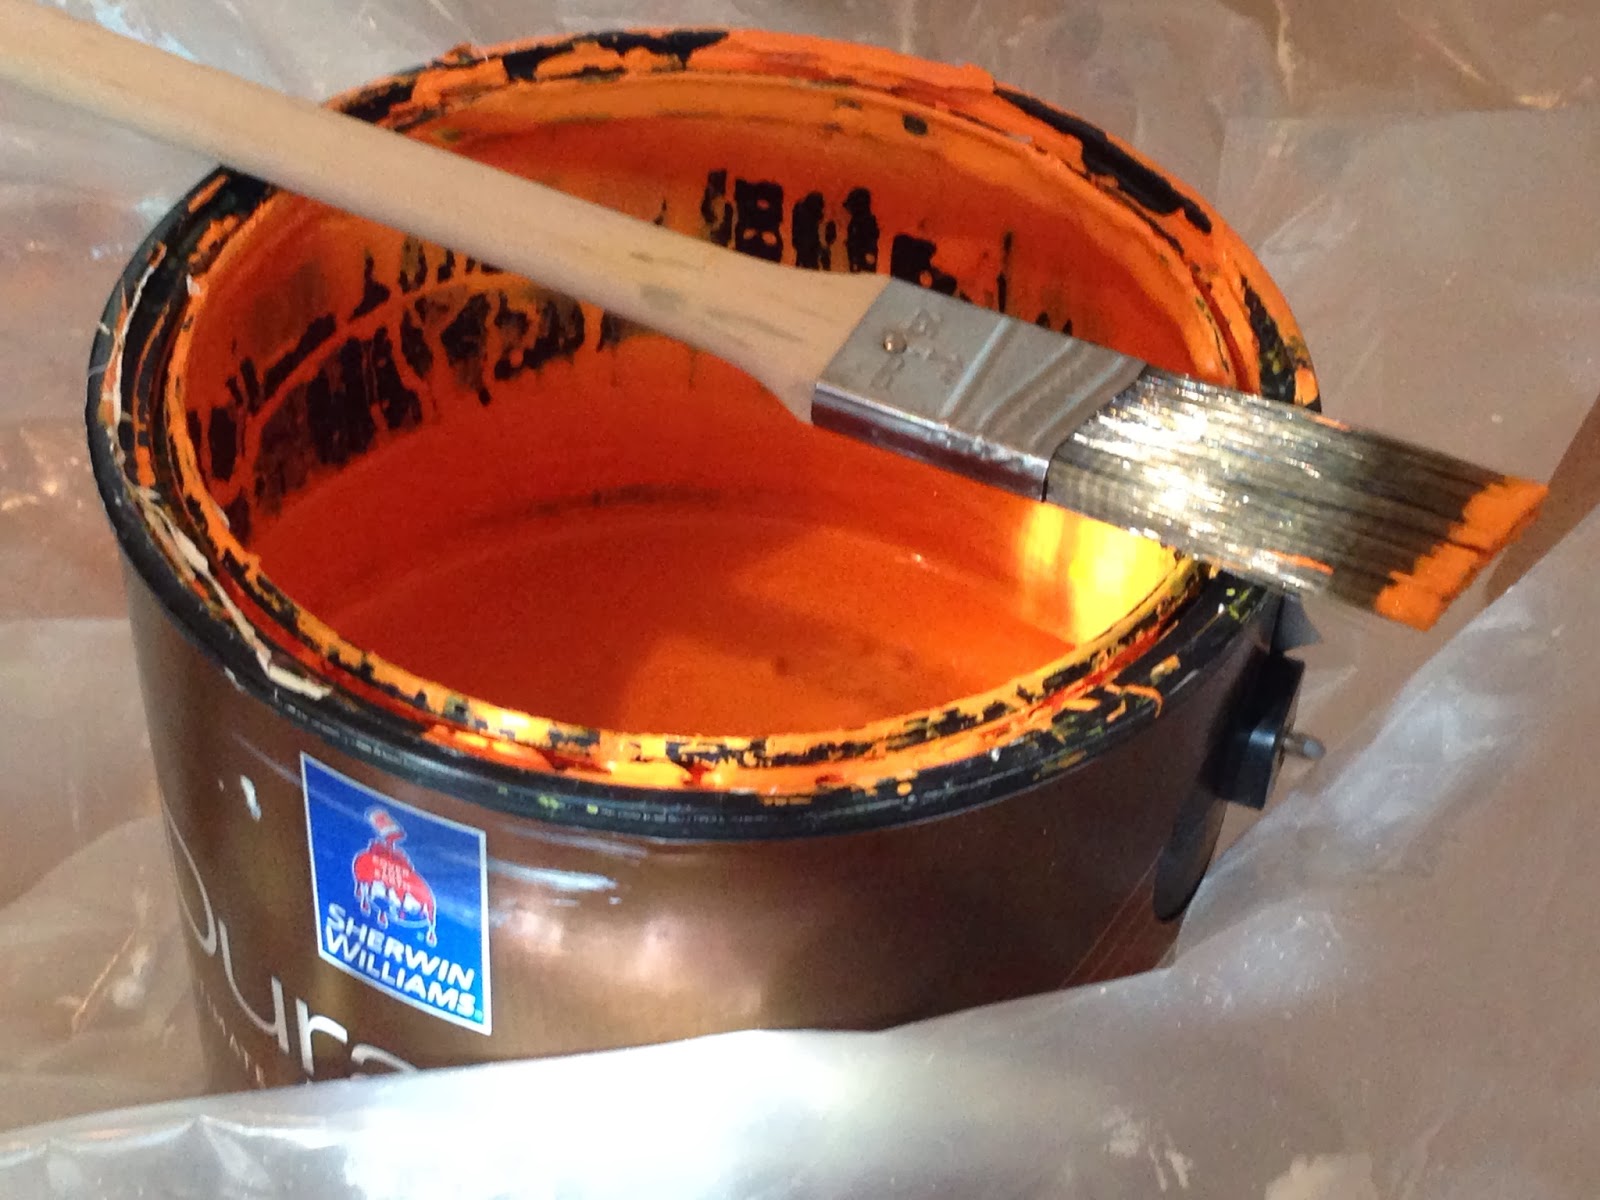
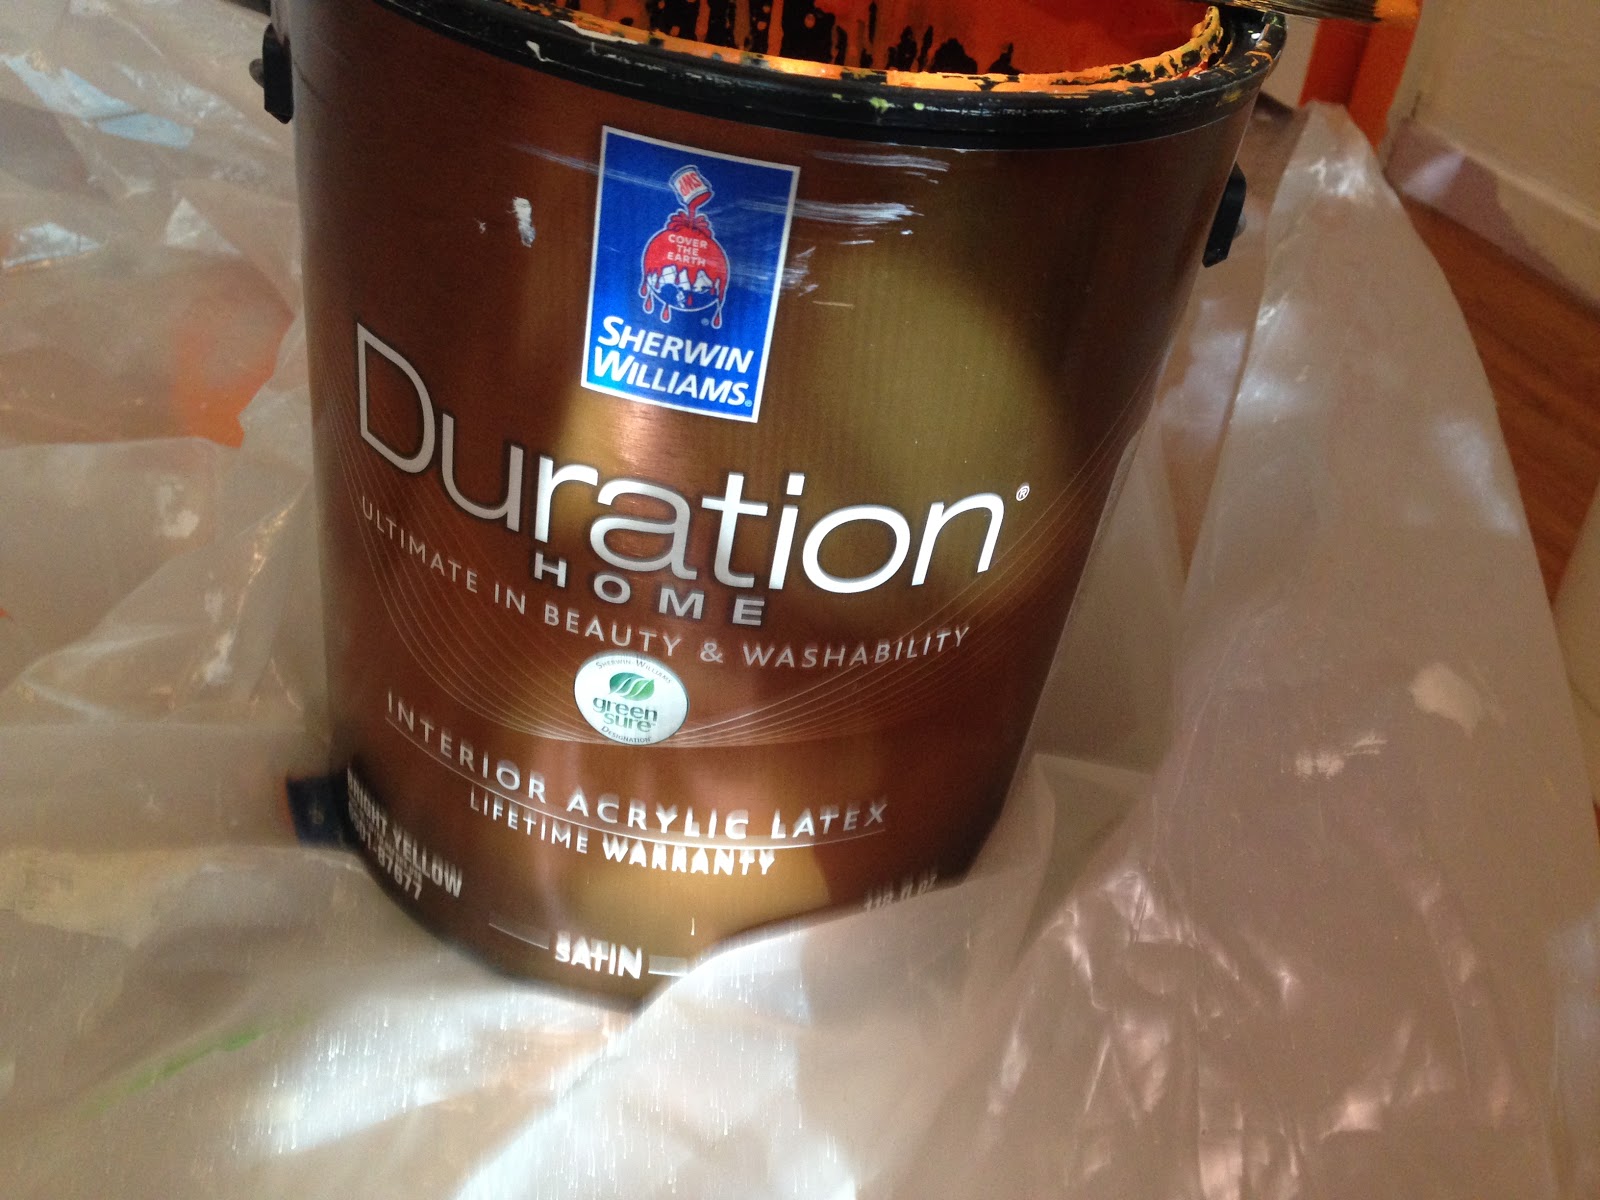
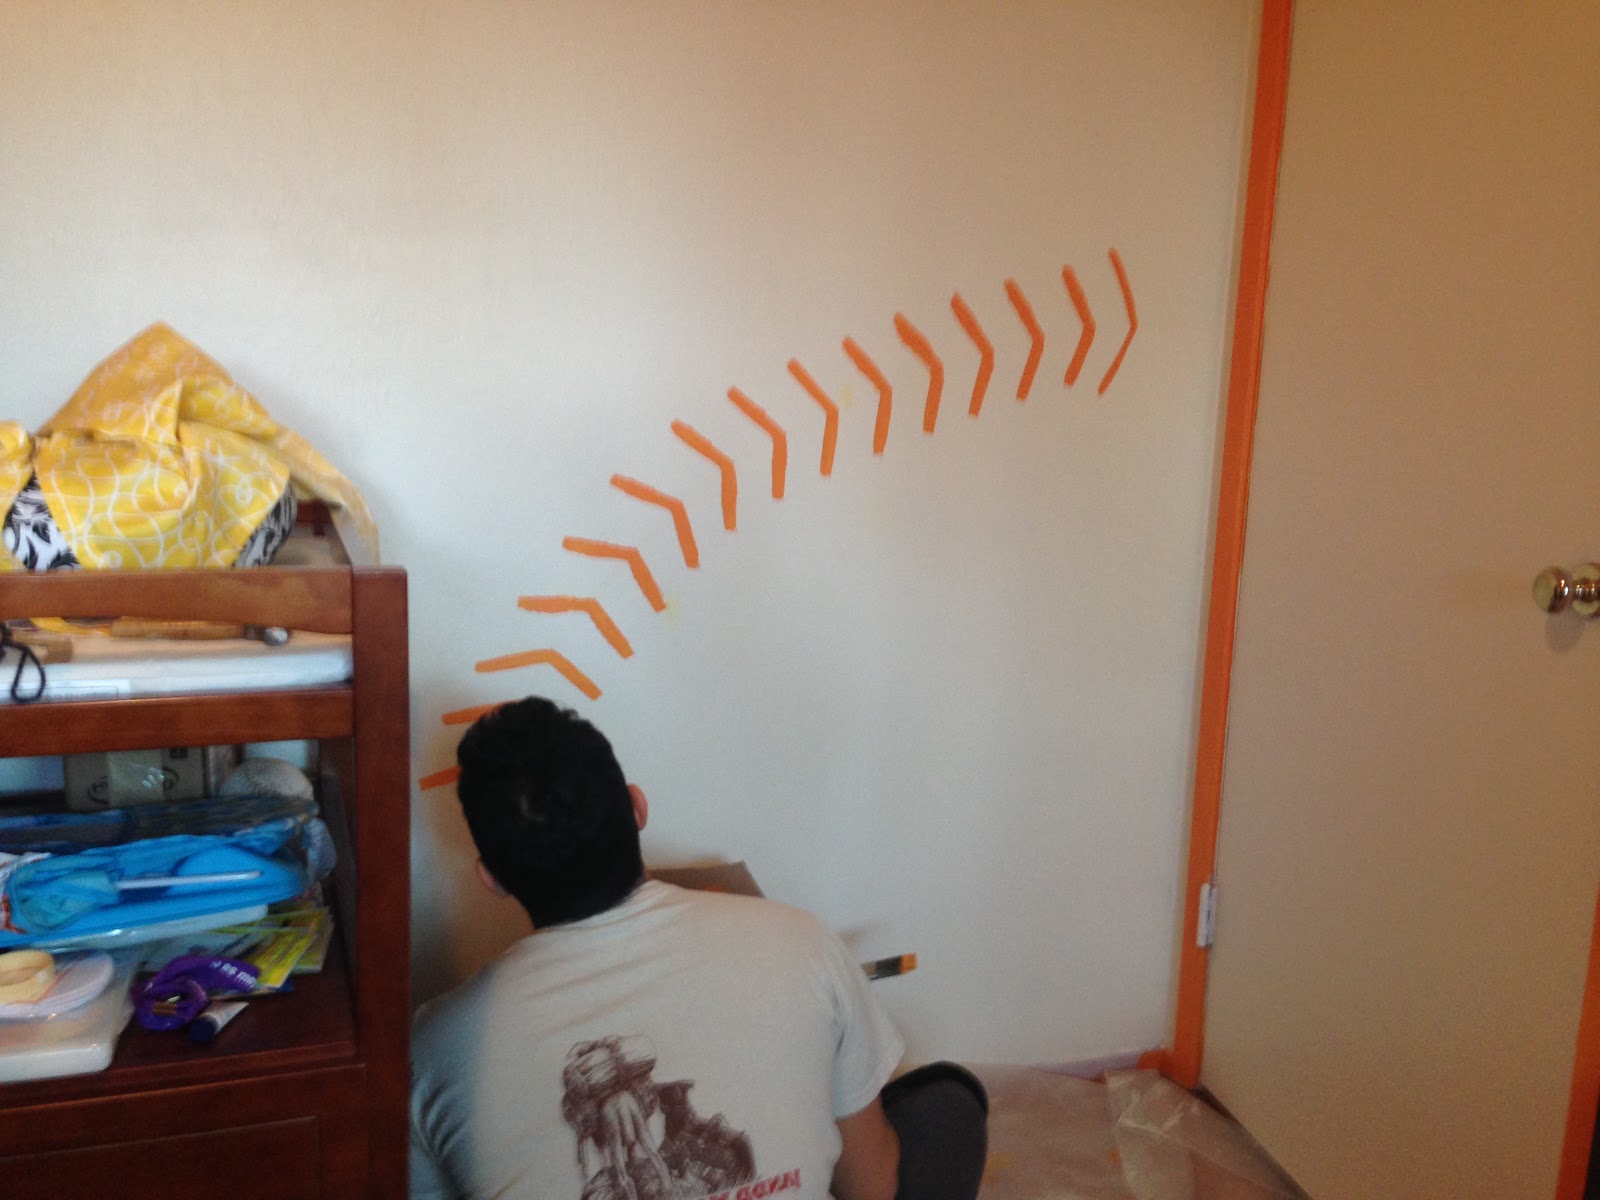
Then I painted the front of the orange using the same paint we used for the walls (see baseball seam post). I only did one coat so the grain would still show, giving it a more vintage feel.

Then came the text…the stupid, stupid text. I have horrible handwriting so I knew I could never free-hand it. Michael has nice handwriting, but couldn’t make the fancy font I wanted. So I first came up the with idea of printing out the text I wanted and tracing it.

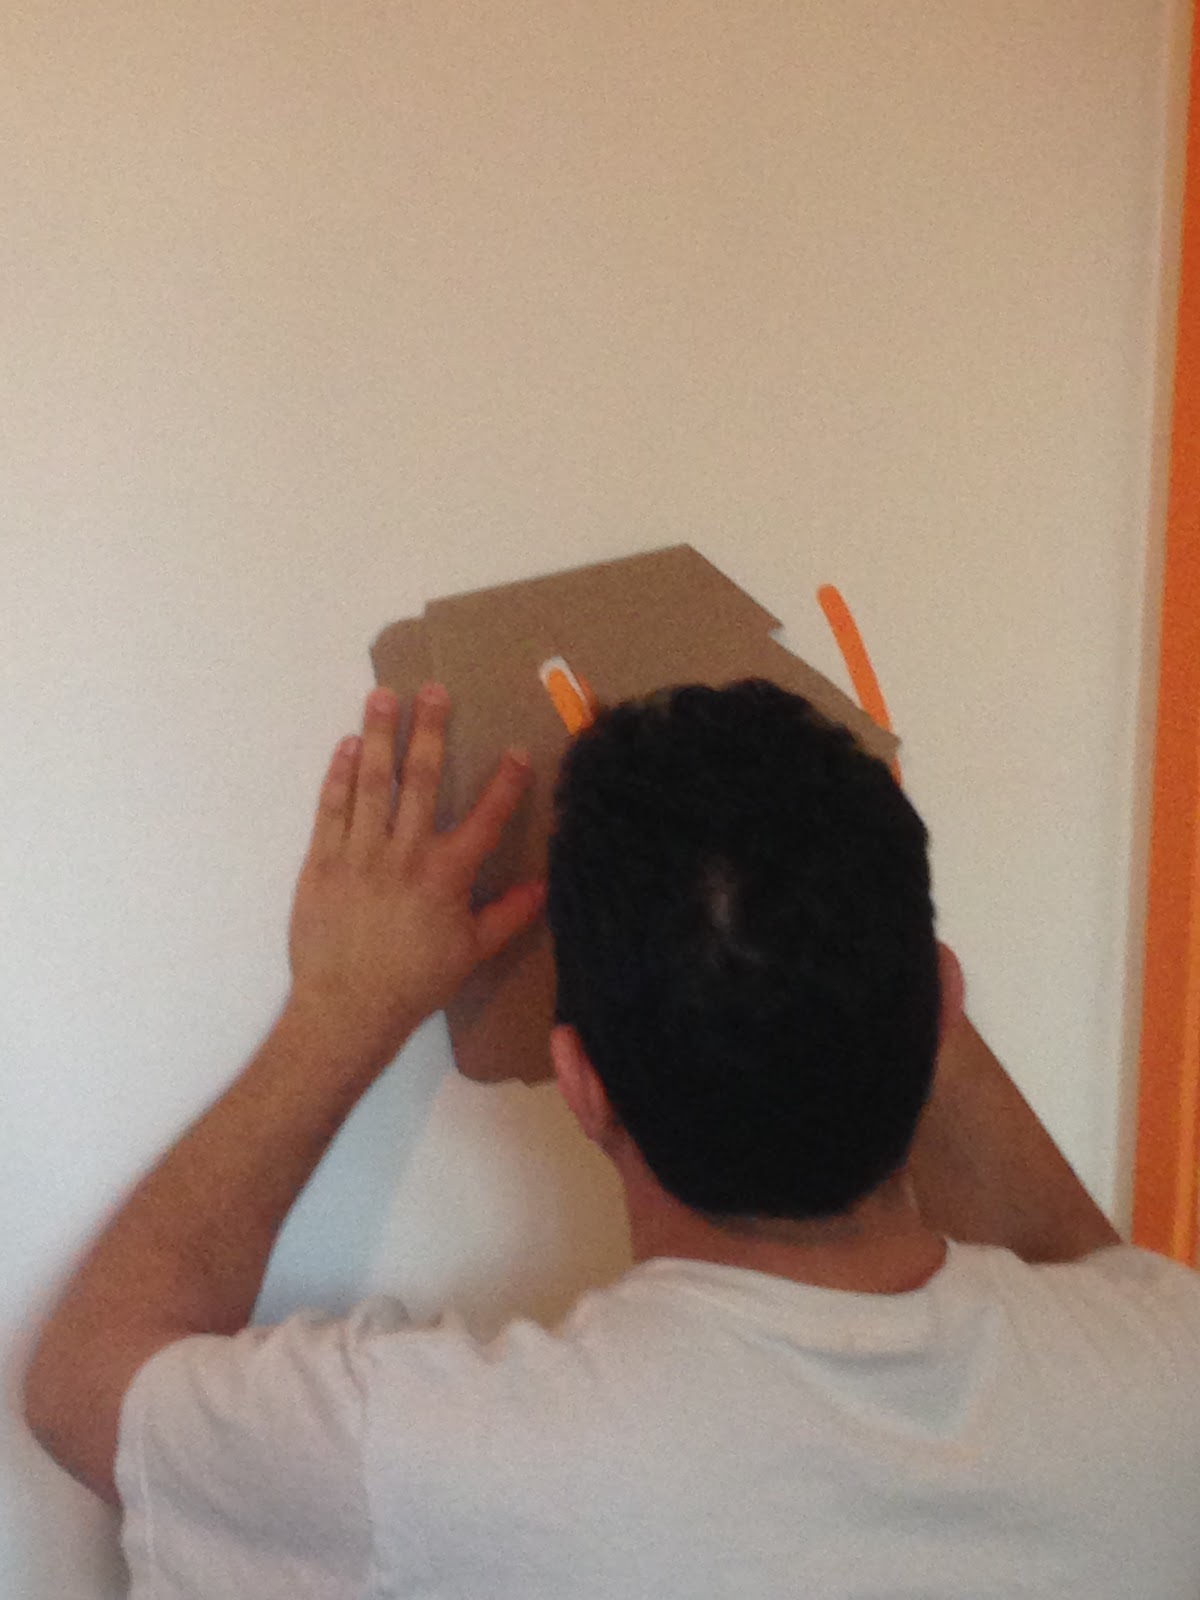
Then I realized that I didn’t know how to trace the letters without leaving big pencil marks or having tape pull the paint off. After some thought and consultation from others, I decided to print the text out again, but this time use the paper the letters were cut from as a stencil.

I did the first coat with Crayola Washable Kids Paints (the same I used for the wall letters), but it was not thick enough. So I used the same white we used for the nursery walls. The stencil did the basic job, but left the edges a little messy and uneven. So I went back over with both the orange and white paint to clean it up. Then I needed to paint the sun. For the circle, I just traced 8 inch pot. I free-handed the waves. The color is a mix of the white and orange painted I already used on the sign. About 70% orange to 30% white.

I let it dry for a day before I sealed with Mod Podge Acrylic Sealer Spray. I did about two medium coats. Just a word of warning, this stuff is potent. Please do this outside in a well ventilated area. And let it dry and defuse for several days before you bring inside.

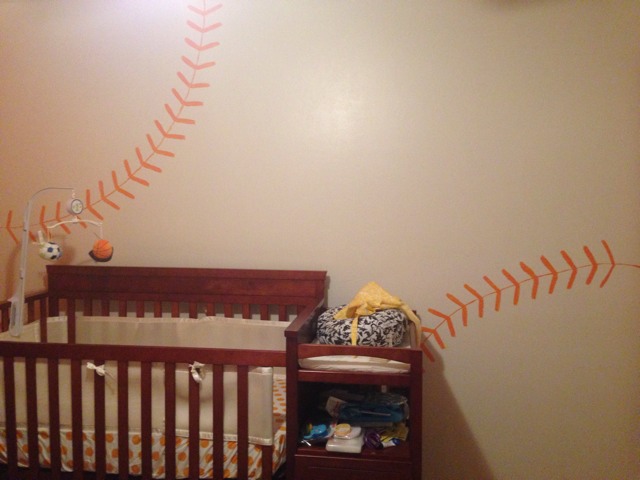
Michael hung it up with a simple sawtooth hook on the sign and picture frame hook in the wall. We placed it between the two baseball seams, but not over the crib in case of earthquakes.

Advertisement

The Nursery: Wall Letters

Once Michael and I finally settled on the name Jack for a boy, I took to Pinterest again to get inspiration one cute ways to do a decorative letters or a name sign for his room. One of the first things that came up when I simply typed in “Nursery wall letters” was this:

Here is the Etsy Shop incase
you want to order the original. 
It was perfect, like someone pinned this just for me to find! It’s his name and a sports theme, just like we wanted. I just needed to change the color scheme and leave out the basket ball (we are both short, no delusions our son will be Center for the Warriors). 
We had some trouble finding decent letters, which surprised me because this is such a popular trend. There we either cheap looking, already painted, a weird font, or really expensive. I finally found a these basic capital block letter on Amazon
I used Crayola Washable Kids’ Paint. The main reason I went with this is because it’s inexpensive. Also, I tend to make messes…I didn’t think my husband would appreciate me getting permanent paint on the kitchen table. 

To keep with both the nursery theme and the design of the pin, I decided to paint the J black, the A a football, the C a baseball, and the K orange.

I did the base colors first, then added the stitches for the baseball and football. The paint adhered to the wood well,  but every color needed a few coats to make it even. It probably took longer to get even than permanent paint would have, but it was not that big of a deal.

After the black dried, I noticed that it looked more brown. I ran out of black to do another coat, so I had to mix together other colors to make more black. Felt like I was in preschool again! It was fun and it came out nice in the end.

Once the letters dried, I took them to the nursery to see how they would look against the orange wall. Then I realized that the orange K didn’t stand out enough. I didn’t want paint it another color and lose the theme. So I painted the boarder in the reddish brown paint to give it some pop.

Michael attached the letters to the wall with 3M Double Coated Foam Tape. We considered gluing or nailing them to wall, but we didn’t want to damage the walls.

You might be wondering why we didn’t put the letters above the crib. We thought it would look too busy with the baseball stitches. And worried they might fall off in an earthquake (the joys of living next several major faults).  

The Nursery: Painting Baseball Seams

When we first moved into our house, we discussed what wanted to do with each room. When we got to the bedrooms, we knew that the smaller of the two would be a nursery one day, so we left it alone for until that day. Well, that day came sooner rather than later!

The room used to be completely—and I mean baseboards to ceiling —a sad faded purple. It was in obvious need a of serious paint job no matter what the gender. I wanted to do a Gamma Phi Beta (my sorority) theme for a daughter, and we both knew it would San Francisco Giants baseball theme for a son.

The obvious answer was paint the black and orange. But the more I thought about it, I realized a black nursery might not be the most smooth thing for a baby. And the BRIGHT Giant’s orange would be too stimulating. Then I remembered the home jerseys: off-white cream and a lighter orange. That seemed more like nursery colors!

source

After some inspiration on Pintrest, I came up with a two-toned wall idea. Then I saw another Pin with baseball seams on a white wall. Michael loved both ideas too.

There are a lot of organic, non-toxic paints specifically for nurseries, but they are really expensive. If you have the money, I really suggest getting them. We unfortunately do not, so we had to shop for paint on sale. If this is the case for you too, I suggest painting early so the room has months to air out all the fumes.

By the way, a friend asked me if paint was vegan….at first I thought she was kidding. I explained paint is made from chemicals mostly, so unless you are using squid-ink-based paint, then you are good.

Ideally, pregnant women should not paint due to the fumes. And, not to mention it’s exhausting and it’s already exhausting enough just being pregnant. My wonderful husband did majority of the painting. I did help a little bit, but made sure the windows were open and the fan was on first.

Now for the actual painting process….

He used a roller with an extension for majority of the walls and a medium-sized brush  (came in a set) for the corners.

We didn’t want the purple to show through, so we primed everything first. He used Valspar Interior Latex Primer High-Hiding from Lowes. We really like this primer and have used it in several rooms now. Not only did it cover the purple, it covered the dark wood panels in the living room perfectly.

For the colors, we selected Duration Home Latex Paint in Navel from Sherwin Williams and Behr Premium Plus Ultra Latex in Moon Rise from Home Depot. Both are semi-gloss finish.

The wall facing as you enter is orange, the rest of the walls and ceiling are off-white. And the trim, inside the closet and inside the door frame are orange for contrast.

He primed one Saturday night, then did most of the painting the next day. He went back a month later and did the touch-ups.

Then three weeks ago, my nesting instincts really kicked in so I asked him to please do the seams so the room is finished.

We started by having me point out how big/far-out I wanted the seams to go on the wall. Then he measured out that distance and cut a piece of string to that length.

He attached the string to a pencil. I held the string in the corner while he pulled it tight. He then drew a quarter circle from the based board to the edge of the wall. I suggest doing this with a colored pencil close to color of  the paint to avoid a black pencil mark from showing through.

Then, using a small angled brush,  Michael drew the first stitch freehand, and didn’t like it (though I thought it was fine). So he made a stencil so they would be more uniform and the process would go faster.

He ended up refining his stencil a few times, cutting it smaller so it did not smudge the previous stitch and create better spacing.

Then he repeated the process in the other corner. Once the stitches dried a little bit, he drew the seam line through the center of the stitches. He used just the very tip of the same angled brush.

Then the next day we touched up the edges and lines with some white paint.

I am very happy with the results! It’s not totally prefect, but if you really look at a baseball, not every stitch is exact. I would rather have a pretty good looking nursery done with love than a picture-perfect one done by some stranger or a machine.

I will do more updates about our nursery soon, including a review of the crib, the decorations, a custom sign, and wall letters.