

The next variation in my Double Hammock series is a step-up from my last post, Tied At Shoulder. We are venturing into the world of knots. Just like tying a robe off, there are so many ways to tie wrap off than a basic double knot. In this post, we will talk about the very versatile slip knot.
If you know how to tie neck ties, it’s essentially a Half Windsor Knot.
If you are into sailing or climbing, it’s exactly the same as tying a slip knot with a rope.
Some find it tricky to master….especially with a grumpy baby on your back. Why would you want to do this tie off variation? One simply reason: adjustability. The point is a slip knot is so you can remove slack or add slack as needed. Maybe you started walking around and work out some hidden slack. Now you can easily tighten baby back up without having to redo the whole carry. Baby too high up and hurting your shoulders? Add a little slack and lower them down to that sweet spot.
This carry can also be done with a wrap base size or base -1. I am using a Soul Slings Parkeet Linen Wrap. Slip Knot can be harder to do—especially while learning—with a thick wrap. So I opted for a thinner linen wrap for these photos. This wrap is base -0.5 for me.
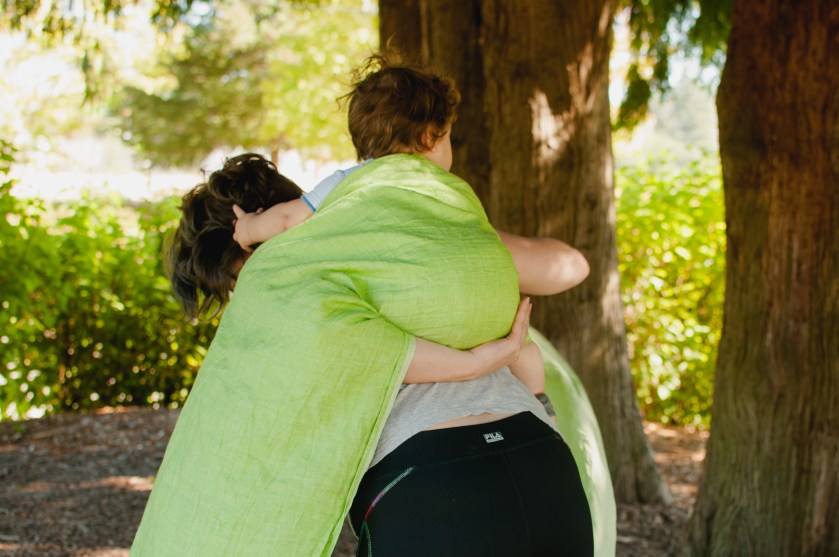
This carry begins exactly like a Tied At Shoulder. Start with the wrap more often center than the basic Double Hammock length. Get baby on your back , pin the top rail, and make a seat. Tighten out the slack in your shoulders. 
Bring the longer tail under your arm while keeping the tension. Spread it across your chest and bring it under your opposite arm.

Bring it over baby’s leg, spread it across baby’s back, and bring up over your opposite shoulder. Now you have two sling passes on baby’s back. Now bring the longer tail (the one that made the chest pass) under your arm. Make a bunched horizontal pass by taking the gather up fabric over both of baby’s legs and pinning the seat down in place. Bring the tail to the front under your arm. Now you will have the shorter tail dangling down over your shoulder and the longer tail coming from behind under your arm on the same side. 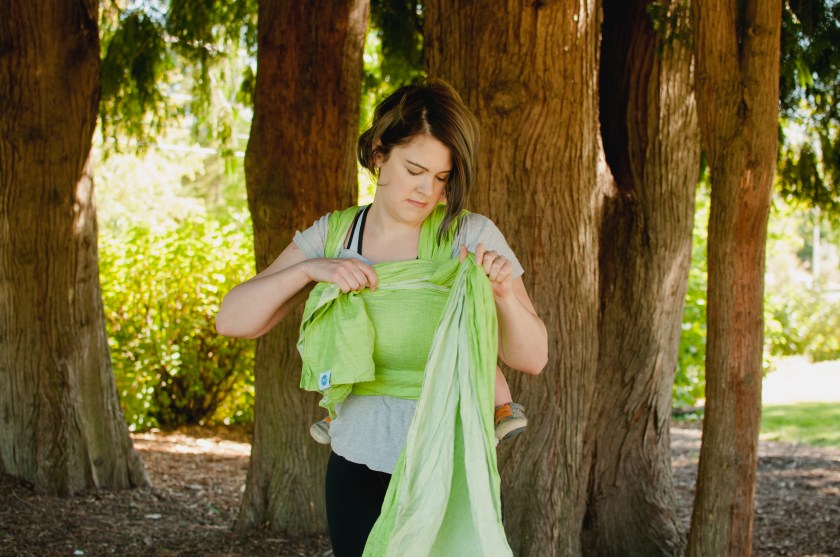 Now comes the Slip Knot. Basically, the shorter tails stays in place. The longer tail does all the work, like it has for this whole carry. Bring the longer tail over the shorter tail towards the right. Bring it behind the shorter tail and back towards your left making a loop. Bring the longer tail up through the center of the loop on the left of shorter tail.
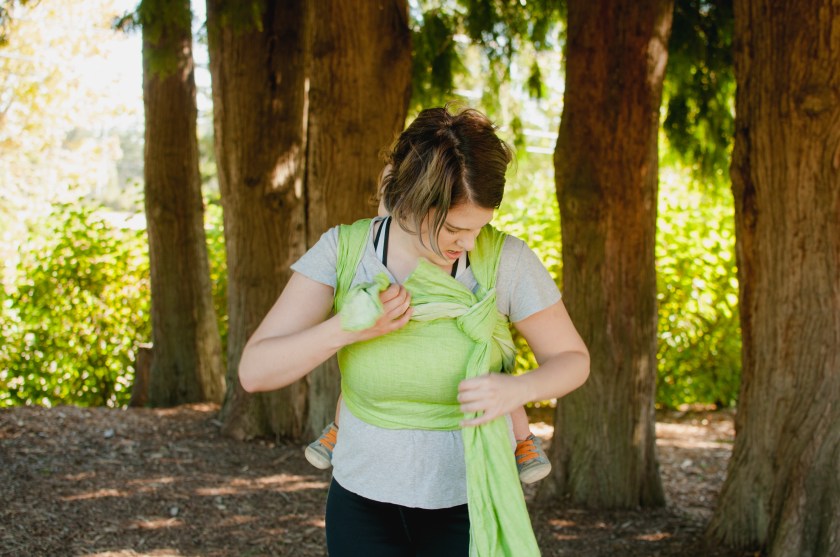
 Now bring the longer tail back over the shorter tail towards your right again. Loop it behind the shorter tail again. Pull it up through the center of the loop on the left side of the shorter tail again. Essentially, you made of the same loops around the shorter tail.
 Pull the longer tail to the right to secure the knot.
 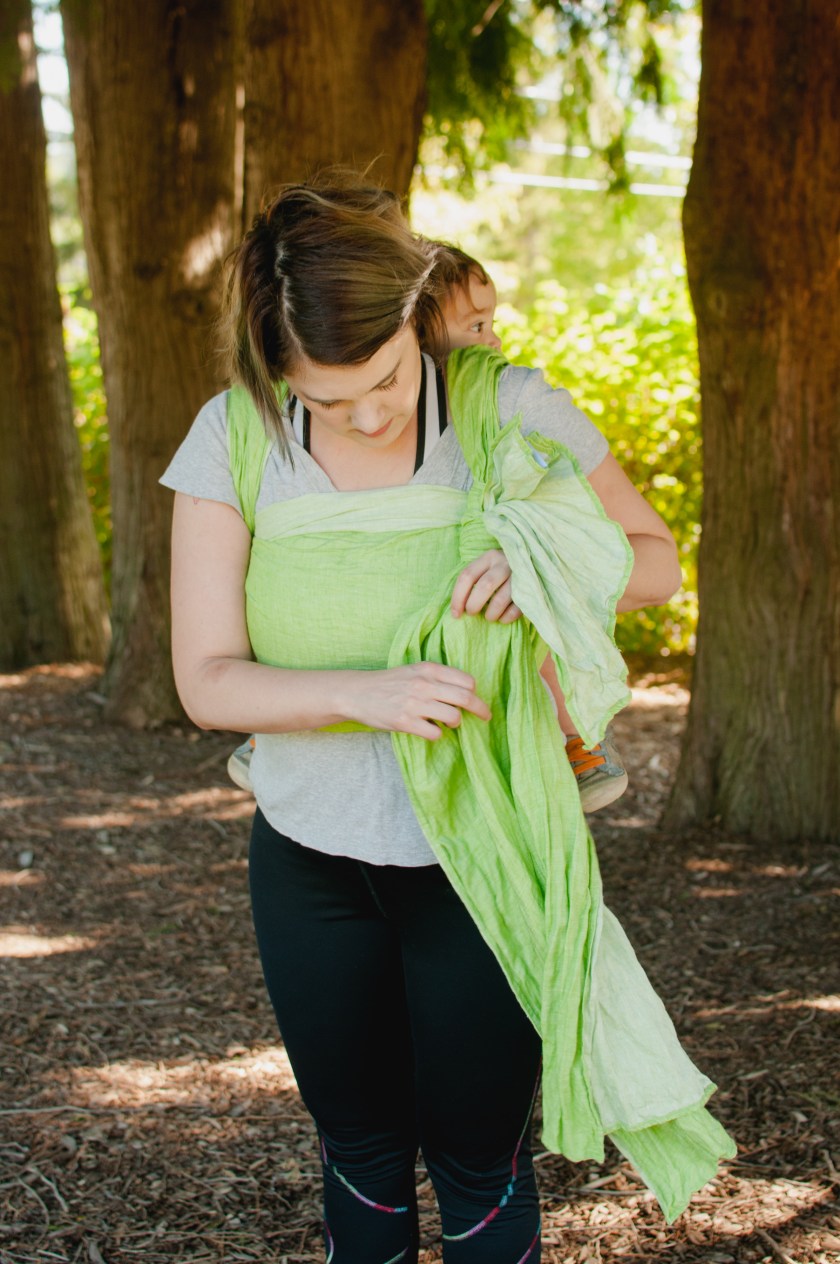 You can tighten the carry by feeding the extra slack towards the knot and out the tail. It’s best to tighten in three sections: the top rail (the one closest to your ear), the middle of the wrap, and the bottom rail (the one closest to you shoulder).
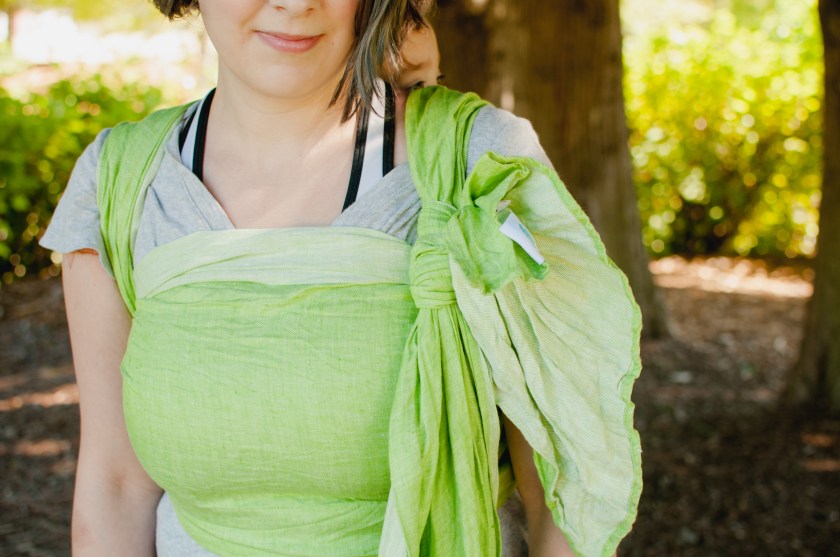
And there you go! A Double Hammock Tied at Shoulder but with an adjustable knot! Check out this video if you need more help on Slip Knot
This carry is ideal for leaners due to the horizontal pass keeping baby even on their bottom. But it not the best for seat poppers as the horizontal pass does not totally secure the seat in place.From behind, the carry looks identical to the Double Knot variation. This is a great option for wearing during pregnancy when you don’t want a waist belt pushing on your bump.


Give this variation a try and continue to grow on your Double Hammock journey! Slip Knots are used in several other advanced variations coming up, so take your time learning the basics now with this simple variation!
Double Hammock Series:
*Special thanks to Soul Slings for donating this wrap my photos.
*Photo Credit to Alacrity Photography.
