 For the past 20 weeks, I’ve been hosting the Wrapsody Weekly Wrap Challenge along with fellow Brand Ambassador Nicolette. It’s a little idea I came up with to help promote the brand on social media. It is was inspired by a challenge I did from BWI of The Bay Area. I learned so much from that challenge, it honestly made me a better wrapper. So I decided to spread idea and help others build up their skills.
So I designed a challenge that could be done over time, so no one left rushed or got frustrated. A week to work on a carry and ask for help. It started with basic carriers that a novice could handle. Then move on to a new, more advanced carry the next week. And the carriers would build off each other, the skill learned one week would be needed for the next week. That way the wrapper gets the fundamentals of how to build a good carry. I also needed to do carriers that can be done with longer wraps, since most Wrapsodys are size 6+.
Thus, I came up with this list. Twenty weeks to help you go from a novice to a back wrapper.
After some consulting with fellow ambassadors, I came up with this list. Nicolette and I decided to alternate each week. Post a 360 degree photo collage and a tutorial video on Sunday. A reminder on Wednesday. And a Feature Friday to encourage participation. We also offered help and answers questions when we could. Other ambassadors helped too.
But let’s talk about the carries and how they help you learn.
Week 1: Pocket Wrap Cross Carry. A front carry with two cross passes, and torso pass over top. A very basic carry to help you learn the feel for wrapping. A pre-tied carry, meaning you tie the wrap on yourself before you place baby.
Week 2: Front Wrap Cross Carry. A front carry with a torso pass, and two cross passes over top. Another basic carry to help you get comfortable with your wrap. This is a step up from the PWCC as it is not pre-tied and the torso pass is underneath. This means you need to learn how to make a good seat for baby and his to tighten the whole carry properly.
Week 3: Front Cross Carry. A front carry a horizontal pass, and two rebozo passes. This is a pre-tied carry like the PWCC, but is a step up from the FWCC because there is no torso pass to provide extra support. This means you need to place baby in a good, deep seat in the X of the rebozo passes.
Week 4: Kangaroo Carry. A front carry with ruck pass, two shoulder flips, and two bunched passes. A wonderful carry for newborns or any sleeping baby, Just in untie and gently place them down without cross passes to get in the way. The shoulder flip can be a bit tricky, but makes this carry very comfortable long term.
Week 5: Front Double Hammock. Front carry with a ruck pass, a torso pass, two shoulder flips. A step up from a Kangaroo carry as it has two layers for support and starts off center. Several other carries going forward start off center, so it’s good to practice that now. This also wonderful prep for the ever so comfortable back Double Hammock later on. Helps you visual what will be going on behind you.
*Please do not attempt hip carries until your baby can sit up unassisted.*
Week 6: Hip Rebozo. A hip carry with one rebozo pass tied with a slip knot. Time for hip carries! This carry is normally done in a short wrap so there is not a lot of tail, so I almost left it off the list. But it is the base for several other carries up next so I left it on. Nicolette just reinforced it to get rid of the extra tail. Slip knots can be tricky to learn, so take your time and go slow. But they are a great tool for to tie a carry at the shoulder without a big bulky double knot.
Week 7: Robbin’s Hip Carry. A hip carry with a rebozo pass, shoulder loop, and two bunched passes. A step up from a rebozo with the very comfy shoulder loop and two bunched passes to reinforce the seat. The key to get it right is the placement of the shoulder loop. Too high will dig into your shoulder. Too low will put pressure on your back. Aim for the corsage position.
Week 8: Poppin’s Hip Carry. A hip carry with one rebozo pass, and poppin’s pass. Think of this as a Robin’s Hip Carry, but with the loop going the other way. The lovely poppin’s pass adds support and reinforces the rebozo. Plus it is a great way to showcase the opposite side of the wrap.
Week 9: Hip Cross Carry. A hip carry with two cross passes. This is essentially a Front Cross Carry, but on your hip. The key is to get baby knee-to-knee supported and make sure the X is hitting high on their back. This poppable hip carry is great for a day at the park. Baby wants to run around but needs a quick uppy for a breather once and awhile.
Week 10: Coolest Hip Cross Carry. A hip carry with a torso pass and a rebozo pass tied with a slip knot. This carry can be tricky to place baby in correctly, so go slow and make sure you get a good, deep seat. The slip knot makes it very easy to tighten and loosen for nursing.
*Please do not attempt back carries until your baby can sit up unassisted if you are new to wrapping. Practice against a wall, over a bed, or with a spotter until you are confident.
Week 11: Secure High Back Carry. Back carry with a chest knot, rebozo pass, a spread pass, and a bunched pass. Time for back carries! This carry is the main reason I left a rebozo on the list. Starting with a good pre-tied hip rebozo then scooting it on to you back helps you gain confidence with back carries. You baby is safe with the pre-tied chest belt pinning them in place. You already have a good seat, so no worries about their comfort. This way you can focus on how to spread the passes behind your back and get them in the correct position without fear of baby falling. You can feel how the rebozo pass provides the seat, the cross pass reinforces with support, and the bunched pass helps lock the seat in place. The foundation of a great back carry!
Week 12: Back Wrap Cross Carry. A back carry with a chest knot, horizontal, and two cross passes. Another great beginner back carry due to the chest belt to secure baby before you fiddle with the rest of the passes. To help you visual what’s going on, think of this carry as everything you do in a FWCC, but on your back (hence the name).
Week 13: Ruck. A back carry with one ruck pass. No more pre-ties, it’s time to learn how to get baby up on your own. This is the most basic back carry and often the hardest to get right. A ruck is the base for several of back carries, so it’s so important to get this one right before moving on.
Week 14: Double Hammock. Back carry with a rebozo pass, a torso pass, horizontal pass, two cross , and two bunched passes. The ultimate multiple pass carry, so supportive and comfortable. A torso pass in a back carry can be tricky to master, so take your time. Tighten tighten tighten, a loose torso pass will make this carry uncomfortable. Make sure the horizontal pass goes high over baby’s back as well, this will add support and keep them from leaning back.
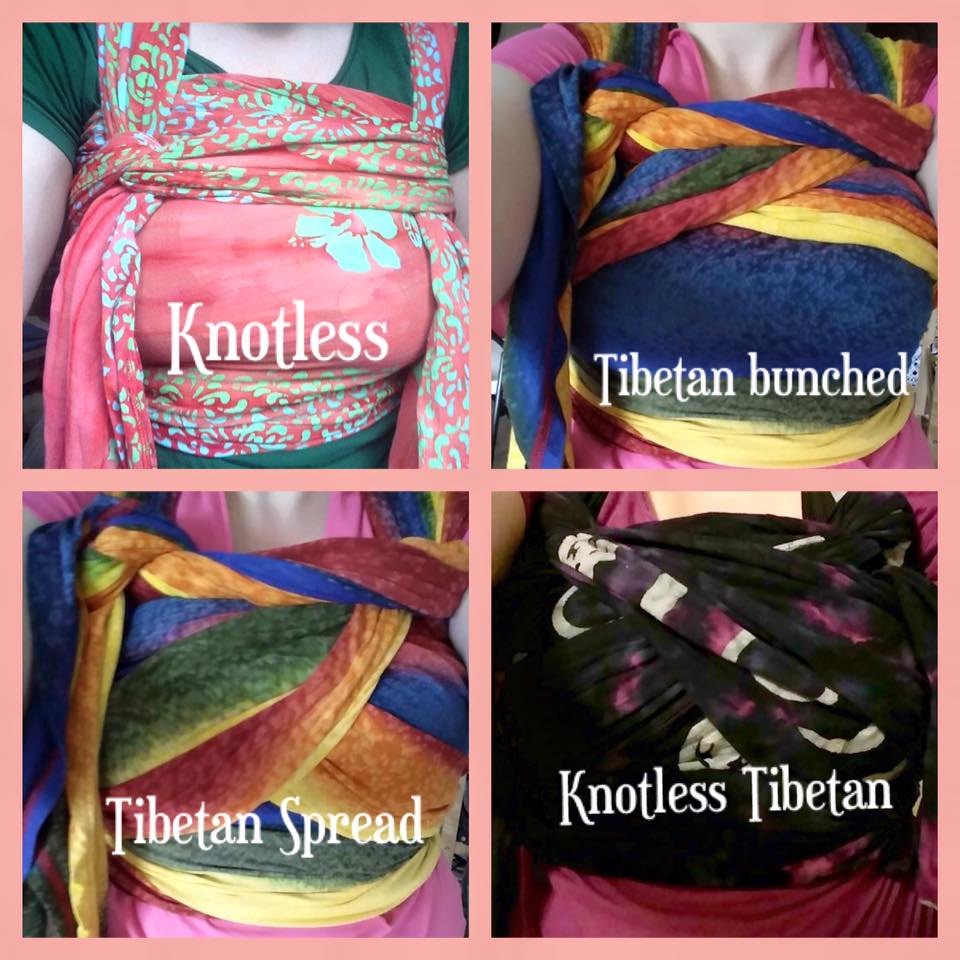
We also had some fun with this week and showed off all the variations.


Week 15: Christina’s Ruckless. A back carry with a rebozo pass, torso pass, ruckless chest belt, and two cross passes. A step up from a Double Hammock as the chest belt is a little more complicated. This a a great carry to take pressure of your back and shoulder, as the V holds all the tension. Make sure it it tighten properly if you are experiencing any discomfort.
Week 16: Giselle’s Back Carry. A back carry with a rebozo pass, a cross pass, shoulder flip, another cross pass. Another carry that starts off center and requires some skills to get the wrap spread high over baby’s back to ensure enough support. The shoulder flip in a back carrier is the same principal as in front carries, but can be tricker since you can’t see behind you. It’s essentially a way to make ruck straps in a rebozo.
Week 17: Double Rebozo Shoulder to Shoulder. A back carry with two rebozo passes and a shoulder to shoulder chest belt. Similar to the Secure High Back Carry with the hip scoot rebozo as the base, but a little more tricky as there are no bunched passes to keep the seat secure. You really need a good seat in this carry, so I put it farther down on the list to give you time to work on it. A shallow seat will most likely pop, leaving baby unsecured. And even if it does stay in place, it might be uncomfortable in the long run. But once you get it right, this a great carry to do quickly or in a crowded place where you don’t have room to spread out your tails.
Week 18: Jordan’s Back Carry. A back carry with one rebozo pass, a shoulder flip, another rebozo pass, and a horizontal pass. A great carry for leg straightening babies, as the rebozo pass and the horozinral pass lock baby’s leg gently in place, making it hard for them to push up. They aren’t going anywhere!
Week 19: Wiggleproof Back Carry. A back carry with a ruck, two unpoppable passes. Some kids are just leaners, seat poppers, and leg straighteners no matter what you do. Before you give up on wrapping, give this carry a try. There are two unpoppable passes to lock both of baby’s legs down, making it almost impossible for them to mess-up your carry. It’s far down on the list because it takes skill to get these passes right.They can be very tricky to get high up on baby’s back. But keep it at it and you will be rewarded with a very comfy carry!
Week 20: Taiwanese Carry. A back carry with a rebozo pass, a poppin’s pass, a rebozo pass, another poppin’s pass, and a horizontal pass. We made it to the end! By now you should have a good foundation of wrapping skills, most of which you will need for this carry (hence why it’s the end!). A good seat, measuring correctly for an off center start, tightening and keeping the tension as you go, a poppin’s pass, a shoulder flip, and a supportive horizontal pass. Once you get that all down, this carry is AMAZING! No pressure and so supportive.
We did it! You now understand how to wrap your baby. This does not make you an expert yet, but it’s a great start. Keep working on these carries, even the most advanced wearer still learns something new everyday.
Check out these other great resources as well:

One thought on “Wrapsody Weekly Wrap Challenge”