For the past 6 years of my life, every Saturday from September to December is taken over by Oregon Duck football. I am proud graduate University of Oregon and needless to say, I bleed green and yellow. I loved going to the games with my sorority sisters and yelling “O” until we went hoarse. I have sadly had to spend the past seasons and this one cheering from Hawaii. But just because I am in the middle of the Pacific doesn’t mean I don’t get all ducked-out. I either go to a local sports bar or watch from home, but regardless I have my jersey on and shout like a maniac.
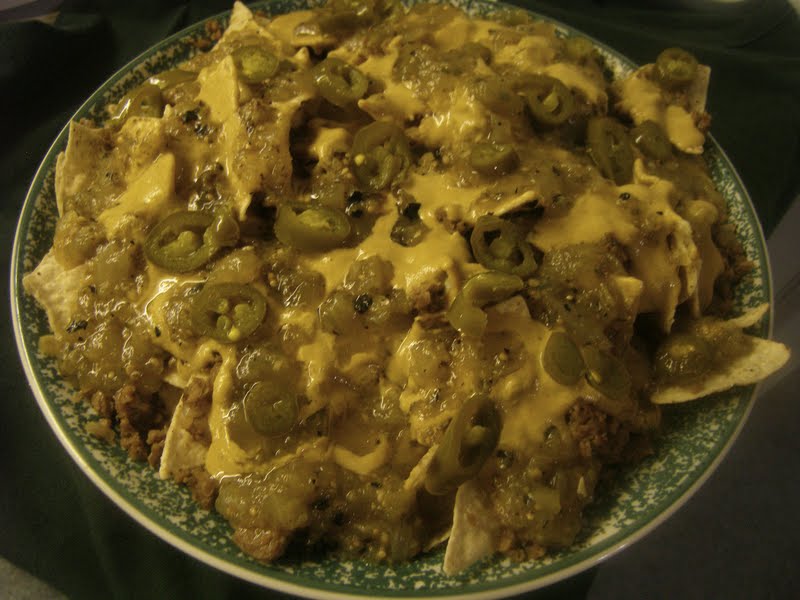
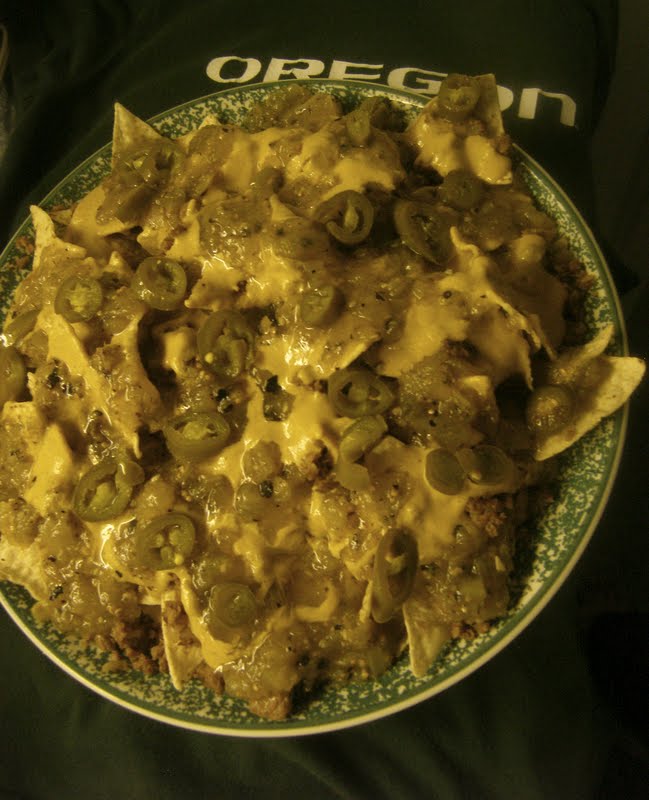
Today the Ducks face off against LSU, a game that will sure deserve a special blog post. So I decided to make something green and yellow (U of O colors), and finally settled on nachos. I made queso sauce from nutritional yeast and used salsa verde for the colors. Plus some jalapeños for some spice and because they are little O’s. I wanted to top it all off with some vegan sour cream, but my store was sold out.
I just realized this is also fitting because our coach is named Chip.
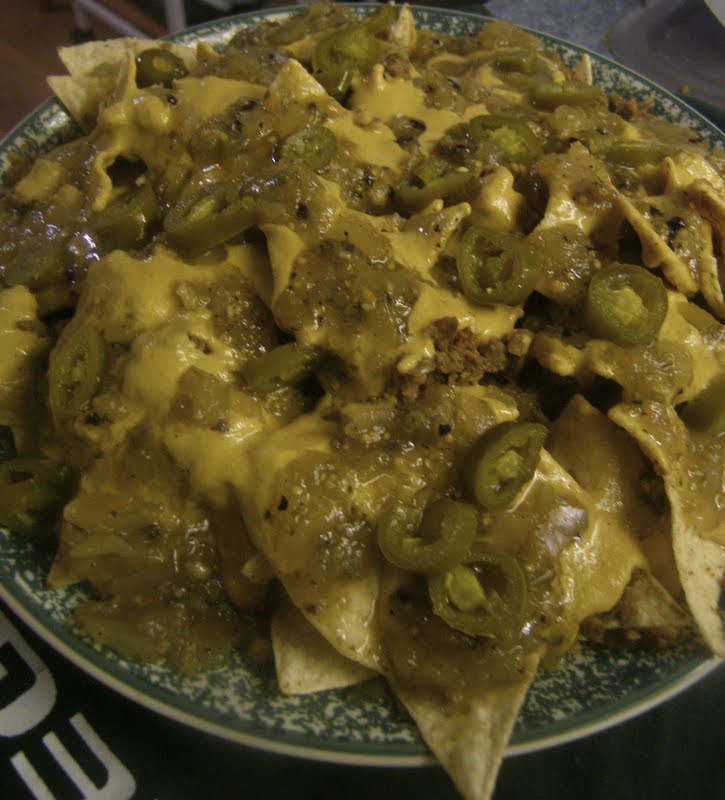 Yell-O and Green Nacho
Queso sauce:
4 tbs vegan butter
1 and 1/4 cup nutritional yeast, divided
1/2 tbs garlic powder
1tps cumin
1 tps parkia
1 tps chili powder
1/2 tsp pepper
The rest of the stuff:
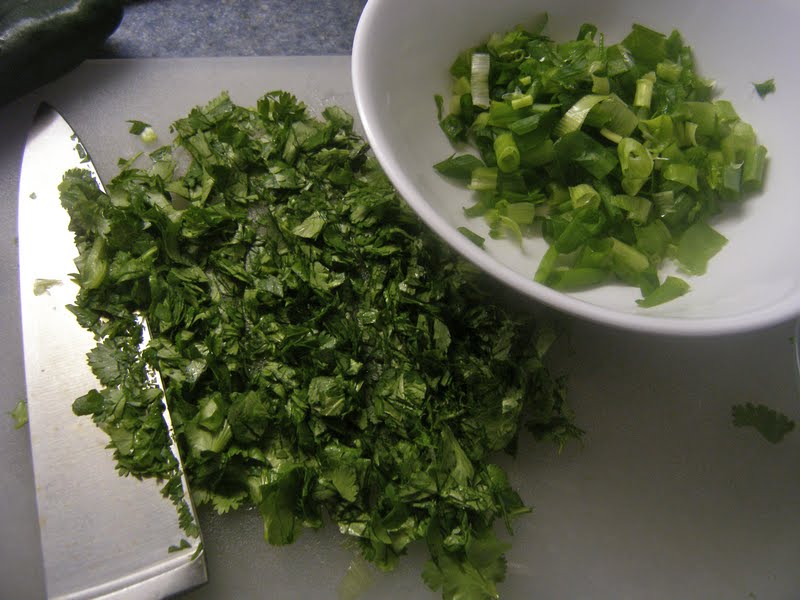
1/4 medium onion, chopped
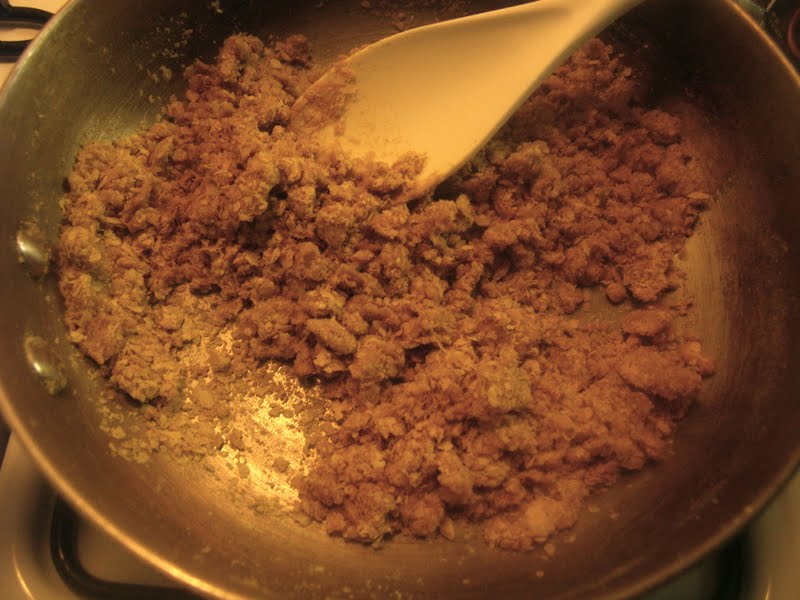
1 cup soy” beef” crumbles (I used Smart Ground)
Tortilla chips
Salsa verde
Jalapeños
Vegan sour cream
To make the queso sauce, add the vegan butter and 1 cup of the nutritional yeast to saucepan over medium/low heat. Incorporate the two together to make a sort of roux. It should clump together and get a little golden.

Add the vegetable broth and soy milk. Whisk together so there are no lumps.
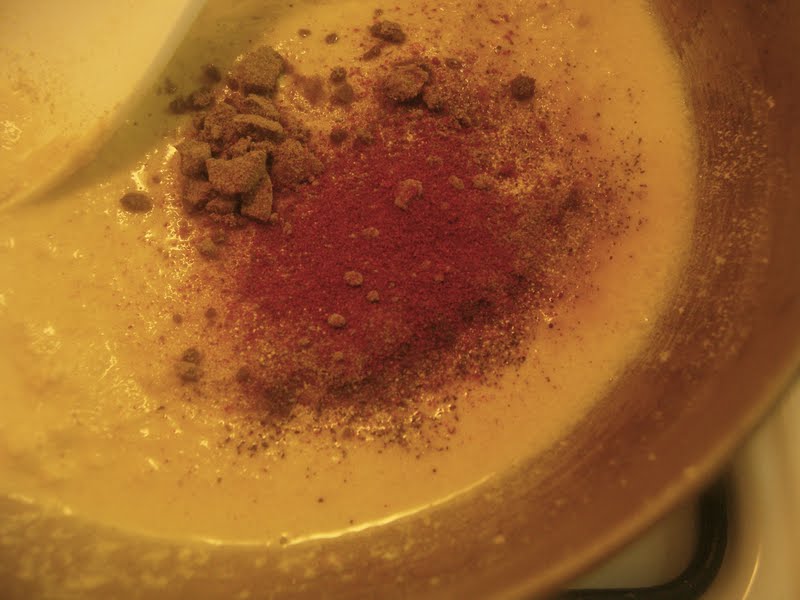
Add the garlic powder, cumin, paprika, chili powder and pepper. You can add salt if you like, but mine didn’t need it. Mix together well.
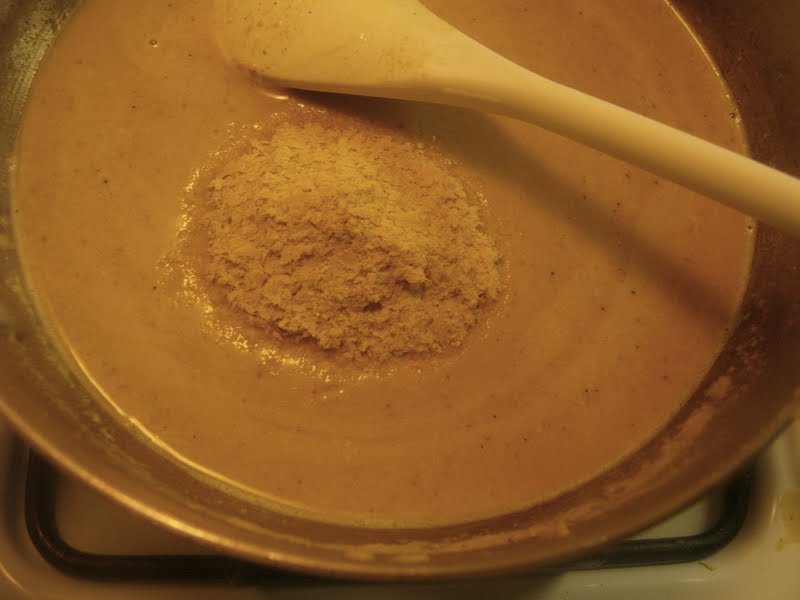
Reduce the heat to low. Let it reduce and thicken, stirring frequently. Taste it after awhile, if it need more “cheese” flavor, add some more nutritional yeast.

In skillet, lightly brown the chopped onion. Then add the soy crumbles. Cooked until heated through.
Once the queso sauce is smooth and thicken slightly, it’s time to assemble.

On a large plate or platter, scatter desired amount of chips. There is enough sauce for at least 5 serving so be generous.

Next sprinkle on the soy crumble mixture.

Now pour on the queso sauce.
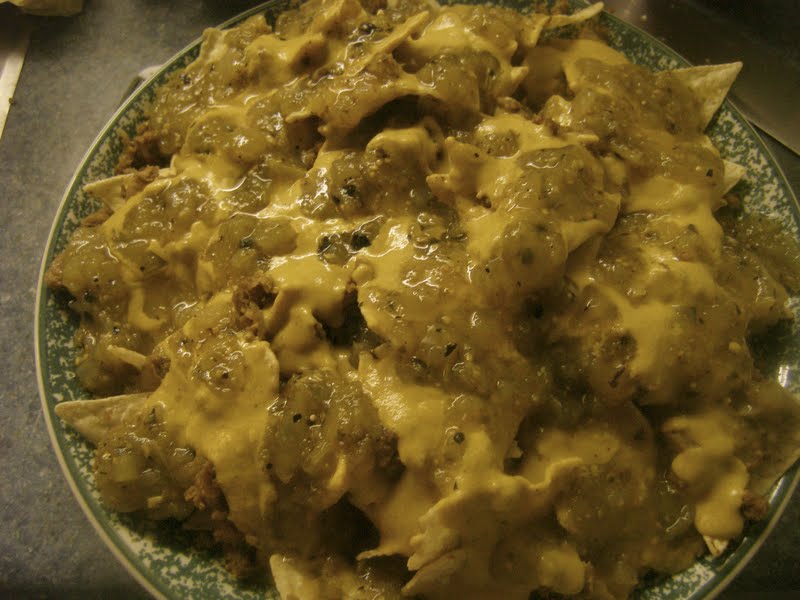
Now add the desired about of salsa verde.
If your store didn’t run out of sour cream like mine did, add a few dollops.

Top with desired about of jalapeños so your nachos are yelling “O”.
Turn on the Ducks game, open a Widmer (or any other fine Oregon brew) and get ready to cheer! Win the days boys!