Oil Face Wash

A few months ago I found a something on Pintrest about washing your face with oil. At first I thought it sounded weird, but the more research it, the more it made sense.  Like dissolves like. Ever notice that soap is actually made from oil? Palmolive—made from palm and olive oil.

As a teenager, I had HORRIBLE acne and no product I tried worked. Also, I have very sensitive skin, so most products irritated my skin so much that it would peal (most prescription topical creams) or swell (Proactive and Clearasil).  I had no choice but to accept my acne. I started washing my face twice a day with plain soap and used a basic moisturizer. I still had acne, but it stopped getting so inflamed. And to be honest, the thing that really cured my acne was growing up and going vegetarian (which both happened round the same time). When I went vegan, my skin completely change. I have GORGEOUS skin now. Like people stop on the street and ask me about my beauty routine—no joke. However, I still had the occasional pimple. It is mainly just hormonal acne or from not taking my make-up off before I went to bed. It would go away quickly, but I still did not like it.

Then I read that article about washing with oil and it all began to make sense. Oil is gentle enough to not inflame my sensitive skin. Oil will cleanse my face and get all my make-up off. And oil will nourish my skin. And, the article stated that it can lessen the appearance of scars. I have a two large chicken pox scars on my face (I did not listen to my mom when she said not to scratch), and liked the idea of reducing them. Then I realized the best part, it’s cheaper than cleansing products.

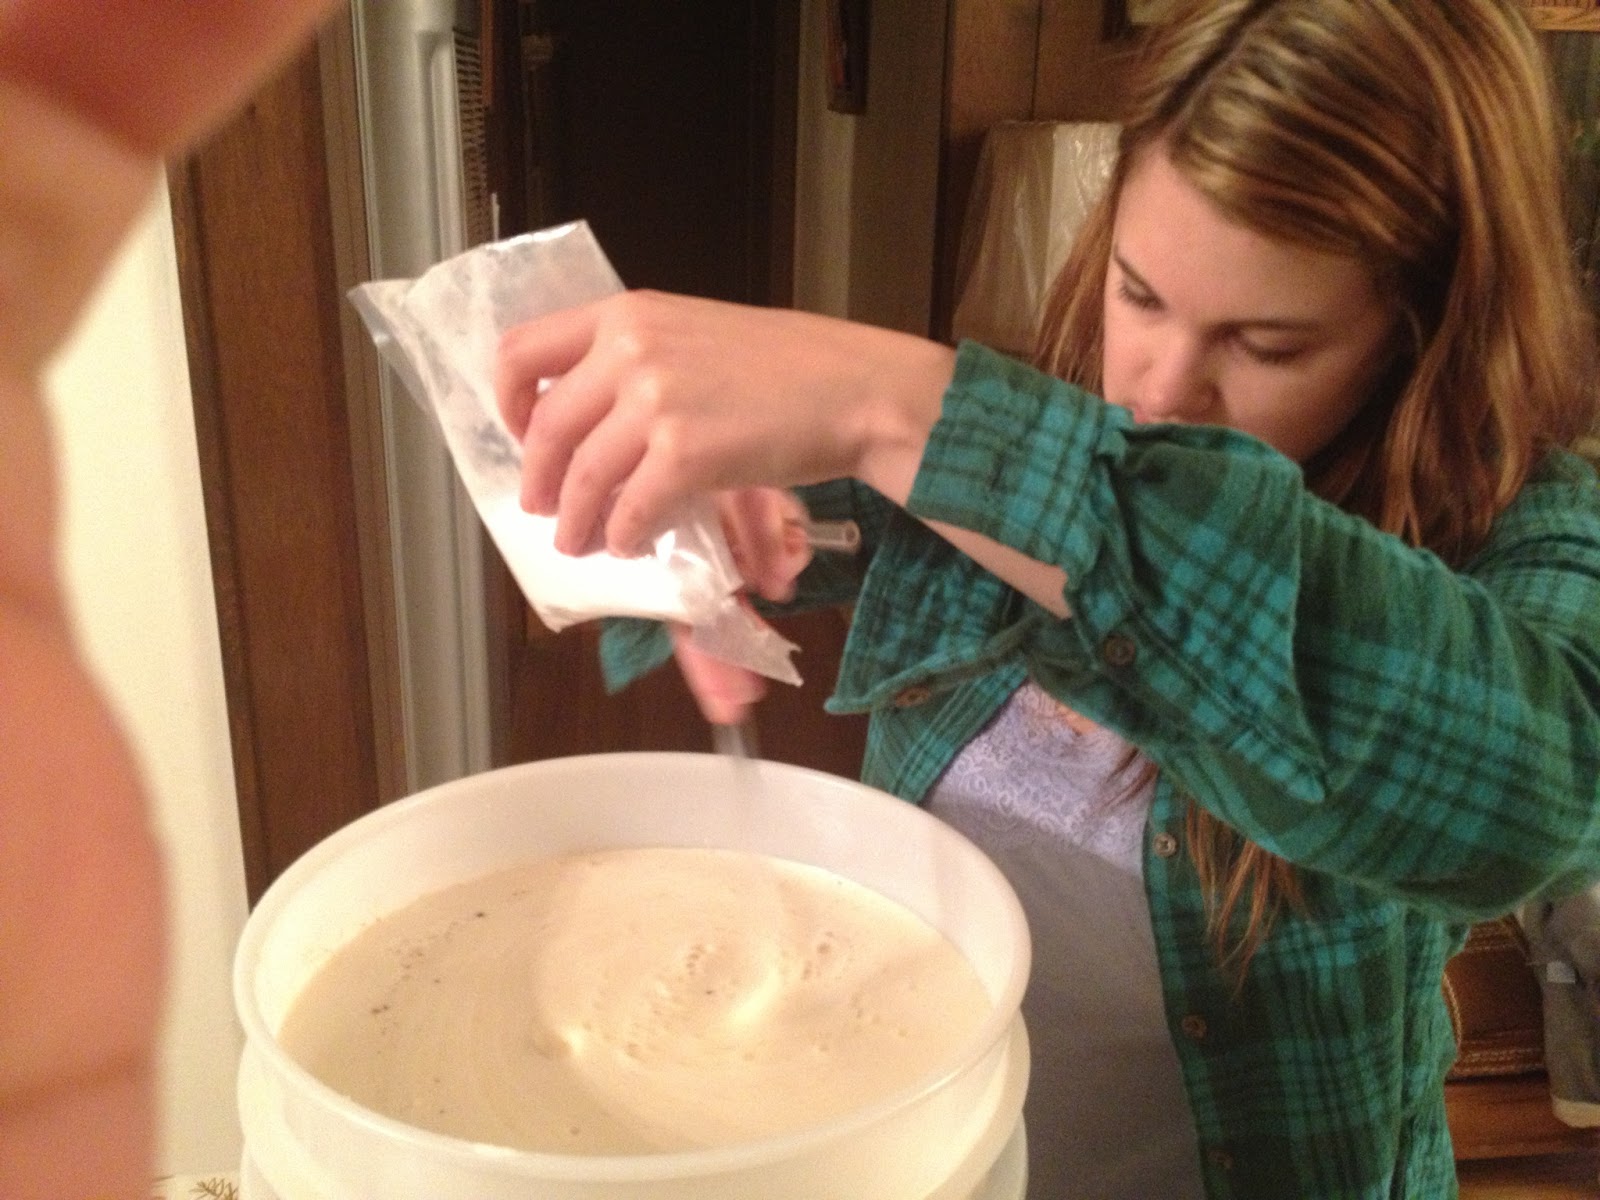
So I deiced to give it a try. After researching the net, I decided to try the combination of 3 part castor oil to 1 part olive oil.  This combination is best for combination-oily skin and for reducing scars.  I just mixed the oils together in a clean, empty bottle. The cleansing process goes like this:

  • Pouring about a quarter-sized amount of the oil in your palm
  • Rub your hands together to warm the oil
  • Massage the oil into your face, really working it in the pores, but be gentle (especially round your eyes)
  • Take your time, enjoy the massage, release some tension
  • Your skin will feel softer and the oil will feel thicker between your fingers once it all worked it
  • Next take a clean washcloth and soak it very warm water—enough to be steaming but not enough to burn—and place it over your face
  • Leave it on for 30 seconds, this will open your pores to remove oil and the gunk it grabbed
  • Rinse the washcloth in warm water again and gentle wipe all the oil off your face
That’s it! Your skin should be soft and supple now. If you have very dry skin or just was a little extra moisture, you can apply a small about of Vitamin E Oil as a moisturizer. But most of the time you should not need it after this cleansing process.
Do some research of your own and figure out what combination of oil works best for you. And tweak the process to suit your needs as well. But this is a great way to save money, use less chemicals, and get gorgeous skin!
Michael and I both started doing this and it has worked great for us. I am still using the same bottle of oil I made 3 months ago too. I do not have any more hormonal acne breakouts, and my skin very so smooth and soft. I do get a few pimples when I do not take my make-up off, but I bought some witch hazel and use that to take off my make-up quickly when I am lazy. Check out this pictures I took the other day at work. I only had on a light layer of powder and mascara. Who needs tons of make-up with skin like this?
Sources:
Advertisement

Zombie Apocalypse Wheat Beer: Part 2

As I stated in Part 1, the next step in my beer making adventure was to bottle the beer after fermentation. The two or so weeks we waited for it ferment we collected as many beer bottles as we could. This meant drinking a beer with dinner almost every night and asking our friends to save theirs for us. When I asked my boss if I could have the empties from work, he gave me the fabulous advice of using Pacifico bottles. He said to soak them in soapy water and the labels will peal right off. And they did! We also sanitized the bottles with the solution provided in the kit before  filling.

When I got back from Oregon I checked the specific gravity and it was perfect. I waited eagerly for Michael to come home so we could bottle it.

Smelled so good!

It smelled just like a hefeweizen the minute he took the lid off. I was so happy all our earlier issues did not ruin it.

However, just as I thought that, I made another mistake. The instructions say siphon the beer into the other fermenter then add corn sugar packet. I add the corn sugar packet first. It foamed up instantly and I realized I did it in the wrong order.

I quickly siphoned it into the other container.

It was still pretty foamy so I figured it was not that big a deal.

Still foamy, phew!

Next came the very messy part, the actual bottling. The second fermenter as a little spout on it so we just put it on the edge of the table and started filling. The spout sprayed everywhere at first and it took me a few bottles to get the hang of it. Once I got it down, it still took FOREVER to empty the fermenter.

It actually pours better if you hold the bottle farther from the spout.

As I filled, Michael capped the bottles. Our kit came with a nifty capper tool and bottle caps.

He complained that he only got to do the grunt work.

We probably lost about 2 beers due to the spout spraying. We put some towels on the ground underneath the spout to soak up the mess.

In the end we filled 47 normal bottles and 2 large bottles.

Ignore my messy living room…

The beer needs to carbonate in the bottles for 3 weeks. So Part 3 will be coming up soon.

Zombie Apocalypse Wheat Beer: Part 1

Before I launch into the first part of my home brewing experience, you are probably wondering about the name we chose for our beer. Well over a year ago I was invited to attend the factious Zombie Apocalypse on Facebook, you know since the world is ending tomorrow. Then when Michael and I started dating, I noticed he was attending too! Since this could be our only sustenance while we fend off the zombies, it seemed fitting.
Home tiki bar one day? source
Awhile ago Michael and I discussed what we wanted to do with our back bonus room and the idea of putting a bar or a kegerator came up. That got me to thinking about brewing our own beer. So I asked Michael for a home brew kit for Christmas. He loved the idea and instantly started researching it.
It takes about a month to make beer, so  we got my present early. Michael found a wine and beer making store in Campbell called Fermentation Solution. We went last Monday and asked a bunch of questions. The guy who helped us (I don’t think we ever caught his name) was very friendly and super informative. He recommended the Starter Beer Making Kit and one of their Recipe Ingredient Kits.  We discussed it some more then I came back on Friday and bought it.
I was so excited! Then I read the instructions that came with the recipe kit and realized our first issue. The beer takes 7-12 days to ferment. We were leaving in a week to spend Christmas with my family. That meant we either started it right then and hoped it would be ready before we left, or wait until we got back to make it. When Michael got home I told him the issue and he said let’s just go for it. He is coming back few days before me so if it wasn’t ready in a week, he would bottle when he got back at the 12 day mark. So I followed the recipe instructions as best I could.
First,  I essentially made tea from grain. I put wheat malt and row malt  in a bag and steeped it in very warm water.
Grain bag, steeping in 164 degree water.
Then I realize our second issue. We had a 3 gallon pot of water to steep the grain, but we need another pot to serve as our brew kettle—and it needed to be at least 5 gallons. So we quickly ran to Target and bought another pot.
In our new pot, we brought 2.75 gallons of water to boil…which took FOREVER!
Bringing 2.75 gallons of water to boil while the grain steeps.
Then I added the “tea” to the pot and realized our third issue. The pot was completely full now and we still need to add 3 lbs of liquid wheat malt. Rather than pour off some of the liquid to make room and risk loosing the flavor, we decided to boil off about 1 inch of it instead. This once again took FOREVER.
Too full to add the liquid malt…hmm…

I finally added the liquid malt and brought the kettle back up to boil. Then I added the bag of hops and then let it boil away for an hour.

Our house was very humid and sugary smelling after all the boiling.
That is when Michael realized the fourth issue. We needed to add more cold water before it ferments. He bought 5 gallons of purified water, but we boiled off a gallon or more of it already. Luckily the kit comes with dechlorination tablets so we dechlorinated water from our fridge.
Then we removed the hops bag and siphoned the beer into the fermenter while trying not to get the trub (the layer of stuff on the bottom).
Never thought learning how to siphon water troughs back
in 4H would come in handy one day
Next we added enough the dechlorinated water to bring it up to 5.25 gallons. Then I rehydrated the yeast packet in warm water and added it to the fermenter.
5.25 gallon of sugary yeast water.
Then Michael put the lid on and stuck in the airlock.
Ready to ferment!
It should be kept in a cool (between 62 and 72 dergees) and dark place during fermentation, so Michael decided on the garage.
The instructions said it should start fermenting within 12-24 hours. I check it in the morning before I left for work and there were no bubbles in the airlock. But it had only been 12 hours at the point so I was not concerned. That night after dinner I check it again….still nothing. But there was a residue visible on the side of the fermenter as if something was happening so I still was not too concerned. The temperature in the garage was 60 degrees so I figured it was just taking longer because it was chilly.
On Tuesday, there was still nothing in the airlock and the temperate was 56 degrees in the garage. I was worried fermentation never started or stalled, so I had Michael bring it inside.
It warmed up to just barely 62 degrees in the living room by the next day, but I was still concerned. After some research online, I decided that it was probably okay since it smelled like yeast. But I wanted to open it just to be sure. There was a lovely yeast cake right on the top, just like all the photos I saw online. I just chalked it up to being slow because it was too cold in the garage. On the plus side, there is no way it will be ready soon so we do not have to frantically bottle it before we leave. It can probably wait until I come home now.
The next step will be bottling and waiting for it to carbonate. So Part 2 will follow soon.

Shampoo Free Update

It’s been almost a month now since I posted my Shampoo Free post. My hair has continued to get better and better. I can go 3 days easily without washing it and it’s so much more managable now. I can even blow dry it and straighten without it getting all frizzy. And I still have half my original jug of vinegar and half the box of baking soda left.

But, I have found one issue with this cleansing regime: it does not get sand out of your hair. I went to the beach on the Kona side last weekend and it was so windy that it pretty much imbedded the sand into my scalp. Normal shampoo lathers up and grabs all the tiniest little particles. Since baking soda doesn’t lather, it didn’t grab all the teeny particles so my scalp was still quiet sandy after my shower. I took a fine-tooth comb over my scalp and worked out most of the sand the next day before I went to class, so it wasn’t the end of the world. I suggest that avid beach bums might want to use a natural shampoo that lather instead of the baking soda/vinegar regime if they don’t like waking up with a sandy pillow. 

Shampoo Free

So, about a month ago I was bored and just repeatedly “stumbling” on StumbleUpon when I came across an interesting blog called Simple Mom. The post was titled “How to Clean Your Hair Without Shampoo,” and it described how to clean your hair using diluted baking soda as shampoo and diluted vinegar as conditioner. I was intrigued, a cheap, non-toxic, and non-damaging way to wash your hair? That’s a broke college girl with a giant head of colored-treated hair’s dream! But then I saw her and her family’s photos of lovely short, fine hair and became a little discouraged. I thought there was no way measly baking soda and vinegar could tame my lion’s mane.

Then I thought about it some more and realized that my normal shampoo and conditioner routine was not really working either. My hair would be so insanely dry that I needed to deep condition at least once a week. My hair would also be so frizzy at times that I need styling several products to keep it smooth and shiny.  Plus, not to mention I’ve been coloring my hair since I was 14 and years blowing, straightening, and curling. I have always been complimented on my hair, but I would always want to scream back “Do you know how much effort it takes to get it to look like this!”
In the blog, she claims she uses no styling products at all, and this part brought back some hope. It would be so nice to not waste money on mousse, gel, and leave-in conditioner each month. Then I did some math, and even though I buy the cheap stuff, I still spent like $20 a month a hair products. A big box of baking soda and big jug of vinegar would only cost around $10, and could last 2-3 months.

Lastly, in her blog she mentions that shampoo is essentially detergent and it strips your hair of its natural oils. Those oils are what make your hair shiny and healthy in the first place. And not to mention detergent can be toxic and can pollute the water supply. Sodium bicarbonate (baking soda) and acetic acid (vinegar) are both natural substances that are proven effect as gentle cleansers. 
Keeping all this in mind, I thought “why not?” The worst thing is I don’t like the results and go back to using shampoo and conditioner. I rinsed out two empty shampoo bottles and decided to got for it. 
Now, my hair is baby fine but I have tons and tons of it and it’s down past my shoulders too. So I decided to make my solutions a bit stronger to conquer my mass of hair. For the shampoo, I used the bigger bottle and mixed about 1/4 cup of baking soda with 3 cups water. For the conditioner, in the smaller bottle, I filled it almost half way with vinegar and the rest water.  
Right after the first shower, my hair felt great. It wasn’t till the next afternoon I noticed my scalp was very greasy. In the blog, she mentions that it takes awhile for your hair to adjust since it was used to having its oil stripped away with detergent. This went on for about a month, my hair would be great for a few hours then turn into a grease pit. It felt so icky and I was tempted to revert back to shampoo. I am one of those peoples who believes in proper hygiene as courtesy to others, so it bothered me greatly. To be honest, it was pretty much all in my head. No one noticed my hair was slightly more greasy than normal. And it didn’t really look that different. My acupuncturist does some points in my head and she said she couldn’t really notice anything. 
At first I washed my hair everyday (mainly out of my own self-consciousness), then it got a little better so I switched to every other day (like I did with shampoo). Then this past saturday when I got off work, I went to take a shower and had a realization: my hair was not dirty three and it had been 3 days since I last washed it. I started to brush my hair out before I got in the shower and noticed it was still fresh and shiny. No grease, no knots, and still had bounce. I put it up in a bun and took a bath instead (I do believe in bathing your body daily, the whole courtesy idea).  I couldn’t believe it when I woke up the next morning and took the bun down—it was still lovely. It actually worked. 
I would highly suggest going shampoo free to any one. Give it a try, if you don’t like it, you can always switch back. If you can tough out transition period, I promise it is worth it. Just look for yourself! 

Special Report: Harts Flea Medicine Kills

So, like I promised, this blog will still majority of the time be devoted to vegan food and recipes, and not be over-preachy. But this issue upsets me so much that my journalism background had to come out.

A few days ago I got a new kitty because my building has a small rat problem and I’ve wanted a companion for awhile. I got her from an animal sanctuary where she was in a room full of other kittens, so it’s not surprise she had some fleas. As a broken college kid, I did not have the money to buy her expensive Advantage or Frontline. My mom warned me that cheap stuff from the grocery store does not work, but it was was all I could afford without bugging my parents for money. So I picked up some Hartz Ultra Guard One Spot for Cats and Kittens. It was only $9.99 for a 3 months supply. I put it on Penny when I got home and was curious what was in and why it was so much cheaper than vet recommended brands. Wikipedia told me methoprene, the active ingredient, is an insecticide that interrupts the life cycle of fleas eggs. But it does not actually kill adult fleas. That annoyed me because it was the adult fleas not the eggs that were causing Penny to itch and chew fur off.

Then I Googled “Hartz” and several links about lethal the products are came up. I clicked on one called Hartz Victims, a site where people post their stories on what happened to their pet when they used Hartz products. Some of them very recent. As I read, I looked down to see Penny grooming herself and panicked. I scooped her up and ran to the bathtub. I washed her neck first was baking soda and normal soap, then I scrubbed her whole body in Dawn. I felt so guilty, I chose money over her health. I was afraid I poisoned her. My new little friend, only 9-months old. As I scrubbed her, I was worried I’d have to rush her to an emergency vet in the middle of night from a grand mal seizure or something.

However, besides being annoyed at the multiple baths, she seemed perfectly fine and the product was only on for an hour. But I decided to stay in and watch her the rest of the night. I poked her every once and awhile to make sure she would response like a normal kitten, and she did. She even discovered that she can snap the string on my eye mask to wake me up, so I knew she was all right.

Penny was lucky. Although some people have used Hartz for years on multiple pets and have no adverse reactions whatsoever, I did not want to risk it on my baby. I found more website, more horror stories, and even Youtube videos. What upsets me the most is that this product is still allowed on the shelves. If this was a human product, it would have been removed and the company sued to death after the first death. But, because it is for animals, it is allowed to stay. The EPA forced them to reformulate their cat products in 2006 but not its dog product. But this did not do much good because there is still numerous reports of cat and continued dogs death well after 2006.

So, please do not use Hartz products. Your pet might be  lucky enough to be one of the ones who has no reactions, but your money goes into making more products that can potentially kill another pet. There are some risks with all chemical flea medicines, but nothing like Hartz (I read a few stories about Sergeant, another cheap grocery store brand too). Advantage can cause a reactions if improperly used, like if it is put on in the wrong place where the pet can lick it. The stories you read about Hartz happened when the owners did nothing wrong. From what I can gather, methoprene is lethal to your pet in large doses and there is way more in one single tube of Hartz than needed to kill your pet.

I asked my mom the next day if she would order me some Advantage from Petco for Penny and she agreed. I will never put cheap products on her again. I don’t believe your pet needs silk pillows and $10,000 food everyday, but if you are a responsible pet owner, you will buy quality products to ensure your pet has the best chance to live a long, happy life. I plan on keeping Penny for as long she will grace this Earth, and I promise to make her life a good one. 

DO NOT BUY HARTZ BRAND PRODUCTS AND SPREAD THE WORD!!

Links: