Chai Chaos Smoothie

Chai pumpkin, vanilla, and strawberry? I know that sounds weird, but that is what I wanted this morning (hey, I’m pregnant, give me a break). It was actually really good! I am in love with smoothies right now. Michael found a NutriBullet on a special sale at Target (they were out of some toaster so they restocked it with a NutriBullet for that price, making it around 40% off). I am in love! It’s so much easier to use than blender and cleans way easier than my food processor.

Even if you don’t have a NutriBullet, try this smoothie, no one flavor over powers the other.

This make one of the tall NutriBullet cups, could be a meal for one or a snack for two (Michael and I shared one on the way to work).


Chai Chaos Smoothie
4 tbs of Tazo Chai Tea Pumpkin Pie Concentrate 
1/2 frozen strawberries
2 scoop vanilla soy protein powder (I used Trader Joe’s brand and any type of plant-based powder is fine)
2 cups soy milk (any non-dairy milk is fine)

Add all ingredients into the your blender or NutriBullet, and blend until smooth.

Pour into a glass or twist on your lip rings.

Now enjoy the spicy sweet, and creamy treat! Makes a great wake-me-up on your way to work.

Advertisement

Kava Kava

Source

Michael is half Fijian-Indian. His dad was born and raised in Fiji. Wanting to explore his islander roots was one of the reasons he went to UH Hilo (and met me!). So for our wedding reception luau, Michael requested I make a popular Fijian drink, kava. I wanted to make him happy, so I said yes…but being a little Polish white girl, I knew nothing about it. I had before in Hawaii, but I had no idea how to make it. So I did some research.

Kava is made from the ground up root powder of Pacific pepper trees and water. It is a social drink, normally drank with good company to create good memories. It is especially popular among young men, as a way to bond. It is notorious for sedative and slight hallucinogen qualities. It is not like you are gonna have an acid trip, but you will definitely feel more relaxed and open.

Then Michael sent me to a Kumar’s Island Market, a Polynesian store in San Jose. It was small, rundown looking building. It reminded me of almost every building in Hawaii, so I loved it. The store is really small, but if you want anything from the islands, this is the place. The guy was really nice and got me enough kava powder for the party.

Then I still have the problem of making it…and Michael had no idea because his dad never really taught him how. “It’s like making tea,” was my only clue from him. So I turned to YouTube! I found tons of videos on how to make it. This is video I based my recipe on:

This recipe makes 2 gallons, enough for 30 people.

Kava Kava
2 gallons of purified water
1/2 lbs kava root
1 large mesh or nylon strainer bag

Bring all the water to boil. Turn off the heat.

Add the kava to the strainer bag. Do not tie the end yet.

Dip the strainer back into the water while still holding the open end (do not let go yet). Spoon some of the water into the bag to ensure all the powder gets wet.

Now tie the end of the bag and let it float. Cover with a lid and let it steep for 15 minutes.

Remove the lid and let it cool a bit.

Once it is cool enough, start ringing out the strainer bag into the pot. Once it dries out, dip in the water and ringing it out again. Repeat this 3-5 times.

At this point, I got Michael and had him taste it (did not think drinking a sedative was a good idea while pregnant). He said it was great so I served it. Traditionally kava is drank from coconut shells. We only had 6 of them, thinking everyone would not want to try it at once. We were wrong. All our guests wanted to do a big toast at the same time, so we had to pass out plastic cups.

Source

Everyone said the minute it hit their lips, their whole mouth went numb. And it continued to numb all the way down. Most were good with just one cup, but quite a few came back for more. I will have to wait until after the baby is born to try my version of kava. Good thing we still have half a pound of kava powder left! When I tried it in Hawaii, I remember thinking I needed to become one with my chair or else both of us would cease to exist…fun times 🙂

Kava is truly unique experience, highly suggest you try. Make a bowl and share with your loved ones.

BULA!

Zombie Apocalypse Wheat Beer: Part 3

FRIDAY, JANUARY 25, 2013

Zombie Apocalypse Wheat Beer: Part 3

Finally! Last Saturday we tried our first batch of homebrew. If you haven’t yet, check out Part 1and Part 2 to read about the process of making it.

We cranked open a bottle to have with dinner. It is best to pour homebrews into a glass rather than drink out of the bottle. The yeast sediment settles to the bottom and can upset your stomach. Plus, you can enjoy the beer more out of glass. See the color and smell the aroma awhile you leisurely sip your tasty brew.
It smelled very banana-y like a hefeweizen should, so I was very happy. And, I was even happier when it tasted like a hefeweizen too! A little bit of spice, a little malty, and of course very banana-y. I was very pleased with the outcome. The only minor addition I would make a orange slice on top.
We have a batch of California IPA in the fermenter now, I hope it comes out as well as this one did. Once we start developing our own recipes or try a cool kit, I will post another homebrew story. Thanks Michael for my awesome Christmas present!

Zombie Apocalypse Wheat Beer: Part 2

As I stated in Part 1, the next step in my beer making adventure was to bottle the beer after fermentation. The two or so weeks we waited for it ferment we collected as many beer bottles as we could. This meant drinking a beer with dinner almost every night and asking our friends to save theirs for us. When I asked my boss if I could have the empties from work, he gave me the fabulous advice of using Pacifico bottles. He said to soak them in soapy water and the labels will peal right off. And they did! We also sanitized the bottles with the solution provided in the kit before  filling.

When I got back from Oregon I checked the specific gravity and it was perfect. I waited eagerly for Michael to come home so we could bottle it.

Smelled so good!

It smelled just like a hefeweizen the minute he took the lid off. I was so happy all our earlier issues did not ruin it.

However, just as I thought that, I made another mistake. The instructions say siphon the beer into the other fermenter then add corn sugar packet. I add the corn sugar packet first. It foamed up instantly and I realized I did it in the wrong order.

I quickly siphoned it into the other container.

It was still pretty foamy so I figured it was not that big a deal.

Still foamy, phew!

Next came the very messy part, the actual bottling. The second fermenter as a little spout on it so we just put it on the edge of the table and started filling. The spout sprayed everywhere at first and it took me a few bottles to get the hang of it. Once I got it down, it still took FOREVER to empty the fermenter.

It actually pours better if you hold the bottle farther from the spout.

As I filled, Michael capped the bottles. Our kit came with a nifty capper tool and bottle caps.

He complained that he only got to do the grunt work.

We probably lost about 2 beers due to the spout spraying. We put some towels on the ground underneath the spout to soak up the mess.

In the end we filled 47 normal bottles and 2 large bottles.

Ignore my messy living room…

The beer needs to carbonate in the bottles for 3 weeks. So Part 3 will be coming up soon.

Zombie Apocalypse Wheat Beer: Part 1

Before I launch into the first part of my home brewing experience, you are probably wondering about the name we chose for our beer. Well over a year ago I was invited to attend the factious Zombie Apocalypse on Facebook, you know since the world is ending tomorrow. Then when Michael and I started dating, I noticed he was attending too! Since this could be our only sustenance while we fend off the zombies, it seemed fitting.
Home tiki bar one day? source
Awhile ago Michael and I discussed what we wanted to do with our back bonus room and the idea of putting a bar or a kegerator came up. That got me to thinking about brewing our own beer. So I asked Michael for a home brew kit for Christmas. He loved the idea and instantly started researching it.
It takes about a month to make beer, so  we got my present early. Michael found a wine and beer making store in Campbell called Fermentation Solution. We went last Monday and asked a bunch of questions. The guy who helped us (I don’t think we ever caught his name) was very friendly and super informative. He recommended the Starter Beer Making Kit and one of their Recipe Ingredient Kits.  We discussed it some more then I came back on Friday and bought it.
I was so excited! Then I read the instructions that came with the recipe kit and realized our first issue. The beer takes 7-12 days to ferment. We were leaving in a week to spend Christmas with my family. That meant we either started it right then and hoped it would be ready before we left, or wait until we got back to make it. When Michael got home I told him the issue and he said let’s just go for it. He is coming back few days before me so if it wasn’t ready in a week, he would bottle when he got back at the 12 day mark. So I followed the recipe instructions as best I could.
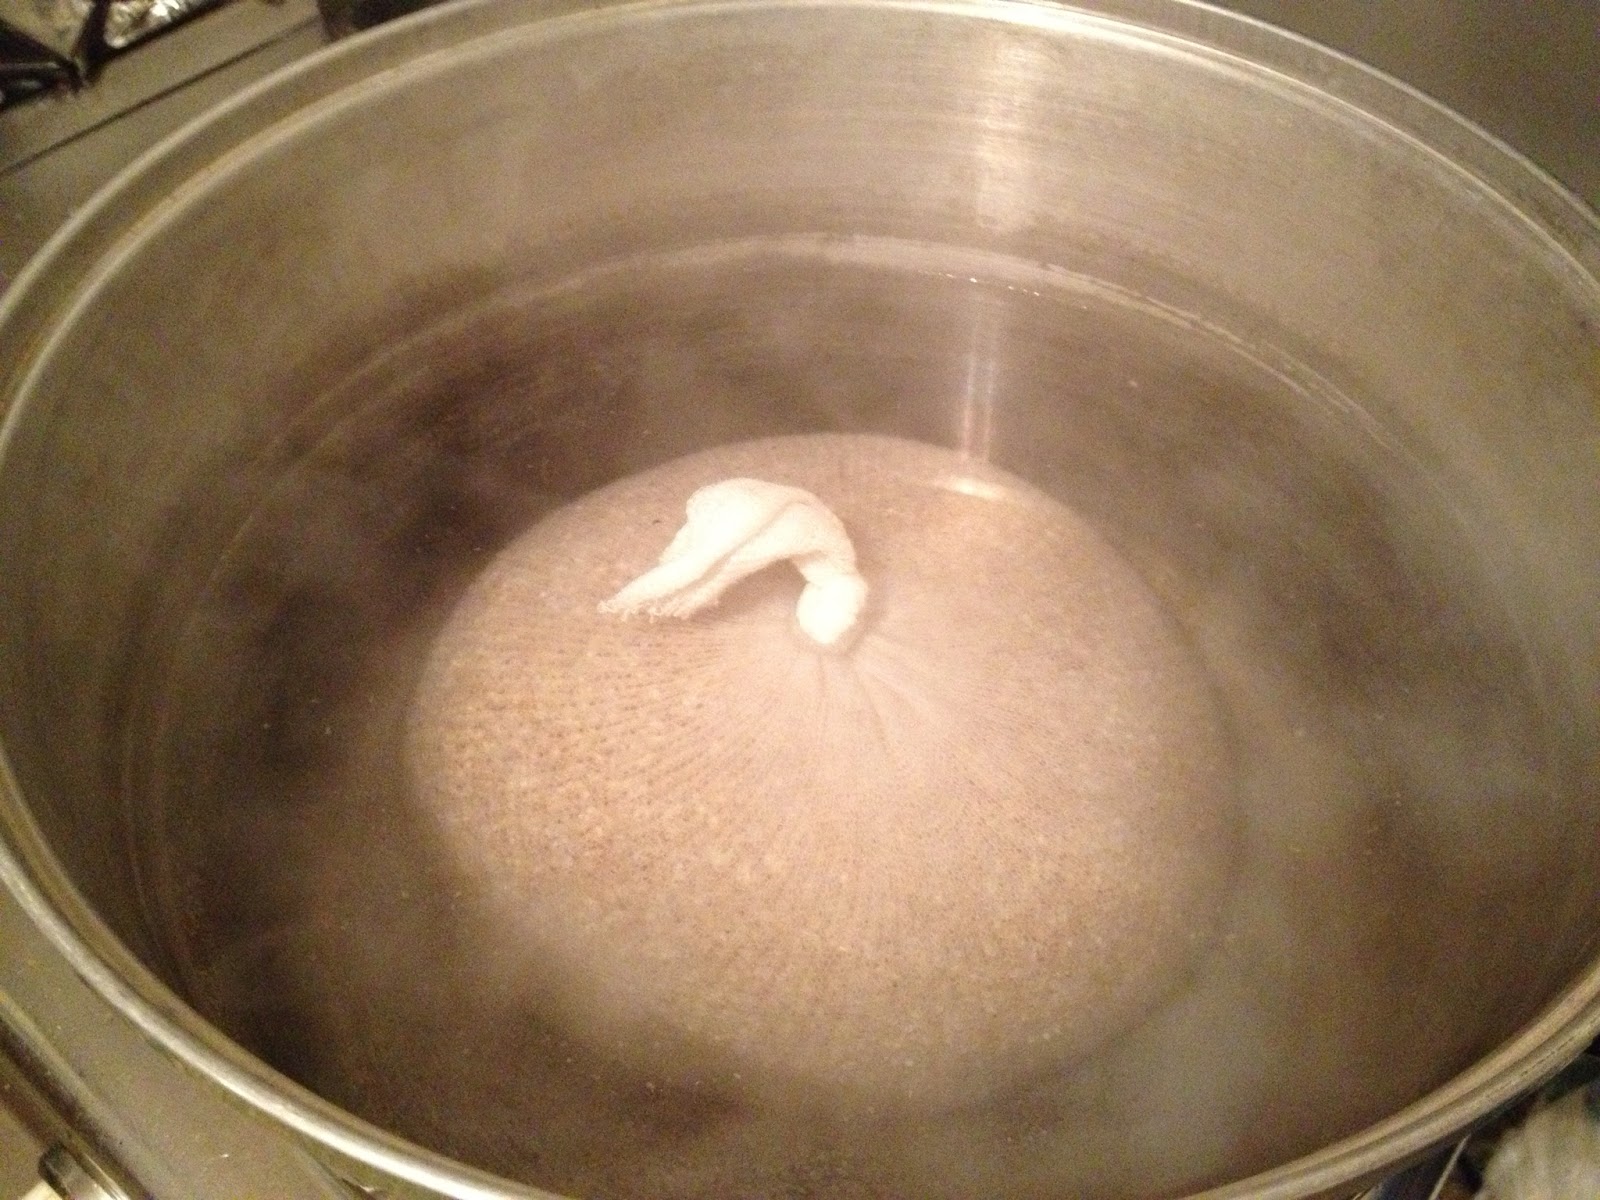
First,  I essentially made tea from grain. I put wheat malt and row malt  in a bag and steeped it in very warm water.
Grain bag, steeping in 164 degree water.
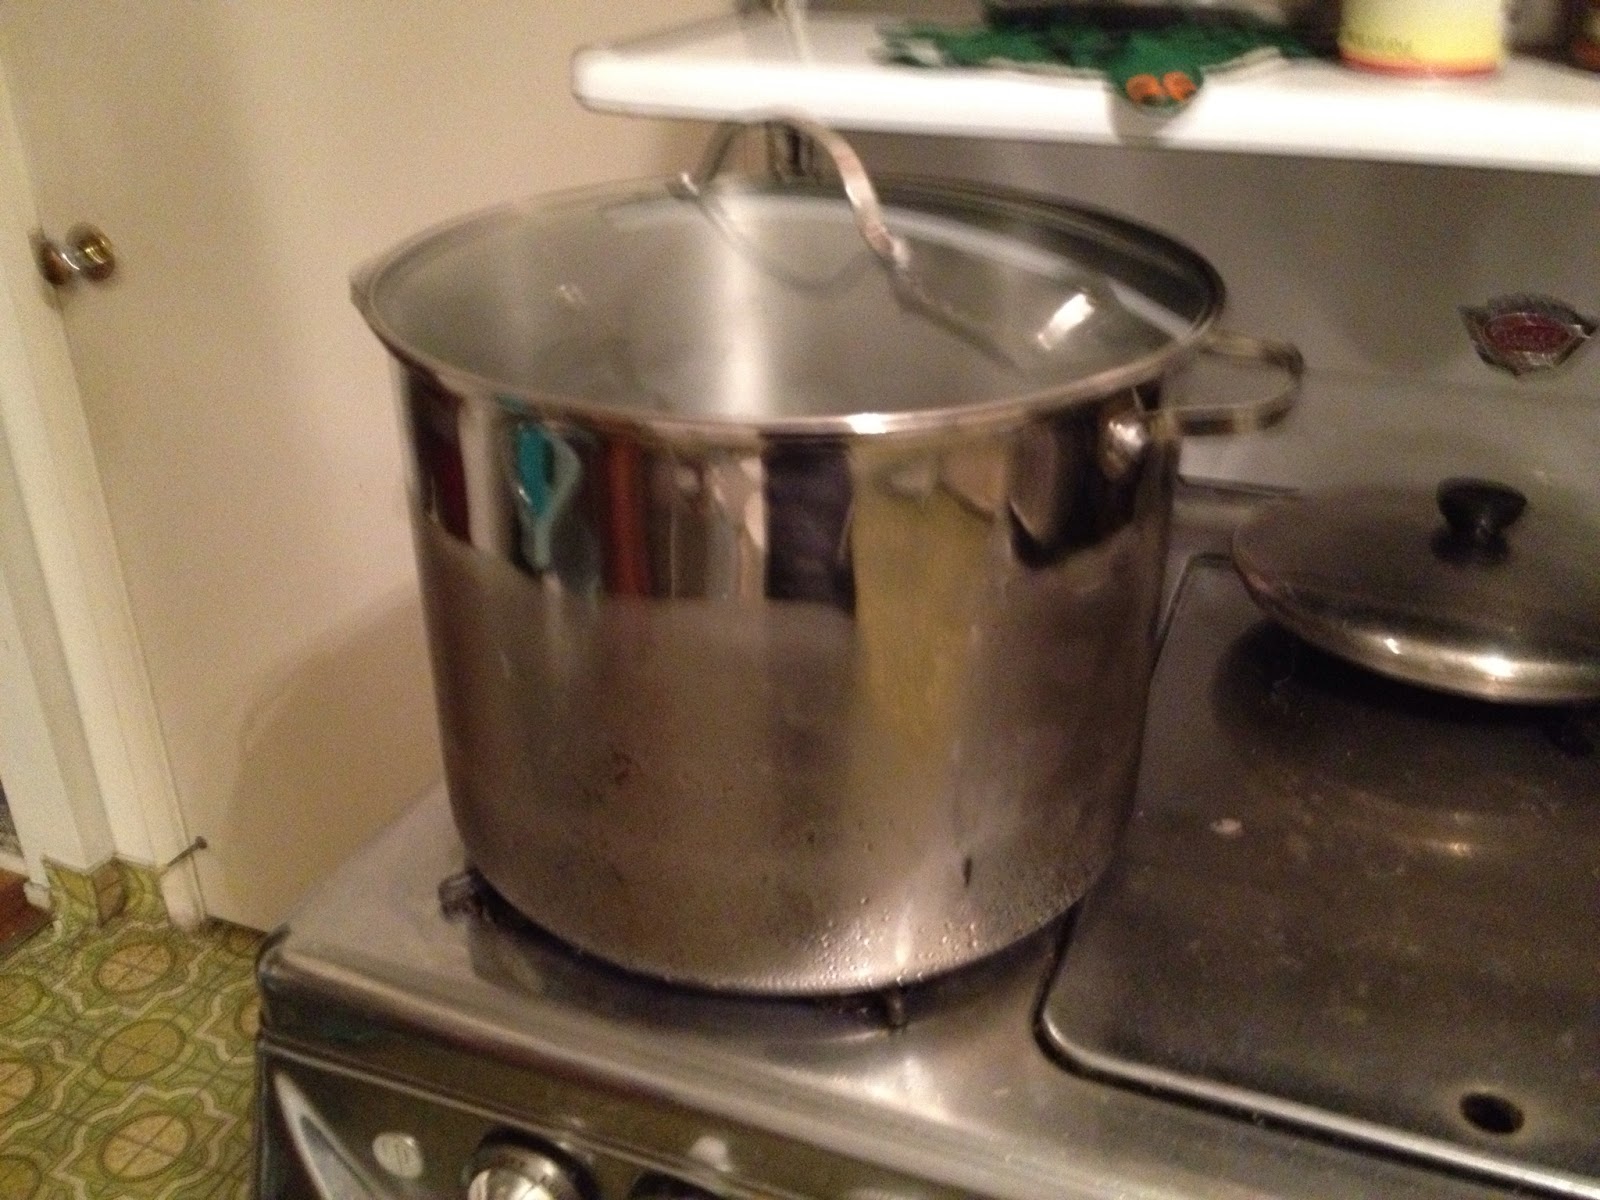
Then I realize our second issue. We had a 3 gallon pot of water to steep the grain, but we need another pot to serve as our brew kettle—and it needed to be at least 5 gallons. So we quickly ran to Target and bought another pot.
In our new pot, we brought 2.75 gallons of water to boil…which took FOREVER!
Bringing 2.75 gallons of water to boil while the grain steeps.
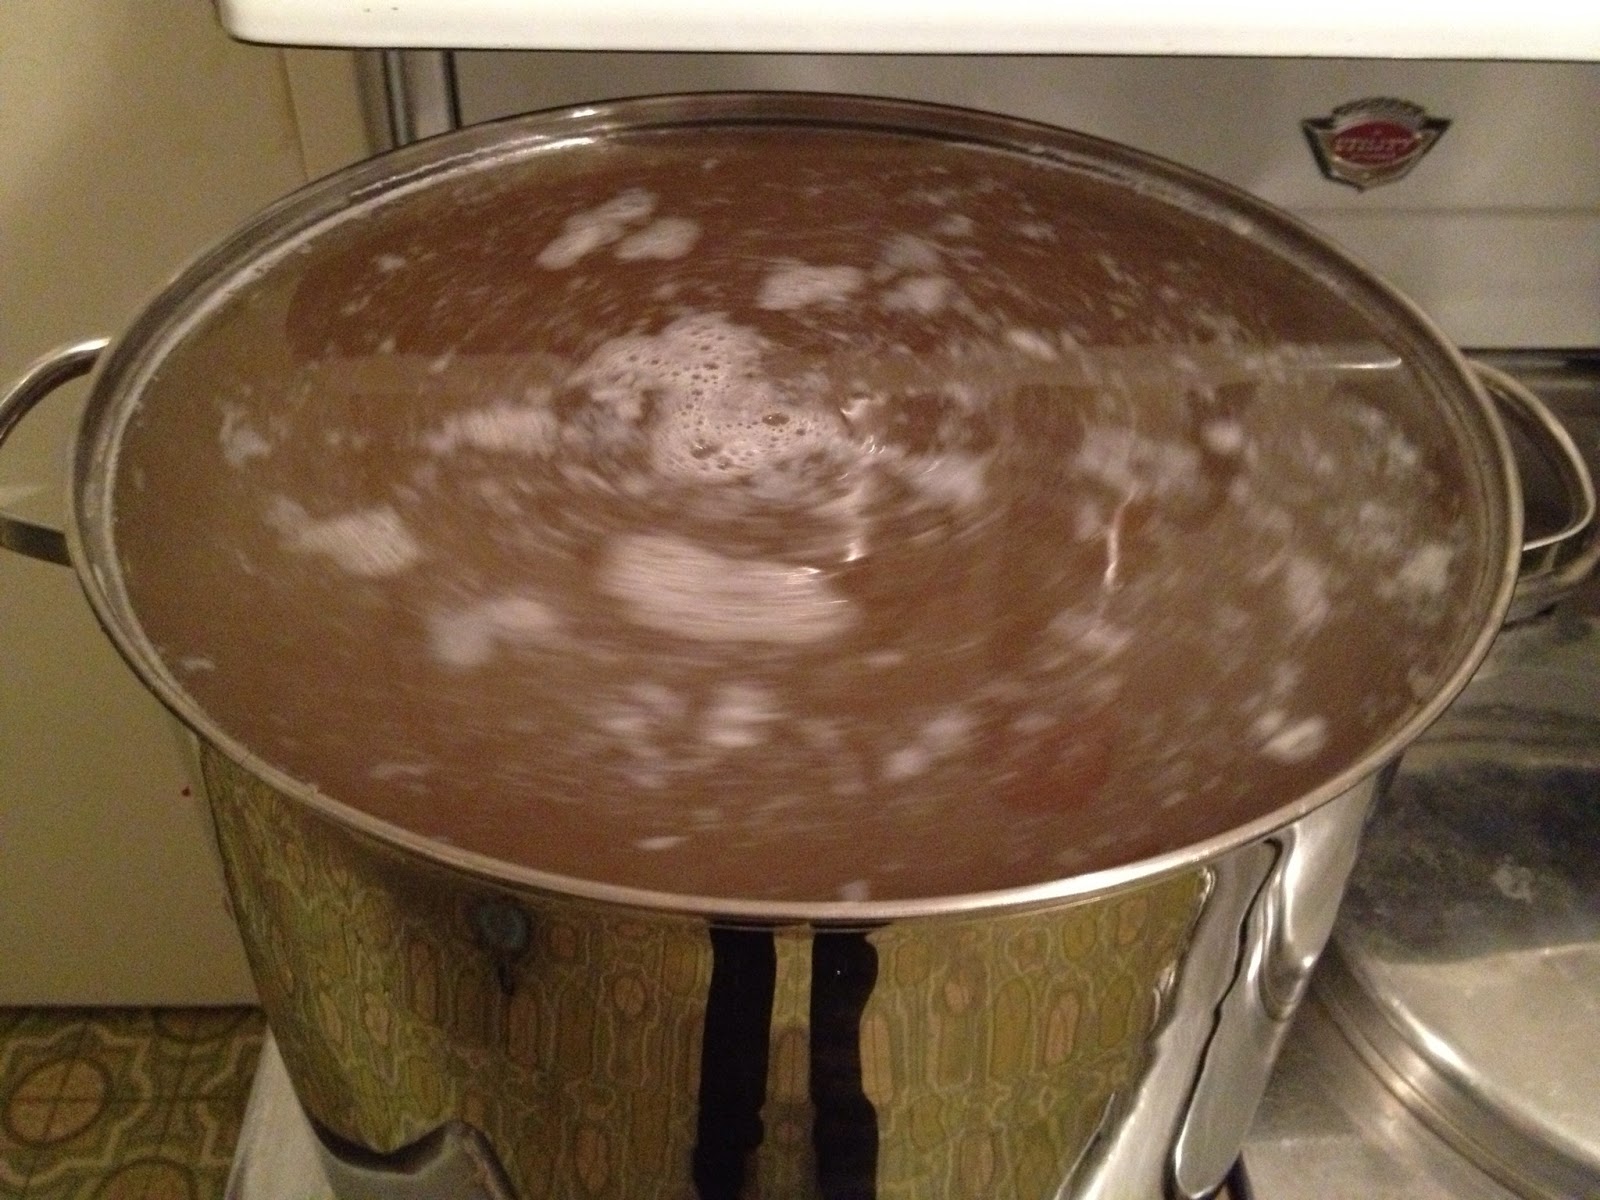
Then I added the “tea” to the pot and realized our third issue. The pot was completely full now and we still need to add 3 lbs of liquid wheat malt. Rather than pour off some of the liquid to make room and risk loosing the flavor, we decided to boil off about 1 inch of it instead. This once again took FOREVER.
Too full to add the liquid malt…hmm…

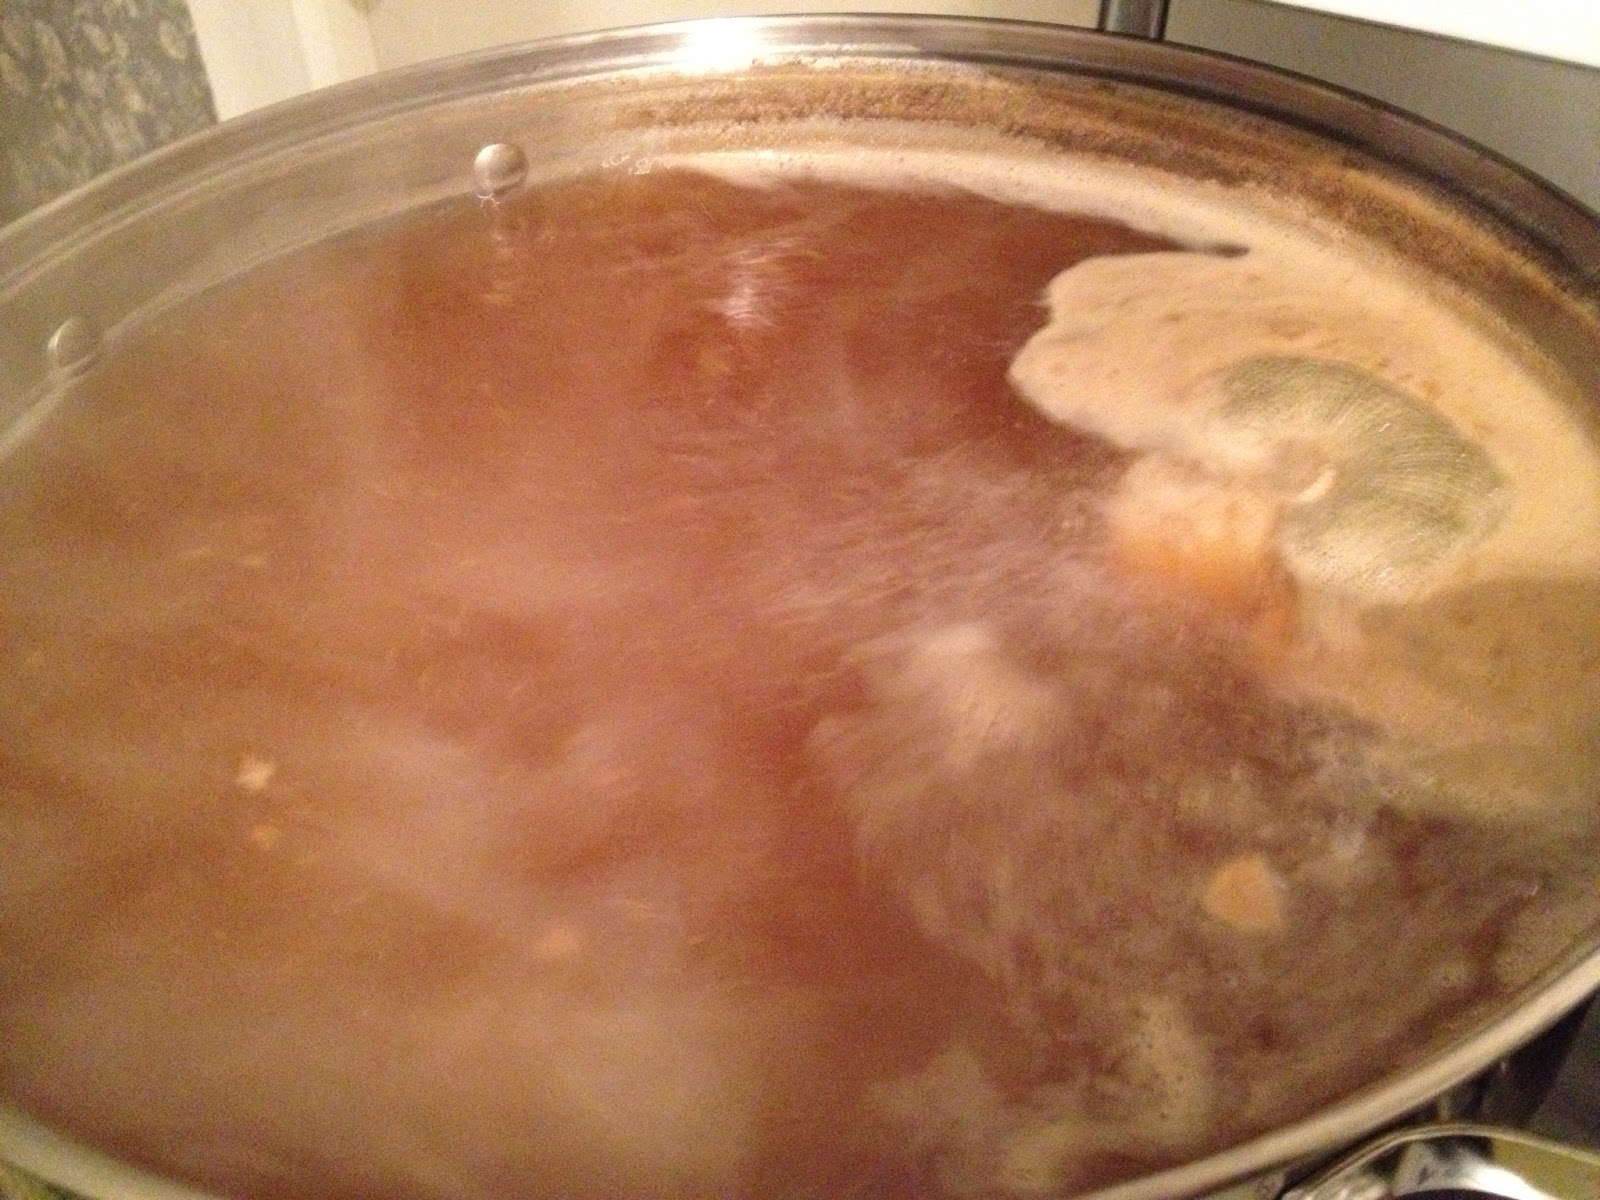
I finally added the liquid malt and brought the kettle back up to boil. Then I added the bag of hops and then let it boil away for an hour.

Our house was very humid and sugary smelling after all the boiling.
That is when Michael realized the fourth issue. We needed to add more cold water before it ferments. He bought 5 gallons of purified water, but we boiled off a gallon or more of it already. Luckily the kit comes with dechlorination tablets so we dechlorinated water from our fridge.
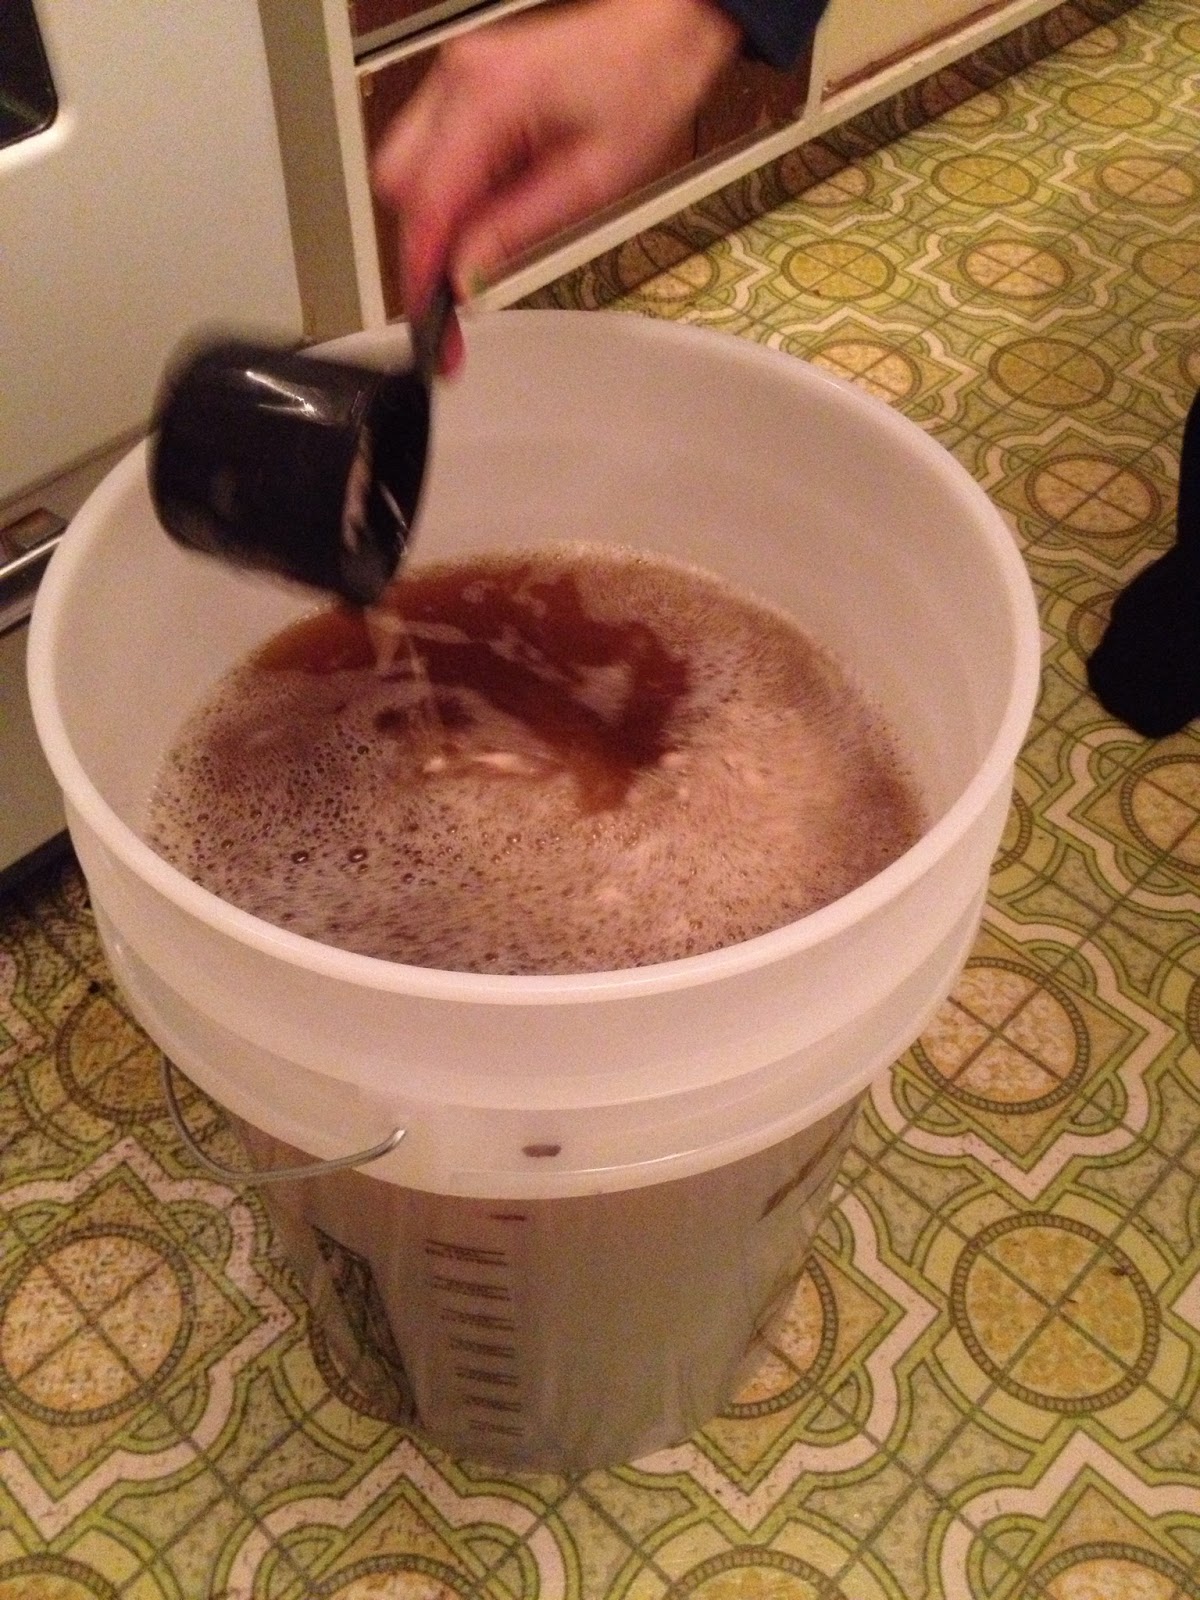
Then we removed the hops bag and siphoned the beer into the fermenter while trying not to get the trub (the layer of stuff on the bottom).
Never thought learning how to siphon water troughs back
in 4H would come in handy one day
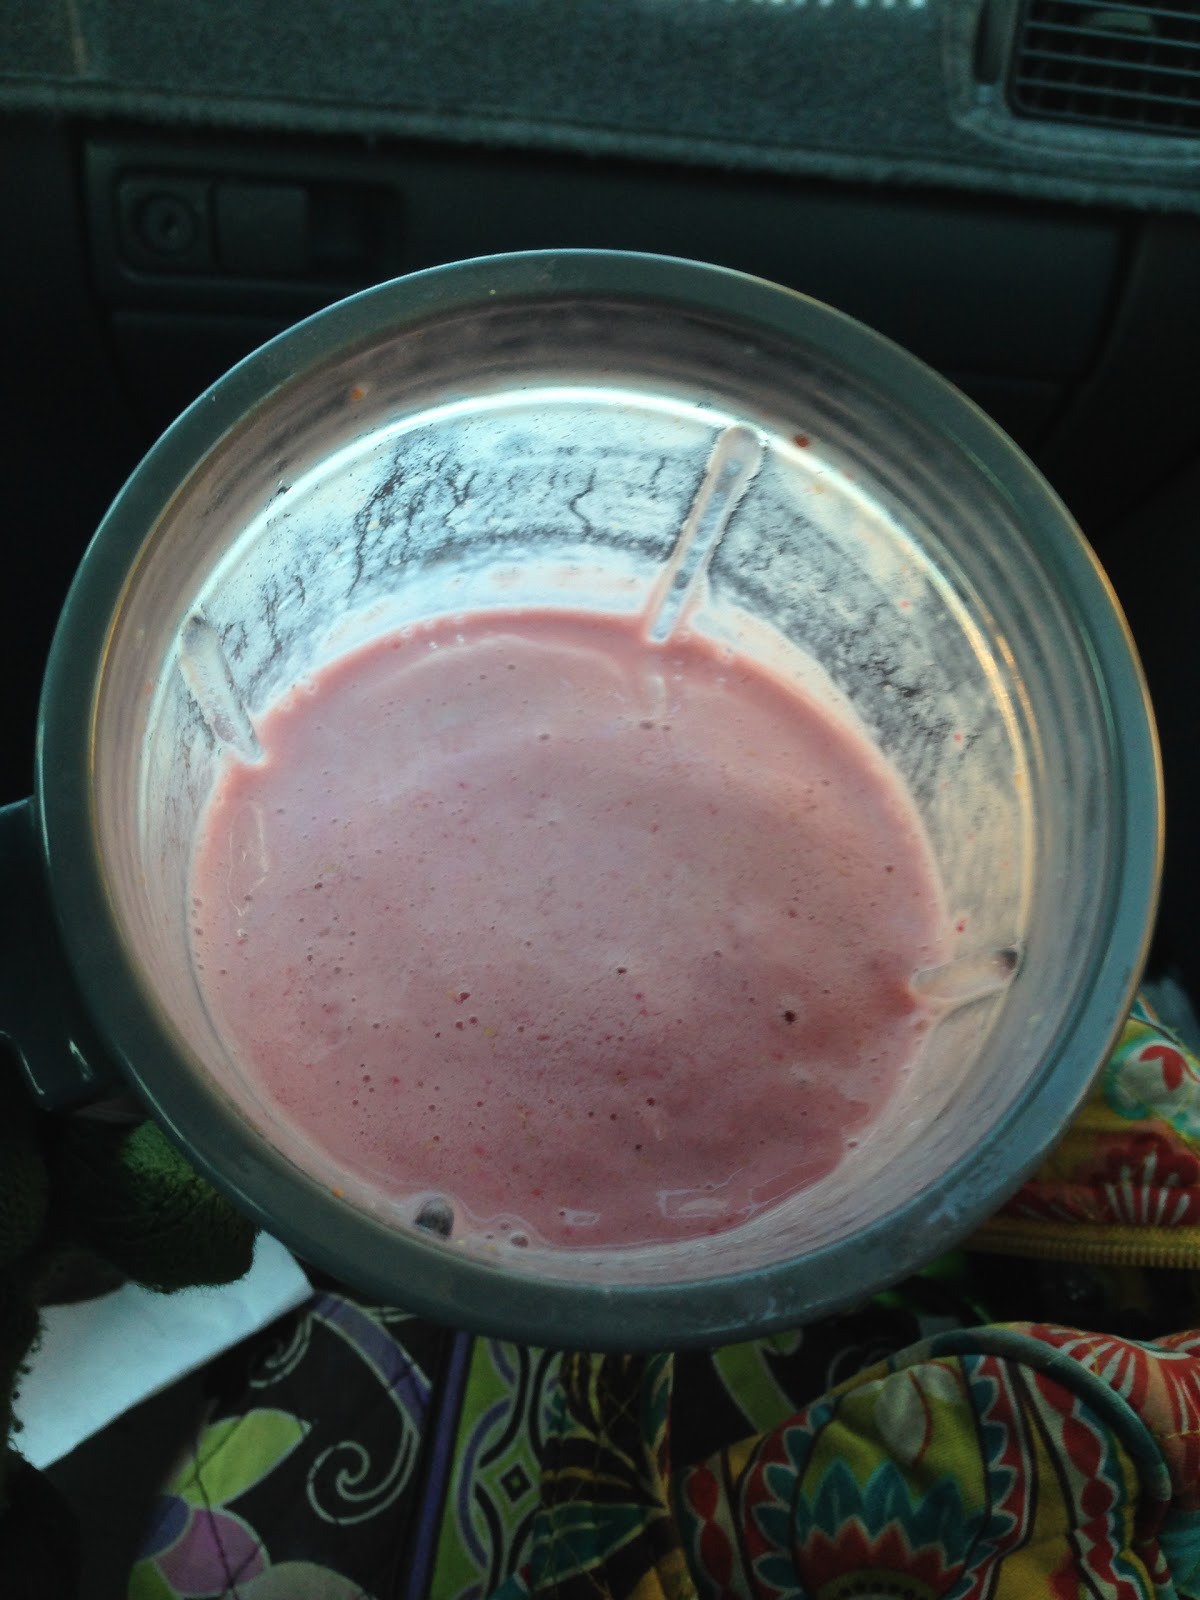
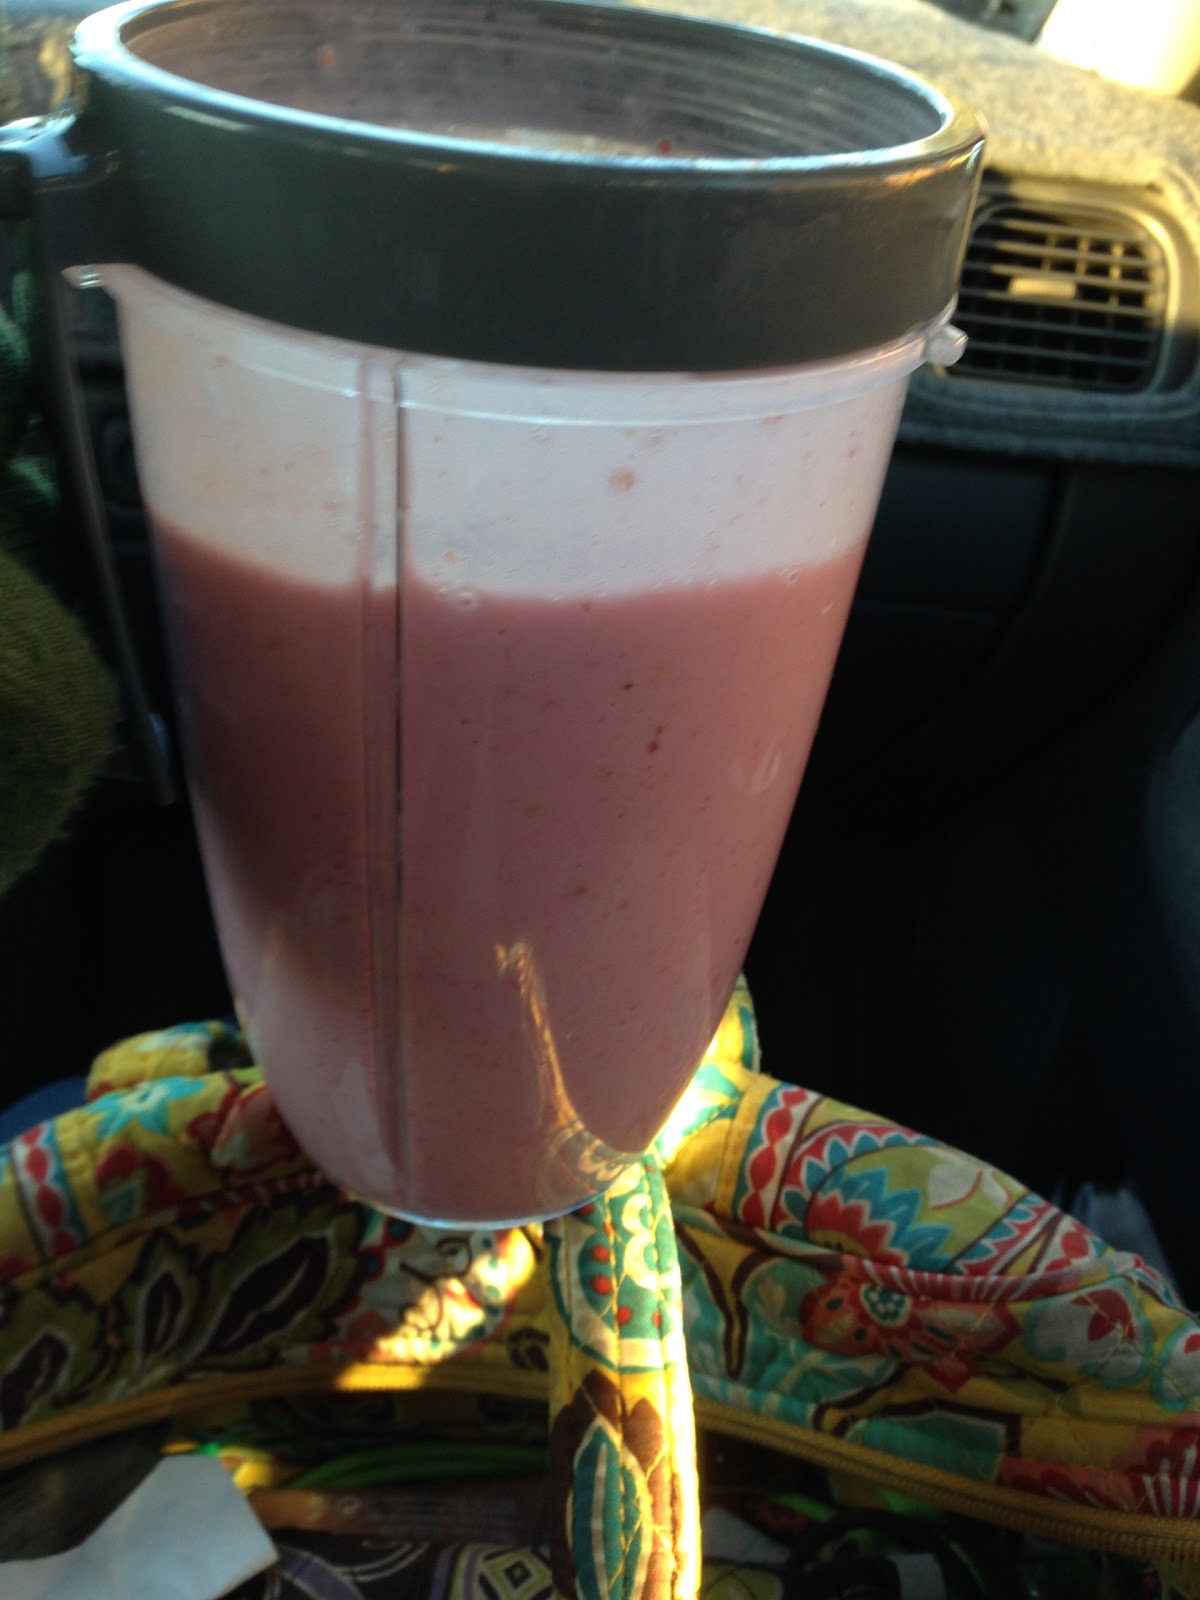
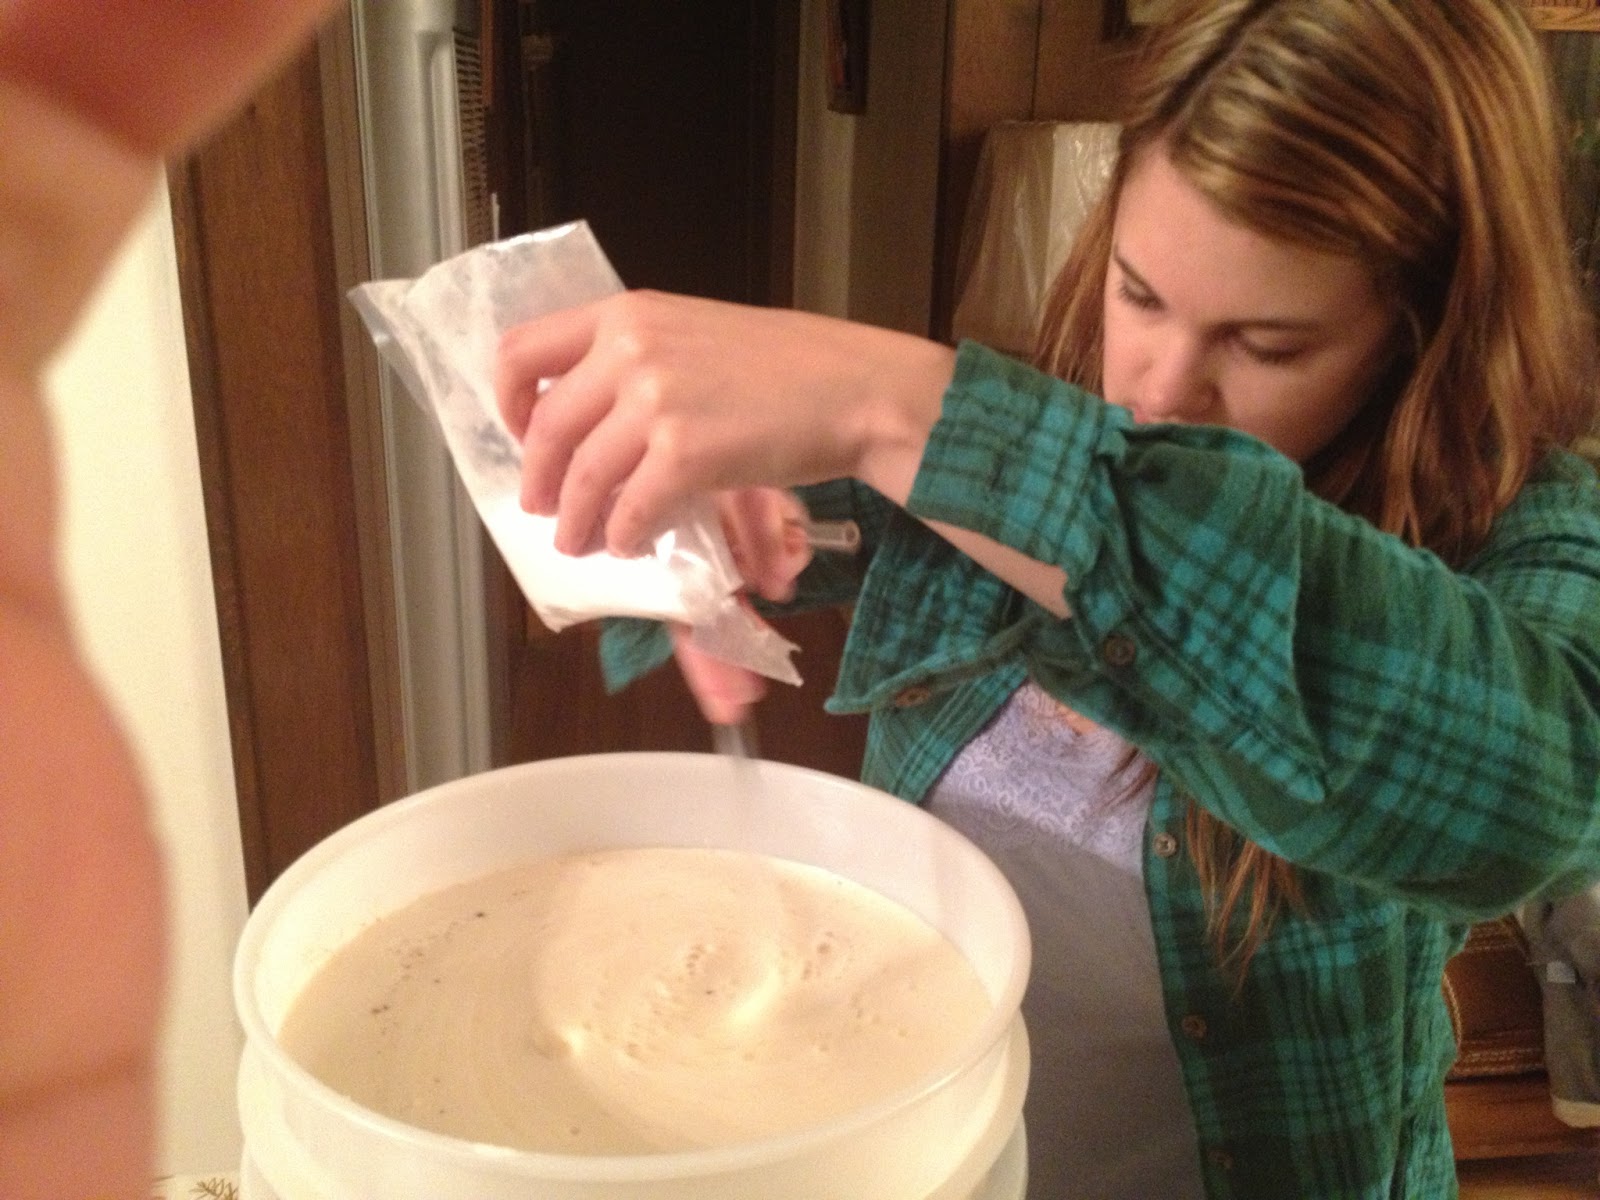
Next we added enough the dechlorinated water to bring it up to 5.25 gallons. Then I rehydrated the yeast packet in warm water and added it to the fermenter.
5.25 gallon of sugary yeast water.
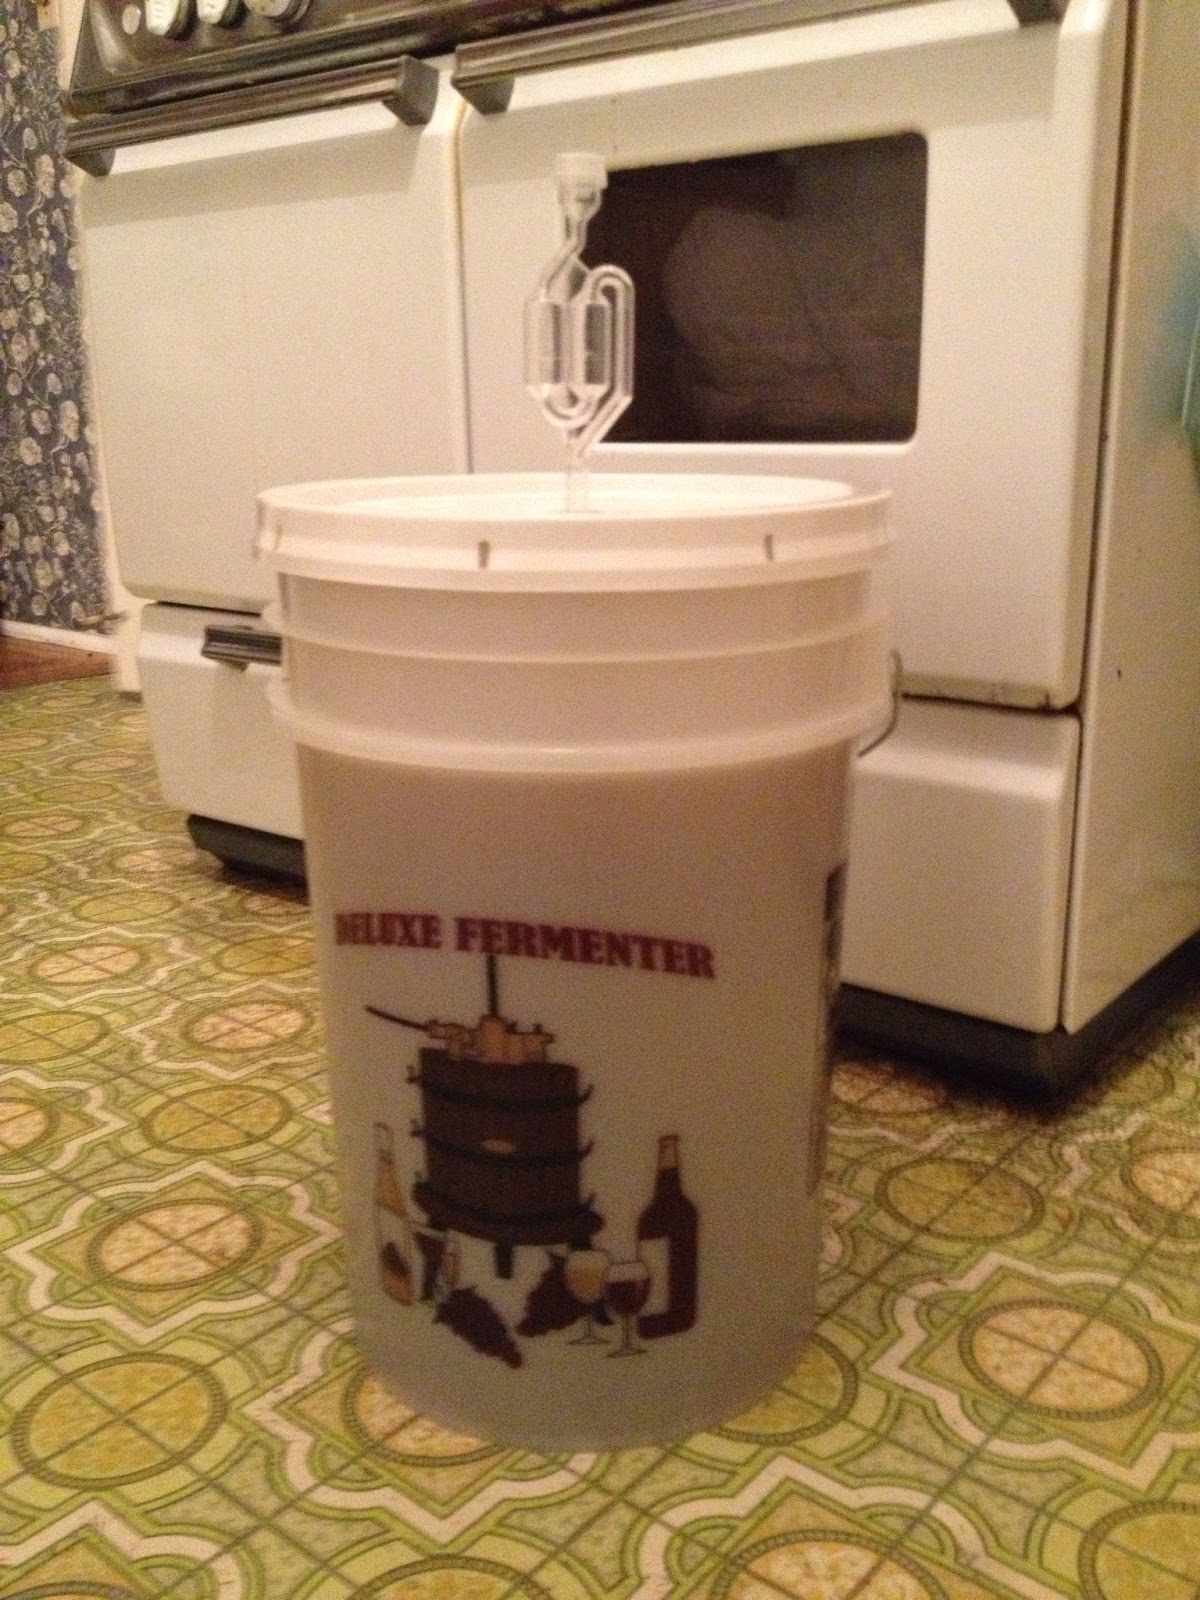
Then Michael put the lid on and stuck in the airlock.
Ready to ferment!
It should be kept in a cool (between 62 and 72 dergees) and dark place during fermentation, so Michael decided on the garage.
The instructions said it should start fermenting within 12-24 hours. I check it in the morning before I left for work and there were no bubbles in the airlock. But it had only been 12 hours at the point so I was not concerned. That night after dinner I check it again….still nothing. But there was a residue visible on the side of the fermenter as if something was happening so I still was not too concerned. The temperature in the garage was 60 degrees so I figured it was just taking longer because it was chilly.
On Tuesday, there was still nothing in the airlock and the temperate was 56 degrees in the garage. I was worried fermentation never started or stalled, so I had Michael bring it inside.
It warmed up to just barely 62 degrees in the living room by the next day, but I was still concerned. After some research online, I decided that it was probably okay since it smelled like yeast. But I wanted to open it just to be sure. There was a lovely yeast cake right on the top, just like all the photos I saw online. I just chalked it up to being slow because it was too cold in the garage. On the plus side, there is no way it will be ready soon so we do not have to frantically bottle it before we leave. It can probably wait until I come home now.
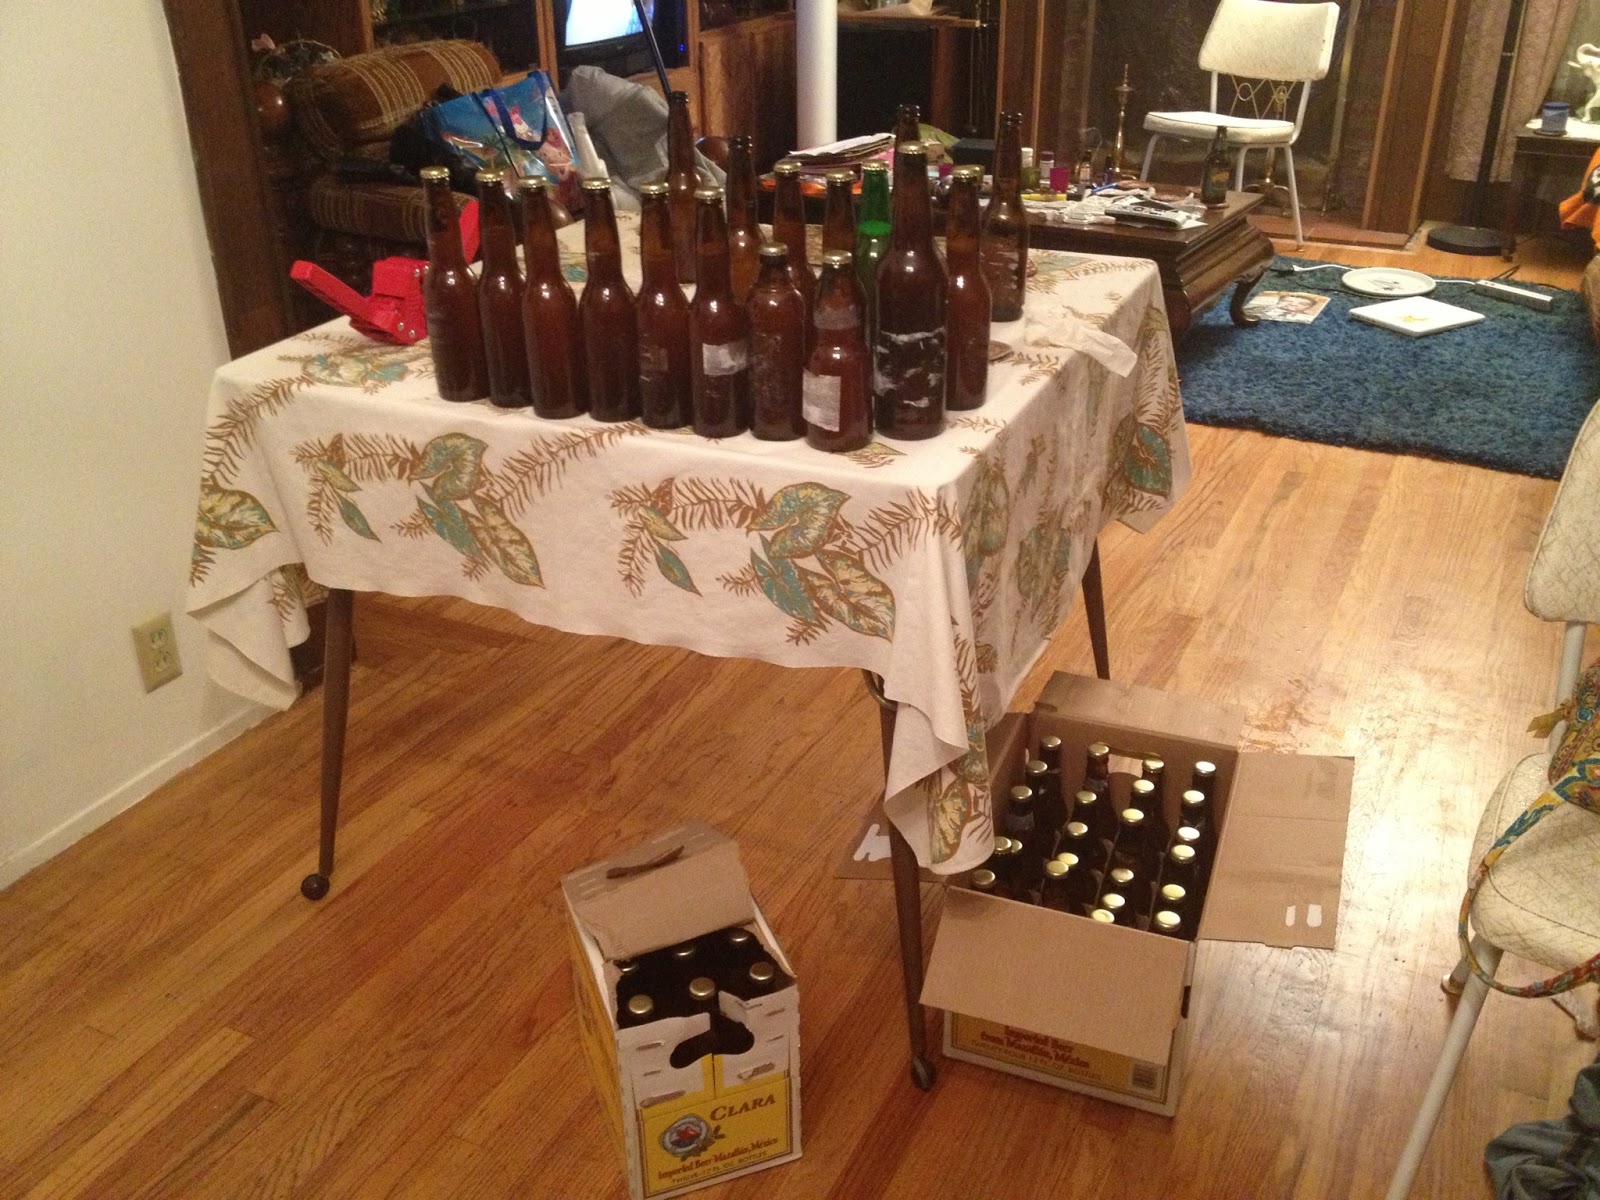
The next step will be bottling and waiting for it to carbonate. So Part 2 will follow soon.

Breakfast Juice

Like I said in my last post, I got a juicer for christmas. I have wanted one for over a year because I saw the interesting documentary called The Gerson Miracle. It’s about Dr. Charlotte Gerson, whose father,  Dr. Max Gerson, developed a holistic approach to curing cancer and diseases. It involved an all vegan, all raw diet. This treatment has claimed to cured hundreds of people, and some with very very severe illness. This even includes herself— her dad cured her asthma when she was a teenager. And, if you stay on the diet, it claims to keep most major and minor illness away for good. Needless to say, I was intrigued. I have tried an all raw diet before, and while I have nothing against it, it was not for me. I am not sure I believe in staying on a raw diet for the long run, but if I ever have cancer, I would seriously consider her treatment.

Juicing is a big part of the diet. Apple and carrot juice is the main one. I have decided to have one fresh glass of juice every morning at least, and I started off the first few days with apple carrots. But I decided my juice needed to be a bit more green. So, I added some kale and orange. Now, if you don’t like the taste of kale, don’t worry, you can’t taste it at all. It does turn it green though. 
This makes one serving. Because the vegetables and fruits will start oxidizing quickly, only make the juice to order and drink it within 10 minutes.

Breakfast Juice

1 small apple
1 small orange 
A handful of kale
1 small carrot

Cut all the apples and carrots into pieces that can fit into your juicer. No need to core or peal.

Peal the orange and cut into pieces that can fit into your juicer. 

Make sure the kale is washed. If the stalks are too big, you can remove them. 

Turn on your juicer, and start adding the fruits and veggies slowly so you do not over load the machine.

The juice comes out kind of frothy, my mom called it “Orange Julius-like.”

Give the juice a stir and enjoy! You get half your daily fruits and vegetables in one delicious drink. You can even add any supplements or powders to make taking them easy too.

What a great way to start off every morning for the new year?

I hope you all have a fun and safe New Years Eve. I hope 2012 brings you all nothing but happiness and good health. Maybe make more fresh raw juice in your diet one of your resolutions?

Bloody Sangria

My friend had a Halloween party last night and I wanted something fun to drink. I was searching for Halloween cocktails while watching Semi-Homeade Cooking with Sandra Lee. She made Sassy Sangria and decided to make a blood-red sangria. I didn’t originally plan posting this, but it was so delicious I felt the need to share.

Sangria is a wine-based punch that originated in Spain and Portugal. It consists of mixture of wine, brandy, seltzer/ginger ale, and fruit pieces. Brandy is not something I normally drink so I added a bit of tequila instead. Also, Walmart did not have ginger ale for some reason, so I used Sprite instead. I normally don’t drink soda at all, but once in a while it’s okay to have a bit extra sugar.


Bloody Sangria
1 bottle of Cabernet Sauvignon
4 oz tequila
1 orange, sliced
2 limes, sliced
1/2 liter of Sprite

Pour the wine into a large pitcher.

Add the tequila.

Drop in to the orange and lime slices.

Chill in the fridge for 3 hours or overnight if you have the time.

Before serving, add the Spite.

If you want it “bloodier,” you can add some grenadine and some fake spider.

I hope you all have a happy and safe Halloween! Keep an eye on your keiki (Hawaiian for kid) and please don’t drink and drive. Also, please keep your pets indoors if possible. There are sick people who torment cats for fun or witchcraft.

I was one happy bunny. 

Orange Pineapple Smoothie

I got free bananas from a fruit stand in Kona yesterday for Earth Day, so I made another great smoothie for breakfast this morning. I wanted something light since tonight I am making one of the most delicious things in the world, pierogi! Orange and pineapple blend together nicely so it has a clean, fruity taste. I used coconut water instead of soy milk. Coconut water is packed with vitamins, especially potassium. All my fruits are fresh since I live in Hawaii, but frozen is still better than no fruits at all. But always get fresh if you can, the cooking/flash freezing process strips it of some nutrients.

Orange Pineapple Smoothie
1 cup fresh pineapple
1 orange, pealed and membrane removed
1 medium banana
1 cup coconut water
Handful of ice cubes

Put everything into a blender and blend until combined and smooth.

Smooth Breaskfast

Great for a snack, meal or even as dessert, smoothies are amazing. You can get a day’s worth of fruit and veggies in a glass. I like them for breakfast. A quick, cold and creamy treat while I run out the door for class. You pretty much cannot make a bad smoothie as long as you use fresh ingredients that mesh well together. You can even add in greens like spinach or kale. The sweet fruits mask their favor so you hardly taste them. Here is one of my favorites:

Strawberry Pineapple Smoothie
1 cup vanilla soy milk
1 cup frozen straw berries
1/2 crushed pineapple
1 small banana
1/2 tbs flax seed
Handful of ice

Put everything in a blender and blend until smooth. The flax seeds get ground up so don’t worry They add extra fiber and omega-3 fatty acid (something that is vital for our bodies but most Americans lack in their diet).