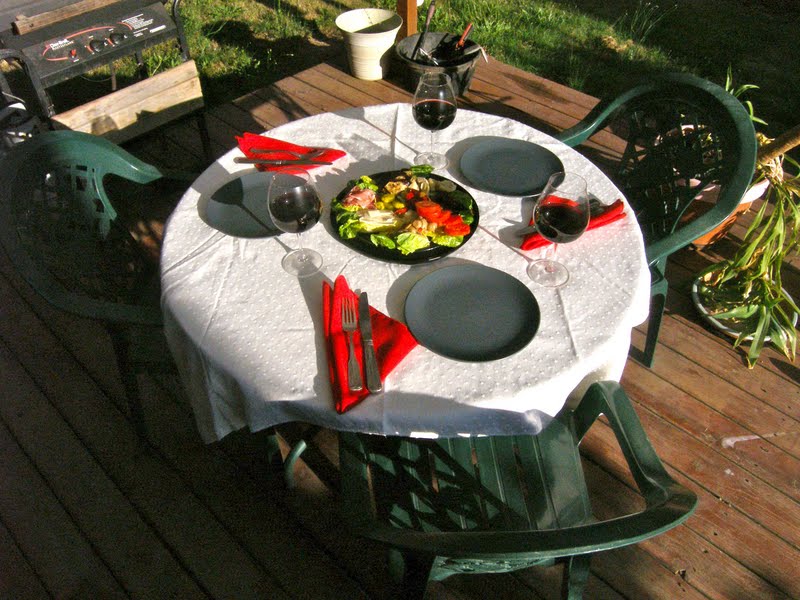
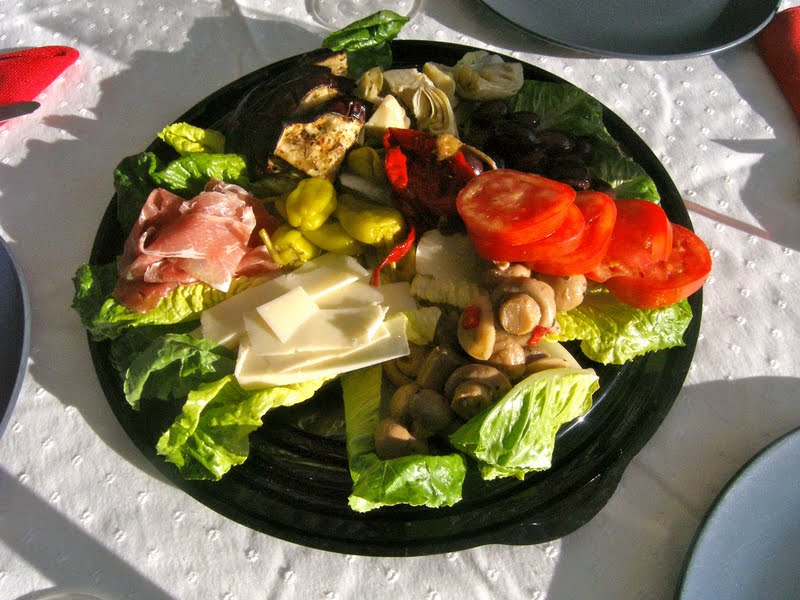
Sorry it took a couple days to post part two of my parents’ anniversary dinner, I got distracted spending time with my family. The dinner was delicious and my parents were very happy. My brother had to work, so it sadly was not a family dinner. I made an antipasto platter with some marinated veggies, and provolone and prosciutto. I didn’t eat the meat and cheese, that was for my parents. Like I’ve said before, if you are crazy oversensitive about veganism, no one will like you. If you don’t ever let others have meat or dairy near you, they just won’t have you around. I like eating meals with my family and friends, so I just let it go. Just because they are eating meat and cheese, doesn’t mean you have to.

Anyways, I also made them a pizza margarita with real fresh mozzarella and fresh basil from my mom’s garden. For myself, I made two mini pizzas. One was a based on a recipe I saw in Cooking Light for a Summer Veggie Pizza with fresh grilled veggies. The second was a fake BBQ chicken pizza. There was small oven-transferring accident for the summer pizza so I do not have a final picture of pie, but I promise it was good.
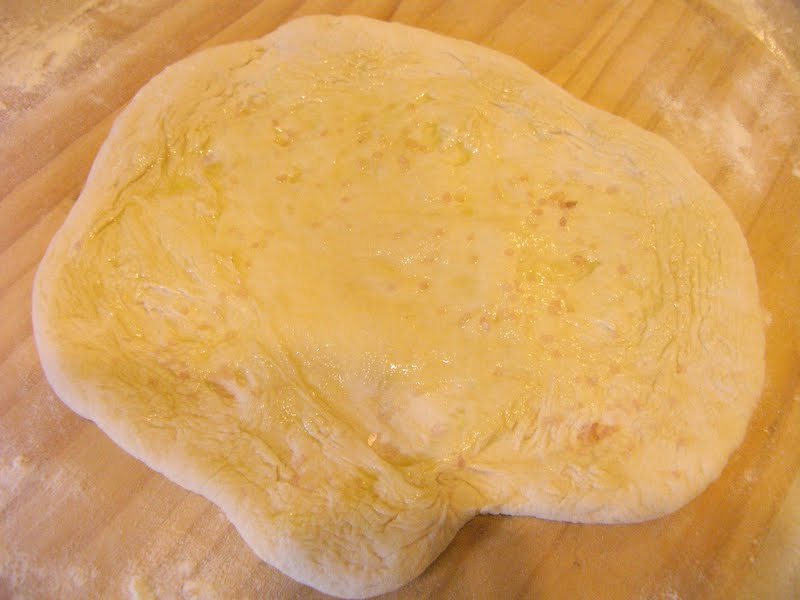
I must confess, I did not make the pizza dough. I had so much stuff to make, the last thing I wanted to do was watch yeast proof. I also did not pre-bake the dough this time because my mom has a pizza stone so the oven gets hot enough to make a crunchy crust the first time.

Pizza Margarita (Non-Vegan)
1 ball of pizza dough
1 cup tomato sauce (I made my own, I’ll post the recipe sometime)
2 medium balls of fresh mozzarella
2 medium roma tomatoes
Handful of fresh basil
Pre-heat the oven as high it will go. If you have a pizza stone, pop it in too.
Roll the pizza dough out into desired shape and thickness.
Spread on the tomato sauce.
Cut the mozzarella balls and the tomatoes into semi-thin slices.

Place on the mozzarella slices, then top with the tomatoes.
Next lay on the basil leafs. I left them whole but you can chop them up too.
Bake for 10-15 minutes, until the crust is golden and the cheese is bubbly.
My parents said the pizza was delicious. They almost forgot to save my brother a few pieces!
Summer Pizza
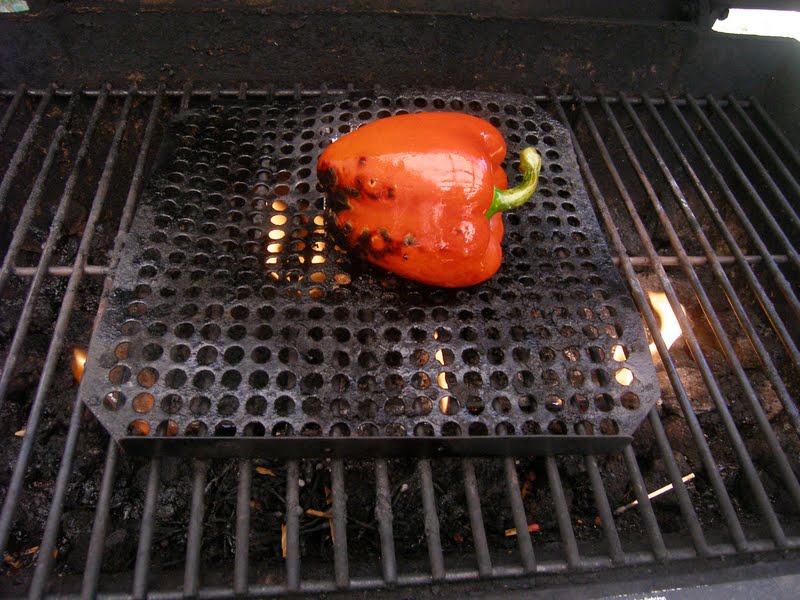
1 red pepper
8 asparagus stalks
1/4 of a small red onion
1 ear of corn
1 ball of pizza dough
1 tbs olive oil
1 clove garlic, chopped
Salt
1/2 cup vegan mozzarella (I used Daiya)
Fresh basil

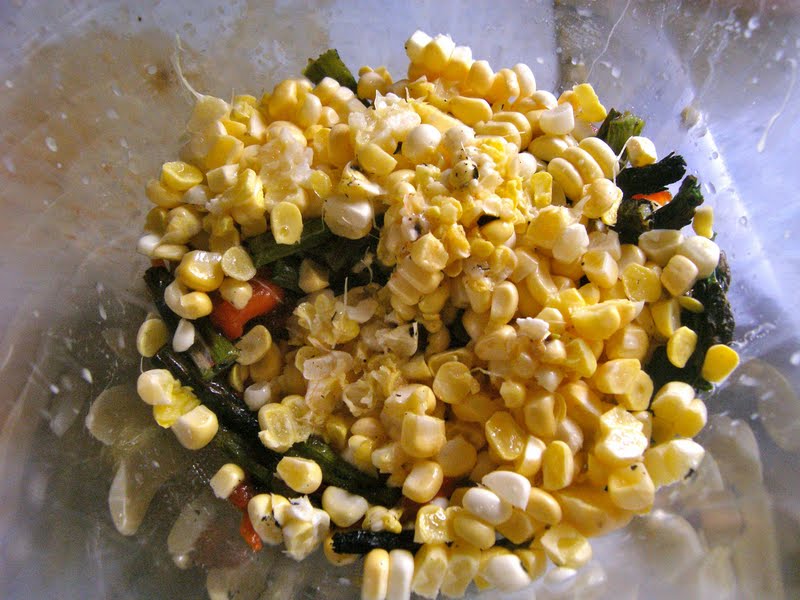
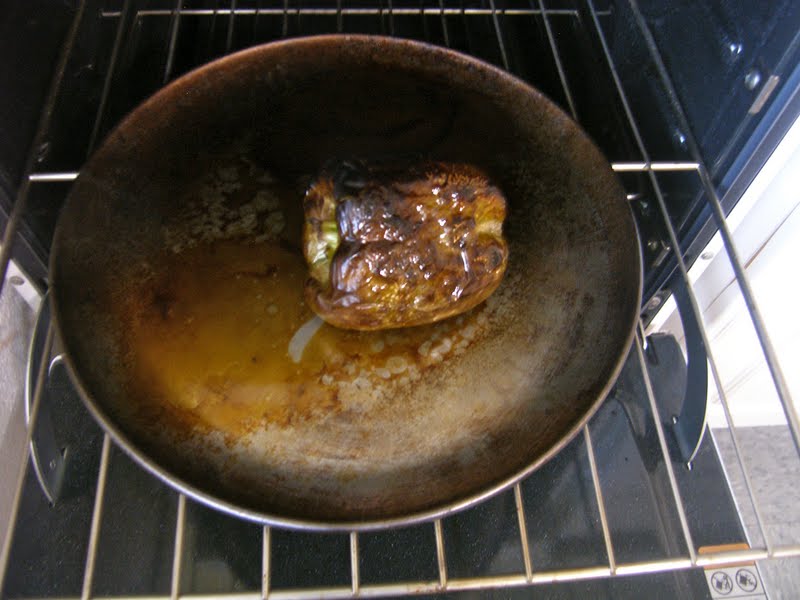
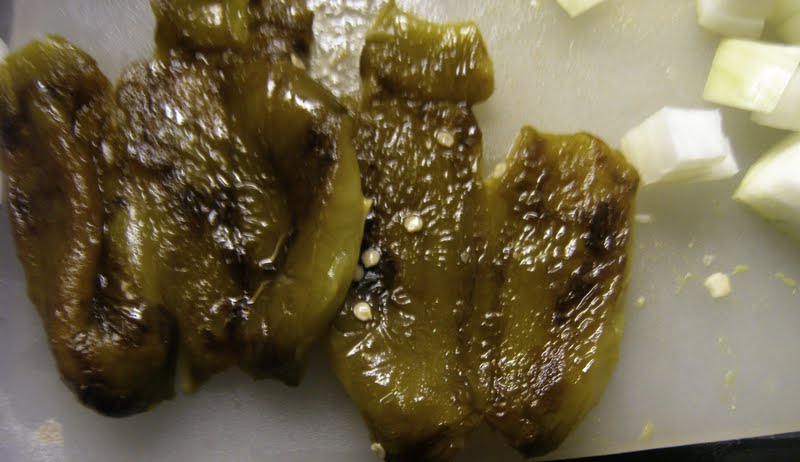
Roast the red pepper, either on the grill or under the broiler, until the skin blackens. Once it is cooled, peel off the brunt skin. Then remove the stem and seeds, then chop into strips. Add to a small bowl.
Roast the asparagus, once again either grill or broiler, just until tender. Chop into 1/2 inch pieces. Add to the bowl.

Remove the corn from the bowl. I suggest doing this in the bowl so the kernels do not fly everywhere.
Cut the onion into slices. Add to the bowl and mix together.
Pre-heat oven as high it will go. If you have a pizza stone, throw it in too.
Roll the dough out into desired shape and thickness.
Spread the olive oil and garlic on the dough, season with some salt.
Top with the veggie mixture.
Sprinkle on the cheese and top with the fresh basil.
Bake for 10-15 minutes, until the crust is golden and crunchy. Because it is non-dairy cheese, it will not get bubbly so do not leave it in too long.
Like I said, this pizza had a small accident but what remained was so good. I am so making this pizza again.
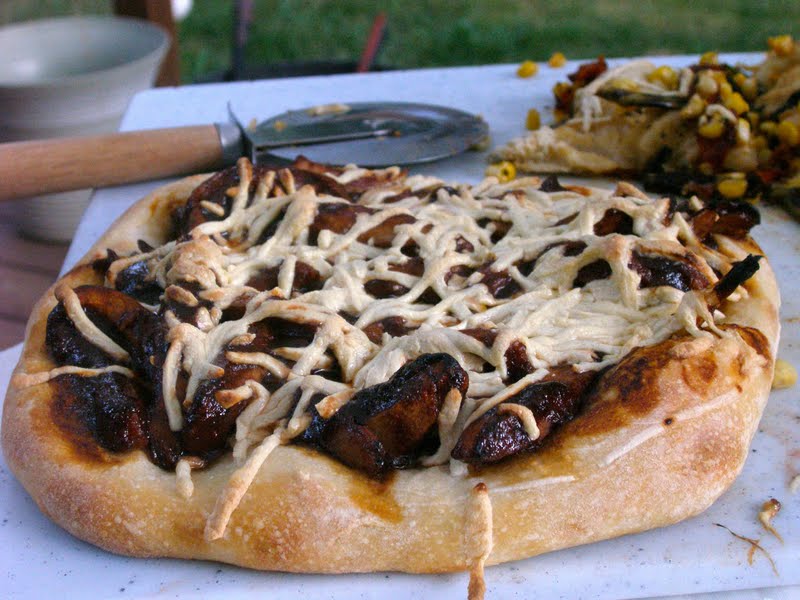
 BBQ “Chicken” Pizza
1 ball of pizza dough (I use half since it was a mini pizza)
1 cup vegan chicken strips (I used MorningStar Farms)
1/4 white onion, sliced
1/2-3/4 cup BBQ sauce (depending on taste, I like mine saucy but my mom said it was bit much)
1/2 cup vegan mozzarella (I used Daiya)
Pre-heat oven as high as it can go. Once again, if you have pizza stone, throw it in.
In a large bowl, mix together the onion slices, chicken strips, and BBQ sauce together well.
Roll the dough out to desired shape and thickness.
Spread the BBQ mixture onto the dough and top with the cheese.
Bake for 10-15 minutes, until the crust is golden. Once again, the cheese is not dairy so it will not get bubbly.
I had been craving a BBQ pizza and this was exactly what I wanted. So simple but so good.
Love you mom and dad! May you have many many more anniversaries to come!