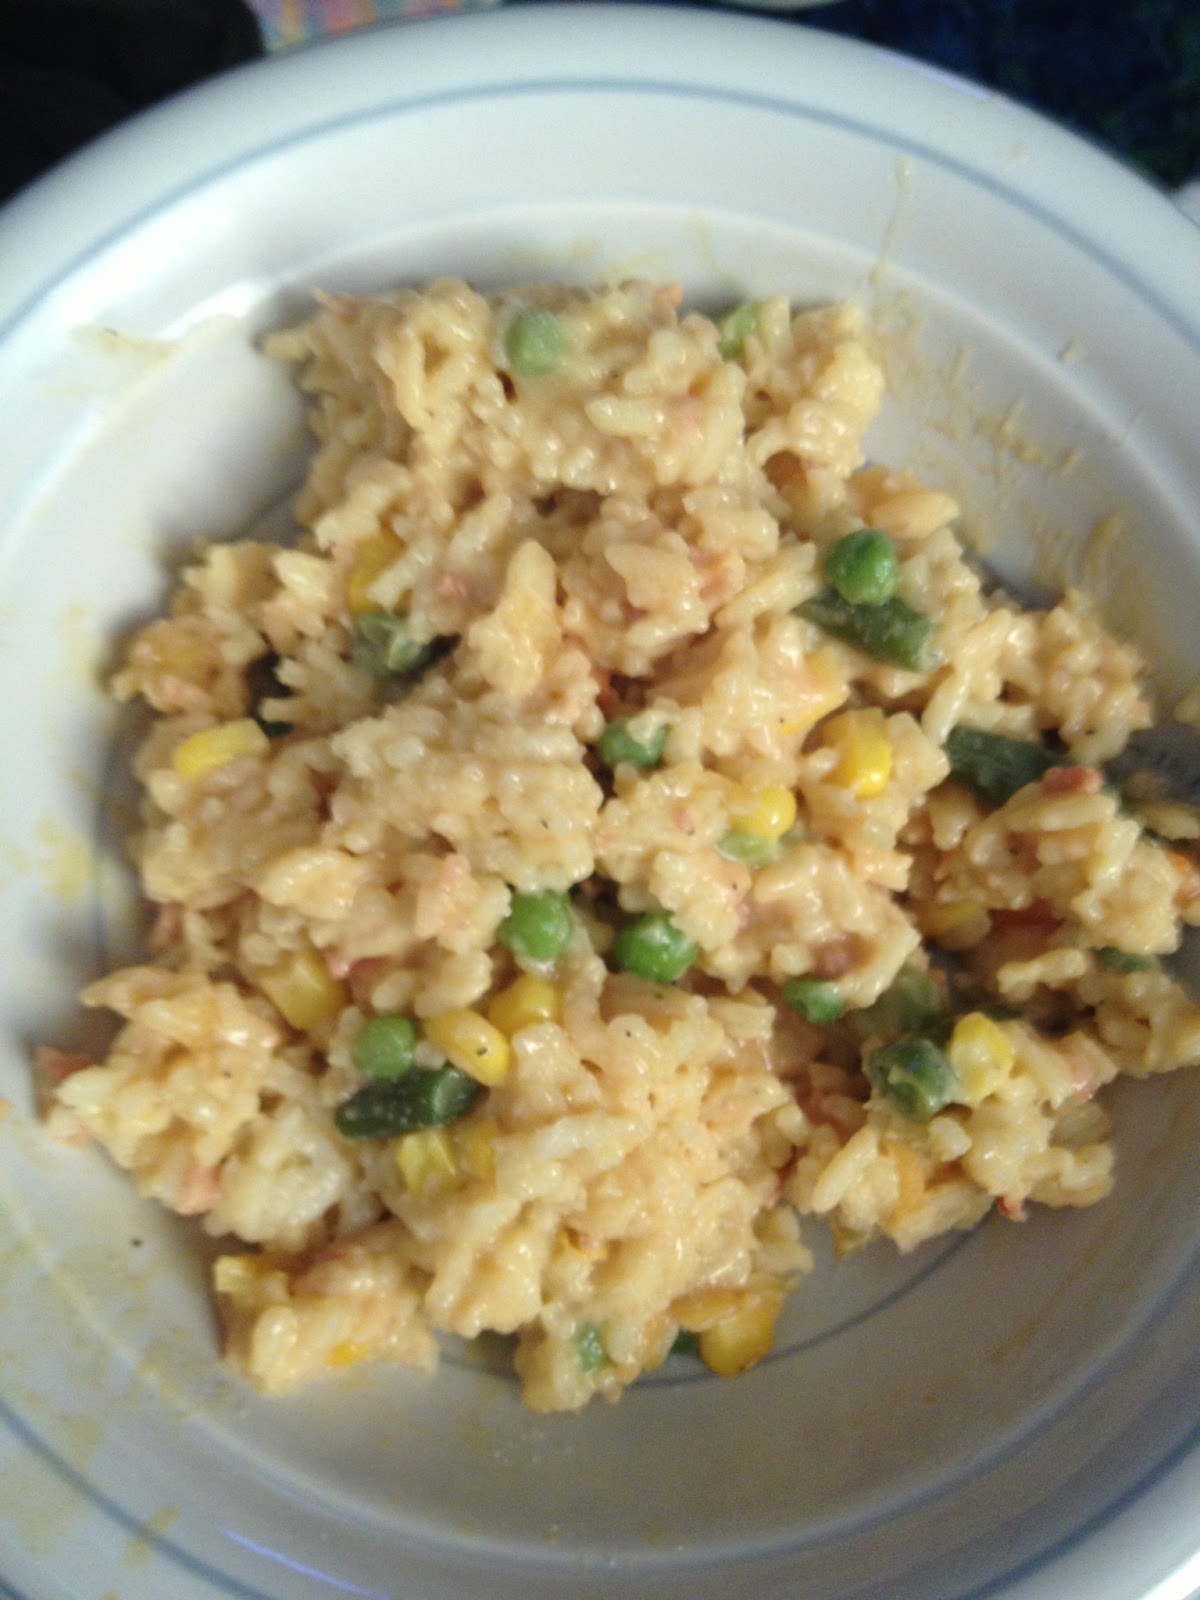
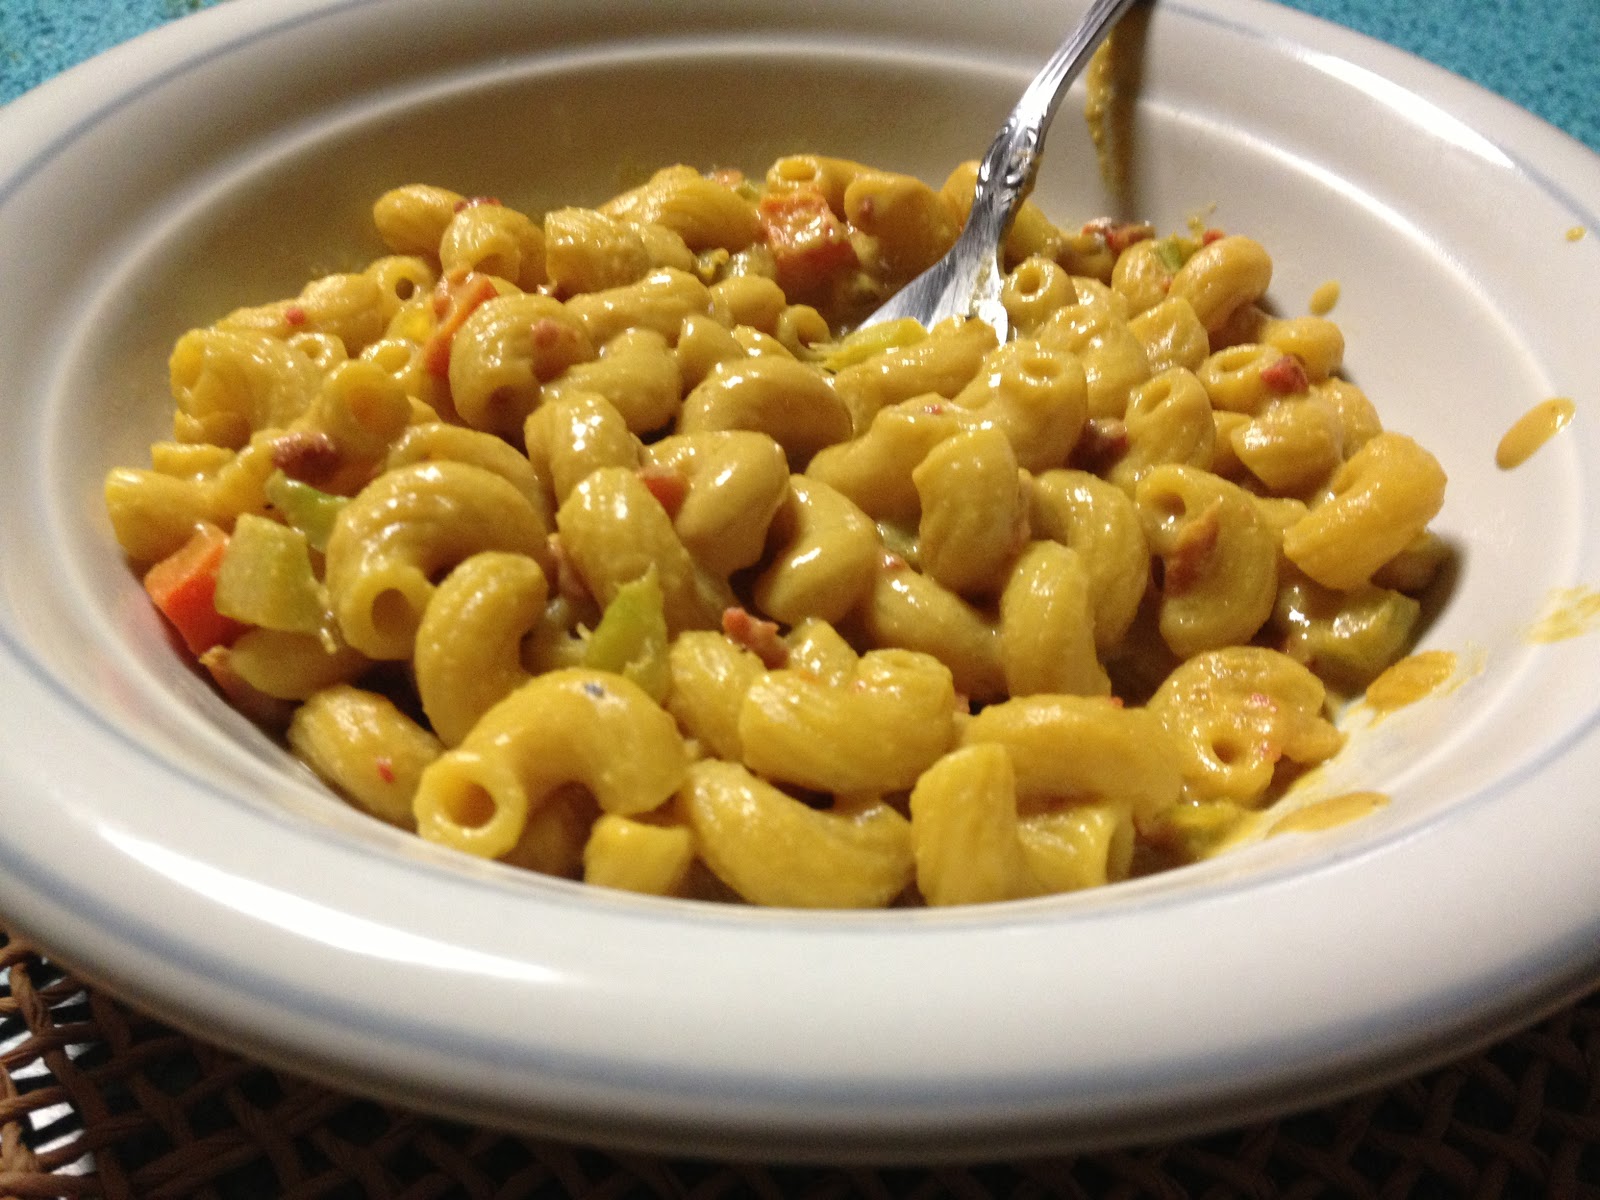
I don’t really have a cute story to go with this recipe. I had orzo pasta, broccoli, and parsnips. I thought a creamy pasta dish with some crisp vegetables would be nice for lunch. Yeah…that’s about it.
 |
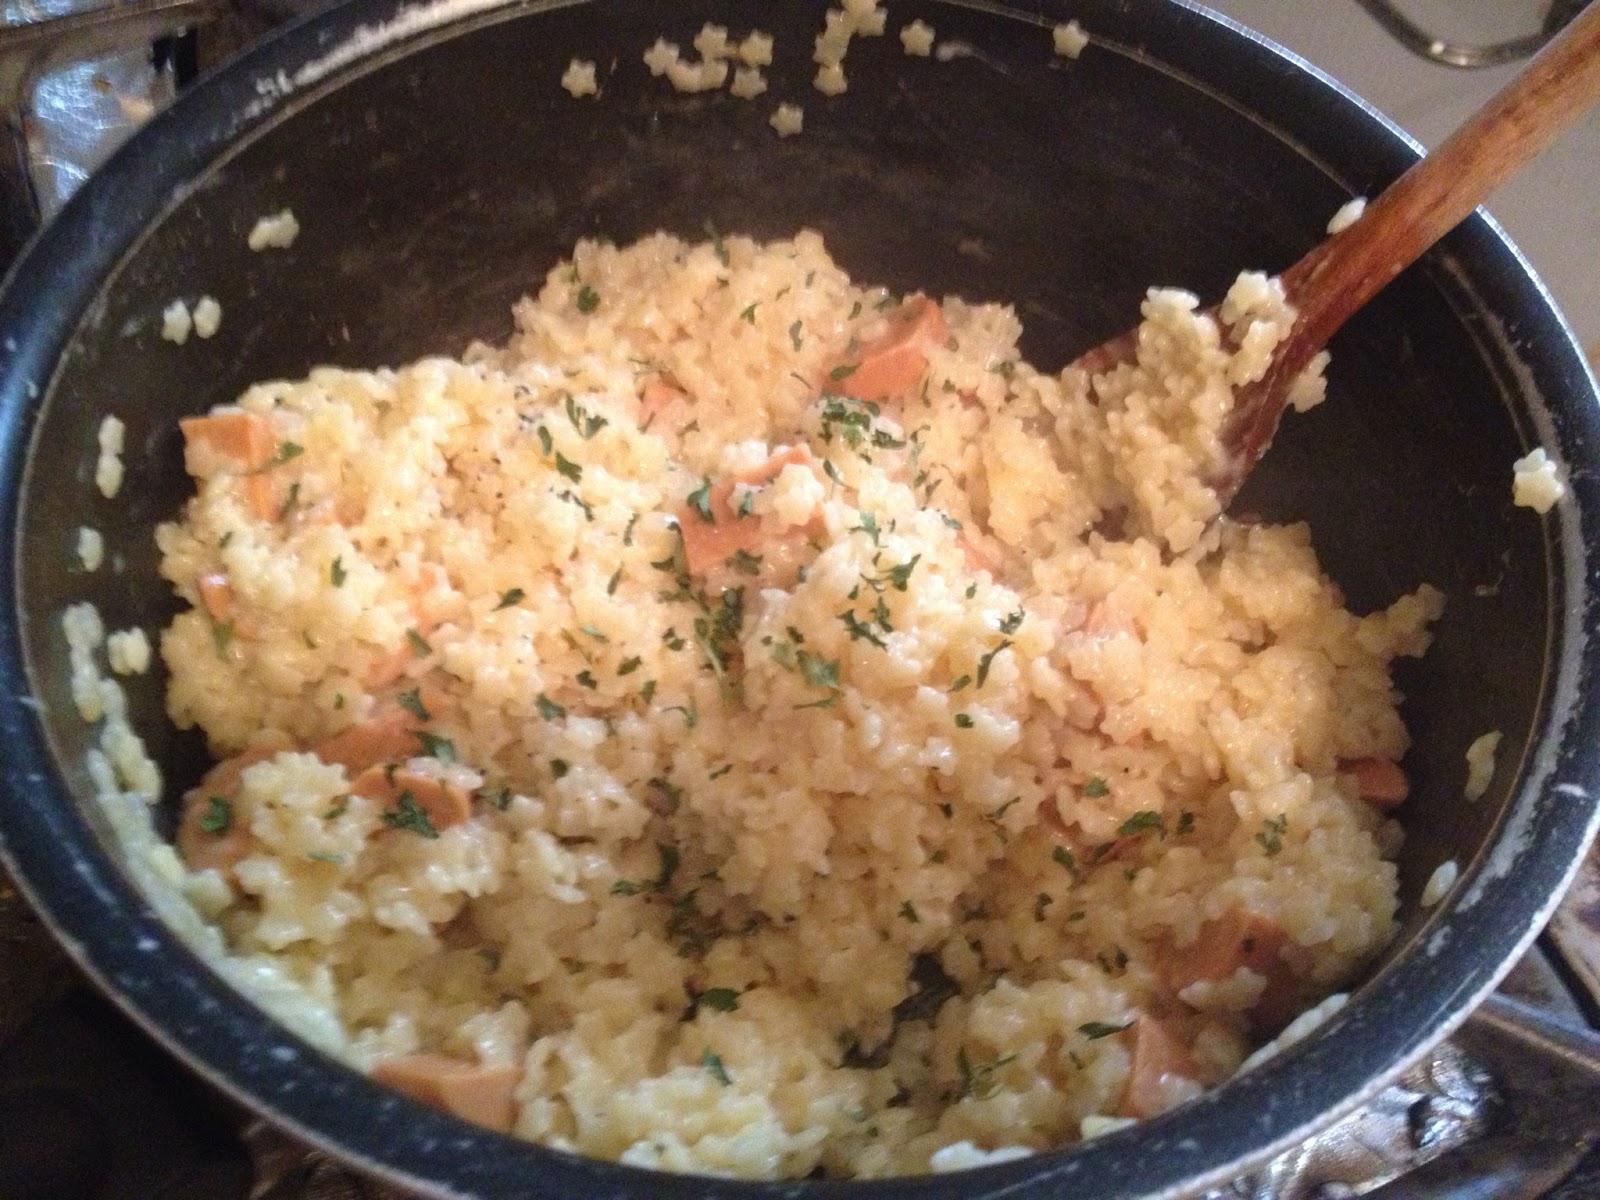
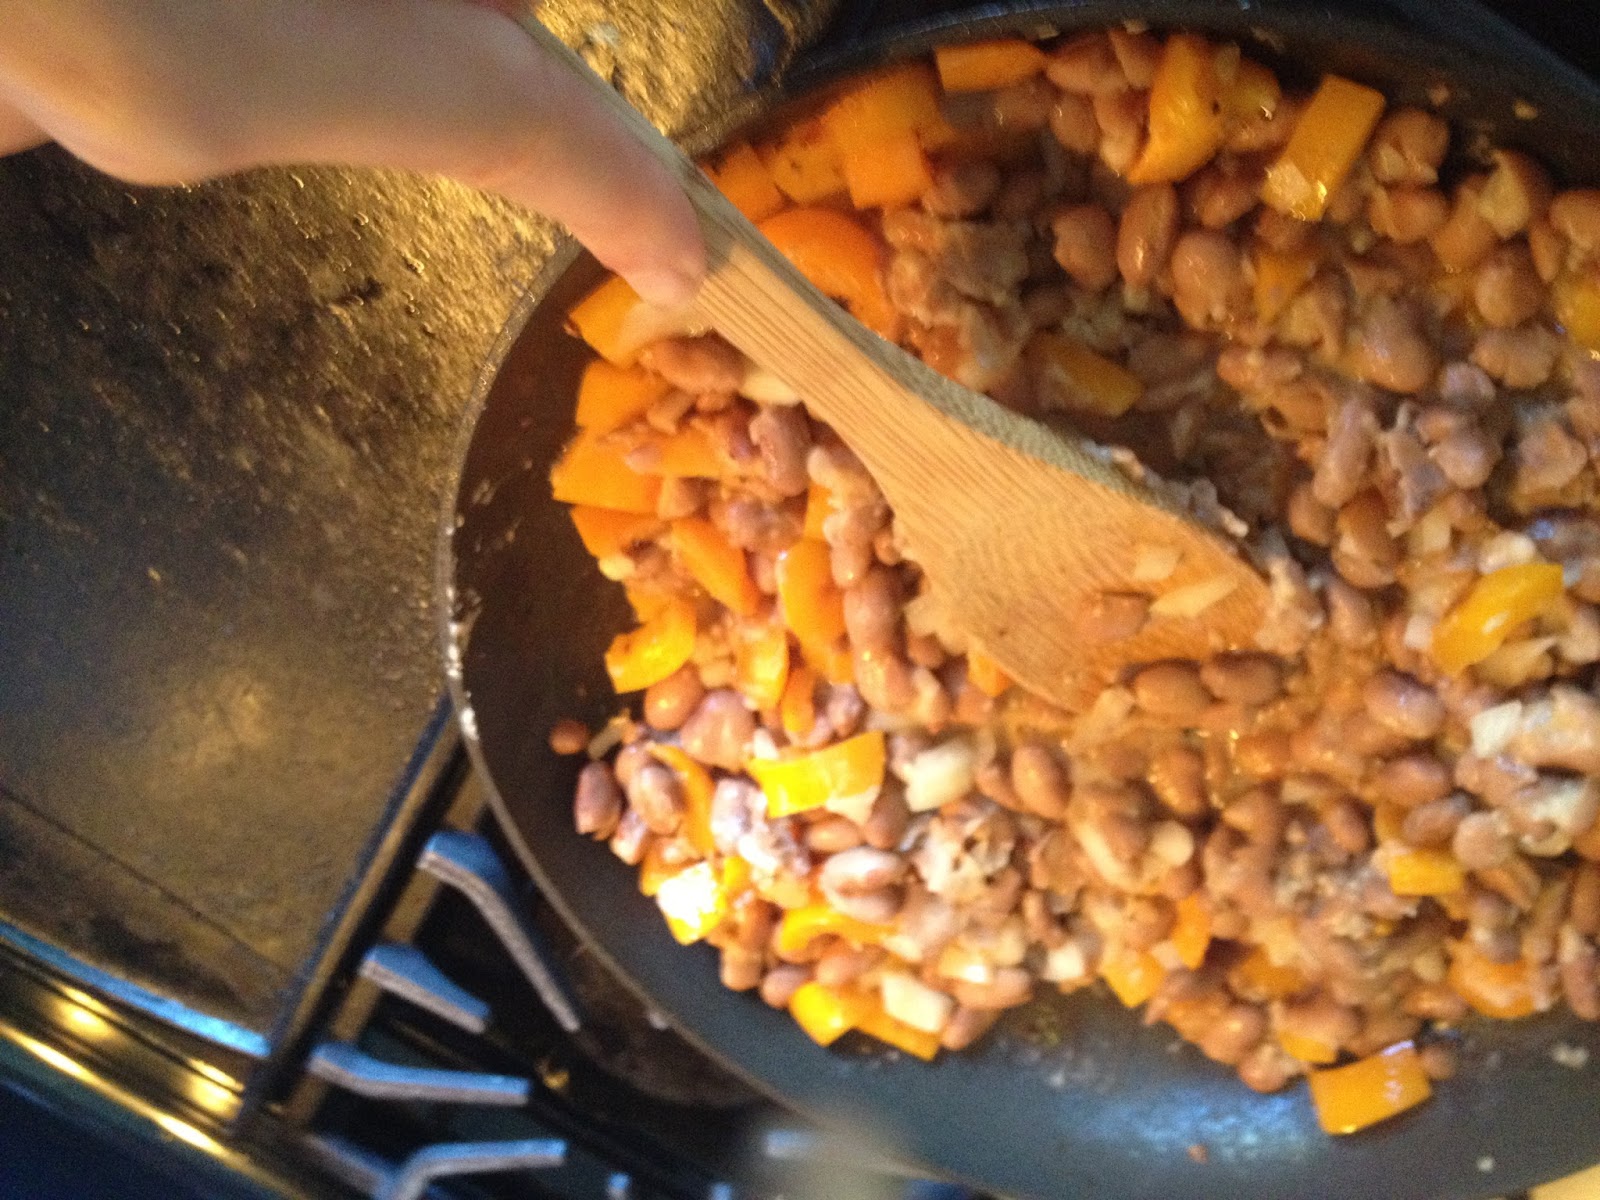
| One ladle at a time… |
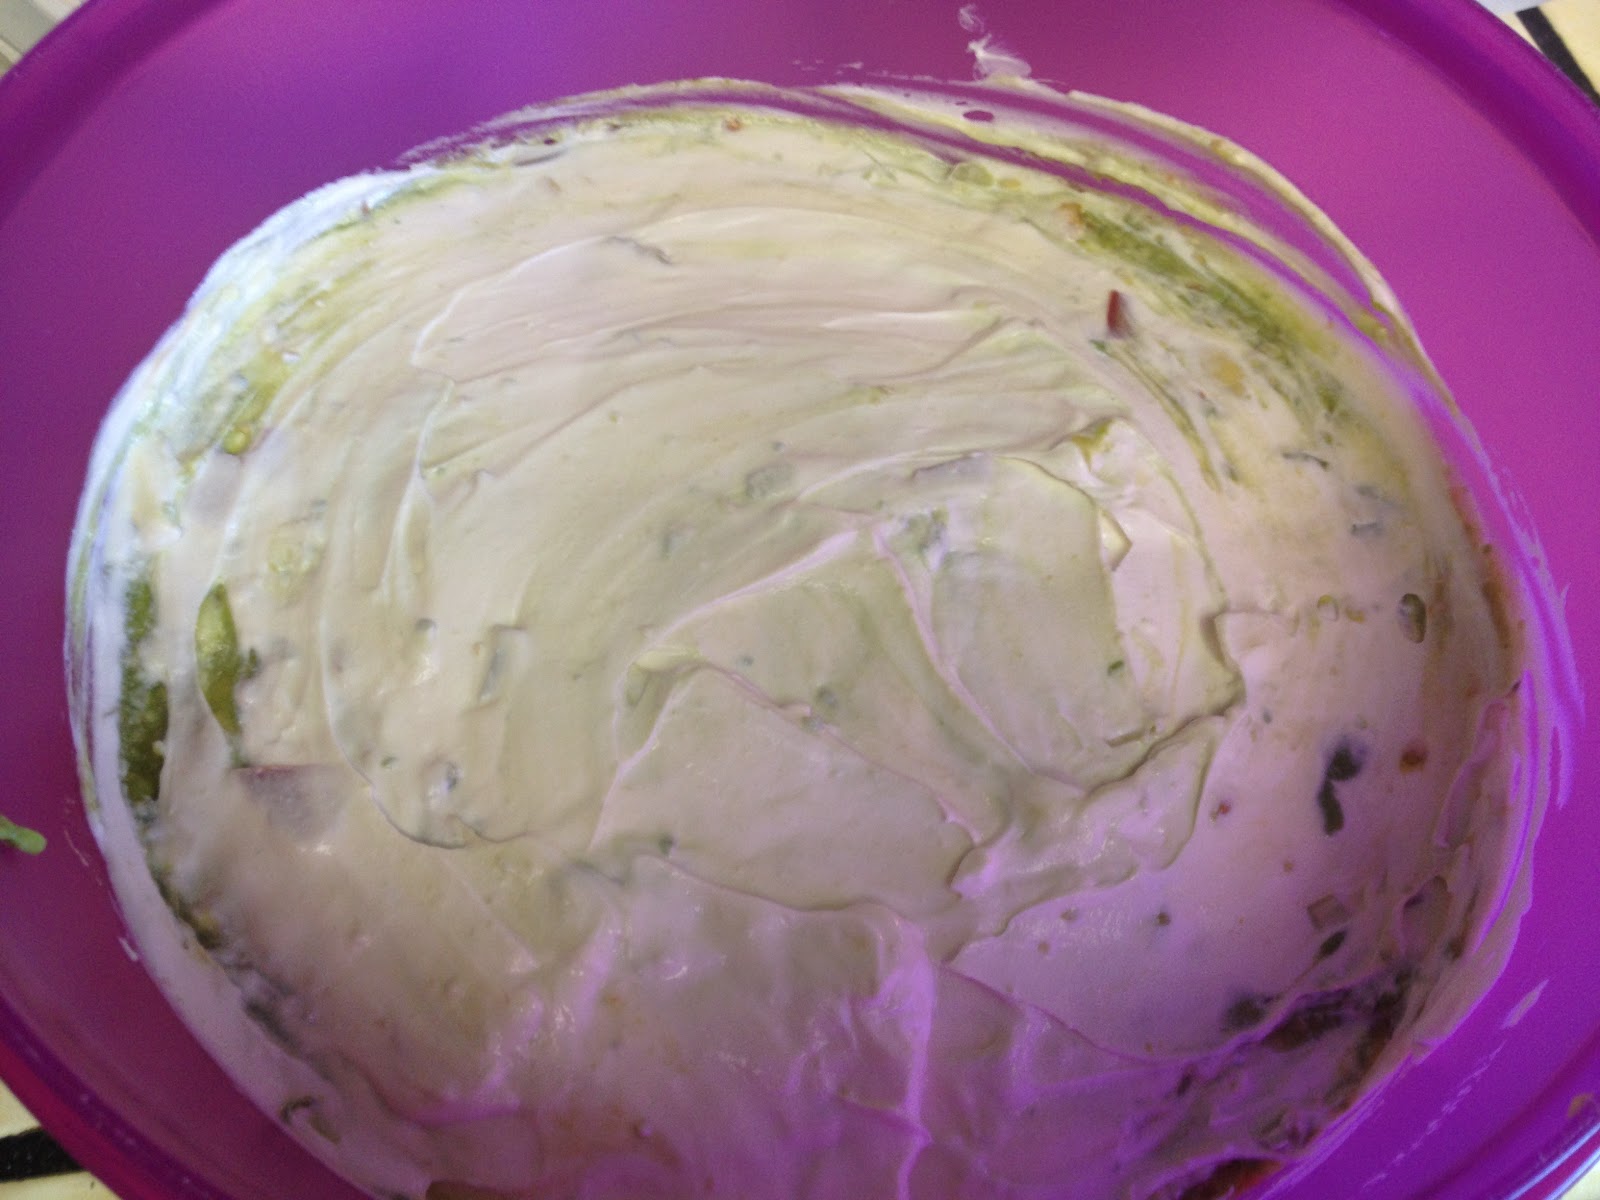
I love risotto, but hate that it’s usually loaded with a ton of cheese, cream, and butter. Too rich and heavy. I like creamy without all that junk. My recipe only has a bit of vegan cheese and some olive oil–just it’s still rich and creamy. Also, I don’t love that it takes an hour to make well. And you can’t rush it, just be patience.
 |
| “This is taking forever, I’m hungry!” |
Jack didn’t like that either, he had to go up in a back carry to keep him happy. However, he was more than happy to eat it!
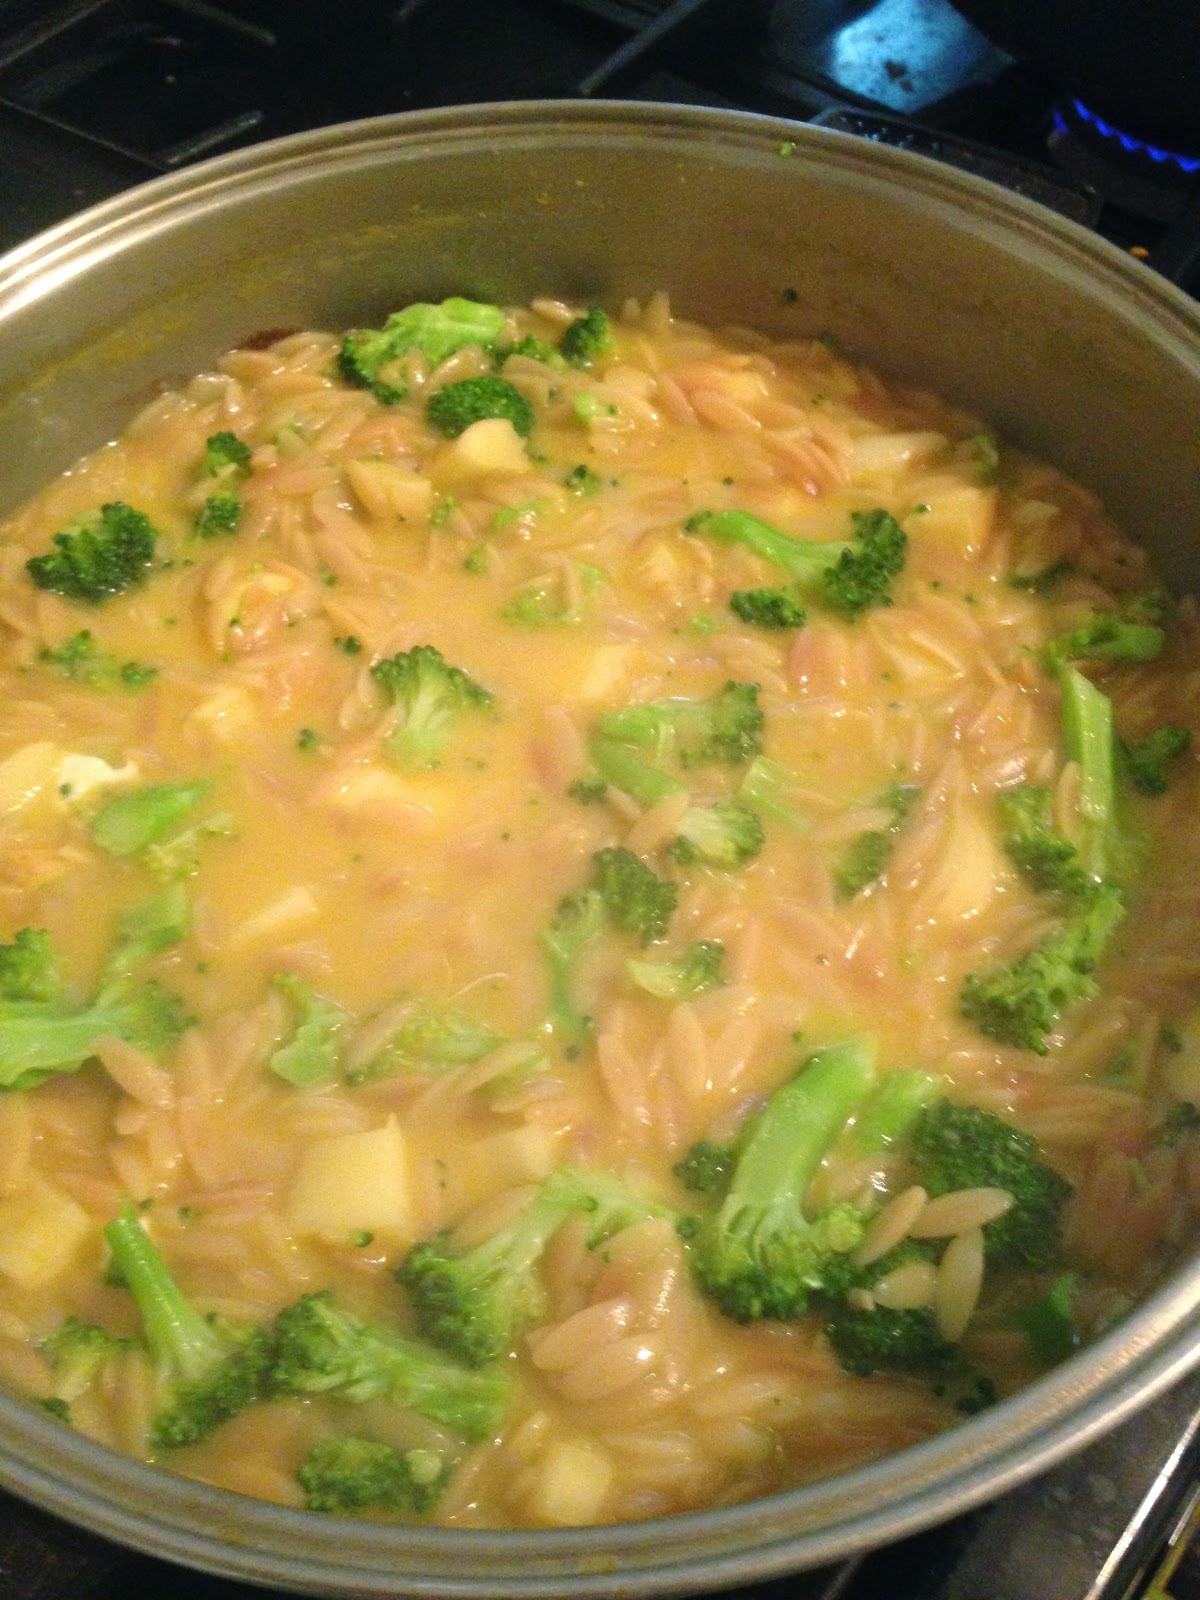
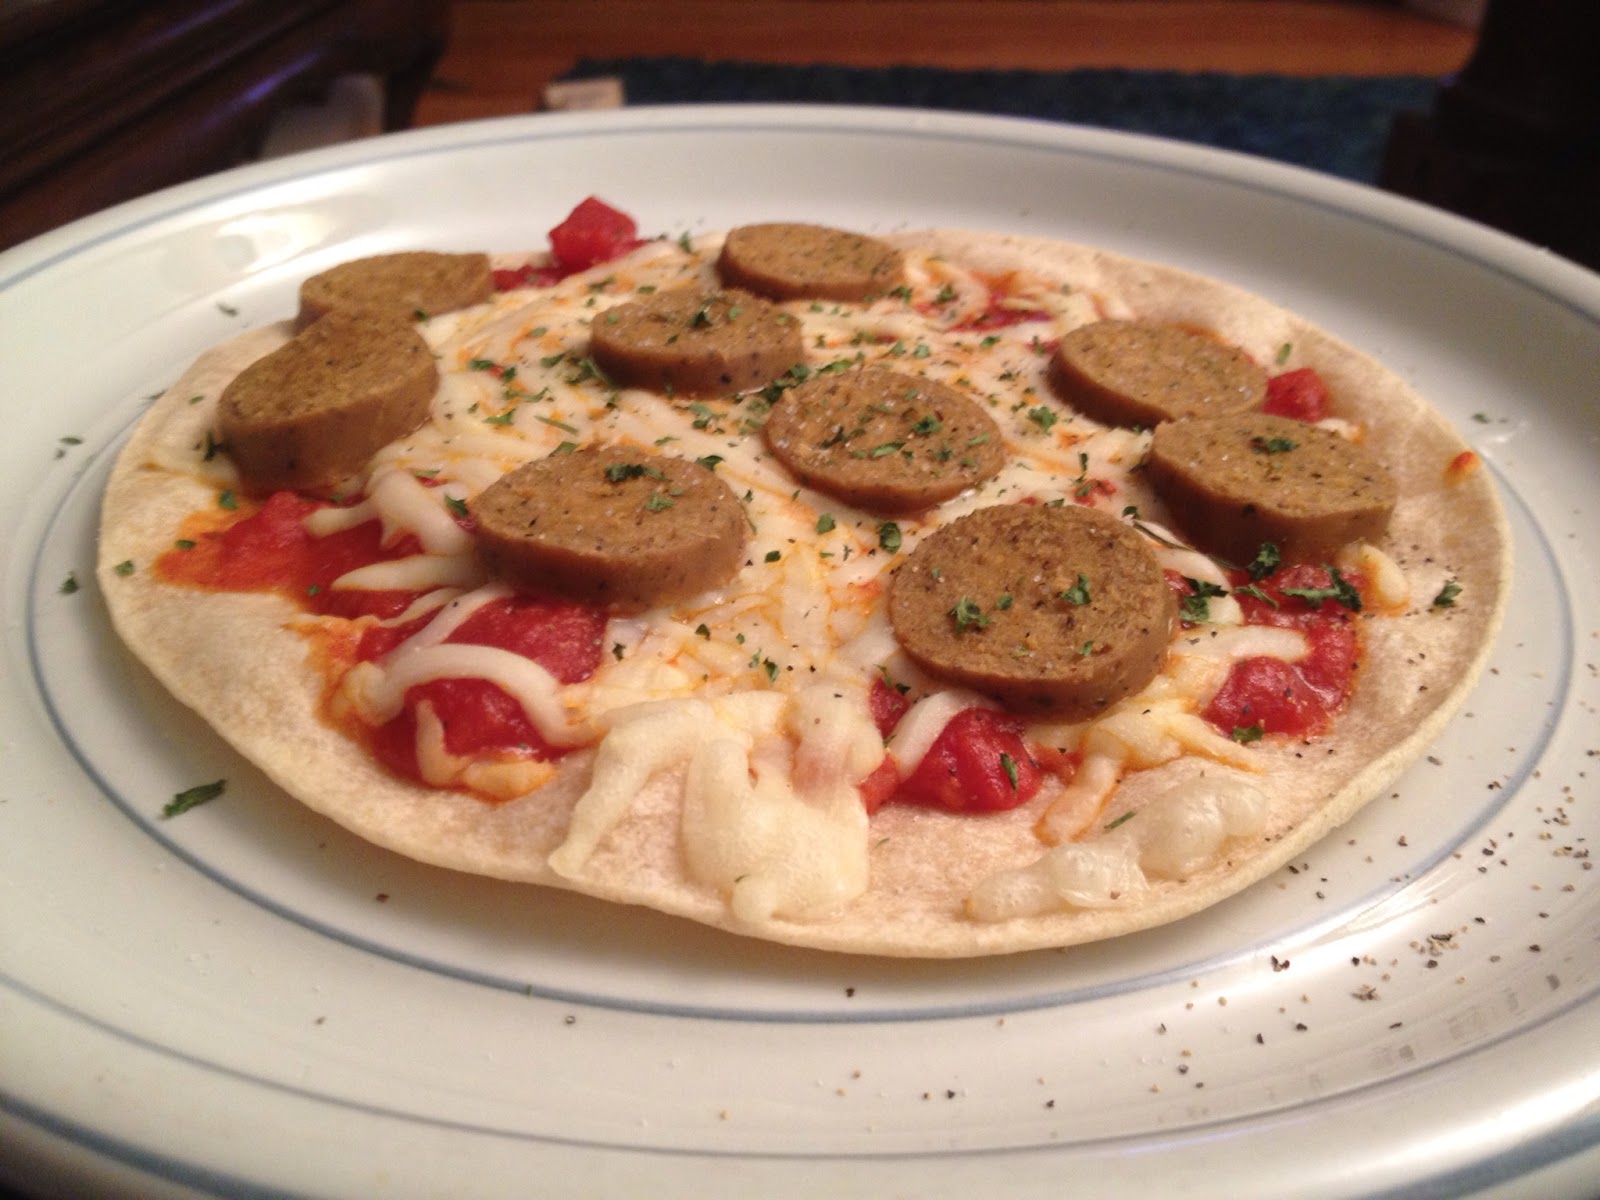
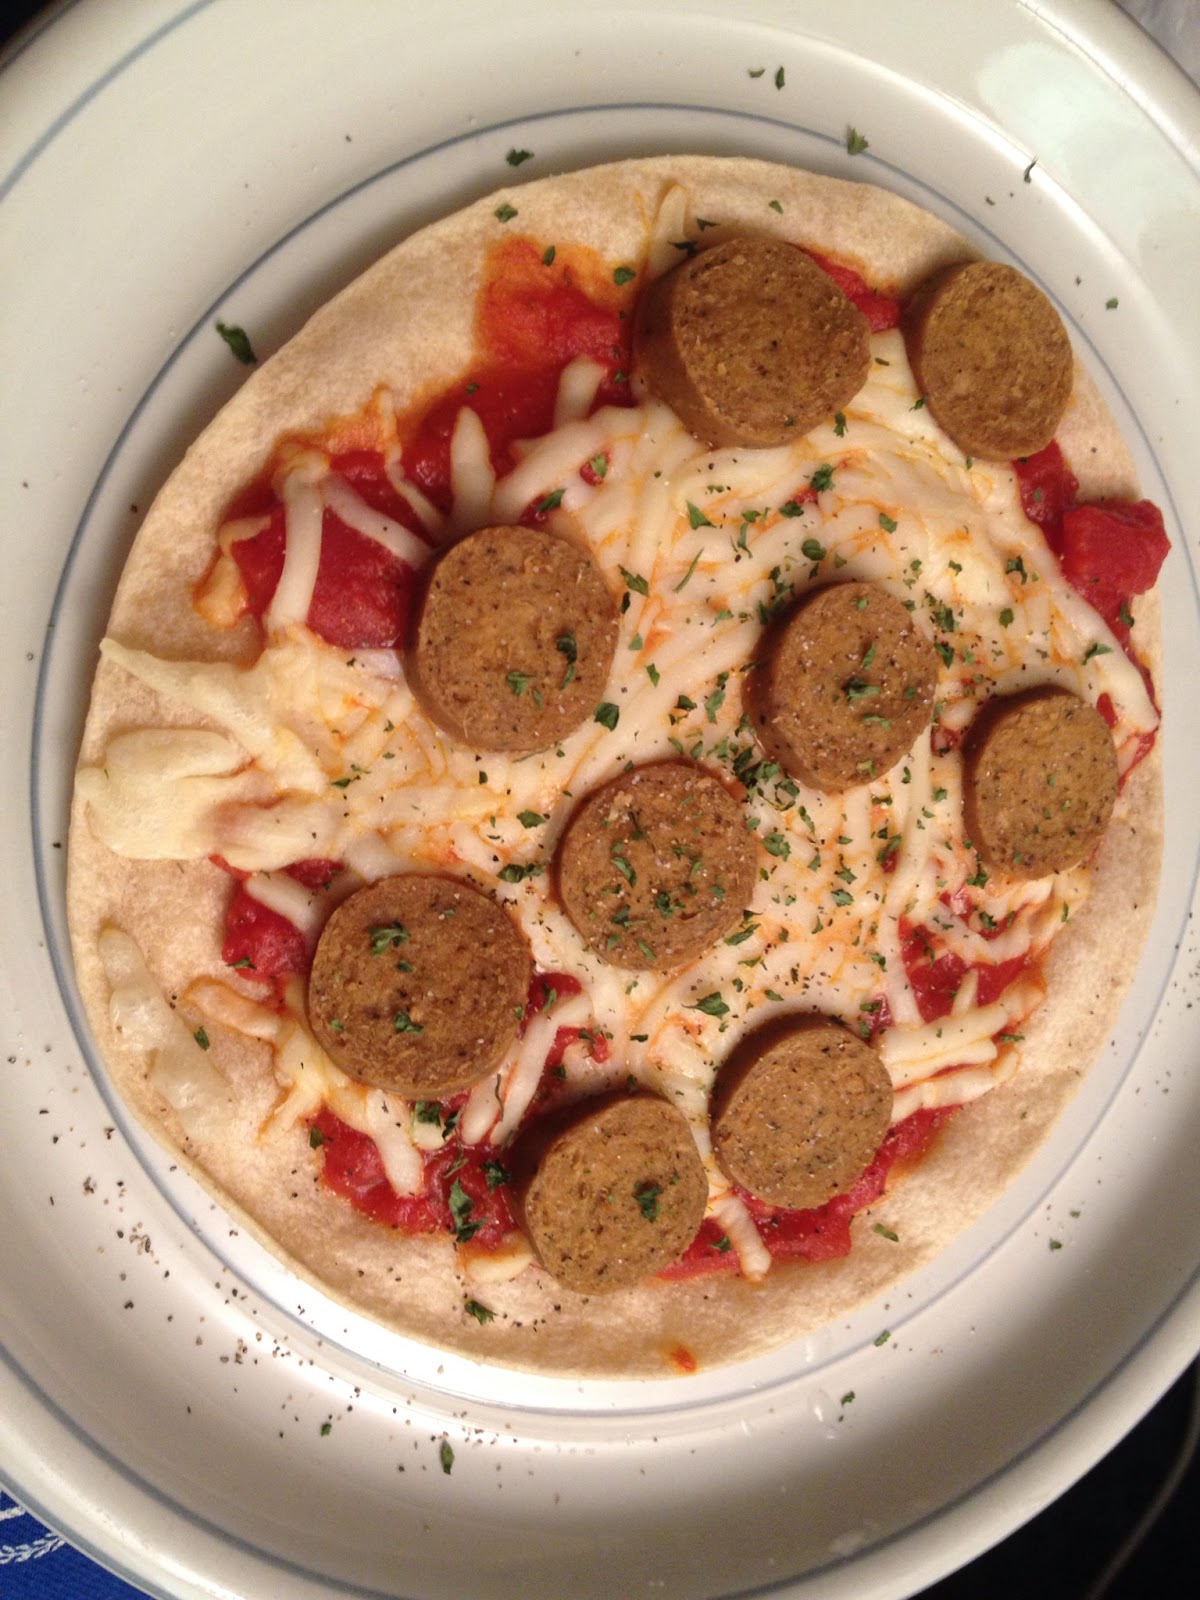
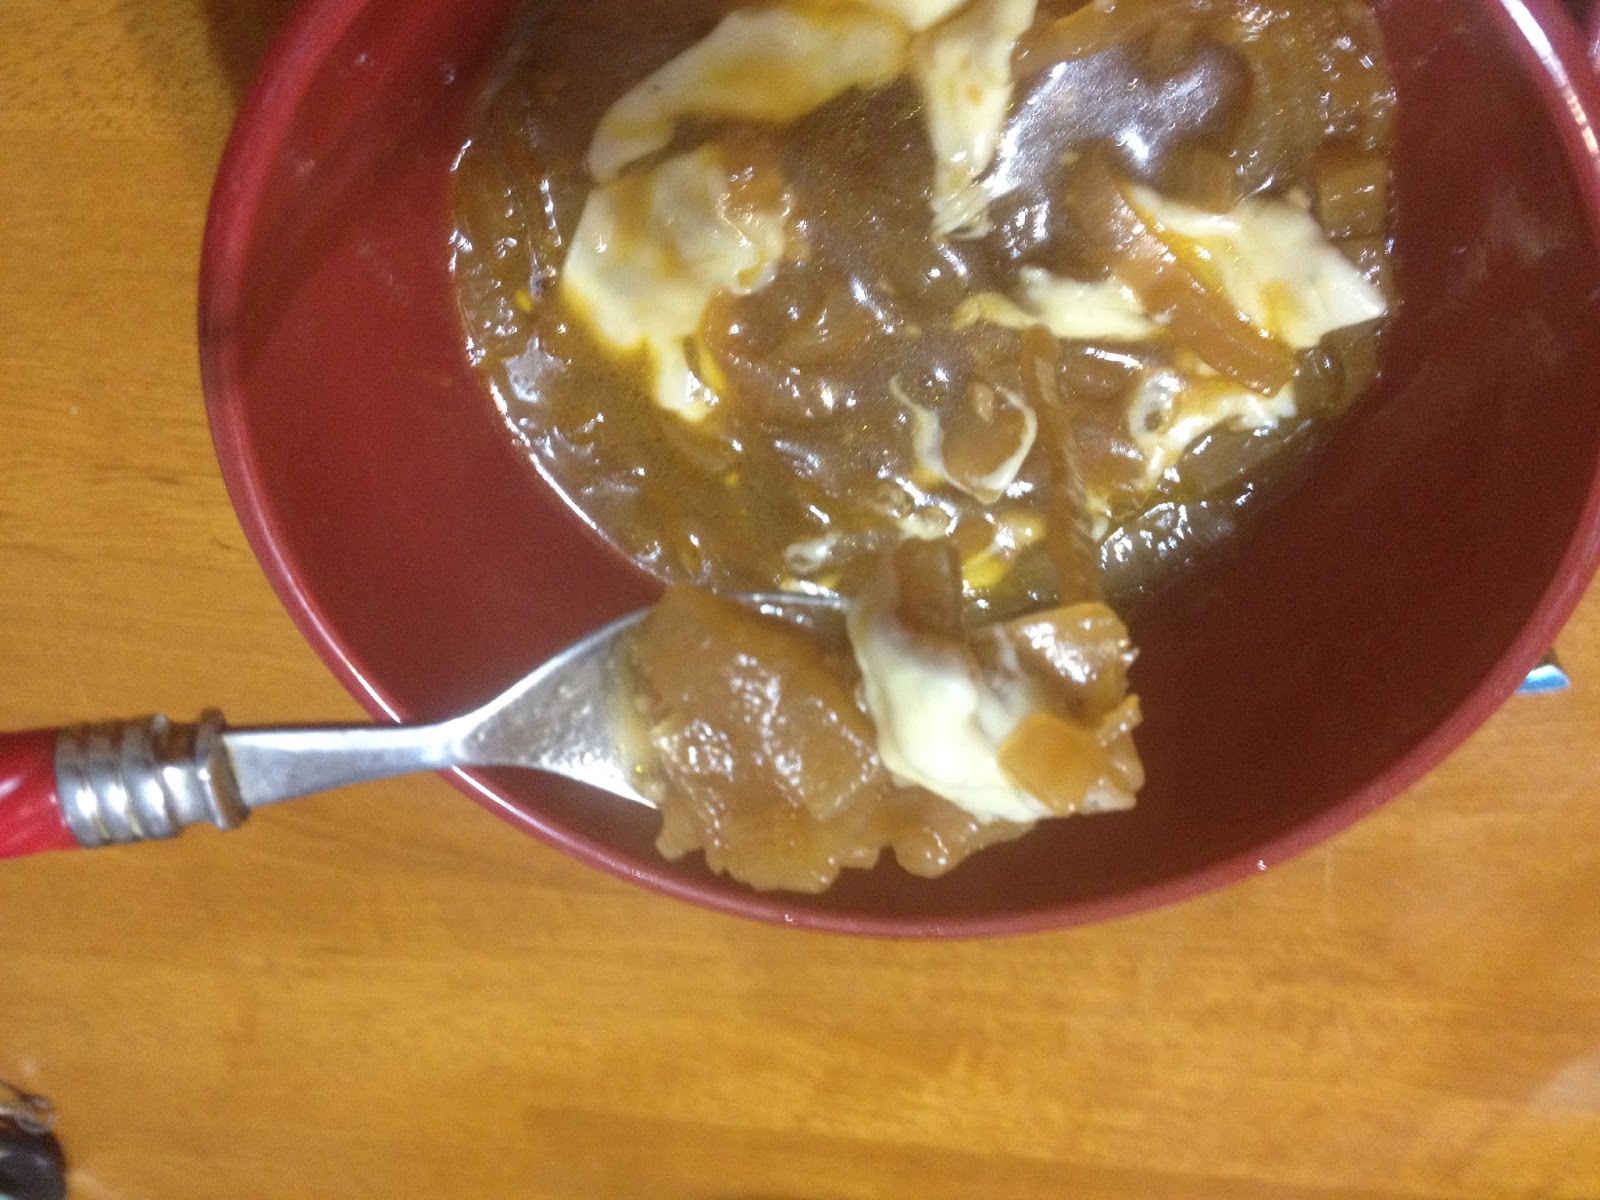
Broccoli and Parsnip Risotto
6 cups vegetable broth (or you can do like I did, 5 cups water with 1 cup of pureed vegetable baby food)
2 tbs olive oil, divided
1/2 large onion, chopped
2 cloves of garlic, minced
2 large parsnips, chopped
1 head of broccoli, chopped
1 cup orzo
1/4 cup nutritional yeast
1/2 cup vegan mozzarella cheese
Salt and pepper, to taste
In a large pot, bring the vegetable to a simmer over medium-low heat.
In a skillet over medium-high heat, heat one tablespoon of olive oil. Add the chopped onion and cook until translucent.
Add the parsnips and cook until tender.
Add the garlic and broccoli, took until the broccoli is tender.
Heat the remaining olive oil in a another large skillet over medium heat.
Add the orzo and brown the pasta lightly. Stir continuously to prevent burning. It’s okay if some pieces are darker than others.
Once orzo is all lightly browned, reduce heat to medium-low. Then add one ladle of hot broth to the pot, stir continuously until it is all absorbed.
Repeat adding one ladle of broth at a time and stirring until it is all absorbed until the pasta is tender and the broth no longer absorbs easily. This will take around an hour to complete. Don’t rush it by turning up the heat or adding more than one ladleful.
Before you add your last ladle or so, add the broccoli and parsnips to the skillet.
Once the pasta is tender, remove from the heat and stir in the nutritional yeast.
Top with the mozzarella and enjoy!

Creamy, filling, and loaded with veggies. Your patience has been rewarded!