

Buleria? What is it? Why is a knotless chest belt called a buleria? I had no idea. So I Googled it and found this:
I have if the finish was named after this song. I have no idea if this finish has Andalusian roots. That is all I could find so I thought I would share.
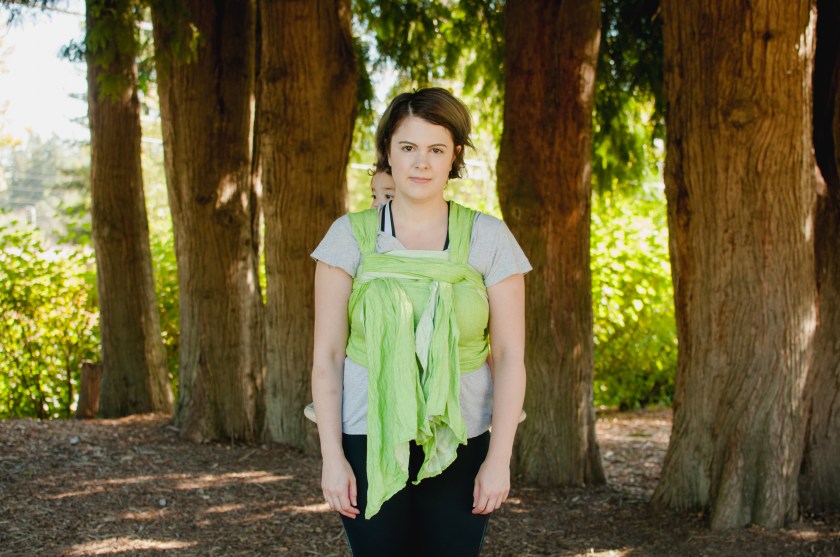
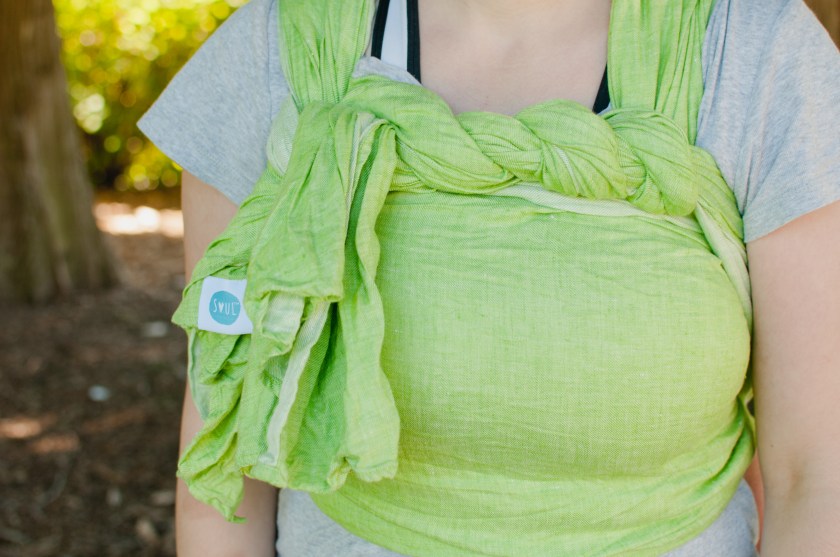
This is a variation on the Tied At Shoulder. And has a chest belt similar to a Candy Cane Chest Belt finish. However, this one is what is refer to as a knotless finish—meaning the tails are not tied off with a knot. Instead, the tails are looped/wrapped around in such a way that tension from the carry secures them in place. Knotless finishes have two advantages. First they don’t have a bulky knot. Second, most can be done with shorter wraps. I am using a Soul Slings Parkeet Linen Wrap. This is a base -0.5 for me.
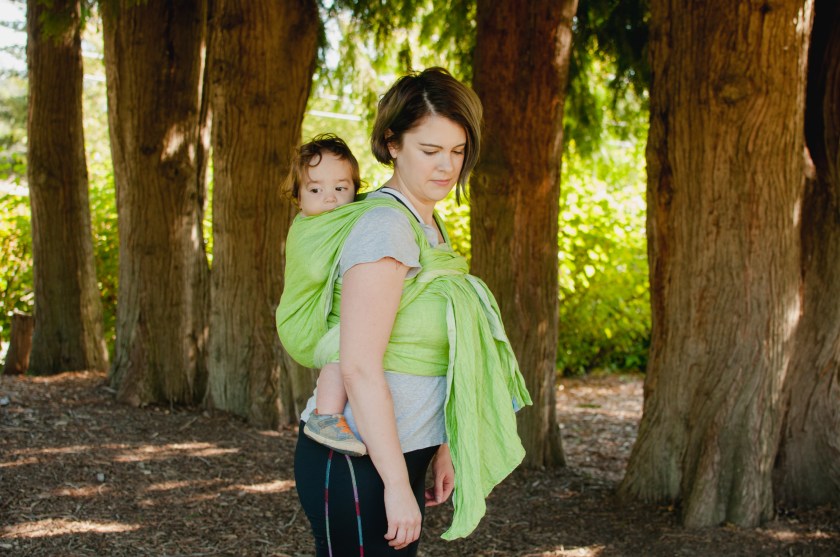
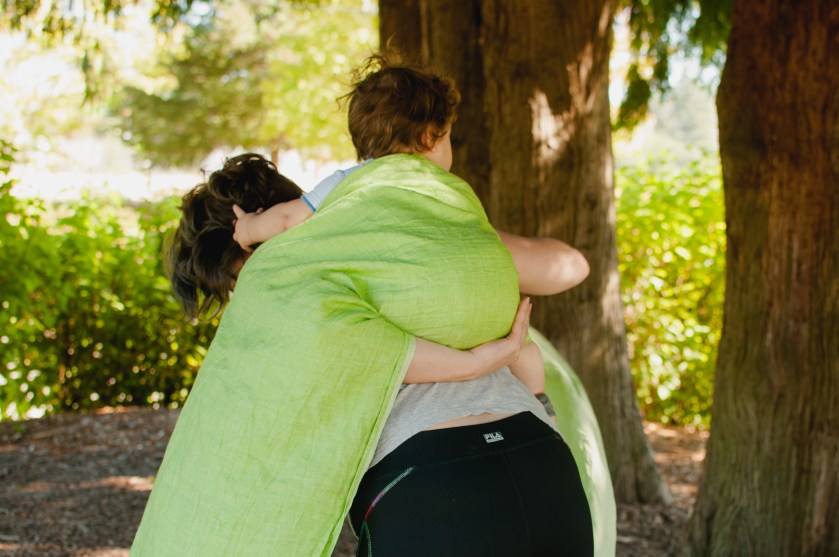
 The variation starts just like a Tied At Shoulder Slip Knot. Measure about twice your basic often distance, place that spot on baby’s back, get baby up, and make a seat. Bring the longer tail under your arm and around your chest for a chest pass. Then spread the fabric over’s baby back for sling pass. Bring that that same tail around under your arm for a bunched horizontal pass over both of baby’s legs.
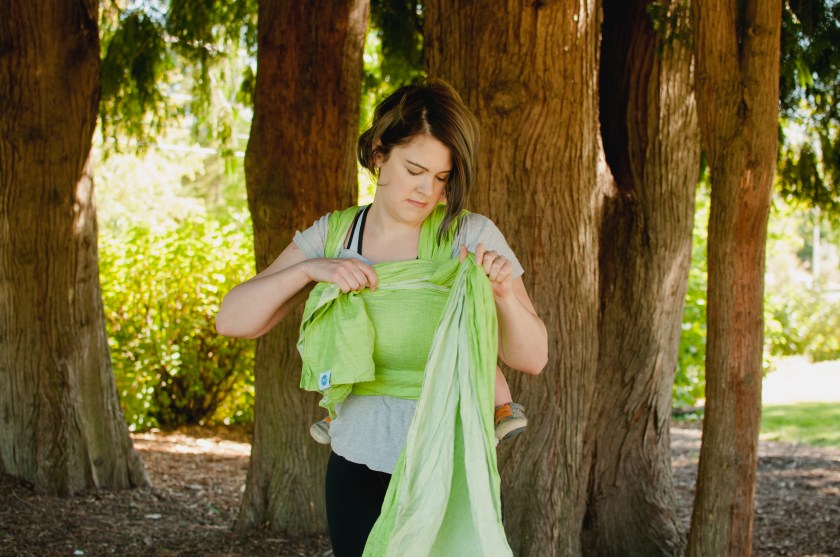
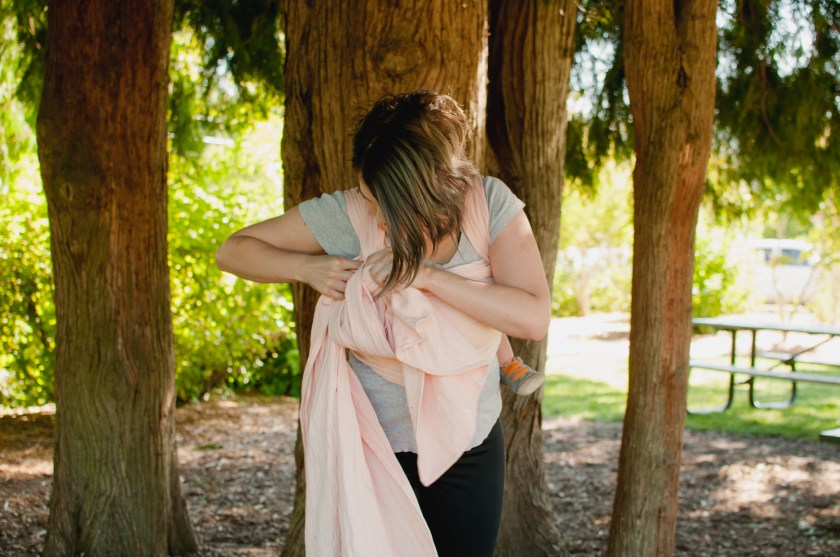
Bring the longer tail over the short tail. Twist them over each other towards your body once. The longer tail will now be on the bottom and the shorter tail on top. Bring the shorter tail across your chest, keeping it bunched up, to your other shoulder. 
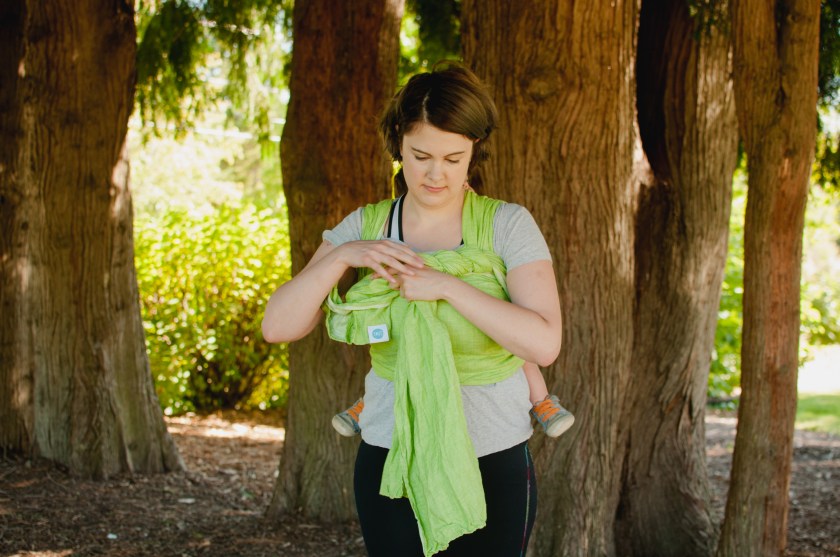
Loop the pass around your ruck strap starting from the outside (by your arm) in (towards your chest). 
Pull the tail down the ground. 
Pull both tails and adjust the loops so they are tight but comfortable on your chest.
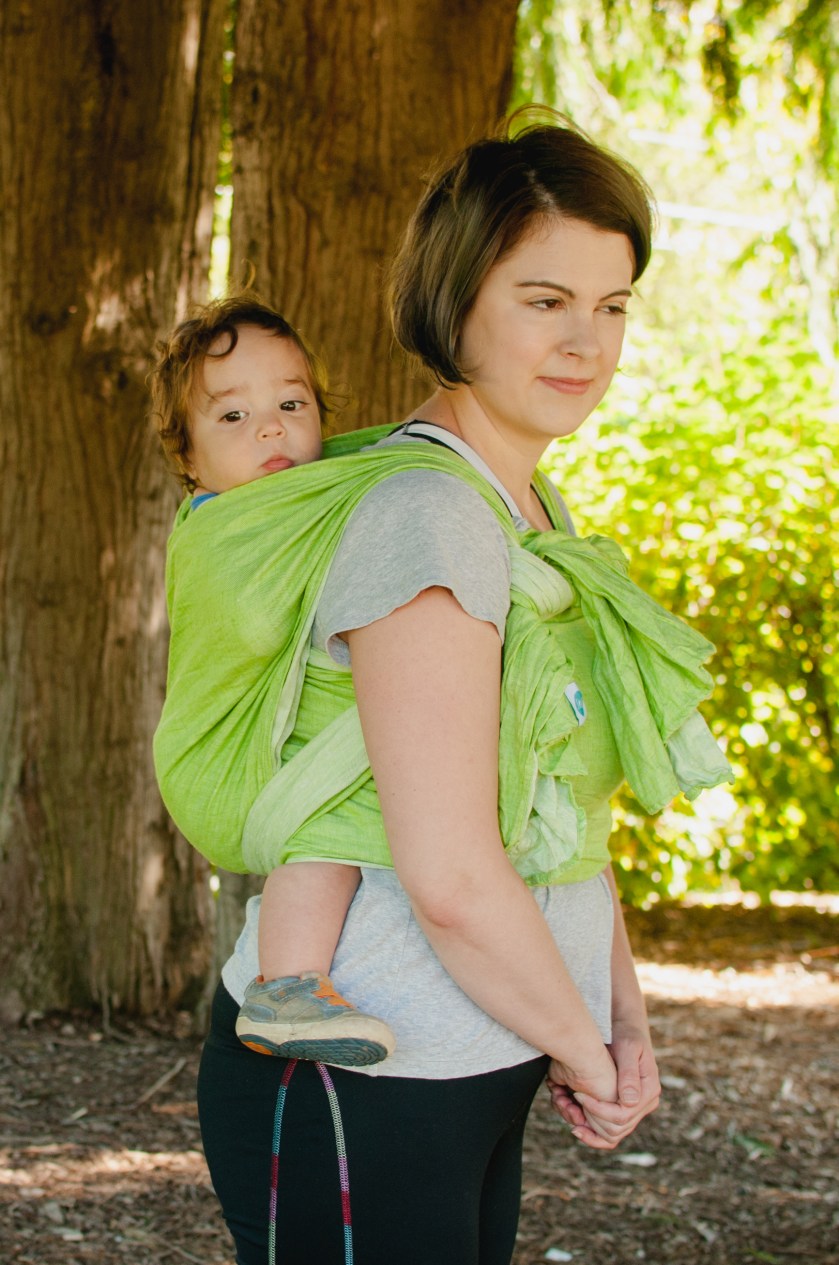
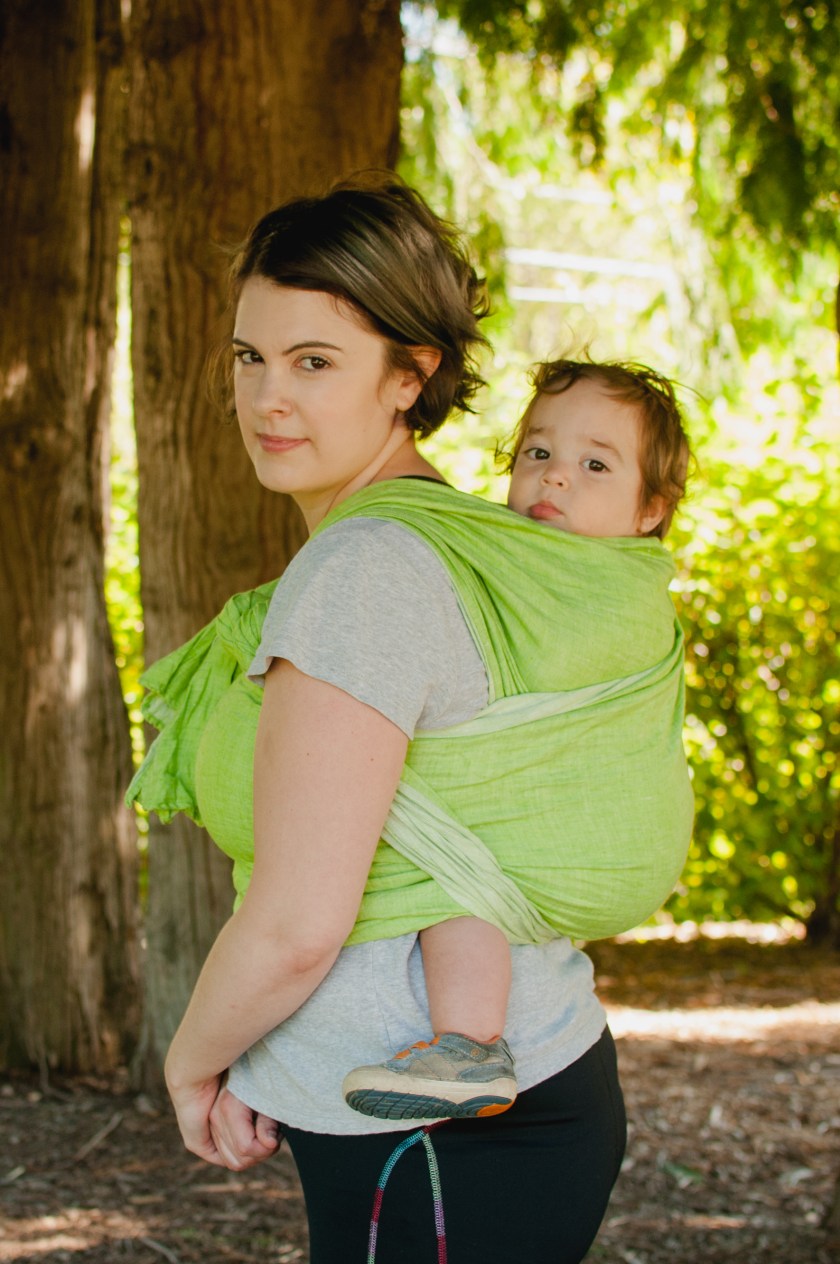
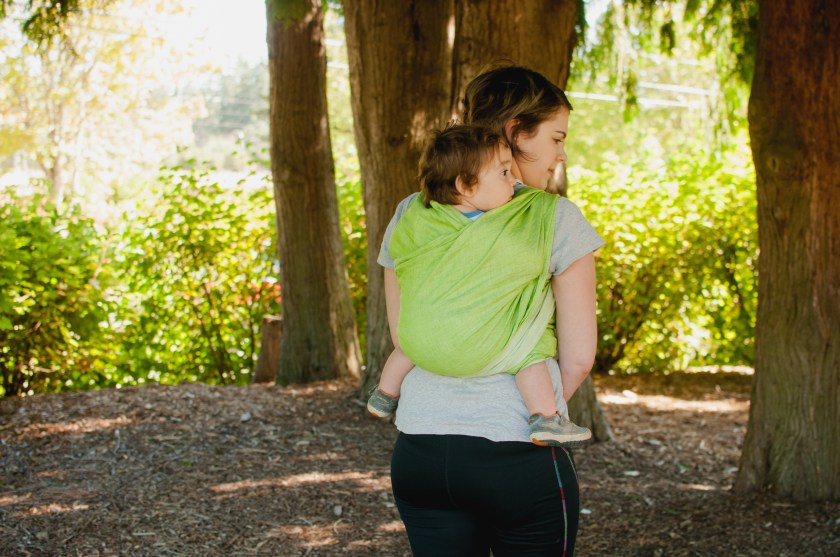
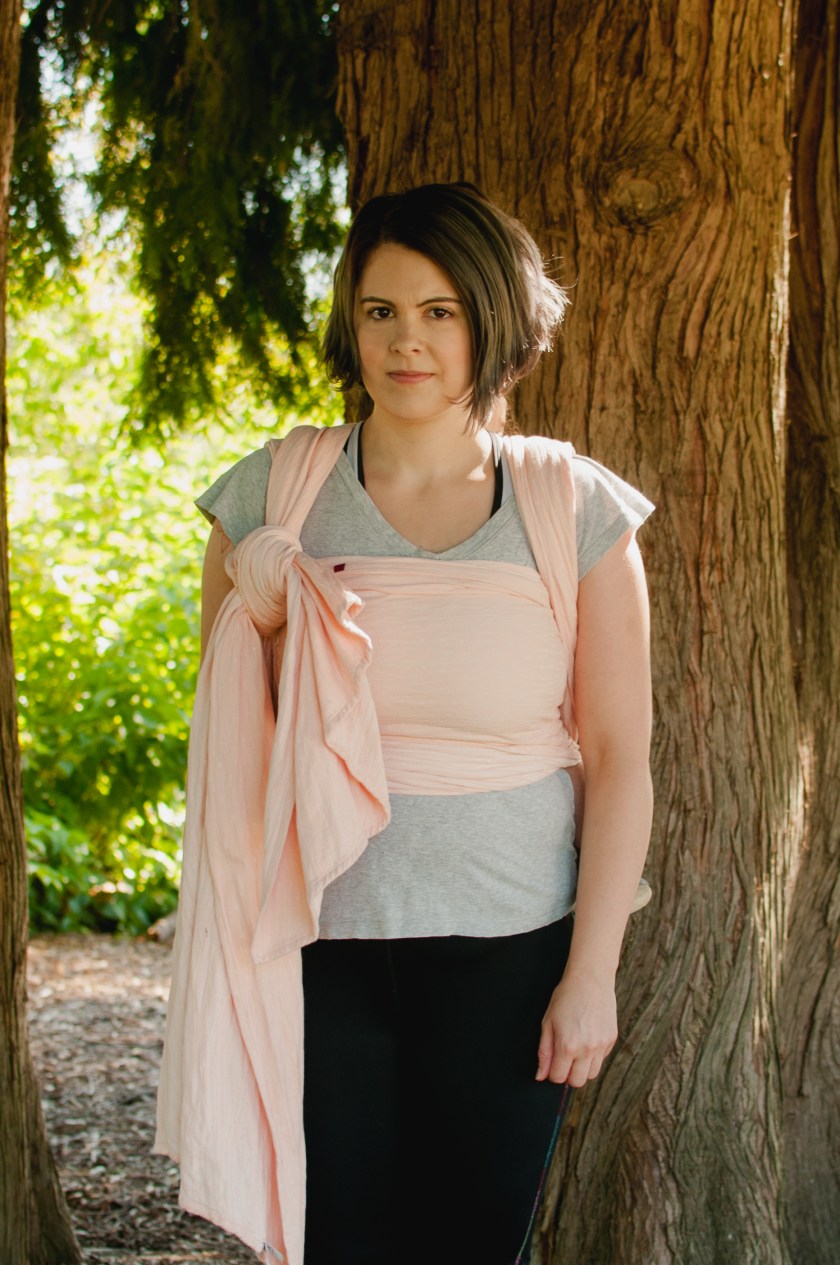
And there you go, a Buleria Chest Belt Finish!
This a great way to still get the shoulder security of a Candy Cane Chest Belt when you don’t have enough tails to twist and make a knot.
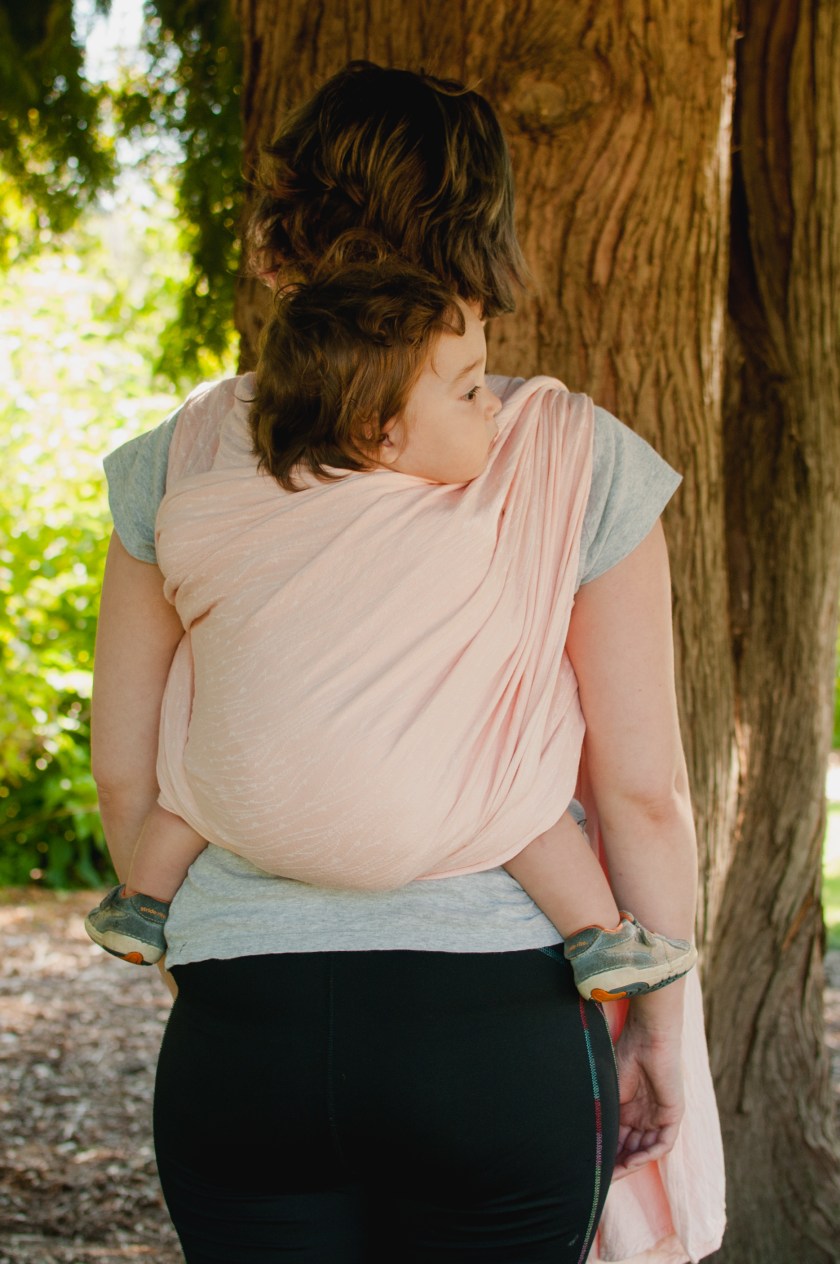
 Like with the other previously mentioned tied at shoulder finishes, this carry has no cross passes. So this carry may not work for seat poppers. The bunched horizontal pass does make it good for leaners though.
Good luck on this variation! Check out the others ones so far for a refresher as well!
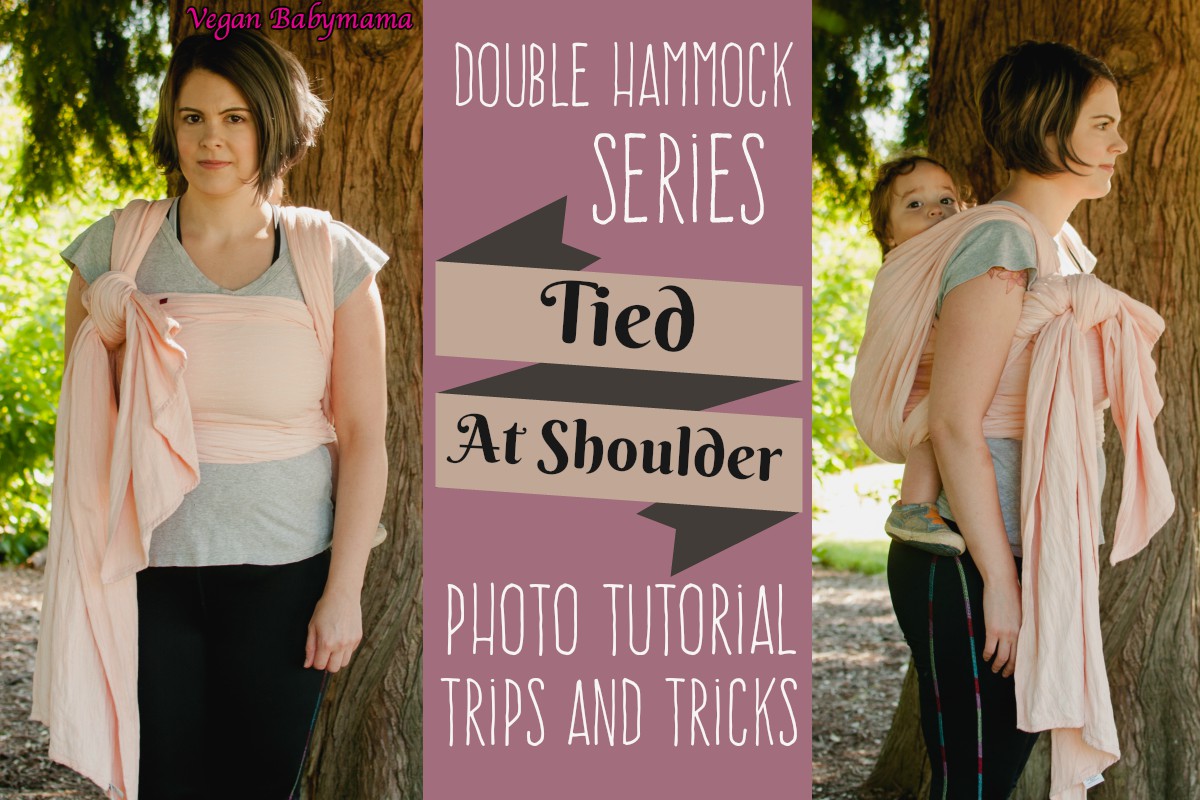
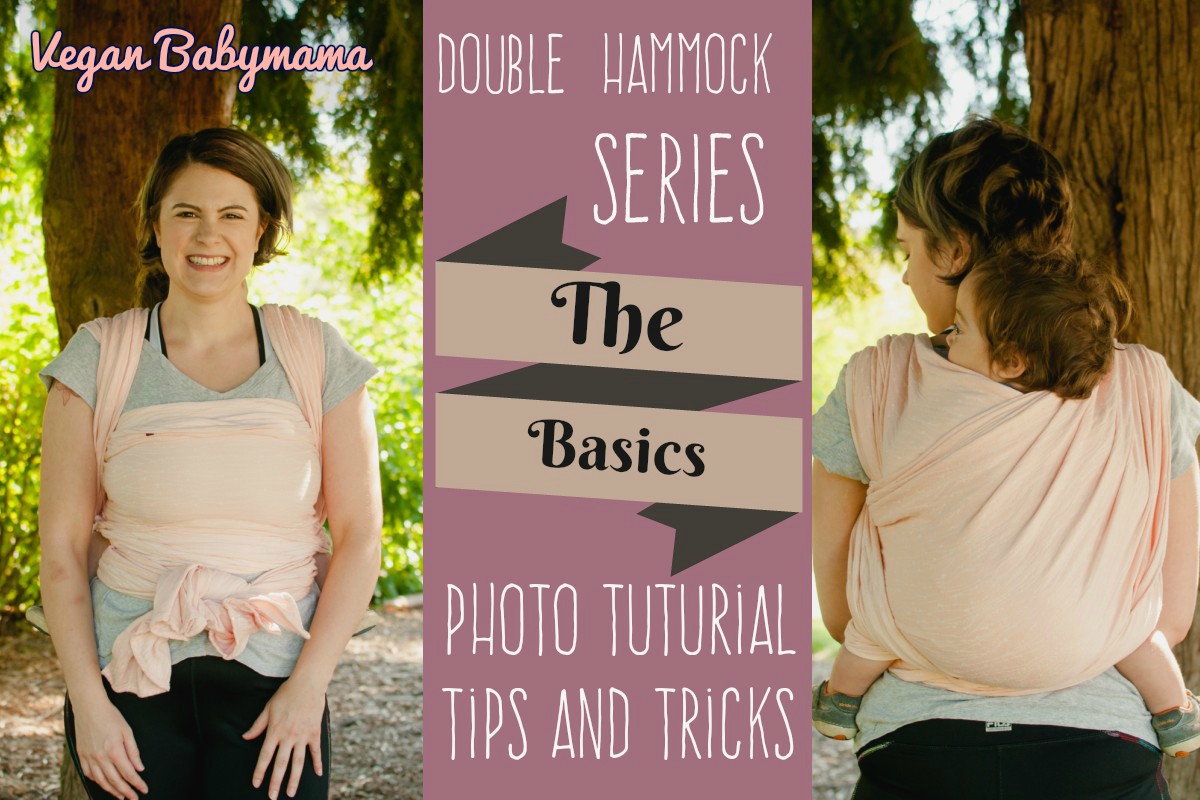
Double Hammock Series


 Now start twisting the tails together tightly across your chest. The number of twists needed will vary depending on your body shape. The chest belt should be long enough to just reach your other shoulder. Too short and it will pinch your chest together. Too long and it won’t be supportive.


 Now bring the longer tail back over the shorter tail towards your right again. Loop it behind the shorter tail again. Pull it up through the center of the loop on the left side of the shorter tail again. Essentially, you made of the same loops around the shorter tail.
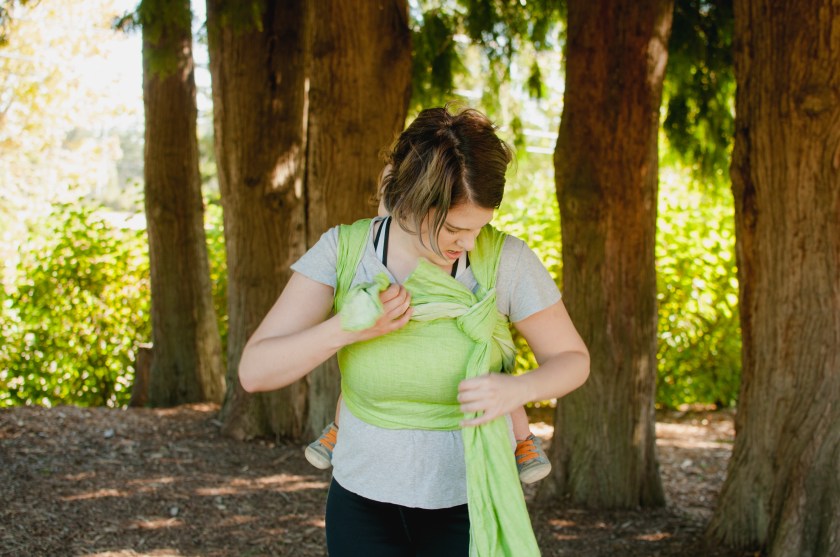 Pull the longer tail to the right to secure the knot.
 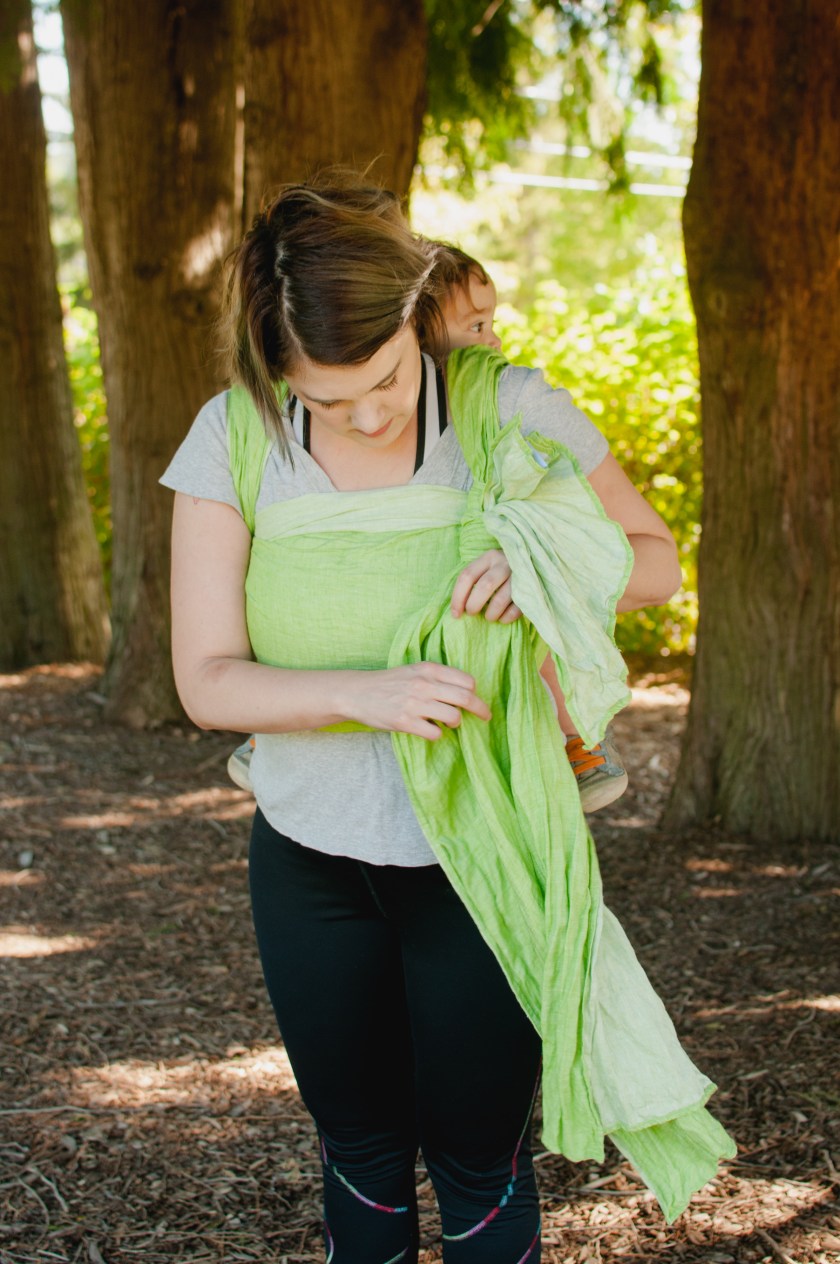 You can tighten the carry by feeding the extra slack towards the knot and out the tail. It’s best to tighten in three sections: the top rail (the one closest to your ear), the middle of the wrap, and the bottom rail (the one closest to you shoulder).
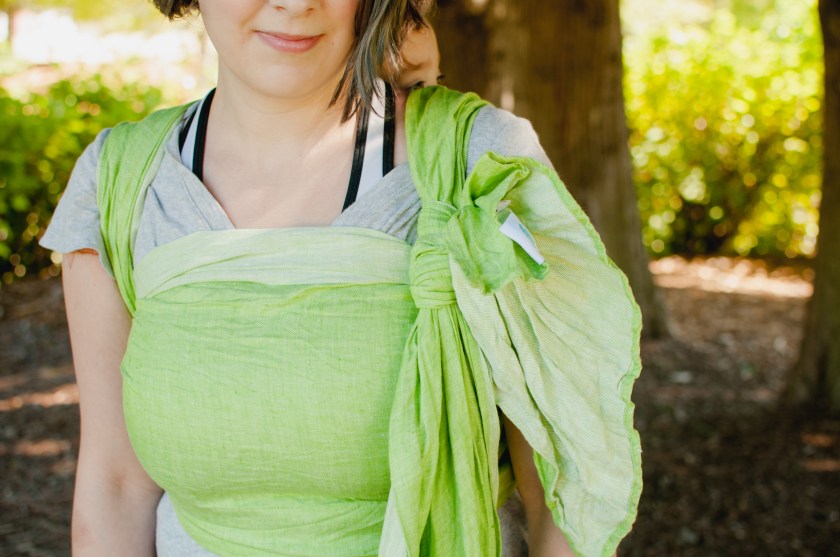


 You can tie it in the front. You can tie it in the back. And guess what, you can tie on the side!


 Once you get the
 What is a contact point? Put simply, it is a place during the wrapping process where you could naturally tie off the tails. The most common place is in front at your waist, like in a basic Double Hammock. However, if your wrap is longer or shorter than your base size, this might not be the best option—or even possible.


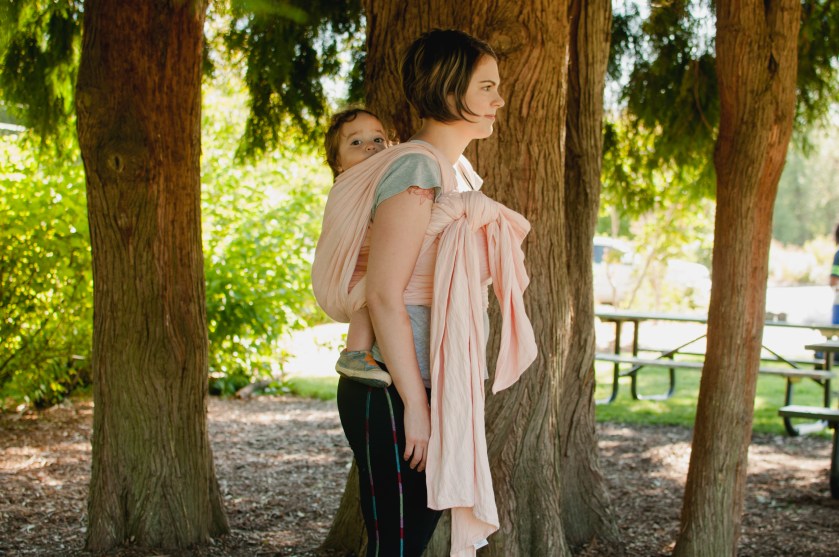
 We can’t explore all the variations without first learning the basic Double Hammock. Why bother learning the “boring” version if there are so many other fun options? Because this version is actually anything but basic!
 Double Hammocks are what are referred to as an “off center” carry”. This simply means the center of the wrap is not over the center of baby’s back.
 The best way to do this is by having the middle of the wrap in the middle of your chest. Realistically, exact center of your chest doesn’t always happen. Some people do this by simply pulling an arm’s length off from center or measuring the exact spot on your back.
 That spot then goes on baby’s back and up baby goes!
  Make a seat (
 While holding the tension on both tails, tighten the slack out of both shoulders.
 Bring the longer tail under your arm, to your side.
  Bring the long tail across your chest, under the opposite tail. I do this with the pass bunched, then spread it out in later. Other spread it out from the start. It’s just personal preference. I like bunched because it’s one less time I have to let go of the wrap (potentially losing tension) before I get the pass tightened at all.
 Bring the wrap under your opposite arm and across baby’s back. Make a second seat as well.
 Take your time to get as much slack as you can. Work section by section.
 Bring then tail over your shoulder now and get out any more slack you can. This is when I spread out my pass and get all final adjustments.
 Then brunch up the tails and bring each one over the leg on the same side, across baby’s baby bottom and under the opposite leg.
  And there you go, the Double Hammock magic!
  No pressure on the shoulders.
  A reinforced and pinned down seat. What’s not to love?
 Lean forward and keep a hand on baby’s bottom. Untie the knot and undo the bunched passes.
 Bring the wrap around to your from and let the chest pass come undone.
  Slow and controlled, bring baby around to your hip with both hands.
 Then set baby down and let them be free!
 Once you master this basic foundation, you will be ready to start your journey into the fun variations!


 Hammock it. Tie a secure knot around your kitchen table and let your kids lounge in style! I wanted to note, this is best for toddlers and old who know how to get in and our easily. They also have more developed airways and can more easily remove fabric from their face. Also never leave a kid of any age unsupervised in a wrap hammock.


 I did a


