On August 4, 1984, my two wonderful parents began their lives together as husband and wife. They met back in high school and have been happily married for 27 years now. They are the two most amazing people I know and I am so thankful for the wonderful childhood they gave my brother and I. So they definitely deserve a nice dinner. They drooled over the food in the recent episode of No Reservations in Naples and requested I make traditional pizza margarita and an antipasto platter. My parents are not vegan and since it is their day, some of the recipes are not vegan. The things I am going to eat are vegan though. Since I am making quite a few dishes, I decided to break up the recipes into two posts. This first one is the dessert since I made the pies this morning.
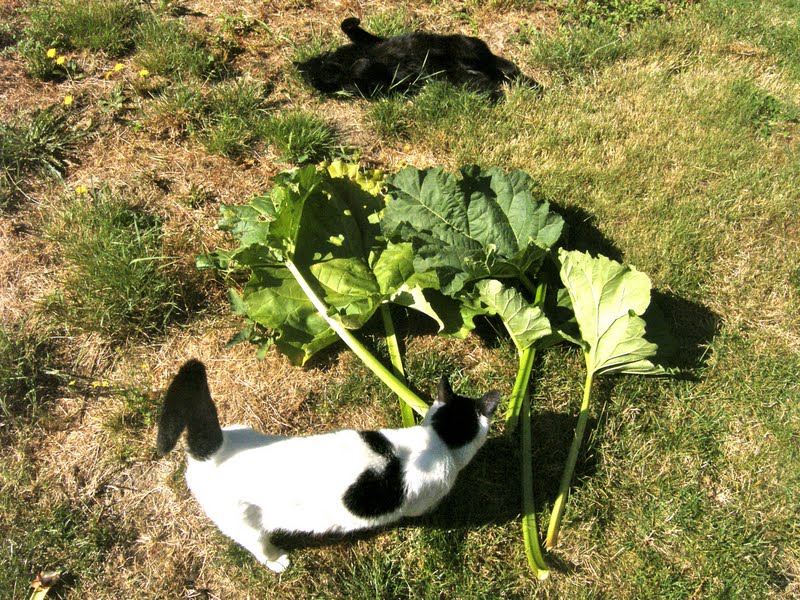 |
| Chuckie and Amelia like rhubarb apparently. |
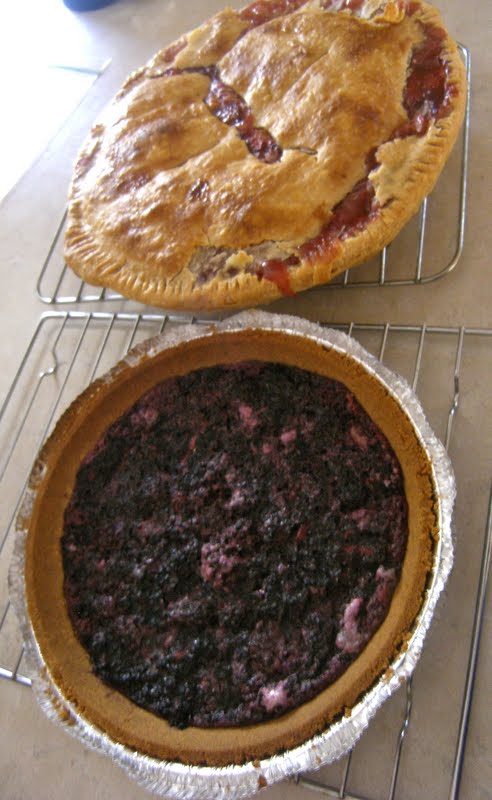
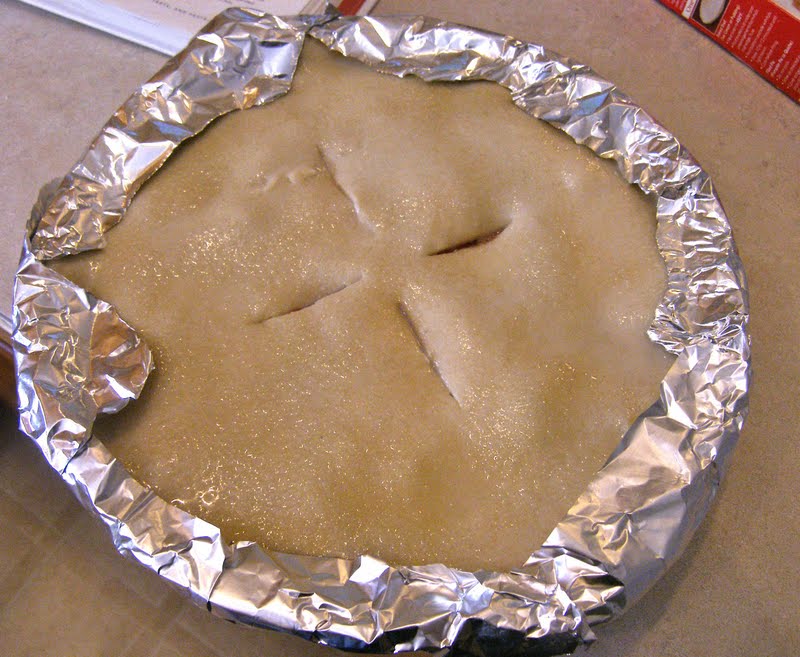
My dad requested his favorite thing in the whole world, strawberry rhubarb pie. The filling is vegan, but I suck at pie crusts so I used a Pillsbury one, which is not vegan. And some how I still managed to screw up a pre-made crust. The rim stuck to the foil in the oven for some reason. Not sure how that happened. My mom said it still tastes good, just doesn’t look so pretty. Still pretty good for my first attempt. I picked the rhubarb fresh from my mom’s garden, and my kitties decided to help me. The recipe is based on the one from How to Cook Everything.

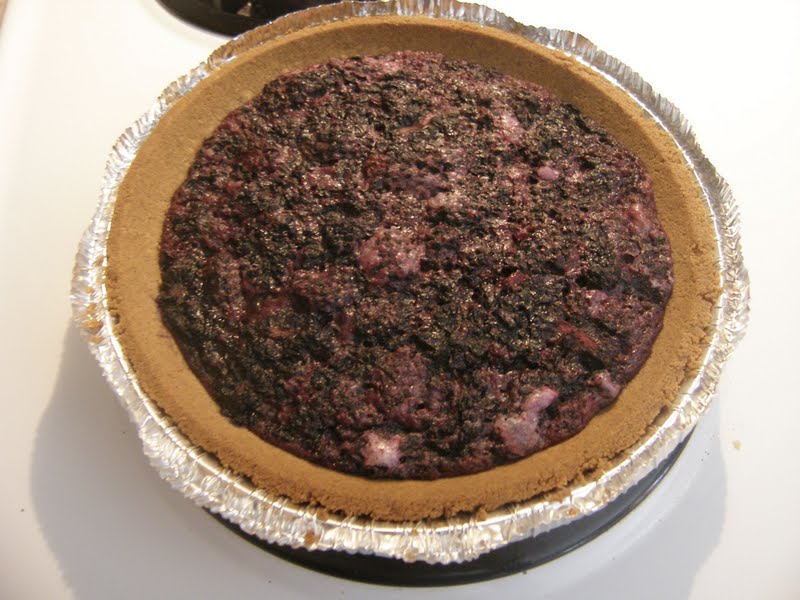
For myself, I made a marion berry pie. Marion berries are a caneberry hybrid developed by Oregon State University in the 1940s. They are pretty much just an Oregon version of a blackberry and they are fantastic. They grow wildly all over Oregon now too. They will stain your hands a lovely purple color so be careful. If you can’t get marion berries, you can use blackberries but any Oregonian will tell you they aren’t the same. I also used a pre-made gram cracker crust for this pie too.
Strawberry Rhubarb Pie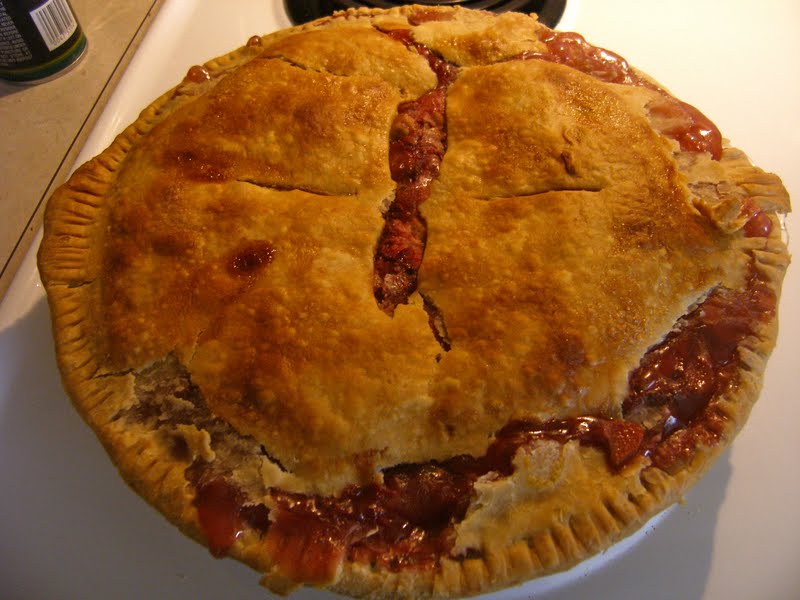 2 pre-made pie crust doughs
2 and 1/2 cups rhubarb, peeled and diced
3 cups strawberries, siced
1 cup sugar, more or less depending on sourness of rhubarb
3 tbs cornstarch
Milk
Sugar
Pre-heat the oven to 450 degrees.
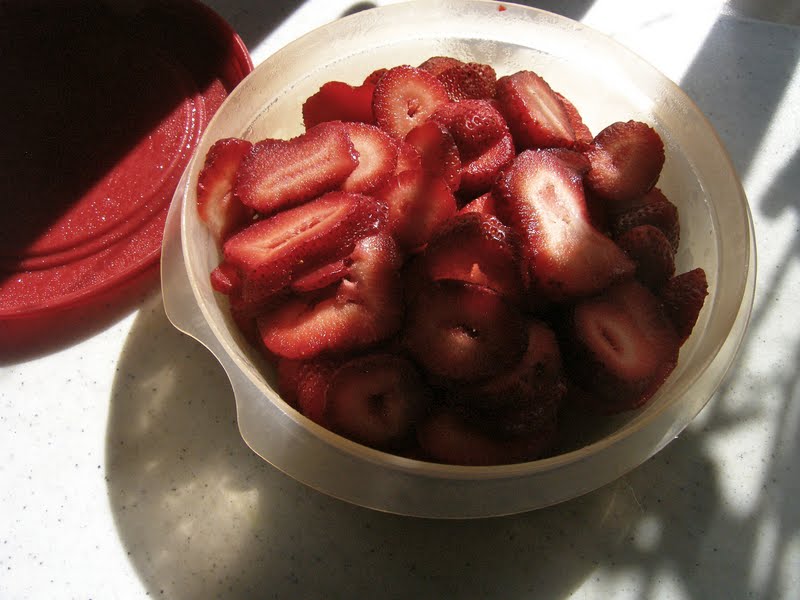
Wash and slice the strawberries. Add to a large bowl.

Wash and peel the rhubarb. The easiest way to peel is just to pull off the outer tough strings by hand. Just keep pulling off little pieces until you can’t easily grab strings anymore. Dice into small pieces. Add to the large bowl.

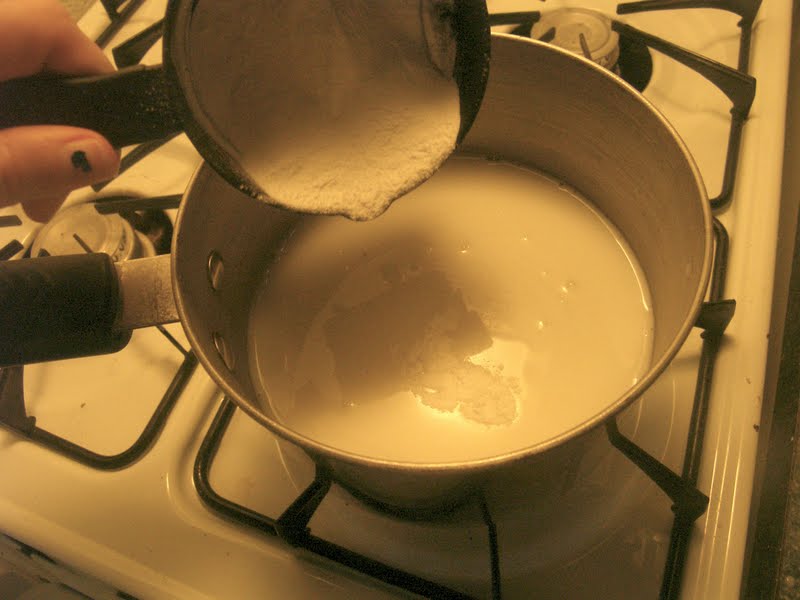
Add the sugar and cornstarch, mix together well. Taste for sweetness. If the rhubarb is really sour like mine was, you may need more sugar.

For the crust, unroll the pie crust and fit into the pie pan. Press the dough down well and press the the edges down firmly to seal the crust.

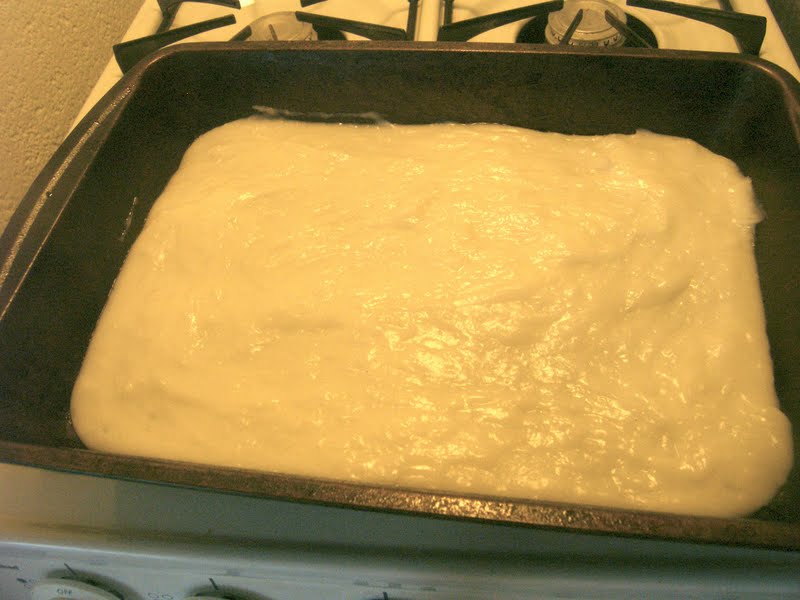
Pour the filling into the pan and smooth so it’s evenly spread.
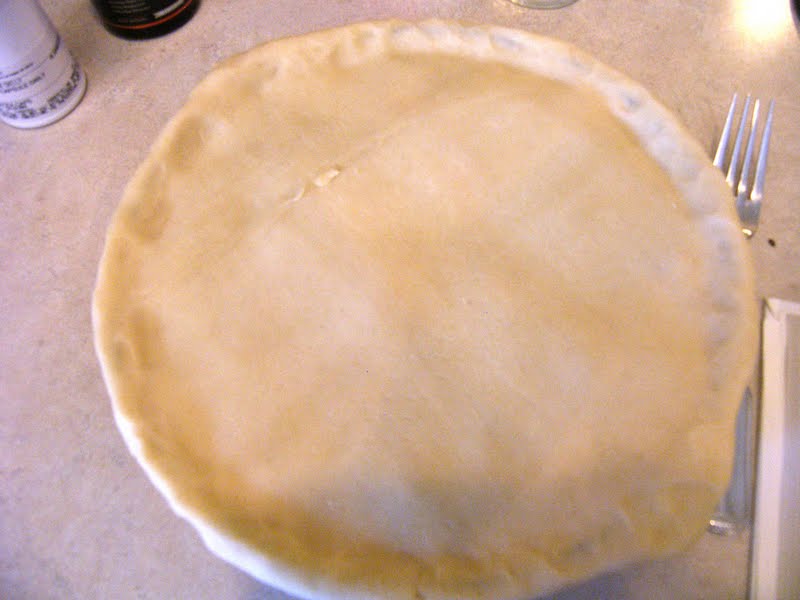
Cover with the other pie crust. Seal the edges down once again.
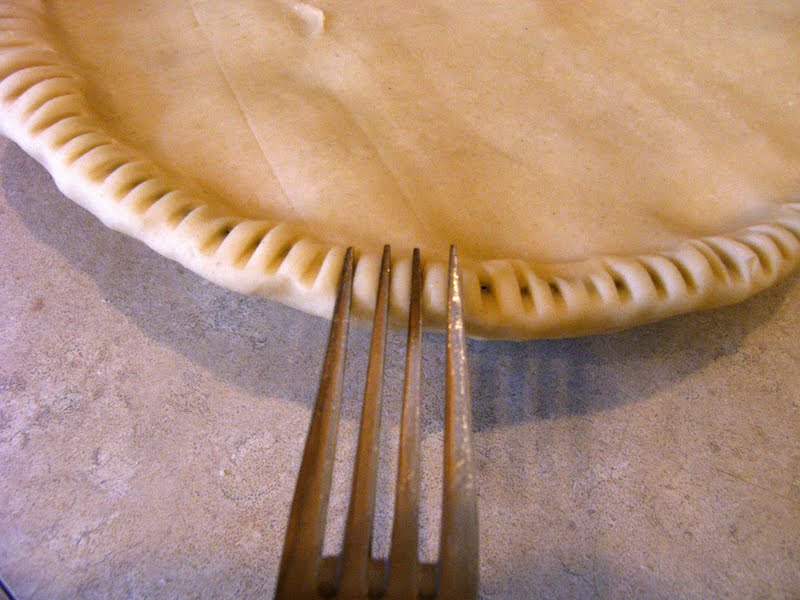
For some decoration and help the seal, press a fork around the edges.
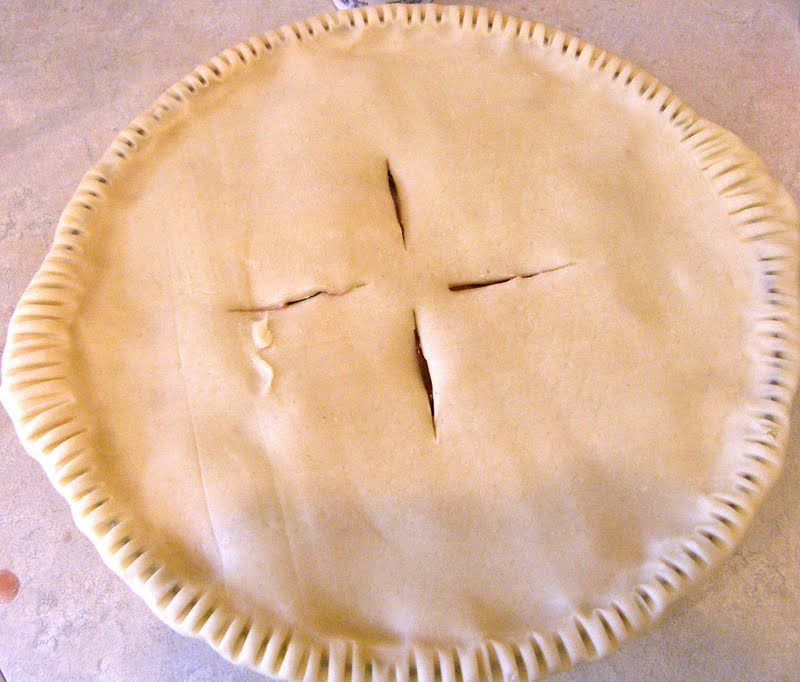
Cut 4 slits in the center.
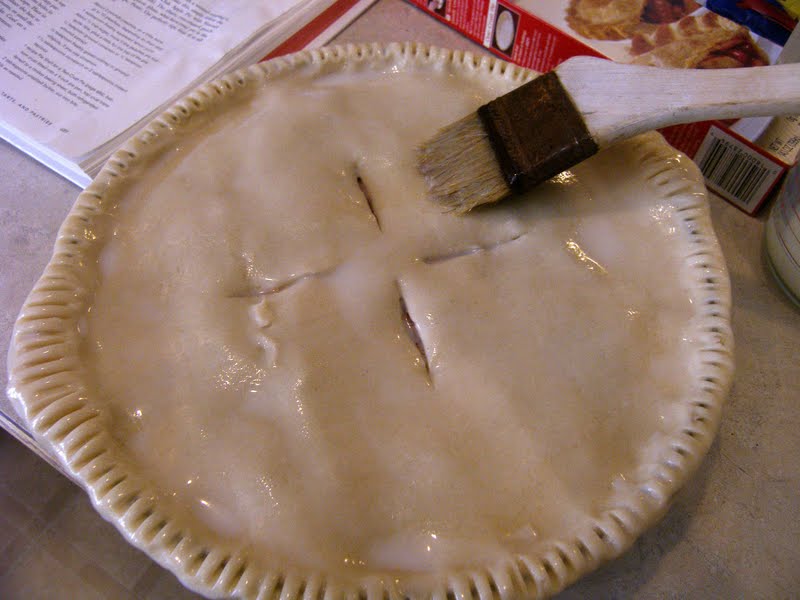
Brush the top with some milk and sprinkle on some sugar.
Cover the edges with foil so they don’t burn.
Bake in the oven at 450 for 10 minutes, then drop down the temperature to 350 and make for 40-50 minutes. Removed the foil the last 10 minutes. It’s done when the filling is bubbly and the crust is golden.
 |
| Not sure why the crust came out all weird… |
 Vegan Marion Berry Pie
1 vegan pre-made gram cracker pie crust
1 pint Marion Berries
4 tbs sugar
1/2 tps ground cloves
1/4 tps fresh grated ginger
1 tbs corn starch
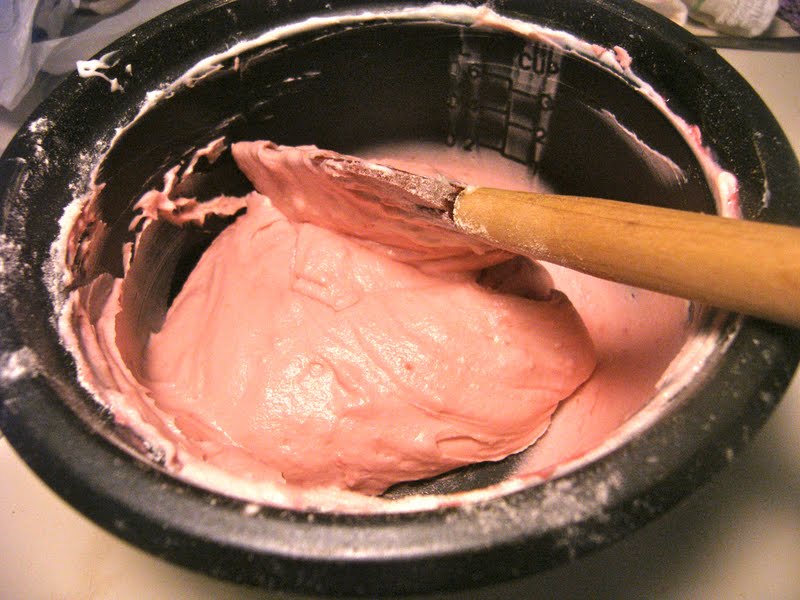
Vegan whip cream
Pre-heat oven to 350 degrees.

Wash the berries and add the to a large bowl.

Add all remaining ingredients, except the crust obviously, and mix together well. Taste for sweetness but ripe marion berries should not be sour.
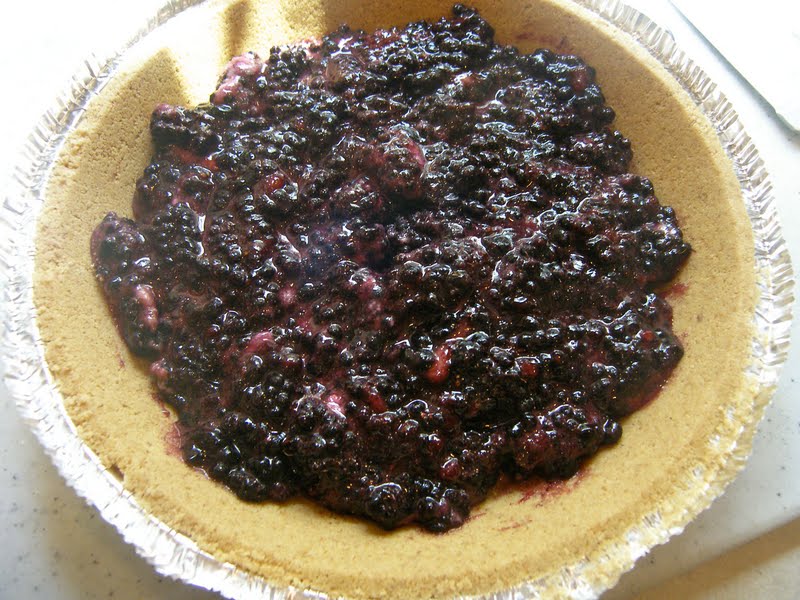
Pour the filling into the crust and smooth so it’s evenly spread.
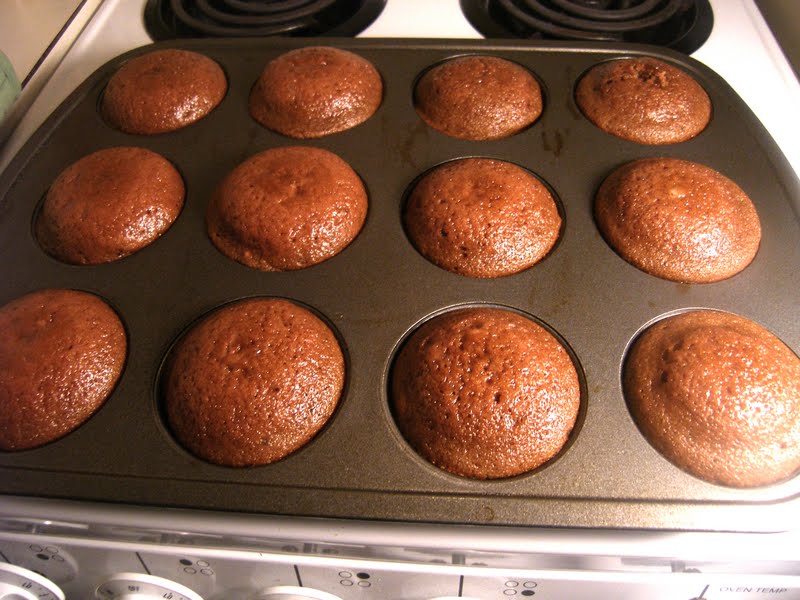
Bake for 30-40 minutes until the filling is no longer jiggly.
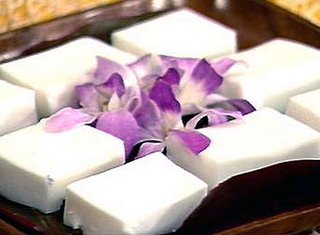
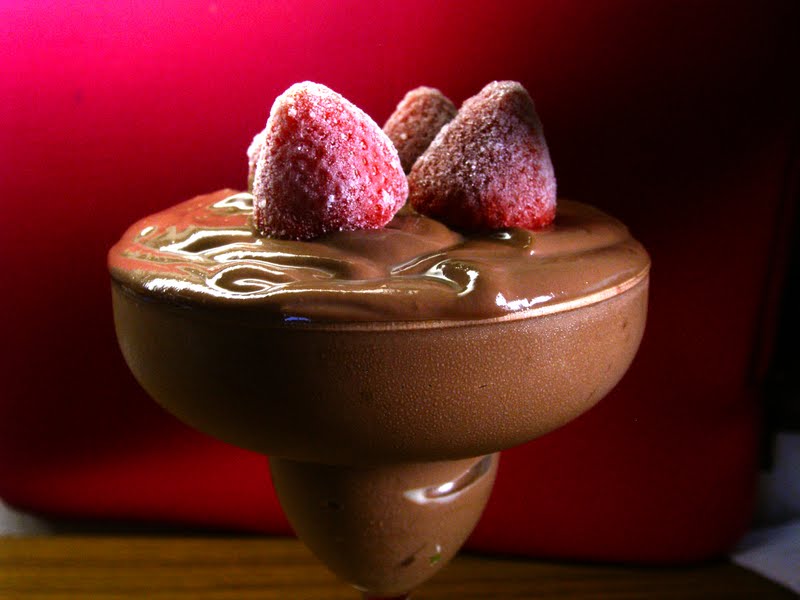
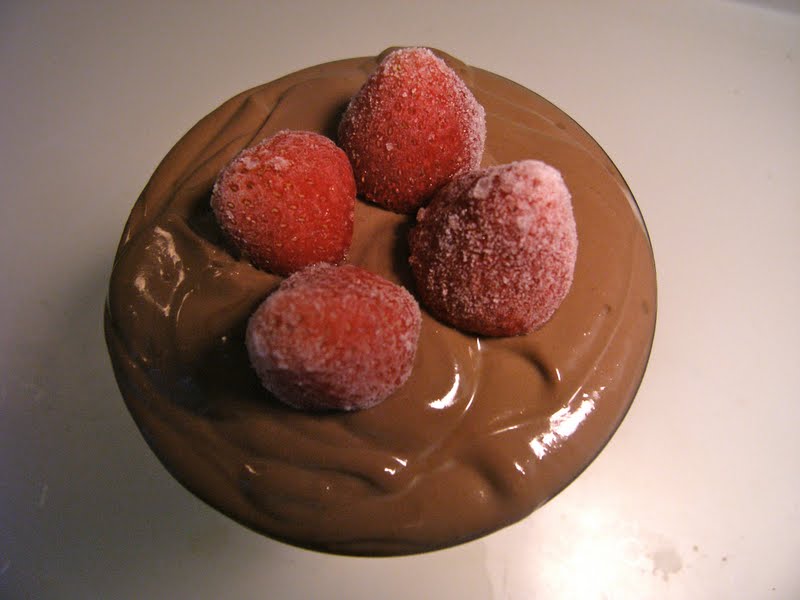
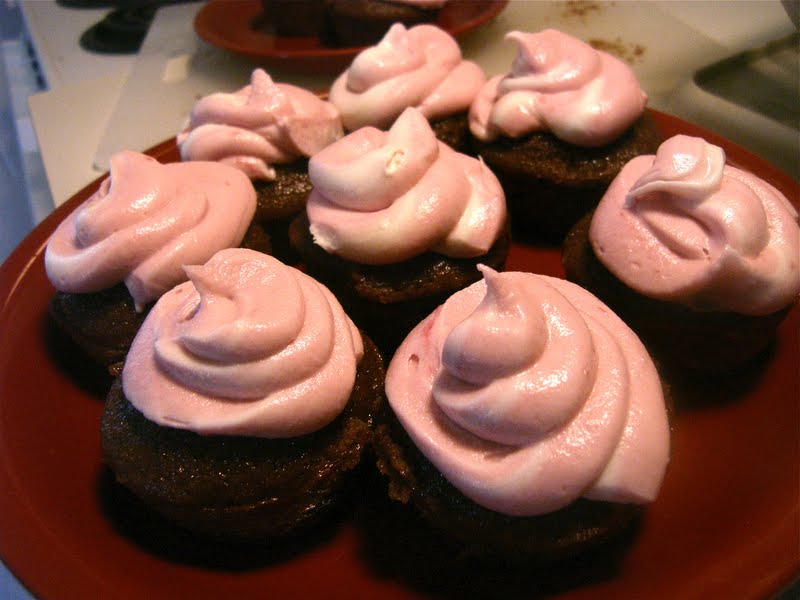
Top with vegan whip cream, and garnish with some more berries or mint.
 |
| Almond whip spread and mint from my mom’s garden. |
I have been craving a marion berry pie for awhile now, should be delicious! And I know my dad will be happy when he sees his pie too. More posts to come, but here is another pic of my cats “helping” me in the garden.
 |
| So cute, even if they do come in all dirty. |


