Chocolate Mousse Parfait

IMG_3607

Happy (late) Mother’s Day! I hope you all had a day full of love and happiness! And I hope you called your mom!

We are finally all settled in Oregon (for now at least) and I can cook again! So I made my mom a little treat. She didn’t want a big fuss, but I love her so much that she deserves something special. I just made the recipe up. It’s similar to Chocolate Mouse I made before, but with a few more easy layers. It’s simple, no baking required, and full of protein!

 Chocolate Mousse ParfaitIMG_3608

  • 1/3 cup raw pecans
  • 1/3 cup raw walnuts
  • Coconut Oil (as needed)
  • Pinch of salt
  • Dash of cinnamon
  • 1/2 block of tofu (I used firm, but silken would be better), drained
  • 1 medium ripe banana
  • 1 cup chocolate chips, melted
  • 1 cup vanilla coconut yogurt

In a food processor, add the pecans and walnuts. Grind into crumbles that pack together. Add coconut oil as needed to get it to come together. Add a pinch of salt and cinnamon for flavor.

Press nut mixture into a pan like a crust. I used a medium Pyrex bowl so you could see the layers.

Rinse out the food processor and add the tofu and banana, blend together well.

To melt the chocolate chips, add them to a microwave safe bowl and microwave them for 45 seconds. Stir and the chips should melt. If not, put it back in for 15 seconds and stir again. Repeat as needed until they are all melted.

Add the melted chocolate to the food processor and blend well.

Pour the chocolate mixture over the nut crust and smooth the top out.

Spread the yogurt over the chocolate mixture evenly.

Lastly, garnish with some nuts, if desired.

Covered and let it set-up in the fridge for at least two hours.

Then scoop out and enjoy!

IMG_3615 (1)

It’s nothing fancy, but healthy and tasty. Make one for your momma today!


Lactation Cookies For Everybody

Check out my other blog Vegan Babymama for the story behind why I made those cookies. And two things before I get to the recipe. First, I know it says cookies but I made bars. When you have a 4 month old baby, you don’t have time to be scooping out dough and baking one batch at a time. So I spread all the dough out into a pan quickly and pop it in the oven on a cooking timer so the oven would shut off when it’s done. That way I could nurse Jack and not worry about anything burning. But if you have the time, these do make wonderful cookies, so by all means scoop away. Second, these cookies are not just for nursing moms. They will not make you lactate if you aren’t already. I’m referring the men who reading this, seriously? You don’t have functioning mammary glands! They are normal ingredients and the cookies taste great. My husband as stolen a few cookies and loves them. But if you lactating, some of these ingredients are lactrogenic, meaning they have been known to increase your milk supply. The oatmeal, flax seed, brewer’s yeast, walnuts, and whole wheat flour in this recipe are all lactrogenic.

This recipe is based on these two recipes I found on Pinterest: Lactation Cookie Bars and Lactation Cookies for Nursing Moms.
Lactation Cookies
1 cup vegan butter (I used Earth Balance)
1.5 cups brown sugar
1/2 cup ground flax seed
1 cup hot water
2 cups whole wheat flour
2 cups rolled oats
2 heaping tbs brewer’s yeast
1 tsp baking soda
3/4 cup dark chocolate chips (make sure they are dairy-free)
pinch of salt
1/2 cup unsweetened shredded coconut
1/2 cup chopped walnuts, optional
Pre-heat the oven to 350 and spray a baking pan with cooking spray. I used a 9 x 9 ceramic.
In a large bowl, cream together the butter and sugar.
In a small bowl, add the ground flax seed and hot water. Let it sit for 5 minutes.
Add the flax seed mixture to the butter mixture. Mix well (though it will be very sloppy).
Add the flour, rolled oats, brewer’s yeast and baking soda the bowl. Mix well.
Stir in the chocolate chips and salt.
Stir in the coconut and walnuts, if using.

Spread evenly into the baking pan and bake for 30-35 minutes. They are done when a toothpick inserted into the middle comes out clean.

Note to self: Take pic before you take a piece,
despite how amazing it smells.
These cookies really are for everyone. Don’t let the title scare you away. They are high in fiber and contains good fats. Plus they are very tasty. I really suggest either the coconut or walnuts, or both! And this is a wonderful treat for nursing momma. You earned it, taking care of a baby is hard!

Chocolate Pie

Last year I did a post in honor of my grandmother’s passing. Sadly, this post is for my grandpa. A few week ago he had a two strokes that he could not recover from and passed on. So needless to say these past few weeks have been very emotional. I am so happy to be bonding with my newborn son, but sad to lose my grandfather.

Like I said with my grandma’s passing, the best way I can honor his memory is to live a long healthy life. And now I need to teach Jack how to live a long life too. I need to teach him about food and cooking so he can have every advantage for his health.

My grandpa loved chocolate pie. The kind you make with Jell-O pudding. When I was little I made him one, but I accidently burnt the milk. It tasted awful, no one else wanted to eat it. However, he happily ate it. Claimed it tasted like coffee. I don’t know if it was his love for chocolate pie or his love for me, but it made me happy to see him eat it. I think that was how I discovered my love for cooking for others.

So in honor of my him, I decided to make a healthier vegan version of his favorite dessert.While the pudding mix itself is vegan, it requires milk–and it will not firm up with soymilk. So I had to go a different route. I essentially made my Chocolate Mousse recipe into a pie. Pretty easy, no baking required. And tons of protein and antioxidants.

 Chocolate Pie
1 block silken tofu
1/2 cup semi-sweet chocolate chips
1/4 cup cocoa powder
1/4 cup coconut sugar
1 graham cracker crust (find one without honey)

Drain the tofu, but do not squeeze or blot totally dry.

I used my NutriBullet, but a blender or food processor works. Blend the tofu until smooth.

Place the chocolate chips in a small bowl and microwave for 20 seconds. Stir well. Repeat at 5 second intervals until it is all melted and smooth.

Add the melted chocolate, cocoa powder, and coconut sugar to the tofu. Blend until all combined.

Pour the tofu mixture into the pie crust and smooth out the top.

Refrigerate for at least 4 hours to firm up.

My mom bought this stuff called PB2, which if you like peanut butter, tastes great on sprinkled on top. I have to admit, it took me a few days to want to eat the pie because it made me sad to realize my grandpa is really gone. But once I did, it made me smile. He would have loved it—very chocolatey and smooth. Once Jack can have solid food, I will make this for him and tell him all about his great grandparents.

Wedding Reception and Wholesome Chow Cake

In my last post I talked about our wedding. The only guests were my parents and Michael’s Aunt and Uncle—only because I just wanted something simple.  However, the following Saturday we had a luau party at our home. It was a lot of fun and it wonderful to celebrate with the rest of our friends and family. I will post recipes from the BBQ in the next post.

For this post, I will talk about the amazing cake my best friend Amanda made for me (she may be the antagonist of the sushi post story…). Since I usurped her of maid of honor duties by running off to Vegas, I asked if she would make a small cake for Michael and I to cut at the Luau. And of course I requested it be vegan.

She worked at a bakery before, but is not too familiar was vegan baking. So she turned to mix—but not just any mix. Like me, she does not believe in all artificial junk and chemicals that come in most processed foods. She used Wholesome Chow, a certified organic and non-GMO company. It specializes in gluten-free, vegan, and allergen-free baking mixes.

Source

Amanda made a two-layer round cake, using the Organic Vanilla Cake Mix and Organic Chocolate Cake Mix (each layer was a different flavor). She added soy milk and Earth Balance Original Buttery Spread.

Source

The mixes came out well, but did not rise as much as she hoped. I forgot to tell her that vegan cakes never will rise as much as traditional cakes. I should have told her to use the Earth Balance Baking Buttery Sticks and to whip more air in than normal (without over mixing the batter), makes the cake a little more fluffy.

Source

She frosted with the Organic Vanilla Frosting Mix, once again adding Earth Balance. Then she decorated with brown sugar to make it look like sand and used our kissing Hawaiian salt and pepper shakers as the cake toppers.

IT WAS SO CUTE!!! You did an amazing job Amanda and I am very thankful to have you in my life (and not just for your baking skills).

By the way, this cake is even better when you get to shove it in your husband’s face! Hahaha…

I am going to try other products from Wholesome Chow now….thinking maybe the Organic Chocolate Lavender Cake Mix would be cute for a baby shower and some Organic Hi-Protein Pancake Mix would be great after a morning hike.

Vegas Wedding and Dinner at Scarpetta

So,  we got married in Las Vegas!

Source

I chose the Las Vegas Wedding because I liked their packages and options. I wanted something easy, quick, and simple. I wanted our love to be focus the ceremony. I honestly have no complaints with this chapel at all. I would like to warn this is quick, in-and-out, no frills place. If you want the long, elaborate, personalized ceremony then this place is not for you. Our ceremony was still beautiful and we got great customer service nonetheless.

Afterwards my dad took amazing photos of us on the strip.

It was SO much fun! Everyone was saying congrats and giving us high fives.

But seriously, look at  how great these photos are? My dad is very talented. Thank you so much Papa!

Then we had dinner at Scarpetta in the Cosmopolitan. We had a table with an amazing view of the Bellagio fountains.  The service and the food were AMAZING!

To start, I got the Heirloom Tomato Salad. Fresh heirloom tomatoes, olives, marinated eggplant and good olive oil. Michael just ate the cheese for me. Then I had the Spaghetti, which was seriously the best pasta I have ever had. Homemade pasta with simple red sauce with tons of fresh basil.

Then for dessert Michael and I shared Amedei Chocolate Cake (it was not vegan, but like I have said before, you have to be reasonable sometimes). Not only was it so delicious I cannot even think of a word to describe it, they wrote “Congratulations” on our plate!

I seriously recommend this place to everybody. We are going to come back  to Vegas for our anniversary next year, and I already know I want to eat here again. Check out the rest of the menu here.

Thank you Mom and Dad for making your princess feel like a real princess! And thank you Michael for being such an amazing man, I am so happy to spend the rest of my life with you.

Coconut Brownies

I felt patriotic and nice last week, so I made brownies for Independence Day. Michael requested brownies, so I decided to make a big batch and take half to work. To make them patriotic, I decided on red and blue sprinkles, mainly because I already had some at home. For the white, I decided against doing plain frosting. It was just too traditional and boring. I decided on shredded coconut instead, since I was already using coconut oil in the batter. Might as well just keep the same flavors going.

I used box mix for this, mainly because it was just easier. Vegan box mixes are not that hard to find, just read the ingredients. I do not eat processed and packaged foods that often, but a treat once in awhile is always nice.
I made double batch, but you can always just half the recipe and make one.
Coconut Brownies
2 boxes of chewy brownie mix (I used Duncan Hines)
1/3 cup coconut oil
1 cup unsweetened applesauce
2 tsp cornstarch
1.5 cups vanilla soy milk
1 can of chocolate frosting (I used Duncan Hines)
2 cups shredded sweetened coconut
Red sprinkles
Blue Sprinkles
Pre-heat the oven according to the temperature on the box.
Spray a baking pan (I used a 9×11) with cooking spray.
In a large bowl, combine brownie mix, coconut oil, applesauce, cornstarch, and soy milk. Stir until smooth.
Pour the batter into the baking sheet and cook according to the directions on the package.
Remove from oven and let cool completely.
Once cool, spread on the frosting in a light layer. No need to make it fancy, it’s just there to make the coconut shreds stay.
Cover the frosting with the shredded coconut, covering up as much of the brown as possible.
Next sprinkle on some red and blue sprinkles.
Now you have a patriotic treat!
Michael and my coworkers liked them, yeah! And, if you change the sprinkle colors, they could be for any holiday. Red and green for Christmas. Yellow, pink, and purple for Easter. Purple, gold, and green for Mardi Gras. Black and Orange for Halloween. In your favorite teams colors for the Superbowl or the World Series too. Of what chromatic fun!

Chocolate Chili Pepper Mousse

May is Celiac Disease Awareness Month. Celiac Disease is an autoimmune disorder that effects the small intestine’s ability to process gluten protein. Common side effects are fatigue, severe digestive problems, and even growth problems in children.

Although I do not have a gluten allergy, I have several friends who do and I am always more than happy to post recipes they can eat too. If you do not have Celiac Disease or another type of gluten allergy, than there is no reason for you to cut all gluten out of your diet. But, that doesn’t mean you can’t enjoy a gluten-free meal every once and awhile, give your body a break from processing the same gluten-heavy stuff over and over again. Like corn, it’s pretty much in every processed food today.

Gluten is a protein that comes from the wheat family, which include rye, barley, and oat. It is a great binder and leavener, which is wheat-flour breads are so common. It’s also used as a thickener, so it is used in a wide array of processed foods.  Because of it’s chewy texture, it is also used in many meat alternatives so gluten-free vegans and vegetarians need to read labels carefully.

My gluten-free friend Michelle asked for a chocolaty dessert, and I instantly thought of this Chocolate Chili Pepper Mousse recipe my mom found on VegWeb awhile ago. Remember in the movie Chocolat when Vianne said that chili enhances the flavor of chocolate? She wasn’t kidding. It doesn’t overpower the dish at all, just gives it that perfect little kick. Try chocolate with other spices too, like a cup of Mexican Hot Coco with a dash of cinnamon. Chocolate and spices are loaded with antioxidants.

The only change I made to the recipe was I used grade B maple syrup instead of agave because that is what I have on hand. In the American  maple syrup grading system, grade B just means it is darker and less sweet than grade A.

Chocolate Chili Pepper Mousse
1 package of silk tofu, drained
1/3 cup cocoa powder
1/3 cup maple syrup
2 tsp vanilla extract
2 tps peanut butter
1/4 tps chili pepper flakes
Berries, fresh or frozen

Throw everything into a blender, except the berries and blend until smooth. I was going to take photos, but this dessert is so simple there really is no need for visual aide. You may want to mix with a spoon after blending to make sure everything is incorporated.

Pour into bowls or decorative glasses. I used martini glasses.

Refrigerate for at least two hours. The flavors develop more the longer it sits.

Top with the berries or any desired fruit. Also good with vegan whip cream or some crushed nuts. Sprinkle a bit more chili flakes if you like an extra kick.

Topped with sugar-covered frozen strawberries.

The texture is so smooth and creamy, it’s hard to believe it’s not dairy—or gluten. It also makes a great pie filling and comes out kinda torte-like if you freeze it. Hope this is chocolaty enough for you Michelle!

P.S. My next two posts will also be gluten-free. Check out the Cinco de Mayo one tomorrow.

Red Velvet Cupcakes

I have a friend coming over tonight so I thought I would be a good hostess and bake something yummy. My favorite cake is red velvet cake. So moist and sweet, it really does melt in your mouth like velvet. I haven’t had any since I went vegan, so I thought it was time to pull out my cupcake tin again and make some.

I Googled “vegan red velvet cupcakes” and the first link to come up was from a blog called Mac & Cheese.  These Red Velvet Cupcakes have no complicated ingredients and stay pretty true to the original recipe, which is what I wanted since I love it so much. The author adapted the recipe from Vegan Cupcakes Take Over The World, a book I am dying to get.

I halved the recipe and made a few changes. I used mirin instead of apple cider vinegar because it is what I have on hand. The vinegar is for leavening mainly, and you use so little that it does not alter the taste really. I also used hemp milk instead of soy because I like it better. I used melted dark chocolate instead of coco powder and butter instead of vegetable oil.

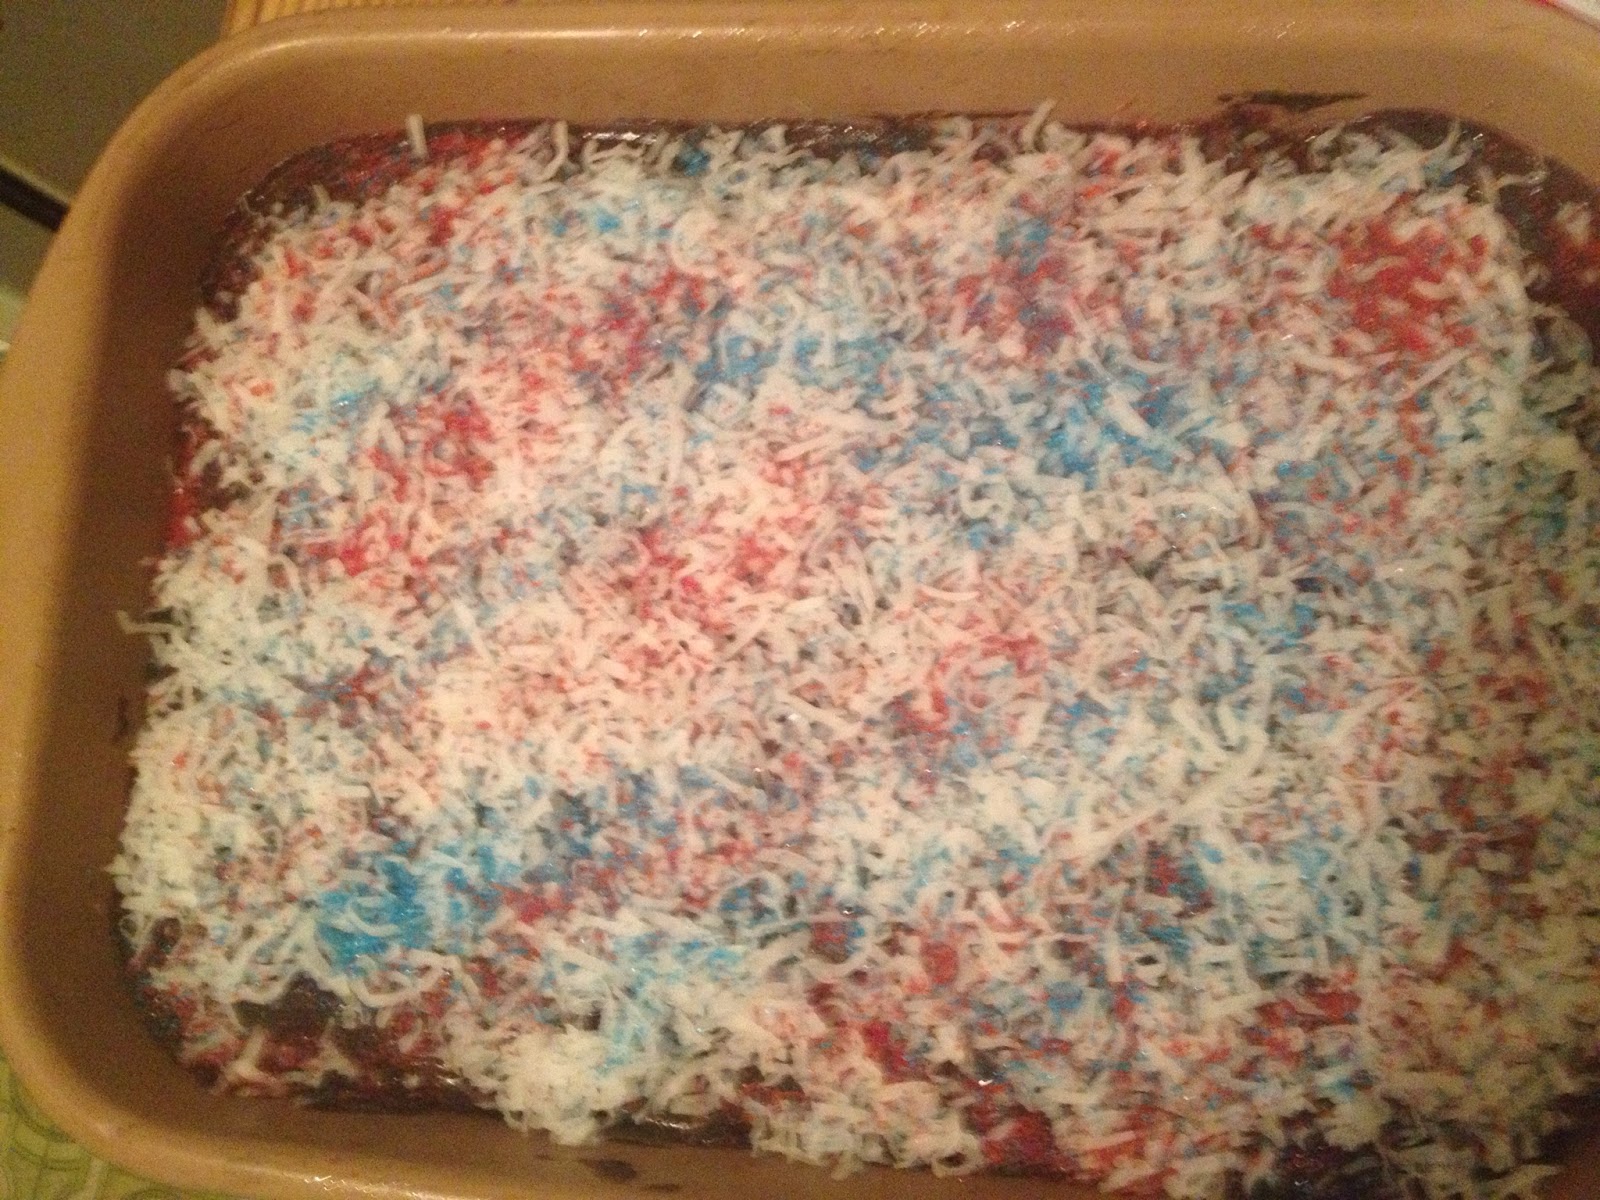
Nice deep red color.

The biggest change was the coloring. I used beet juice instead of food coloring. I did this for two reasons: it’s cheaper (one stupid little tube of red dye was $4.99!) and it’s healthier. Food coloring is pretty much all chemicals—and sometimes isn’t even vegetarian because it contains carmine (beetle scales). I thought of using a natural dye after I saw my friend Eva posted a blog where she used bright foods to dye her Easter eggs (check it out here).  I Googled it and it turns out I am not the only one who doesn’t want a “red beetle cake.” I wasn’t sure how much to use at first so I added a little at a time till the color was right without thinning the batter too much. You cannot taste the beets at all. But, to be safe and keep Marquis happy, I added a bit more sugar just in case. They did not come out BRIGHT red, but that’s fine with me. I’d rather have lighter cupcakes than ones full of toxic dye.

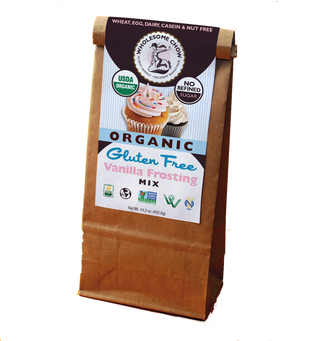
Make your own if you can

And I have to admit, I used store-bought frosting from a can. I suck at making frosting and since these are for a guest, I wanted them to be perfect. At home my mom usually ends up fixing my pathetic attempts. I never can get the consistency right. Most can frostings are actually vegan. They are made with soy, which doesn’t spoil quickly like dairy does. I found the one with the fewest scary chemical ingredients and punch it up a bit with vegan cream cheese.

Red Velvet Cupcakes
Cake:
1 cup hemp milk (or whatever non-dairy milk you prefer)
1 tsp mirin (or whatever vinegar you like)
1 and 1/2 cups all-purpose flour
1 and 1/4 cup sugar
1/2 tps baking soda
1/2 tps baking powder
1/2 tps salt
14 g dark chocolate, melted
1 tbs vegan butter, melted
2 tps vanilla extract
The juice from 1 can of beets
Frosting
1 can vanilla frosting 
1/4 cup vegan cream cheese (try Tofutti)

Pre-heat the oven to 350 degrees F and spray a cupcake tin with cooking spray. I don’t use cupcake liners, they are just extra waste.

In a small bowl, add the mirin to the hemp milk and set aside to curdle. This is to replicate buttermilk.

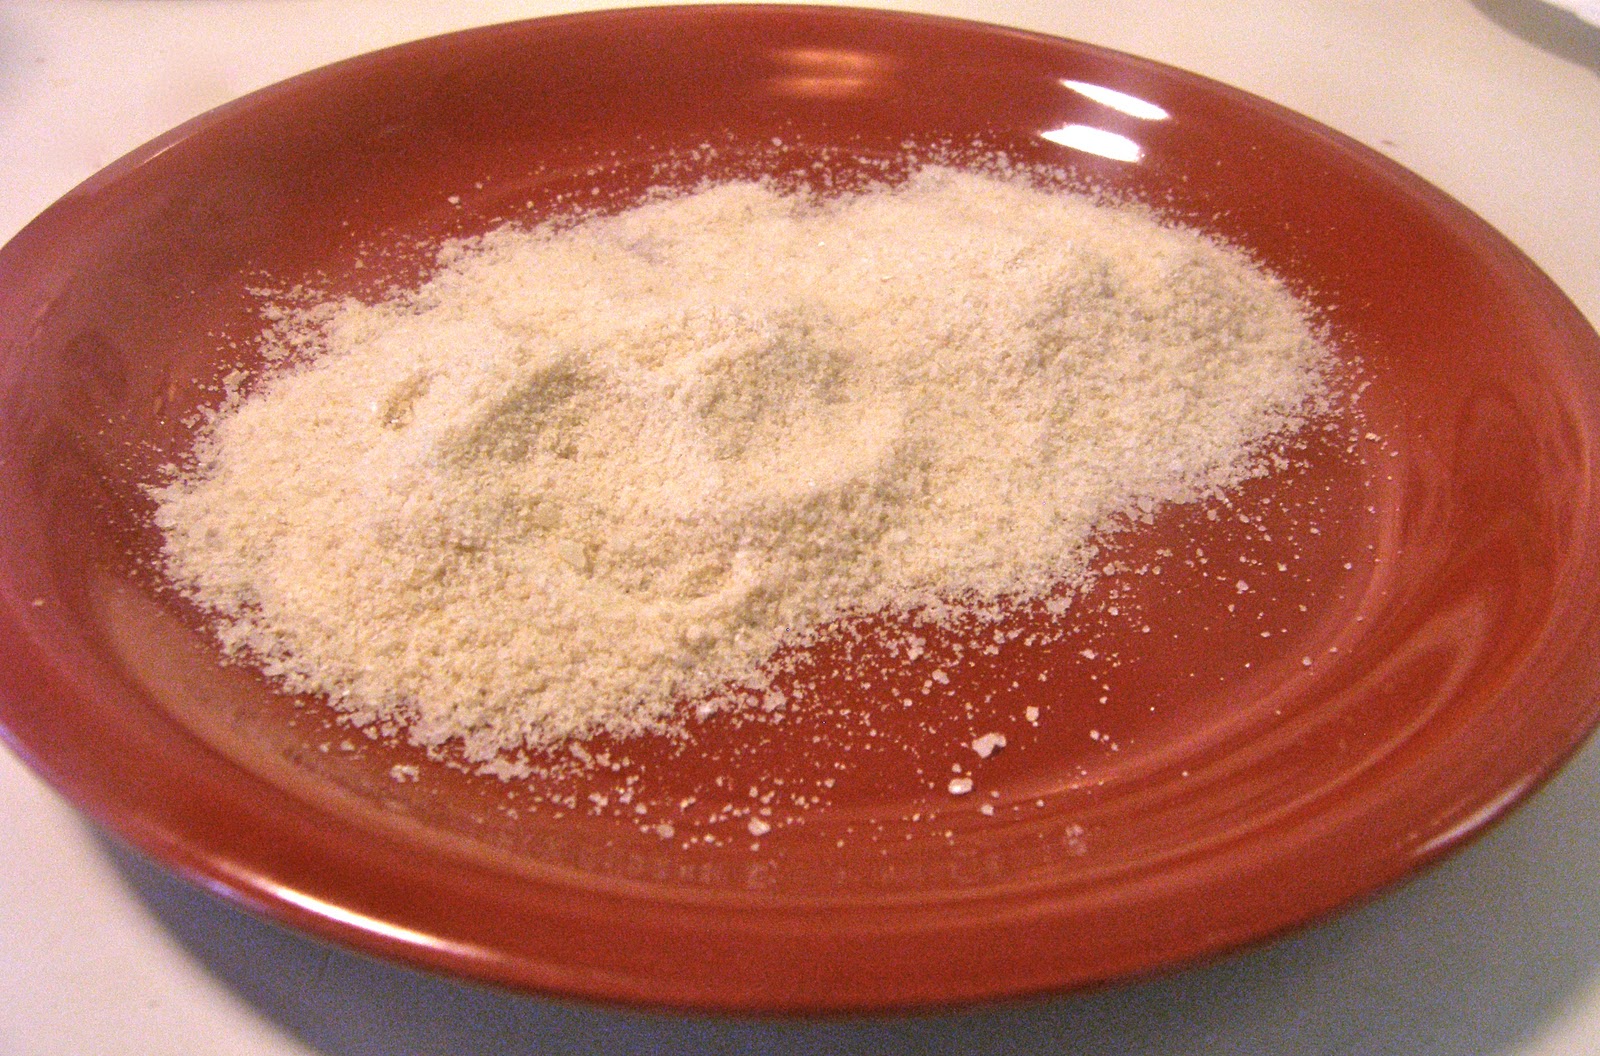
In a large bowl, sift together the flour, sugar, baking soda, baking powder, and salt.

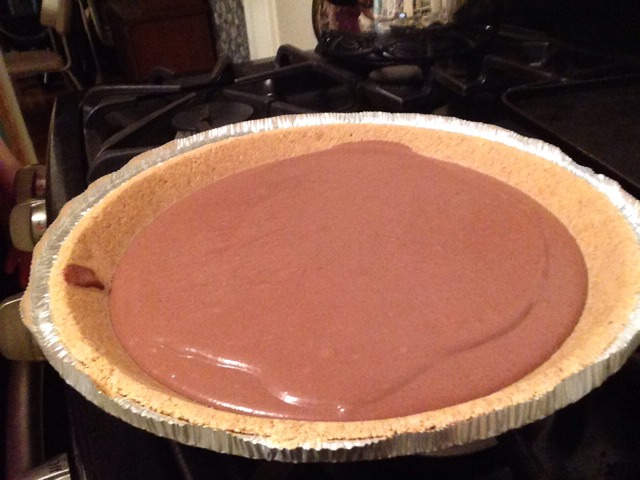
Next add the milk mixture, melted chocolate, melted butter, and vanilla extract. Mix well.

Mix well so you don’t have any streaks.

Add as much beet juice as necessary to reach the desired color without thinning the batter too much. This is the main reason I didn’t use oil, cut down on the liquids to keep the right consistency. It should be slightly runny like a typical cake batter.

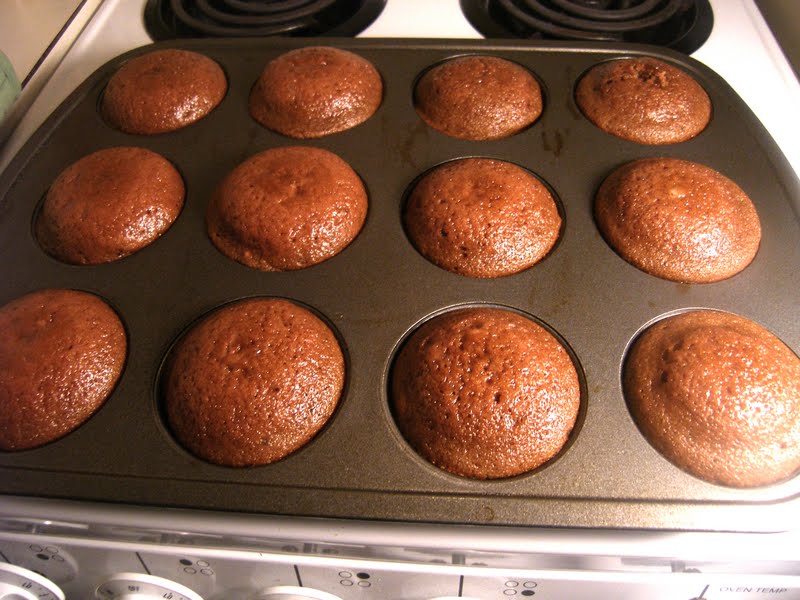
So happy my mom bought me a cupcake tin.

Fill the cupcake cups 3/4 the way full and bake for about 20 minutes.

They smell so good!

They are done when no longer jiggly and a toothpick inserted comes out fairly clean.

Let them cool in the pan for a bit so they are easier to remove. Then let them cool completely before frosting. I made mine the day before and refrigerated them over night.

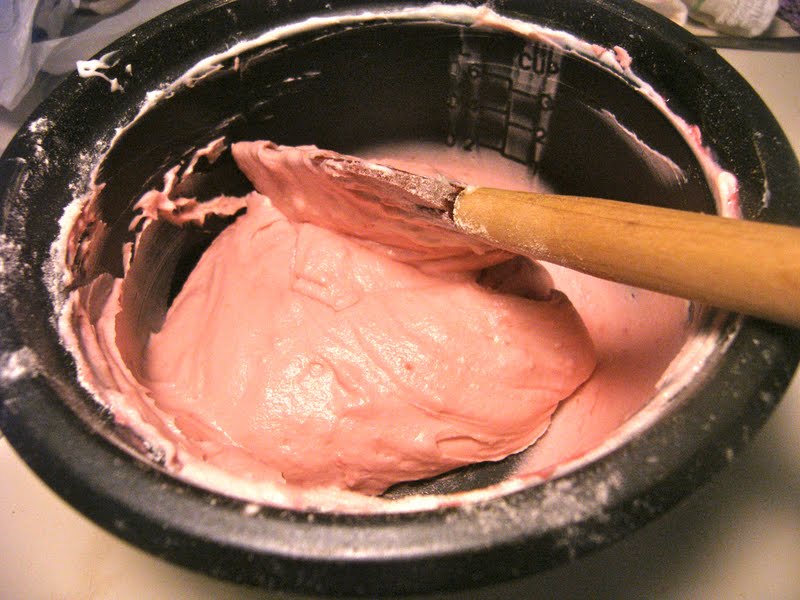
To make the cream cheese frosting, put the frosting and the cream cheese into a bowl. Mix together well, whip it up a bit to make it fluffier. You can add some powdered sugar to thicken it up if needed.

Mix well so you don’t have cream cheese lumps.

Not only am I bad at making frosting, but I am bad at the actual frosting step as well. So, I use a piping bag instead—well actually I use a ziplock bag with the one tip cut off.

Since I added more liquid, I added some powder sugar to thicken it.
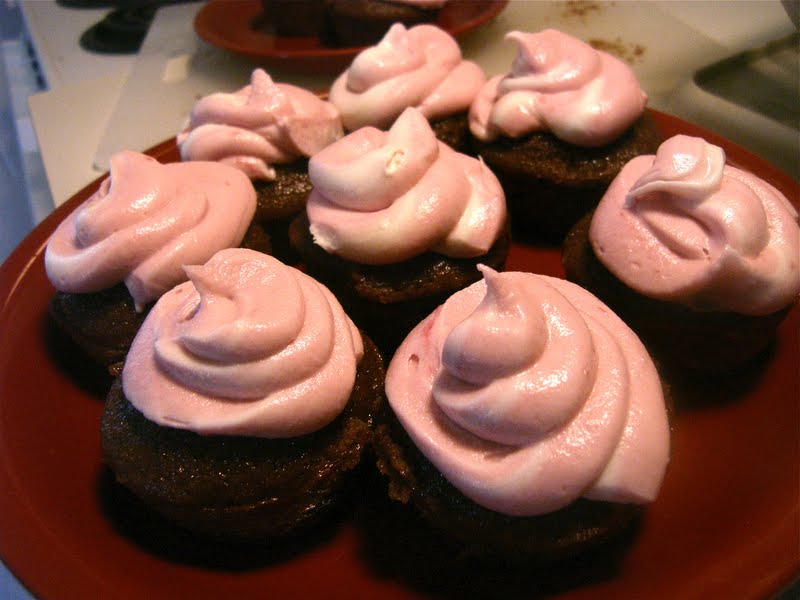
Swirl

 
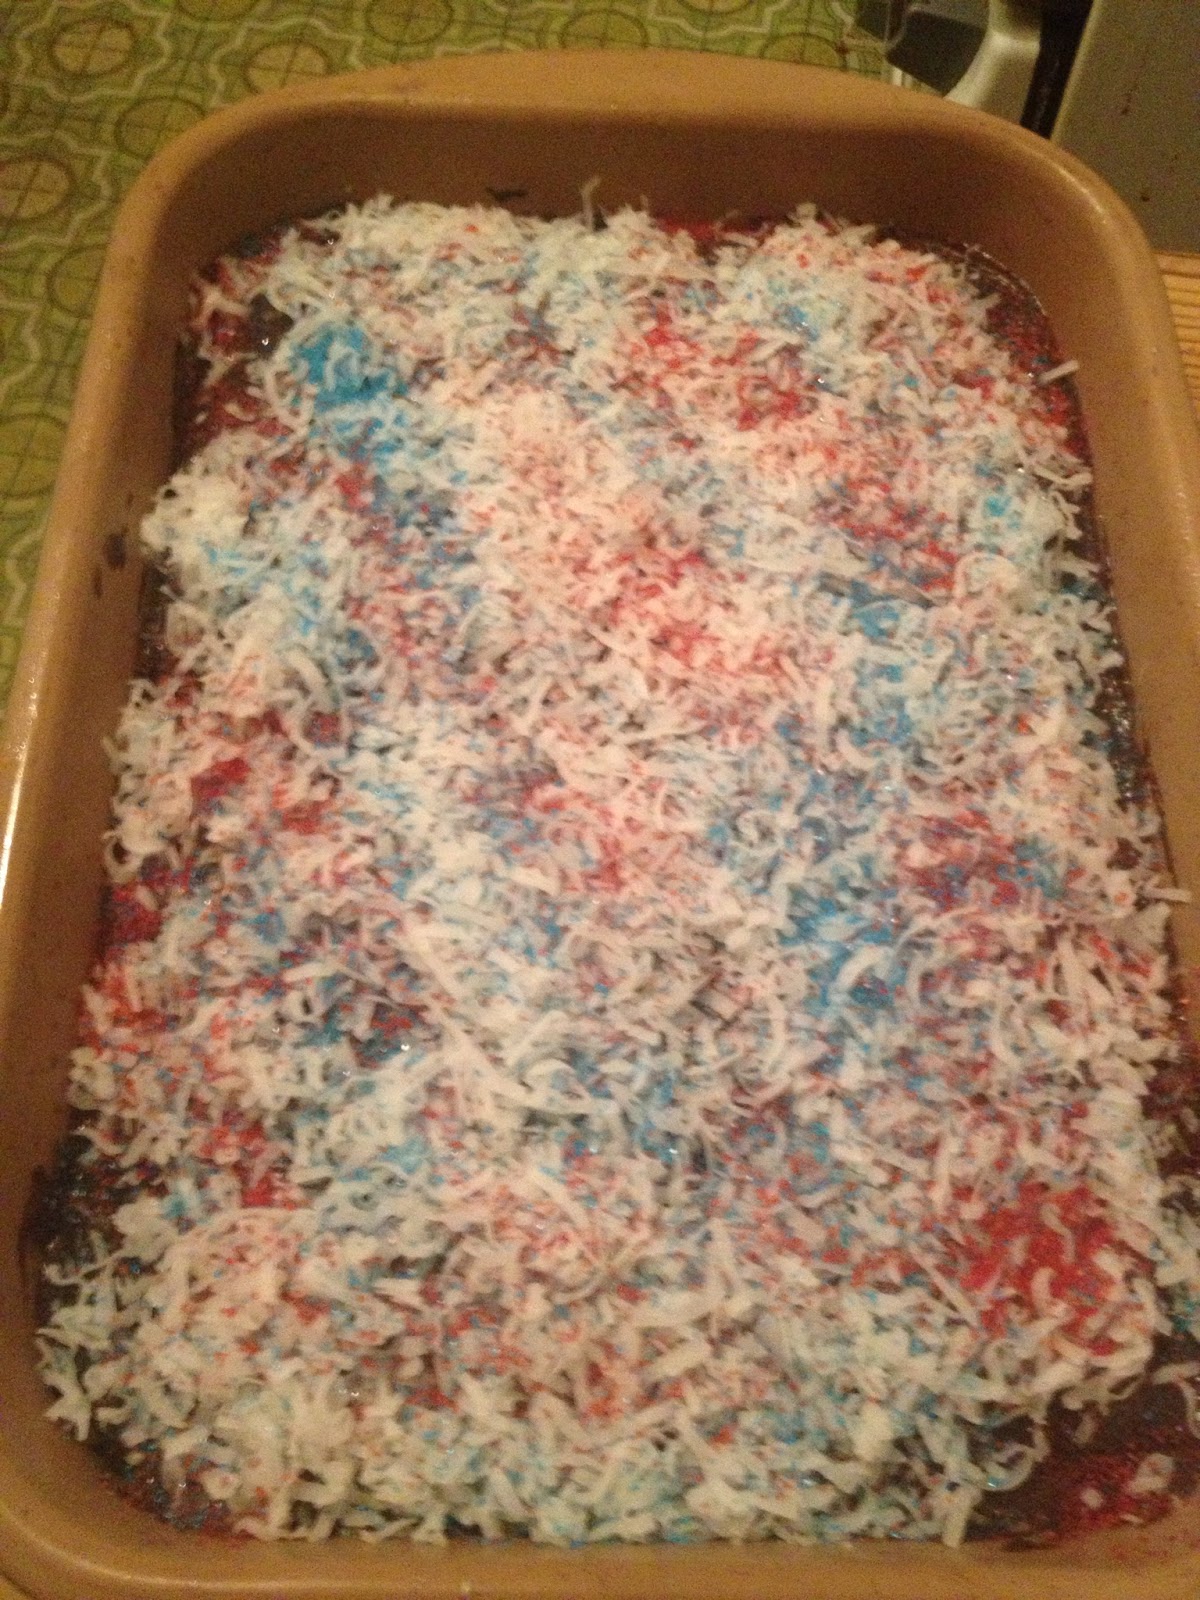
I got a little fancy and made a swirl frosting. I put some beet juice in half of the frosting to make it pink. To make the swirl pattern, put half the white on one side of the bag and the pink on the other then squeeze together (I forgot to take a picture of this, sorry).

When you pipe it on to the cupcakes, the colors swirl together. Because I live in a humid place, I stuck mine in the fridge to set.

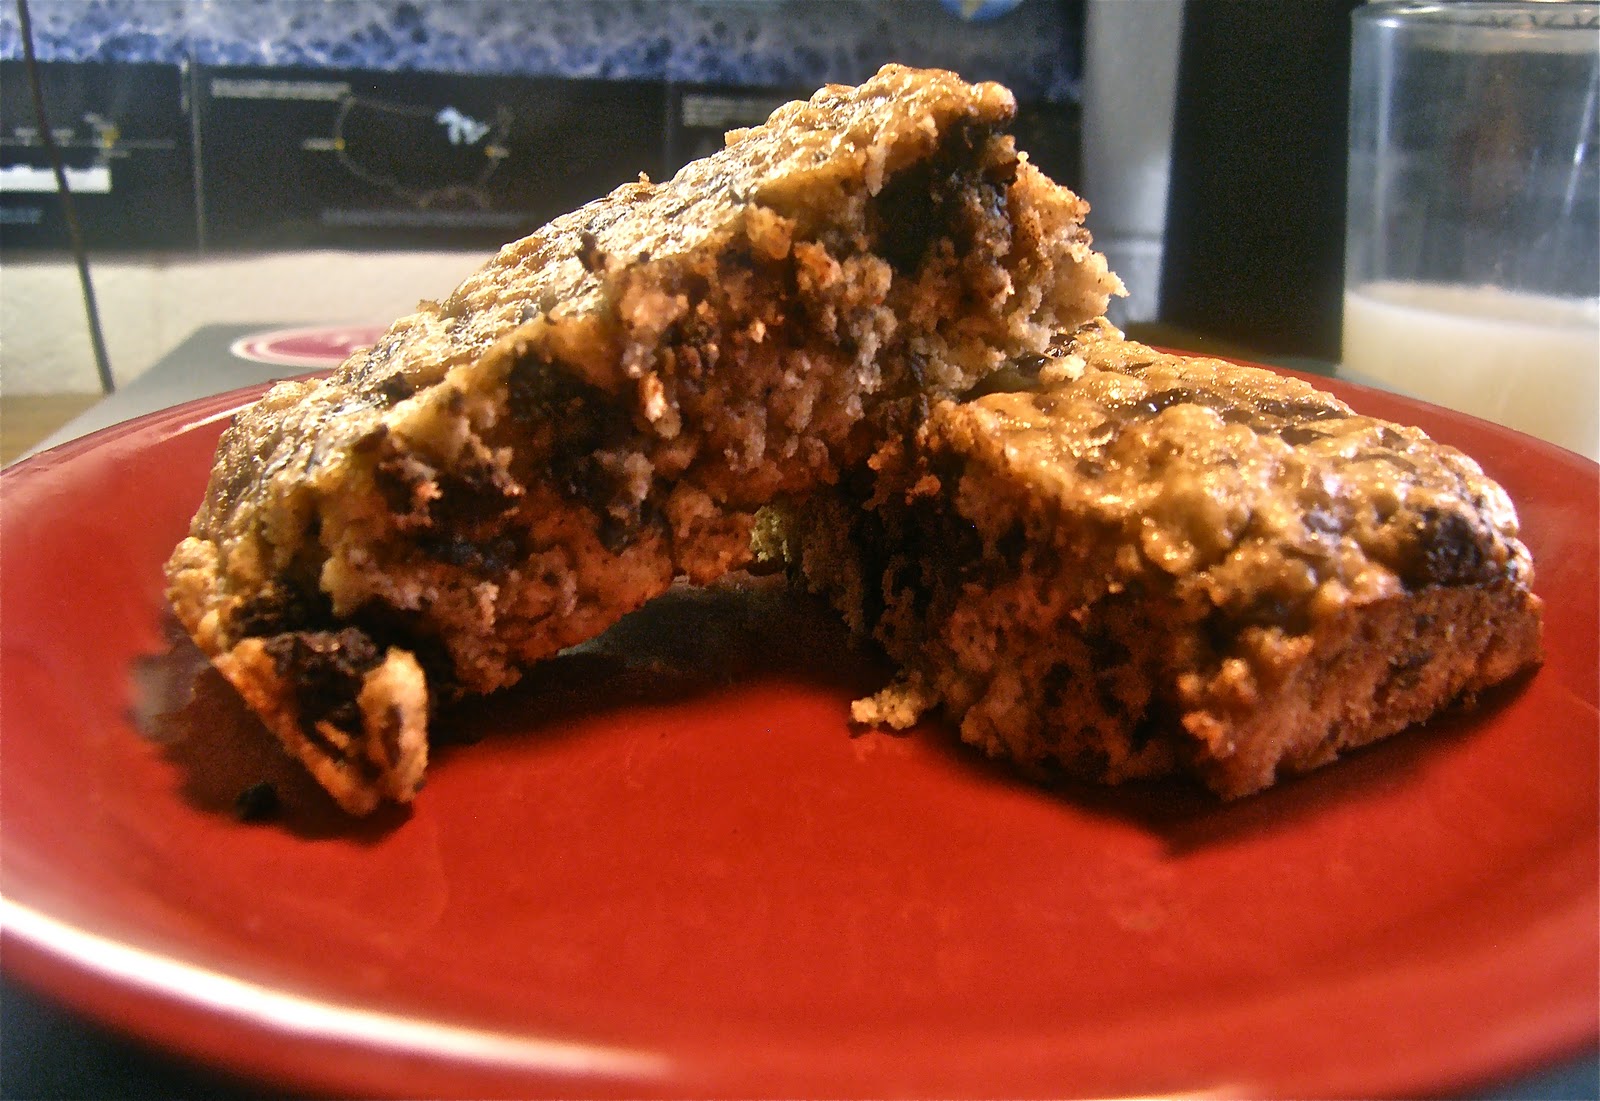
Sweet, moist, and velvety. Just as good as dairy red velvet cake. Sure to please any guest—that is if you want to share. 

Galletas con Chispas de Chocolate…or so Google Translator Says….

Photo from Veg Web user buttercup954

Cookies are one of the best things in the world. And you can still enjoy them as a vegan or even if you are gluten-free like my friend Leslie. She asked me for a gluten-free pumpkin pie recipe at Thanksgiving and I forgot to send her one. To make up for it, I promised to post a recipe for something she misses: chocolate chip cookies.

Unless you are allergic to gluten, there is no reason for you to cut gluten totally out of your diet.  This recipe calls for rice flour, which is gluten free. You can totally use white or wheat flour instead if you do not have a gluten allergy.

Most grocery stores carry rice flour (I bought mine at Safeway), and if not your local health food store will. If you are in Hawaii, Down to Earth sells it in bulk and in bags. Whole food and Trader Joe’s should have it too.

If you can’t find it or just want to make your own, it’s pretty easy. Put dry rice into a food processor and grind into a fine powder.

I, as a broke college kid, do not have a food processor, so if I need to make rice flour, I use my blender. It gets the job done but it takes a lot longer and does not get the flour super fine.

Get it as powdery as you can

Whether you use a food processor or a blender, it’s best to work in small batches, 1 to 3 cups at a time depending on your machine. This ensures all the rice is powdered evenly, because the last thing you want when you bite into a soft chocolate chip cookie is a big rice grain.

I adapted a recipe from Veg Web called Happy Vegan Chocolate Chip Cookies. If you read the comments on the post, the most common complaint is that the dough is either too crumbly or will not come together at all. The first time I ever made it, the dough held together but turned into a crumby mess when I baked it. The users who had the most success are the ones who made a few alterations to the recipe, so I caution you about following the exact recipe listed.

As for the “vegan” ingredients, you can find them in most normal grocery stores just like the rice flour.  Vegan butters, or “buttery spreads” as they are sometimes called, are made from oil or soy and will do just as good a job as milk butter. I like Earth Balance, which most stores carry. You probably won’t need to go to another store for the vegan chocolate chips either. Just read the labels. Find a package that has no milk or milk products–which includes whey and casein. Usually darker chocolates are the dairy free, and have more antioxidants in them too. 

Galletas con Chispas de Chocolate (Leslie’s Bolivian, hence the Spanish) 

Happy Vegan Indeed

2 cups rice flour
1 tps baking powder
1/2 tps salt
1/4 tps cinnamon (Optional, I don’t taste the difference but cinnamon is great for your metabolism so why not) 
1/2 cup vegan butter
1 cup raw sugar or 1 and 1/2 cups brown sugar
1/2 cup vanilla soy milk (Or, use plain plus some vanilla extract)
2 tbs flax speeds (Optional, it doesn’t change the taste but adds fiber)
1 cup vegan chocolate chips

Pre-heat oven to 350 degrees F.

In a large bowl, mix together the flour, baking powder, salt and cinnamon.

In a separate bowl, cream together the butter, sugar, soy milk, and flax seed.

Add the wet to the dry mixture, and add the chocolate chips. Mix until it forms a ball. It may be crumbly, but add a little more milk if it just a big crumbly mess. It should be able to hold a shape.

Spoon tablespoon-sized rounds onto an ungreased cookie sheet and bake for 7-10 minutes. Or,  if you prefer bars like me, spread the dough evenly in a baking pan and bake for 15-20 minutes. The cookies, or bars, will be slightly golden, and soft—softer than you think they should be. Let the cookies rest for a few minutes before removing them from the sheet or pan, they stiffen up as they cool.

Mine came out chewy and soft, just how I like them. A nice break from my math homework. Hope you like them Leslie!