Peas and Carrots Gravy, Brought to you by Foodbuzz and Green Giant

You know what is even better than delicious vegetables? Free delicious vegetables! Foodbuzz Tastemaker program selected me for a free product coupon from Green Giant. I’ve preached the benefits of fresh produce on my blog several times before, but I sadly know that fresh produce is impractical for some people. Sometimes life gets in the way of using that lovely fresh spinach or broccoli that you bought with the best intentions. You might be too busy, too broke, or have picky kids. This is not an excuse to cut vegetables out of diet all together. It means frozen produce is your best bet. And, as if always ripe veggies all year round wasn’t cool enough, Green Giant has steamer bags. You don’t have to dirty another dish.

I was very excited when my coupon came in the mail, mainly because I hardly ever win things. But sadly, when I got to the store, I got a little discouraged. I had a hard time finding a steamer bag product that was vegan. In order to make their products as convenient as possible, some of the steamer bags come in their own sauce, usually a butter or cheese sauce. Now, I want to stress that my discouragement is not Green Giant’s fault. They have several products in their line that are sauce-free and vegan. The lack of options was because I live on an island in the middle of the Pacific. I went to another larger grocery store, I found a bag of delicious Green Giant sweet peas. 

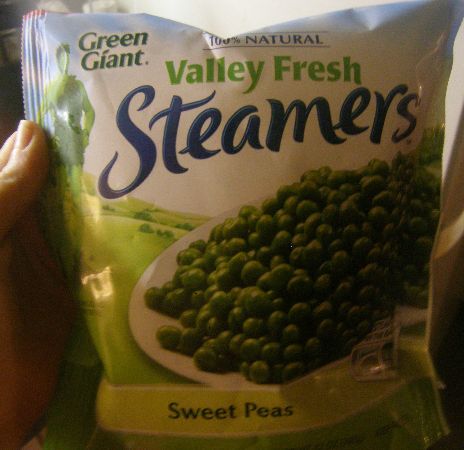
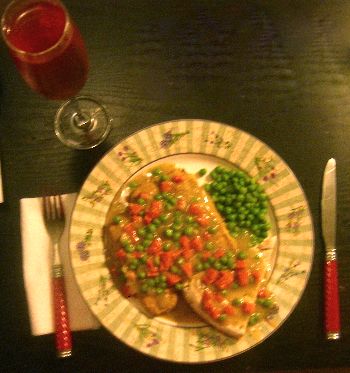
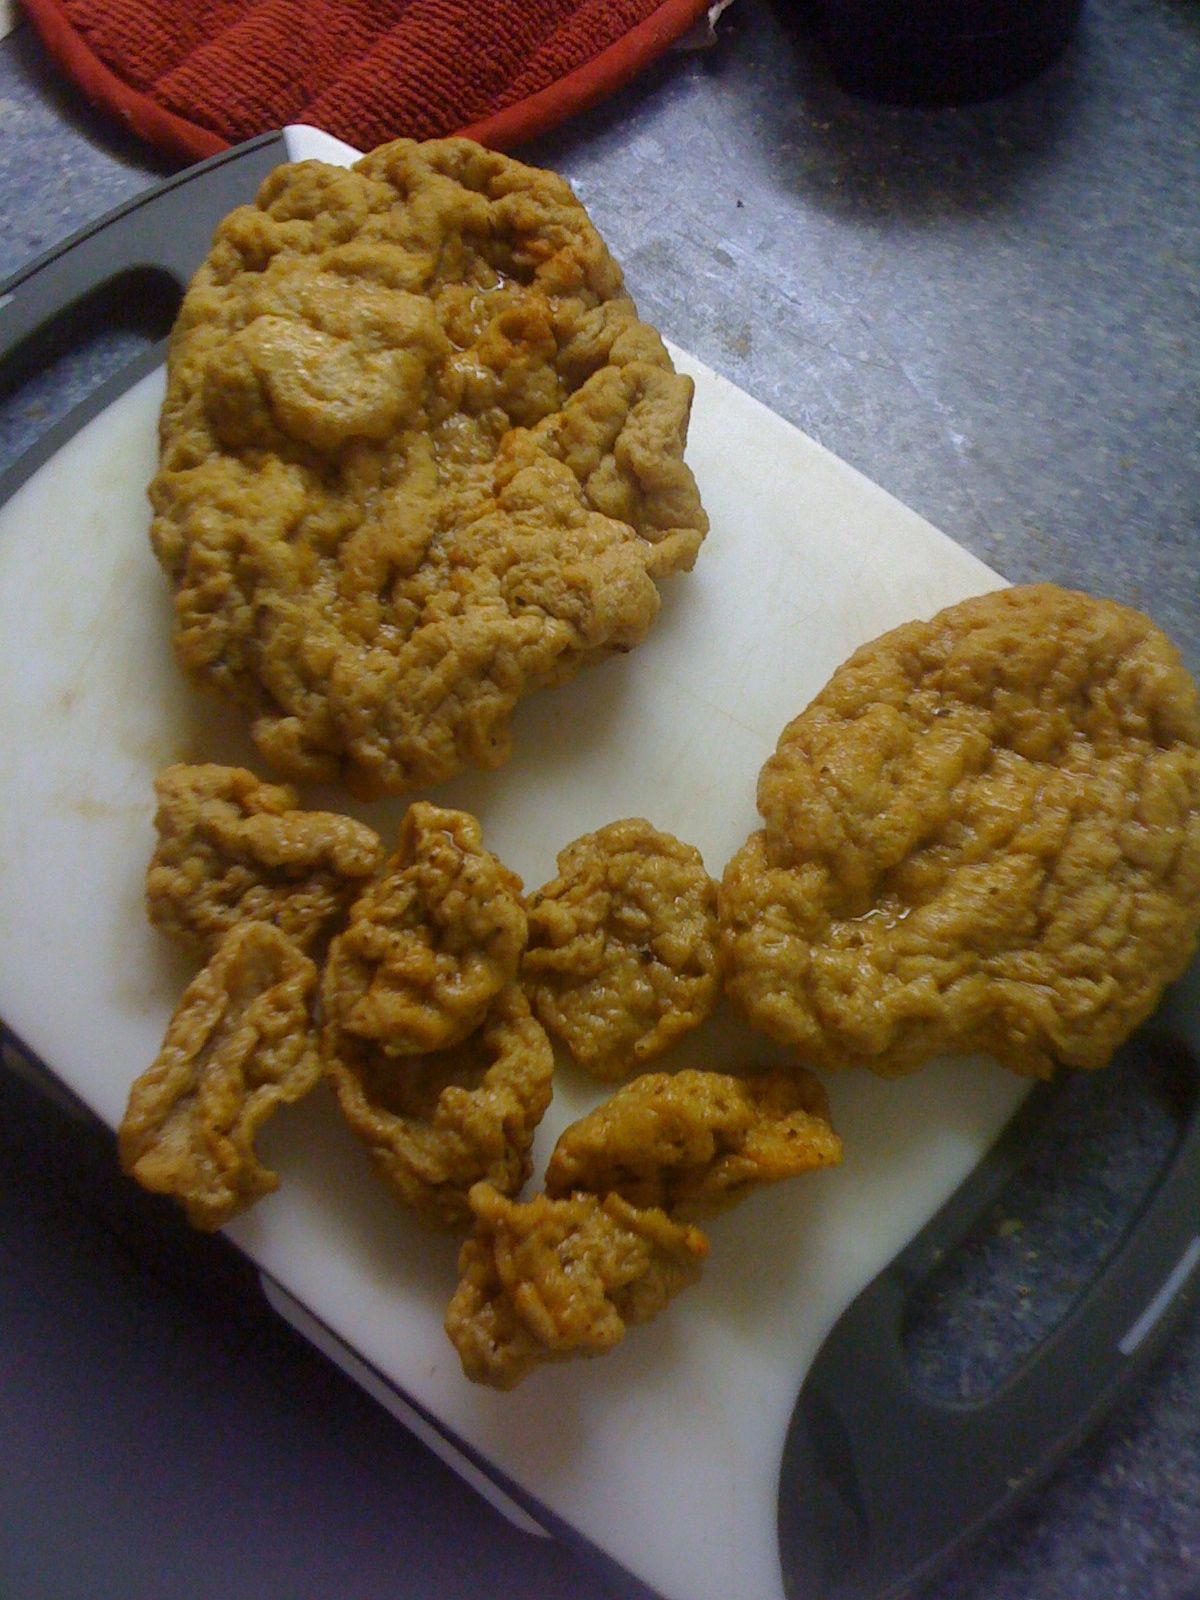
The minute I saw the bag, for some reason I thought of white gravy with peas and carrots. I imagined it over some breaded and baked tofu with a roll on the side. A very tasty Sunday night dinner. 

Peas and Carrots Gravy

1/2 of an onion, minced
3 cloves of garlic, minced
2 large carrots, diced into pea-sized pieces
1/2 bag Green Giant Valley Fresh Steamers Sweet Peas
1/2 cup to 1 cup of water or vegetable broth, for cooking the vegetables 
1 cup vegetable broth
1 tbs soy sauce
1/2 cup flour
2 cups water
1 tsp ground sage
1 tsp oregano 
Salt and pepper to taste 

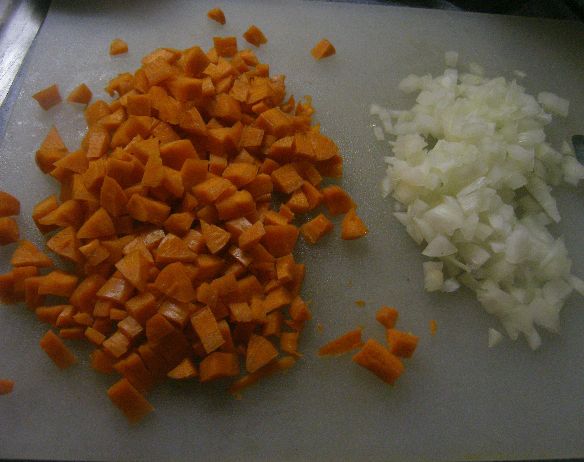
Chop the onions, garlic, and carrots. 

So, realized I didn’t have any oil or butter after I had chopped everything. I didn’t have enough money to run out and buy some, so I thought I would have to postpone this to Friday when I get paid again. Then I remembered a trick I saw on  VegWeb TV’s Youtube Channel. Sauté your veggies in a bit of water or vegetable broth! This won’t work if you want to caramelize, but just cooking through and softening is fine. This also cuts down on the fat too.

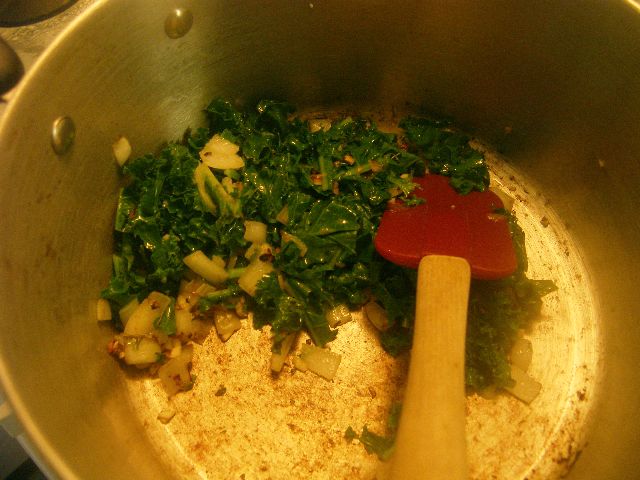
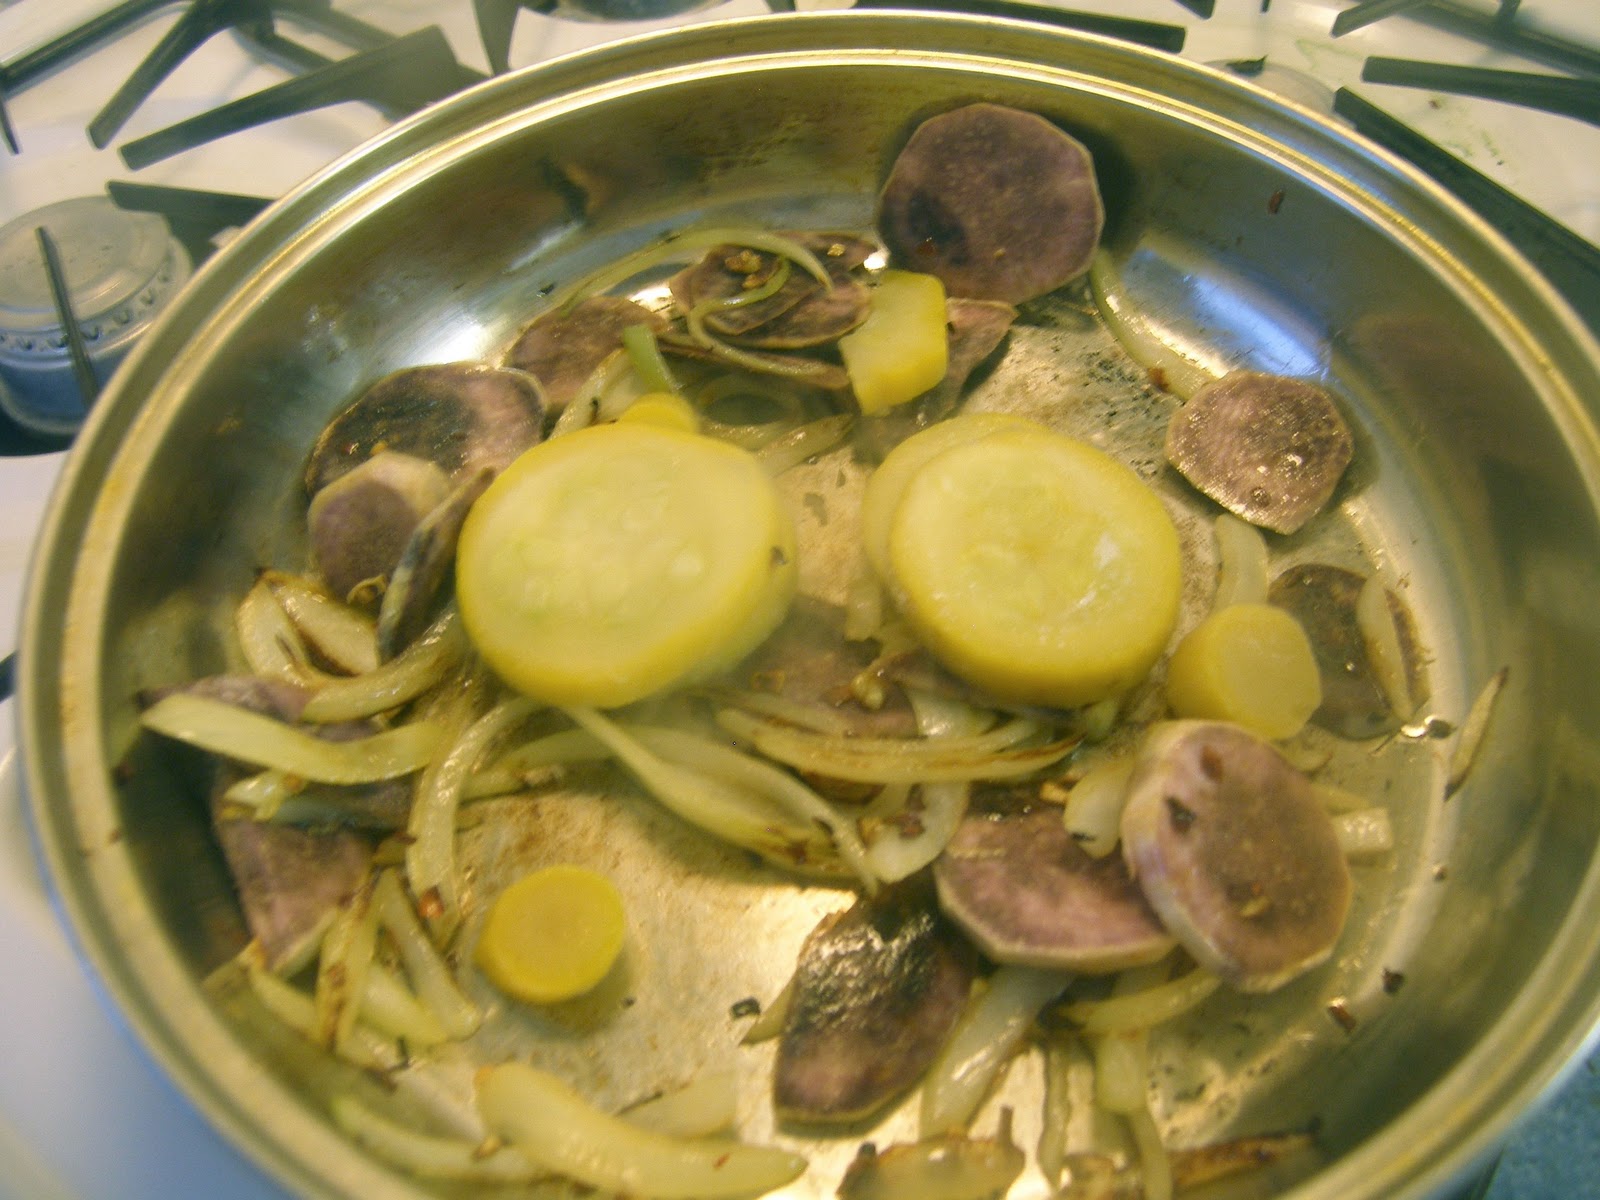
In a large skillet, heat about 1/4 cup of water or broth over medium heat. Once the water is heated, add the onions. Cook until the onions are translucent and the water is mostly gone.

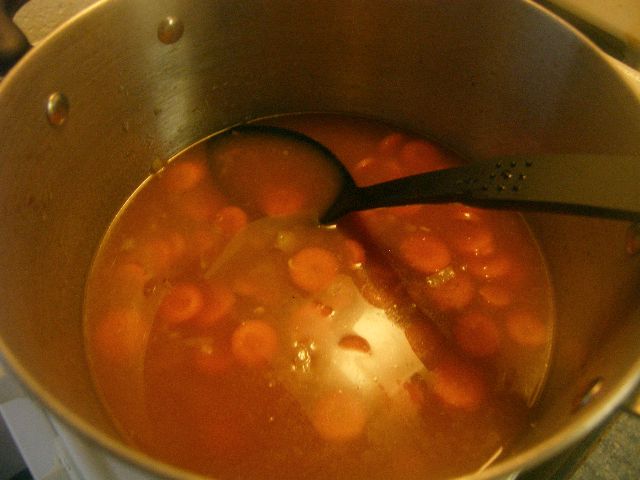
Add some more water or broth, and then add the garlic and carrots. Cook until the carrots are soft and the water is mostly gone. 

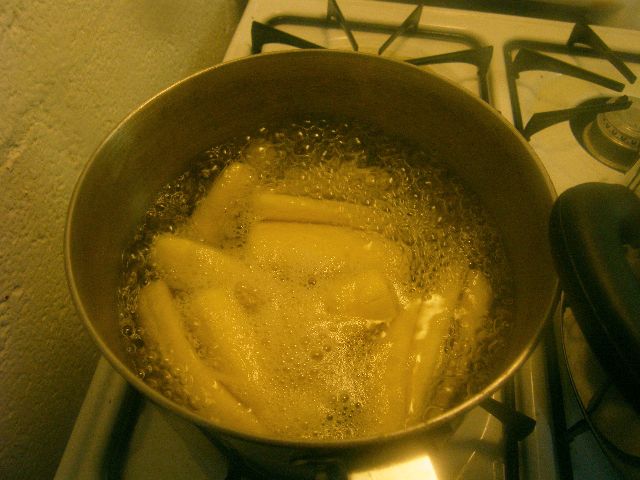
While the carrots cook, microwave the bag of sweet peas according to the instructions. 

Add half the bag to the skillet, and save the rest for either a side dish or for something else. 

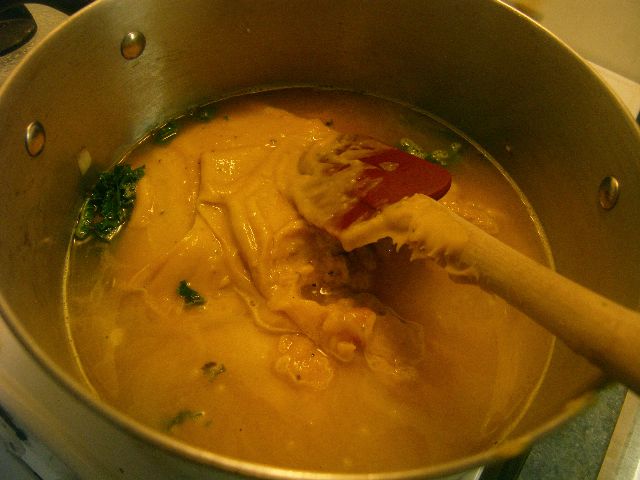
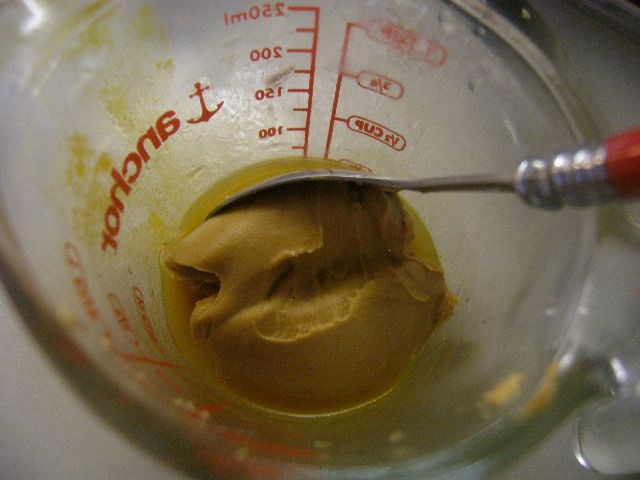
In a small bowl, mix together the 1 cup vegetable broth, soy sauce and flour into a slurry. Mix well to get the lumps out. 

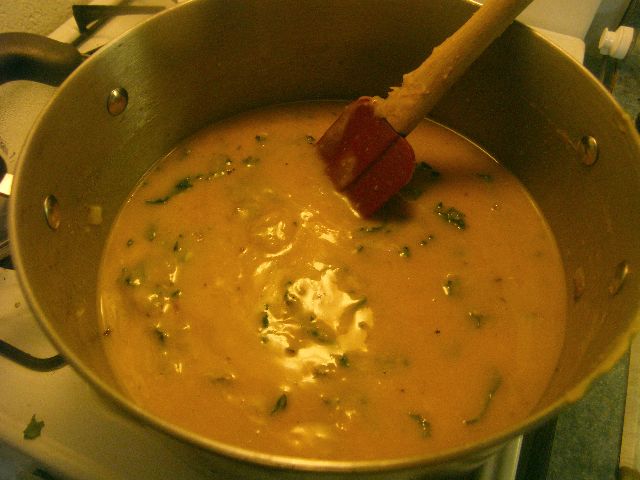
Turn the heat down to low, and add the slurry to the skillet. The flour will start to cook and it will thicken up quickly. Just keep mixing so it doesn’t get lumpy. 

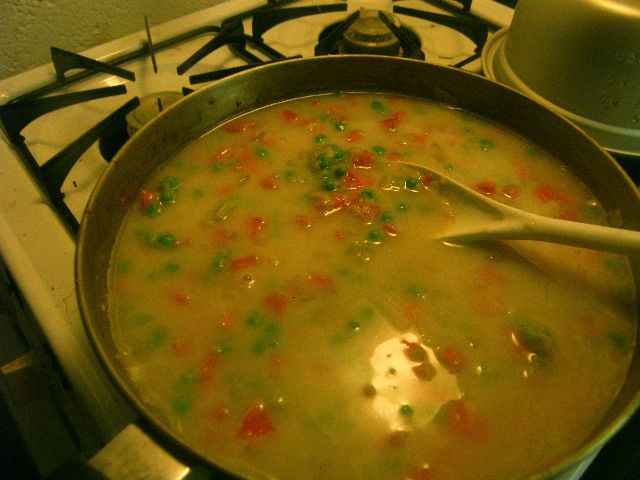
Add the final 2 cups of water and continue to mix until smooth. 

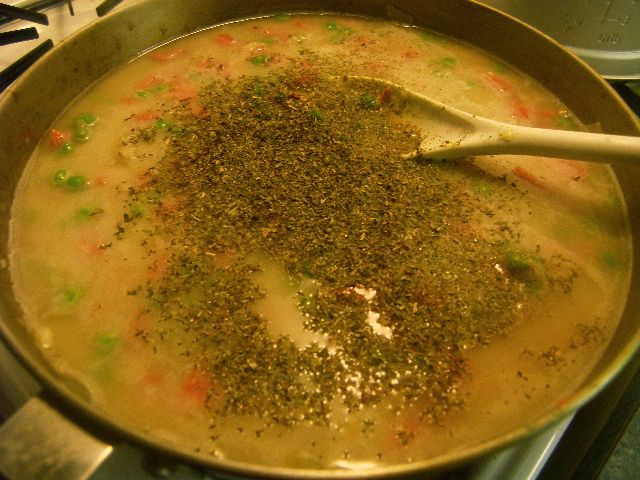
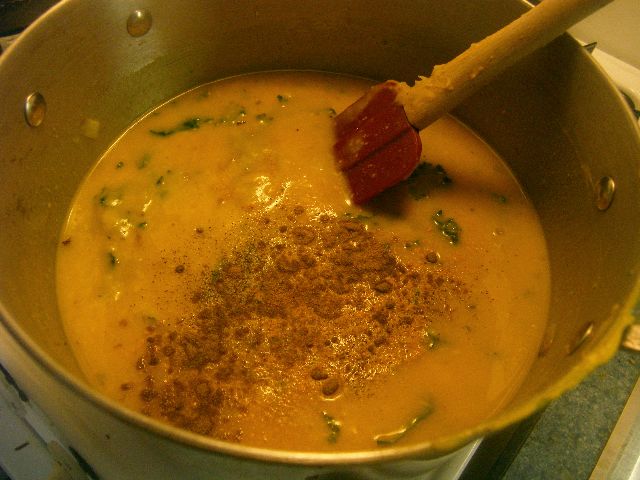
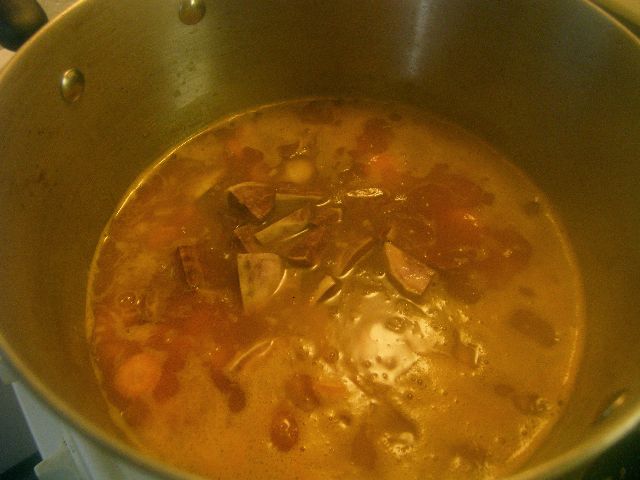
Add the sage, oregano. Season with salt and pepper to taste. 

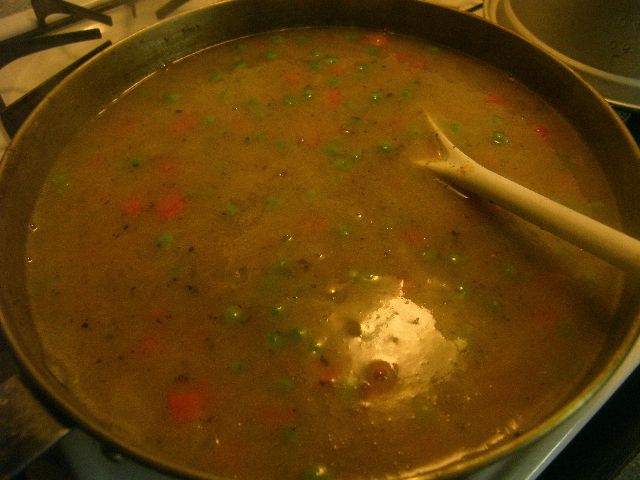
Let it cook a few more minutes on low to thicken up. 

I served the gravy generously over some breaded tofu from my South Dinner post, except I baked it instead of frying it, and a homemade roll. I even had some peas on the side for some extra green. 
The gravy is creamy, rich, and just a hint of sweetness from the peas. I will happily be eating the leftover gravy for the next few days. Thank you Foodbuzz and Green Giant! 

Indian Inspired Pizza

I have toyed with the idea of making an Indian style pizza for awhile. Should it be on naan bread? Should I try to make my own naan bread? Cheese or no cheese? Curry sauce? Tomato sauce? I could never make-up my mind so I never made it. This Friday, I really wanted some curry spice for dinner so decided to just give it a try and tweak is next time I make it. I decided to make it on normal pizza dough for now, no cheese, and both curry and tomato sauce. It came out pretty good but I think naan bread would be better for next time.

Indian Inspired Pizza
1 ball of pizza dough (try mine)
1/2 cup hummus (try mine)
1/2 cup diced tomatoes
1/2 cup curry sauce (try mine)
1/4 cup frozen spinach
1/4 cup frozen corn

Pre-heat the oven to as high as it will go .

Microwave the frozen veggies and then stir in the curry sauce.  Set aside.

Roll the dough out into desire shape and thickness.

Spread on the hummus.

Pour on the diced tomatoes.

Lastly top with the veggies.


Bake for 10-15 minutes, until the crust is golden and the toppings are hot. 

I love the contrast between the spicy veggies and the creamy hummus. Went lovely with a glass of rosé. Next time I will attempt to make my own naan. 

Shampoo Free

So, about a month ago I was bored and just repeatedly “stumbling” on StumbleUpon when I came across an interesting blog called Simple Mom. The post was titled “How to Clean Your Hair Without Shampoo,” and it described how to clean your hair using diluted baking soda as shampoo and diluted vinegar as conditioner. I was intrigued, a cheap, non-toxic, and non-damaging way to wash your hair? That’s a broke college girl with a giant head of colored-treated hair’s dream! But then I saw her and her family’s photos of lovely short, fine hair and became a little discouraged. I thought there was no way measly baking soda and vinegar could tame my lion’s mane.

Then I thought about it some more and realized that my normal shampoo and conditioner routine was not really working either. My hair would be so insanely dry that I needed to deep condition at least once a week. My hair would also be so frizzy at times that I need styling several products to keep it smooth and shiny.  Plus, not to mention I’ve been coloring my hair since I was 14 and years blowing, straightening, and curling. I have always been complimented on my hair, but I would always want to scream back “Do you know how much effort it takes to get it to look like this!”
In the blog, she claims she uses no styling products at all, and this part brought back some hope. It would be so nice to not waste money on mousse, gel, and leave-in conditioner each month. Then I did some math, and even though I buy the cheap stuff, I still spent like $20 a month a hair products. A big box of baking soda and big jug of vinegar would only cost around $10, and could last 2-3 months.

Lastly, in her blog she mentions that shampoo is essentially detergent and it strips your hair of its natural oils. Those oils are what make your hair shiny and healthy in the first place. And not to mention detergent can be toxic and can pollute the water supply. Sodium bicarbonate (baking soda) and acetic acid (vinegar) are both natural substances that are proven effect as gentle cleansers. 
Keeping all this in mind, I thought “why not?” The worst thing is I don’t like the results and go back to using shampoo and conditioner. I rinsed out two empty shampoo bottles and decided to got for it. 
Now, my hair is baby fine but I have tons and tons of it and it’s down past my shoulders too. So I decided to make my solutions a bit stronger to conquer my mass of hair. For the shampoo, I used the bigger bottle and mixed about 1/4 cup of baking soda with 3 cups water. For the conditioner, in the smaller bottle, I filled it almost half way with vinegar and the rest water.  
Right after the first shower, my hair felt great. It wasn’t till the next afternoon I noticed my scalp was very greasy. In the blog, she mentions that it takes awhile for your hair to adjust since it was used to having its oil stripped away with detergent. This went on for about a month, my hair would be great for a few hours then turn into a grease pit. It felt so icky and I was tempted to revert back to shampoo. I am one of those peoples who believes in proper hygiene as courtesy to others, so it bothered me greatly. To be honest, it was pretty much all in my head. No one noticed my hair was slightly more greasy than normal. And it didn’t really look that different. My acupuncturist does some points in my head and she said she couldn’t really notice anything. 
At first I washed my hair everyday (mainly out of my own self-consciousness), then it got a little better so I switched to every other day (like I did with shampoo). Then this past saturday when I got off work, I went to take a shower and had a realization: my hair was not dirty three and it had been 3 days since I last washed it. I started to brush my hair out before I got in the shower and noticed it was still fresh and shiny. No grease, no knots, and still had bounce. I put it up in a bun and took a bath instead (I do believe in bathing your body daily, the whole courtesy idea).  I couldn’t believe it when I woke up the next morning and took the bun down—it was still lovely. It actually worked. 
I would highly suggest going shampoo free to any one. Give it a try, if you don’t like it, you can always switch back. If you can tough out transition period, I promise it is worth it. Just look for yourself! 

Bloody Sangria

My friend had a Halloween party last night and I wanted something fun to drink. I was searching for Halloween cocktails while watching Semi-Homeade Cooking with Sandra Lee. She made Sassy Sangria and decided to make a blood-red sangria. I didn’t originally plan posting this, but it was so delicious I felt the need to share.

Sangria is a wine-based punch that originated in Spain and Portugal. It consists of mixture of wine, brandy, seltzer/ginger ale, and fruit pieces. Brandy is not something I normally drink so I added a bit of tequila instead. Also, Walmart did not have ginger ale for some reason, so I used Sprite instead. I normally don’t drink soda at all, but once in a while it’s okay to have a bit extra sugar.


Bloody Sangria
1 bottle of Cabernet Sauvignon
4 oz tequila
1 orange, sliced
2 limes, sliced
1/2 liter of Sprite

Pour the wine into a large pitcher.

Add the tequila.

Drop in to the orange and lime slices.

Chill in the fridge for 3 hours or overnight if you have the time.

Before serving, add the Spite.

If you want it “bloodier,” you can add some grenadine and some fake spider.

I hope you all have a happy and safe Halloween! Keep an eye on your keiki (Hawaiian for kid) and please don’t drink and drive. Also, please keep your pets indoors if possible. There are sick people who torment cats for fun or witchcraft.

I was one happy bunny. 

Kabocha Squash Soup

I love when good things are cheap. My local health food store had variety of locally grown squash on sale. The minute I saw them, I thought of hot bowl of creamy soup. I first picked-up a butternut squash but then a lovely little green one caught my eye. I didn’t know what kind it was but it wad lighter (hence cheaper) so I bought it. After a bit of Google and asking my mom, I learned it was a kabocha.

Kabocha is a Japanese winter squash. It looks like a squat green pumpkin. It has the texture of pumpkin but tastes more like a sweeter butternut squash. It is high in iron, vitamin C, and potassium. It’s meat is bright orange and it’s packed full of seeds too (I roasted them, a bit chewier than pumpkin seeds but still good). 
I came up with this recipe on my own, but it’s pretty much like any basic squash soup. This would also be wonderful with most other squash varieties as well. 

Kabocha Squash Soup

1 kabocha squash
1/2 cup coconut milk
2 cup vegetable broth 
1 onion, diced
2 cloves garlic, diced
2 cups of kale, chopped
3 cups water
1 tsp cumin
1 tsp turmeric
1 tsp chili powder
Salt and pepper to taste

Pre-heat the oven to 400 degrees. 
Cut the squash in half and scoop out the seeds. 

Spray a baking sheet or pan with cooking spray and lay the squash cut side down.

Bake for about an hour, until totally soft. 
While that roasts, chop up the veggies. 

In a large pot, heat a some oil and sauté the onions until translucent. 

Add the garlic and cook for a few more minutes. 

Add the kale and cook until tender. Add the 3 cups water. Remove from heat and set aside. 

Once the squash is done and cooled, scoop out the meat into a blender. 

Add the coconut milk and vegetable broth. Blend until smooth. You may need to add a bit of water if it’s too thick.  ( I don’t know what happened to the picture of this step, sorry!)

Add the squash puree to the pot and turn the burner on to medium-low heat. 

Add the spices and salt and pepper to taste. Bring up to desired temperature and serve hot. 
I have a bit of a cold again so I had my with a lovely glass of Theraflu. Hopefully the vitamin C in the squash will do me some good. 

Pindi Chana

I fell in love with Indian food while I was studying abroad in Australia. There was a little place right on campus that was pretty cheap. It was also conveniently on the walk back from the tram so I would get some when I got off work on occasion. The menu rotated every day but there was the usual selection of curries, chutneys, and such. I have looked-up the recipes for some of my favorites before, but they scared me. Tons of weird spices, ingredients I have never heard, and insanely long cook times. But the other day I wanted something spicy so I decided to search for a simple recipe (there had to be one, India is a very big country, someone has to be lazy like me!) I came across a site called Indian Food Forever and found some really tasty sounding recipes. Then I saw it—a recipe that was easy and I had almost everything it called for already. And It has chickpeas, one my favorite foods.

Pindi chana is pretty much curried chickpeas. What intrigued me the most about the recipe was that the chickpeas are soaked overnight with teabags. This give them a deeper, earthier flavor that stands up against the curry. I cannot find much information on the origins of the dish, the one website I found was half in Hindi, which I sadly cannot read. 
Chickpeas, or garbanzo beans if you prefer, are one of the oldest vegetables know to man. They have been around since biblical times and even spread to the Roman Empire. Apparently some cultures even use them as substitute for coffee (I think I will stick with my Kona coffee). Chickpeas are high in zinc, fiber, folate, and protein. I love to make hummus with them or have them cold on a salad.

Pindi Chana
1 cup dry chickpeas
2 bags of black tea
1 onion, chopped
1 two inch piece of ginger, chopped
2 clove of garlic
1 green chili, de-stemed and chopped
3 tomatoes, chopped
2 tsp cumin
1 tsp turmeric
1 tsp chili powder
1tsp curry powder
1/2 tsp cinnamon
Salt to taste

Rinse and pick through the chickpeas. Cover with water and add the tea bag. Soak for at least 6 hours, I left mine overnight.

Drain the chickpeas and add to a large pot. Cover with water, cover and cook until tender, about 25 minutes.

Reserve 1 cup of the cooking liquid and drain off the rest.

Heat some oil in the pot over medium heat. Add the chopped onions and sauté until golden.

Add the chopped ginger, garlic, and chili sauté for another a minute or two.

Add the tomatoes, reserved liquid and all the remaining spices.

Simmer uncovered until the majority of the liquid is absorbed.

I garnished mine with some more spices. I didn’t feel like waiting for rice to cook, so I threw a sweet potato in the microwave for a minutes and served my pindi chana over it. I loved the orangey-yellow color palate.

Mashed Plantains

I mentioned yesterday in my Sopa de Mani post that I had a side of mashed plantains. They were so good I decided to give it it’s own post. I have wanted to cook something with plantains for awhile now. I’ve never had them before, but I see them all the time in the Hilo Farmers Market. I finally bought some this weekend and then searched for a recipe. I kept finding various ways to to fry them, which does sound delicious but not the healthiest. Then, I found one for mashed plantains. Made just like mashed potatoes, but boiling plantains and adding a bit of spices. I loved the idea and thought it was the healthier option.

Plantains are less sweet and starchier than bananas. Common in the tropics and along the pacific, they are a staple in South and Central America cuisine. They need to be cooked before eaten and are usually eaten while still green (I used yellows ones because I did not know green ones are better for cooking). Like bananas, they are high in potassium and fiber.

Mashed Plantians
2 large plantians
1 tsp butter
salt and pepper
chili powder
red pepper flakes

First, peal the plantains. This is best done by first cutting off the ends.

Then making an incision into the peal length wise. You might make another on the other side too.

Then pull the peal off.

Next remove the seeds inside. Cut the plantain in half.

Then cut just to the side of the seeds.

Now cut off the top strip with the seeds.

Cut the plantains into smaller pieces so they fit into the pot better.

Add to a large pot or saucepan and cover with water.

Bring to boil over high heat and cook until tender.

Drain and return back to the pot. Add the butter and mash until smooth. You may need to add a bit of water to help the texture.

Add the seasoning to taste.

Taste similar to bananas but a bit starchier. Sweet with some spice, but neutral enough to go with most main dishes. I even ate the leftovers for breakfast the next morning.

Sopa de Mani: Bolivian Peanut Soup

I was chatting with my Bolivian friend Leslie again and decided to make another Bolivian dish. I wasn’t sure what I wanted to make and did not want to have to go buy tons of ingredients. After some searching on the web, I came across a recipe for soap de mani and thought it sounded amazing. It’s a peanut base soup traditionally made with chicken, raw peanuts, and carrots. It’s a little thick and sweet from the carrots. In Bolivia, soups can be a starter or main course (just like everywhere else I guess….). I left out the chicken and used purple sweet potatoes because that is what I had on hand. I found a recipe that skipped the whole raw peanut boiling step by using natural peanut butter instead. Yeah, I know it is not the traditional way, but I do not have the money to buy whole raw peanuts nor the patients to wait for them to cook down. And, since I found this recipe on an international recipe site, I am sure plenty of Bolivians cheat with peanut butter too.

Peanuts are native to the tropical regions of America. They are high in protein, vitamin B3, and vitamin E. They are also a good source of fiber and antioxidants. They were consumed by the Aztecs, who even mashed them into a paste. But modern day peanut butter is quiet different than the paste the ancients ate. Most modern versions of peanut butter roast the peanuts first, and include oil to make it more spreadable and sugar to make it sweeter. Although peanuts have some health benefits, the peanut oil or other vegetable oils added to peanut butter are still fats so it should still be eaten if moderation. And natural peanut butter, meaning it is only ground up peanuts and a bit of unprocessed peanut oil, is always the best way to go. No one needs the added sugar of processed peanut butter.

This recipe is based on one from Whats4Eats called Soupa de Mani. That recipe serves 4, but I cut mine down to serve 2.

Sopa de Mani
1/2 white onion, chopped
1 clove of garlic, minced
3 cups vegetable stock
3 carrots, sliced
3 small potatoes (I used purple sweet potatoes), peeled and cut into bite size pieces
1/4 cup natural peanut butter
Red pepper flakes
Salt and pepper

Chop the onions, mince the garlic, slice the carrots, and cut up the potatoes. Always easier to prep all the veggies before you start cooking.

In a large pot, heat some oil and add the onions. Cook on medium-low heat until translucent.

Add the garlic for cook for a minute or two.

Add vegetable stock and bring to a boil.

Add the carrots and cook for 10 minutes.

Add the potatoes and cook for another 10 minute until all the veggies are soft.

Remove a bit of the hot broth and whisk in the peanut butter to temper it.

Add the tempered peanut butter to the pot and let it simmer for a minute or two. Season with the red peppers flakes, salt, and pepper to taste.

I garnished mine with a bit of basil, not sure if that is Bolivian, but I wanted a splash of green. The soup is creamy and sweet, with a bit of a kick from the red pepper flakes. I loved it, the flavors blend together so nicely. I ate this with a side of mashed plantains, which I will be posting tomorrow.

Sweet Potato and Squash Pizza

I was too lazy to go the store to get ingredients for my friday night pizza, so I decided to use the random veggies I had in the fridge and freezer. Some frozen yellow squash, purple sweet potatoes, onion, and olives. Bit of a random assortment, so I decided to first sauté everything (except the olives) in olive oil, garlic, and Italian seasoning.

Sweet Potato and Squash Veggie Pizza
1 ball of pizza dough (try mine)
1/2 cup pizza sauce (try my mushroom sauce)
1/2 cup frozen sliced yellow squash
1-2 purple sweet potatoes (normal potatoes if you cannot yet purples), peeled and sliced
1/2 medium onion, sliced
1 clove of garlic
1 tbs Italian seasoning
Handful kalamata olives
1/2 cup vegan cheese (I used Daiya)

Pre-heat the oven to as high as it will go.

Cut the sweet potatoes into fairly thin slices. Slice the onions and chop the garlic too.

Heat some olive oil in a large skillet over medium heat. Add the garlic and some red rappers flakes if you want some kick. Add the onions and cook until they start to brown slightly.

Next add the sweet potatoes and cook until they start to brown too.

Add the squash and cook until no longer frozen.

Add the Italian seasoning and mix together well, then remove from the heat.

Next, roll the pizza dough out and shape into desire pan.

Spread on the tomato sauce.

Then the vegan cheese.

Next add the sautéed veggies and top with the kalamata olives.

Cook for 10-15 minutes or so, until the crust is golden.

I love the texture contrast between the sweet potatoes and cheese. It paired nicely with a glass of merlot.

Homemade Seitan II: Seitan Ribs

Awhile ago I posted a recipe for homemade seitan where you wash the starch off all purpose flour dough. It makes a very tasty meat substitute, but it is time consuming and annoying to do. There is an easier way to make your own seitan: vital wheat gluten. It is simply gluten flour, flour that already has the starch removed. I have not bought it before because plain flour is usually cheaper. But I found a small box on sale for $2.99 at my local health food store (two hippies got into a fight in the check-out line so I stepped behind to display to get out of their way and noticed the box on the shelf).

The beauty of vital wheat gluten is there is no washing necessary. Just mix the ingredients, knead lightly, and boil. Takes at least half an hour off the prep time. Awhile ago I saw a blog for BBQ seitan ribs, which I magically cannot find again, so I decided to made a similar recipe.

Vital Wheat Gluten Seitan
1 cup vital wheat gluten 
3/4 cup vegetable broth 
2 tbs soy sauce
2 tps smoked paprika 
1 tps chili powder
1 tps garlic powder
6 cups water or vegetable broth
2 tbs soy sauce
1 tbs paprika
1 tps garlic powder
1 tps cumin
2 cloves of garlic, skin removed and crushed

In a small bowl, add vital wheat gluten. Shift through it a bit to get any clumps out.

Add the remaining 3/4 cup vegetable broth, 2 tps soy sauce, smoked paprika, chili powder, and garlic powder. 

Knead the ball for a minute or so, just until it all comes together and is smooth. 

Let it rest for 5 minutes, then knead a few more times. 

Divide and mold into desired shapes. I tore mine in half, flatten out one half into slab for my rips, and made a patty and nuggets with the other half. 

Add combine the remaining ingredients into a large pot. Add the seitan pieces and cover with a lid. 

Bring to a boil over medium heat. Once it starts to boil, reduce to simmer and cook 45 mins to 1 hour. 

Turn off the heat, leave the lid on and let it cool in the stock.

Once cool, remove the stock. It’s ready to be used right away or can be stored for later.

Seitan Ribs
1 large, flat seitan steak 
BBQ sauce(used any style or brand you like, I used a sweeter one)
BBQ rub (again, any style or brand you like, mine was just a mix of random spices I had in the pantry: paprika, chili powder, turmeric, cumin, and chipotle)

Pre-heat the oven to broil or heat up the grill.

Cut the strips into the steak like rips.

Now brush on BBQ sauce. 

Rub the seitan steak with the BBQ rub. And yeah I know, traditionally you don’t put sauce on it if you have a rub but that what I recipe I based this on said and I like the combination.

Bake for 30 minutes or so, until the seitan has a crunchy blacken crust. I am not sure on the grill time since I don’t have a grill. I really wish I could the site I got this recipe from.

I think I like seitan better this way, but in the end I will go with whats cheapest. So unless vital wheat gluten is on sale, I will just make the flour dough and wash the stretch out. But I will totally make these ribs again sometime. They are chewy and smokey, so delicious. 

Seitan ribs, green beans, and olive bread.