
Like I have said before, Michael is usually no help when it comes to figuring out something for dinner. But tonight he actually said pot pie! I had all the ingredients already so I was more than happy to oblige his request.
I made the crust using Bisquick because it was what I had on hand, and I used fresh veggies too.
This recipe makes two small personal-sized pies.

Veggie Pot Pie
Crust:
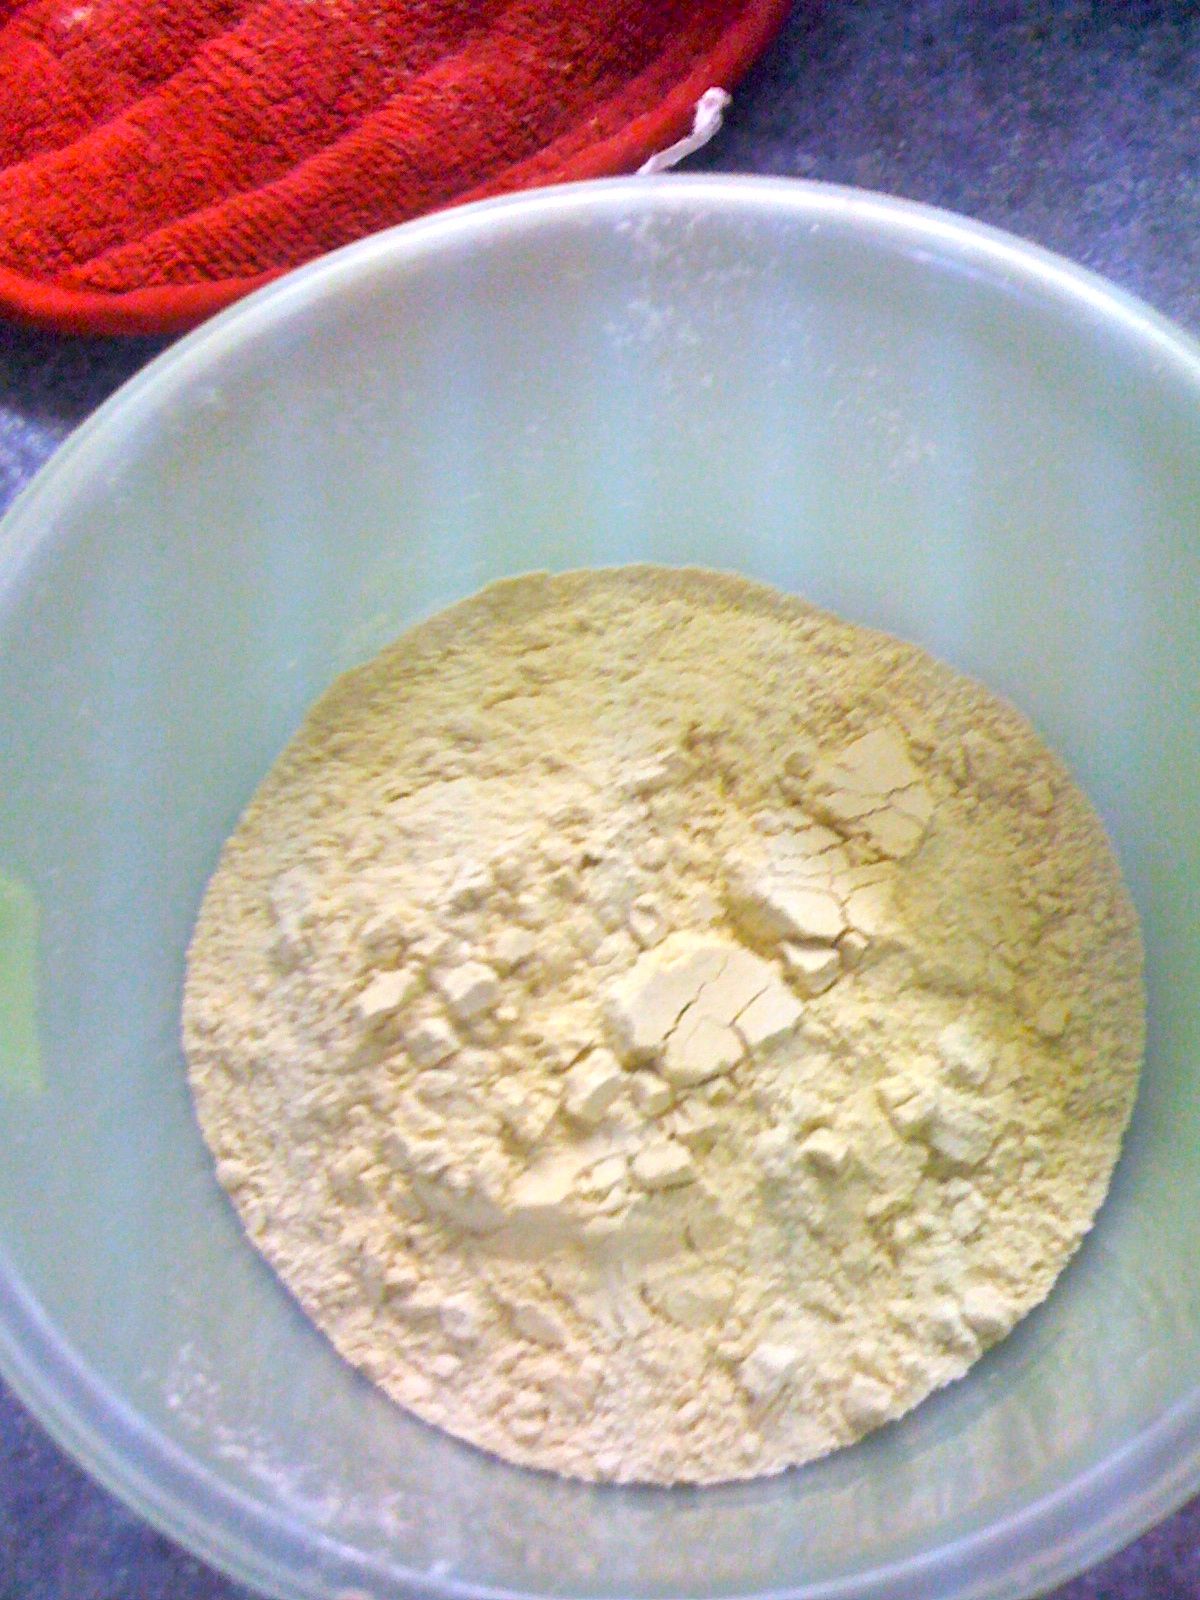
2 cups Bisquick
1/4 cup soy milk
Filling:
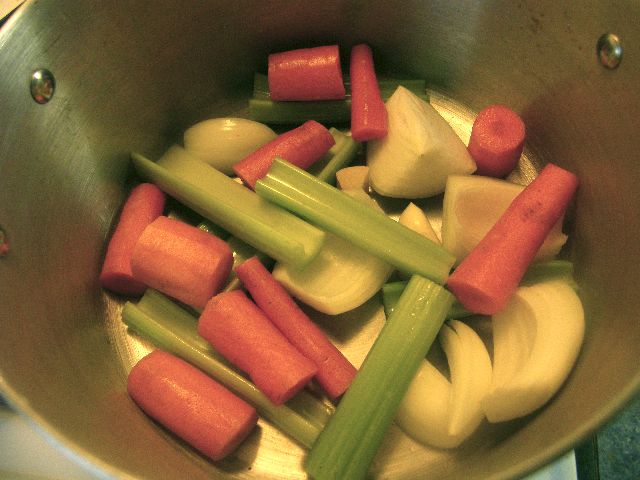
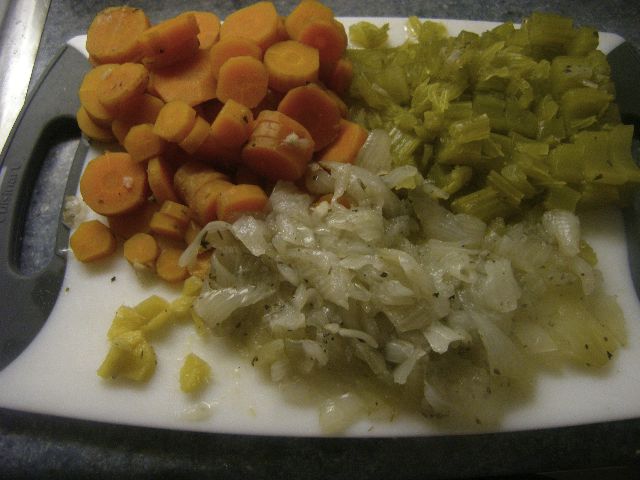
2 large carrots, chopped finely
1/2 medium onions, chopped finely
4 stalks of celery, chopped finely
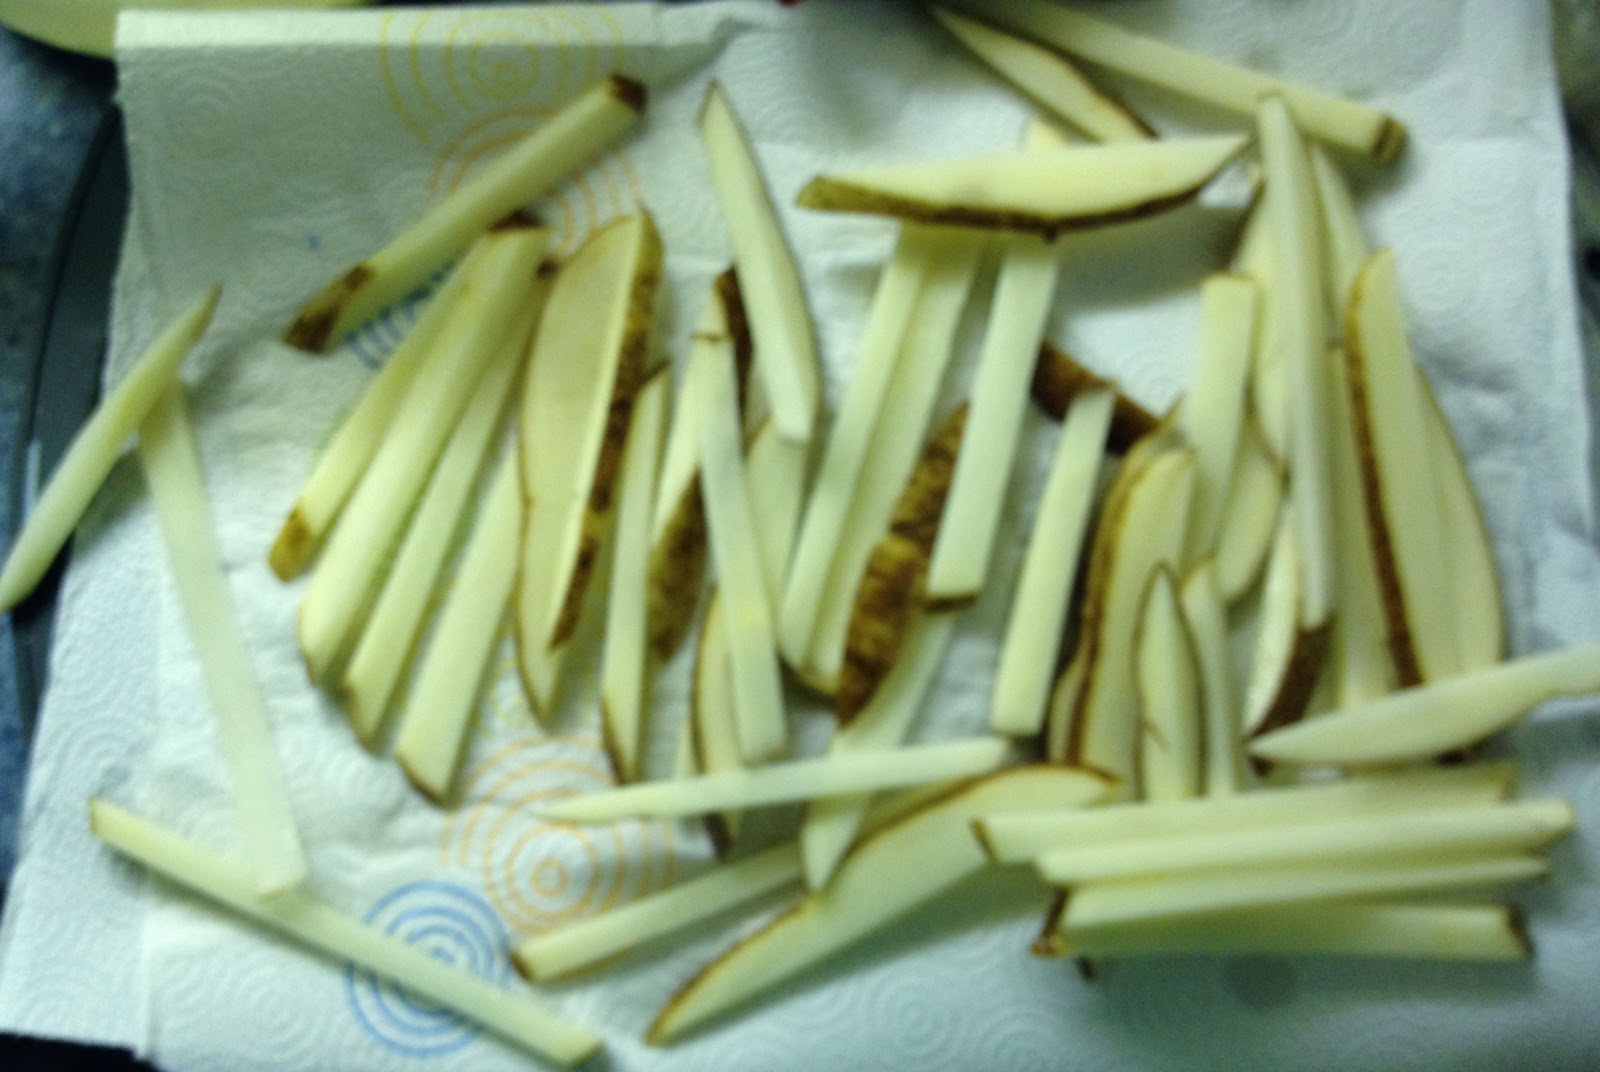
1 large potato, cut into small pieces
5 tbs flour
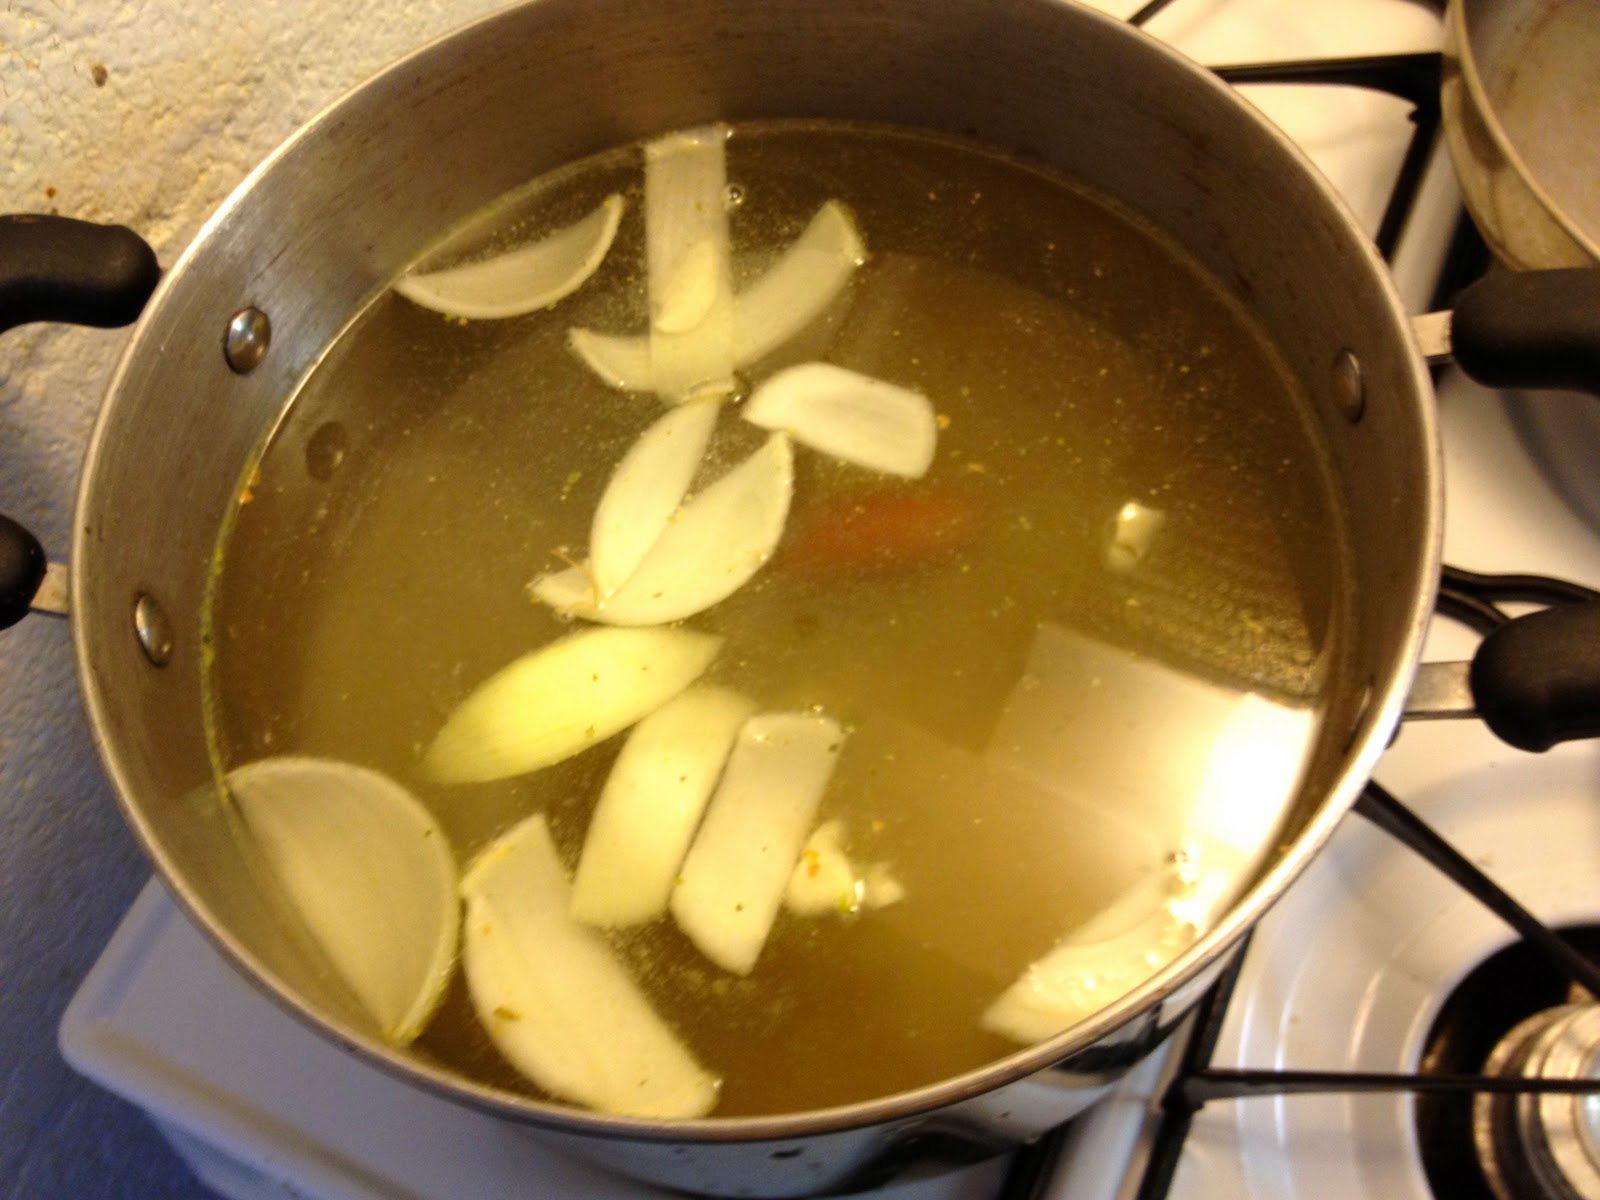
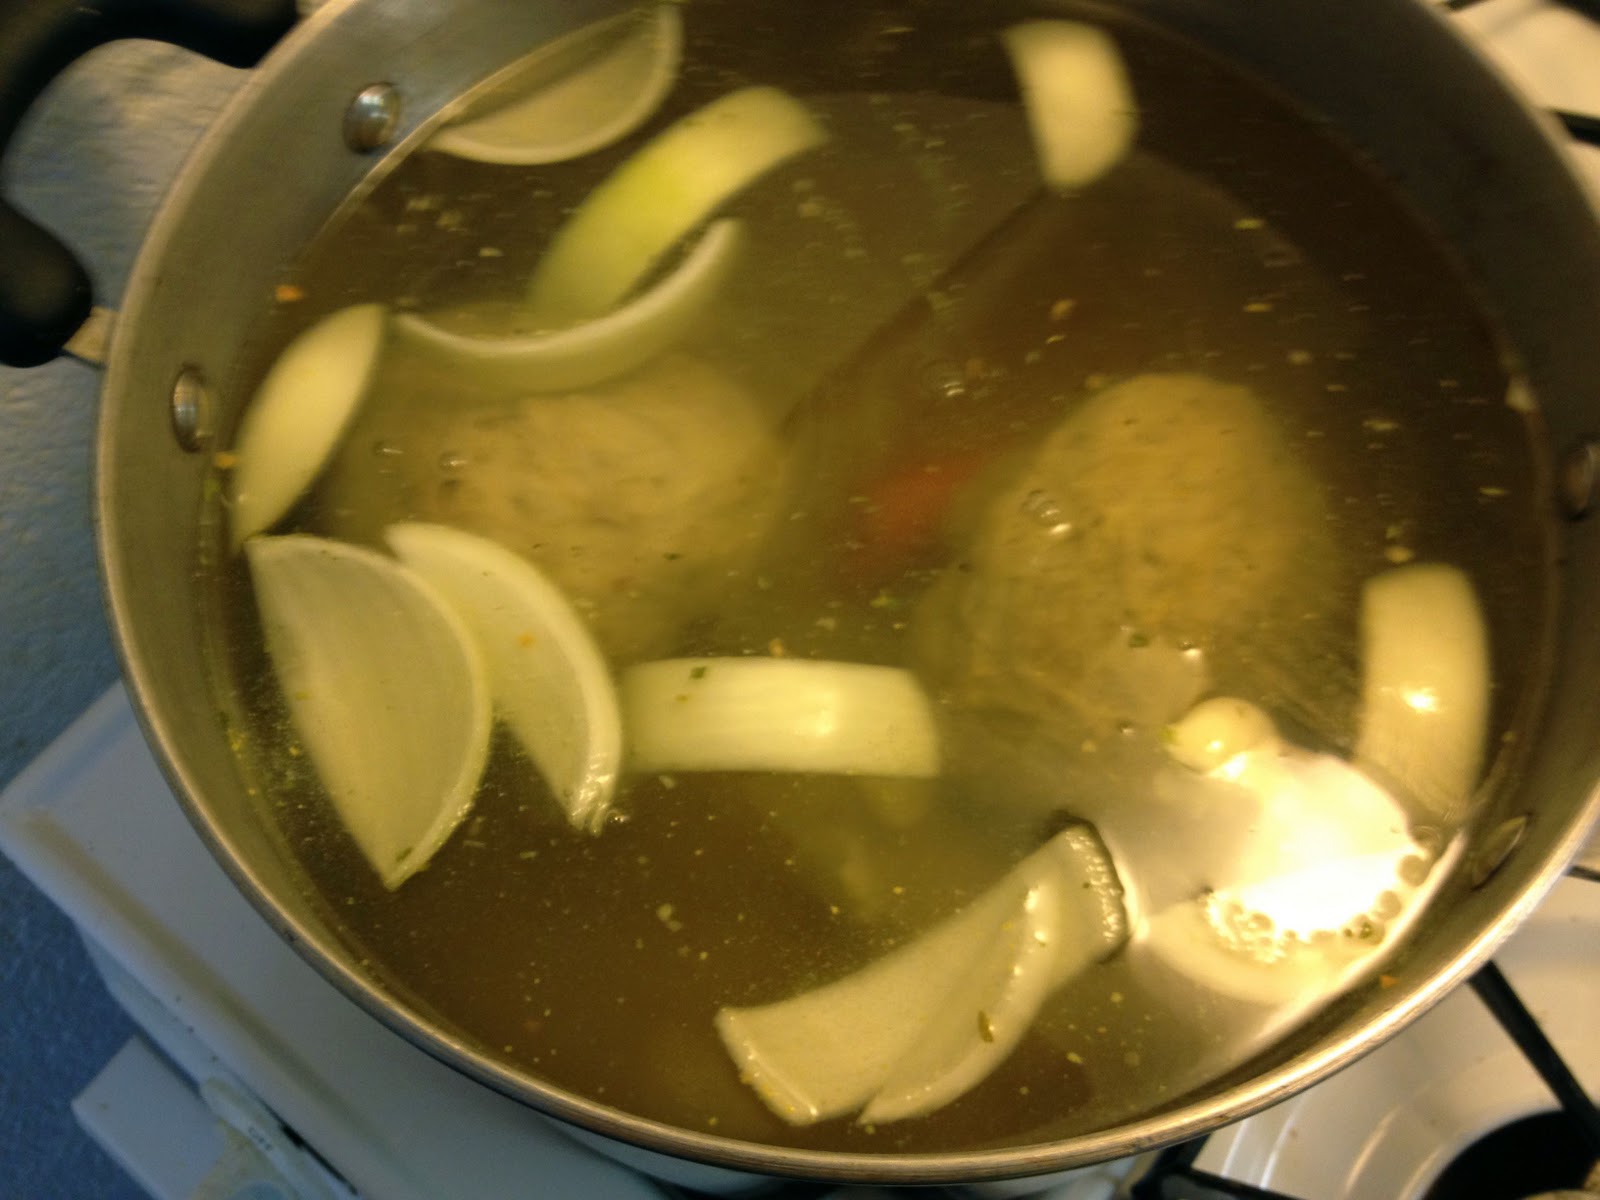
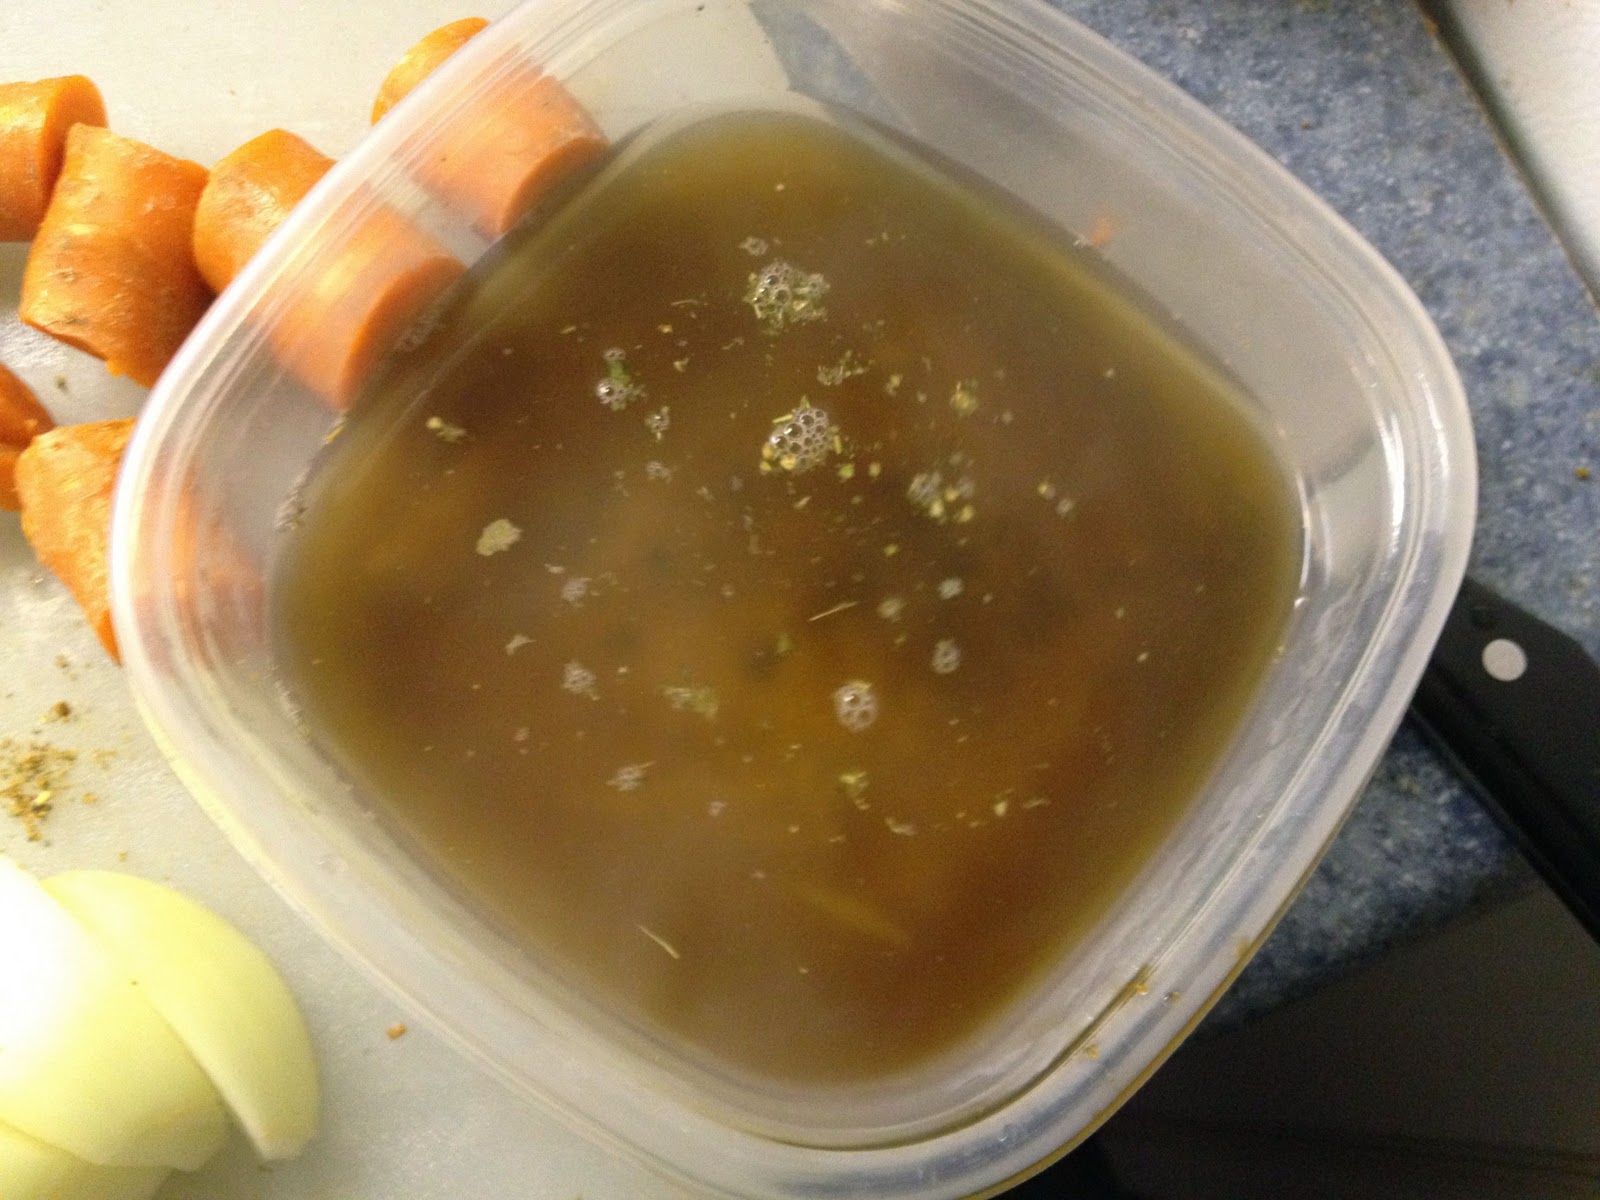
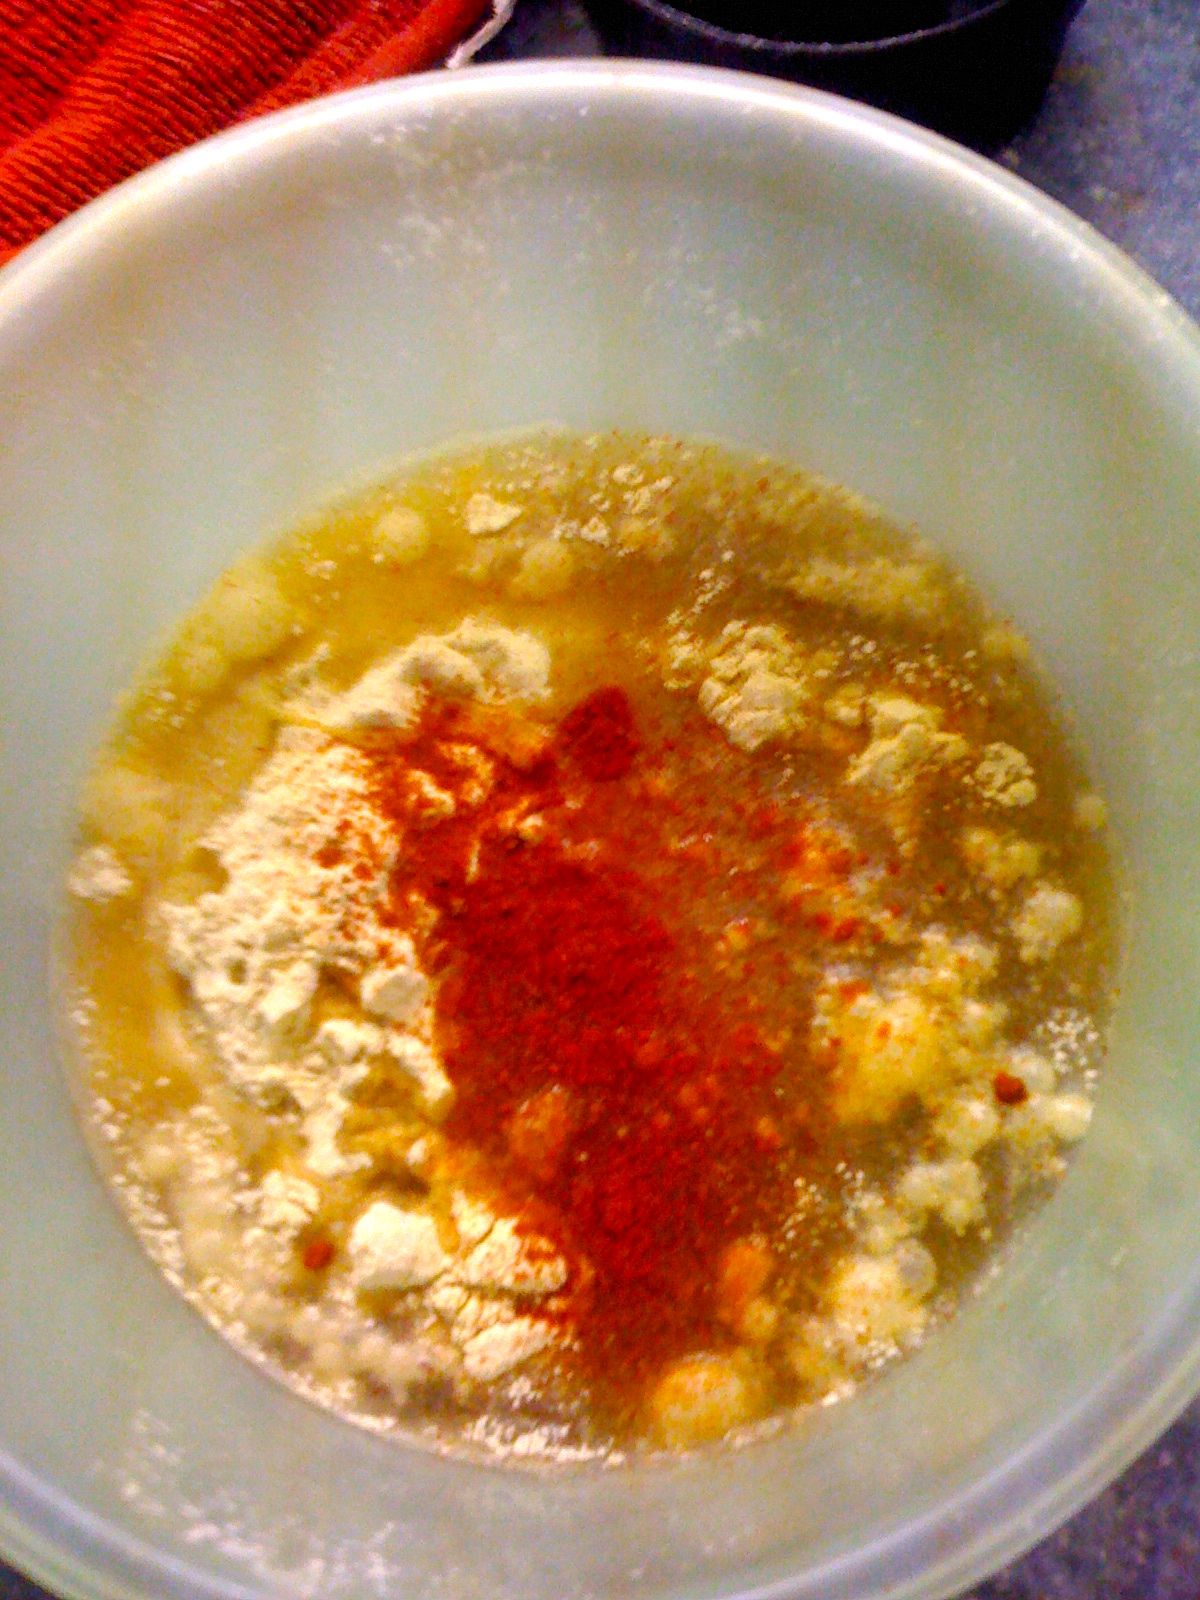
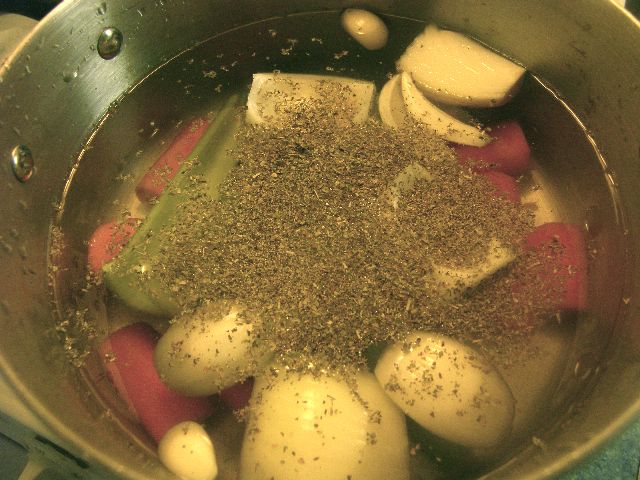
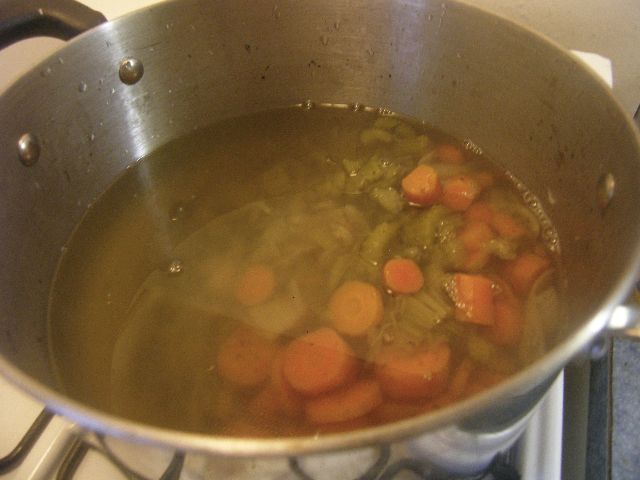
1 can of veggie broth
Flat leaf parsley
Salt and pepper
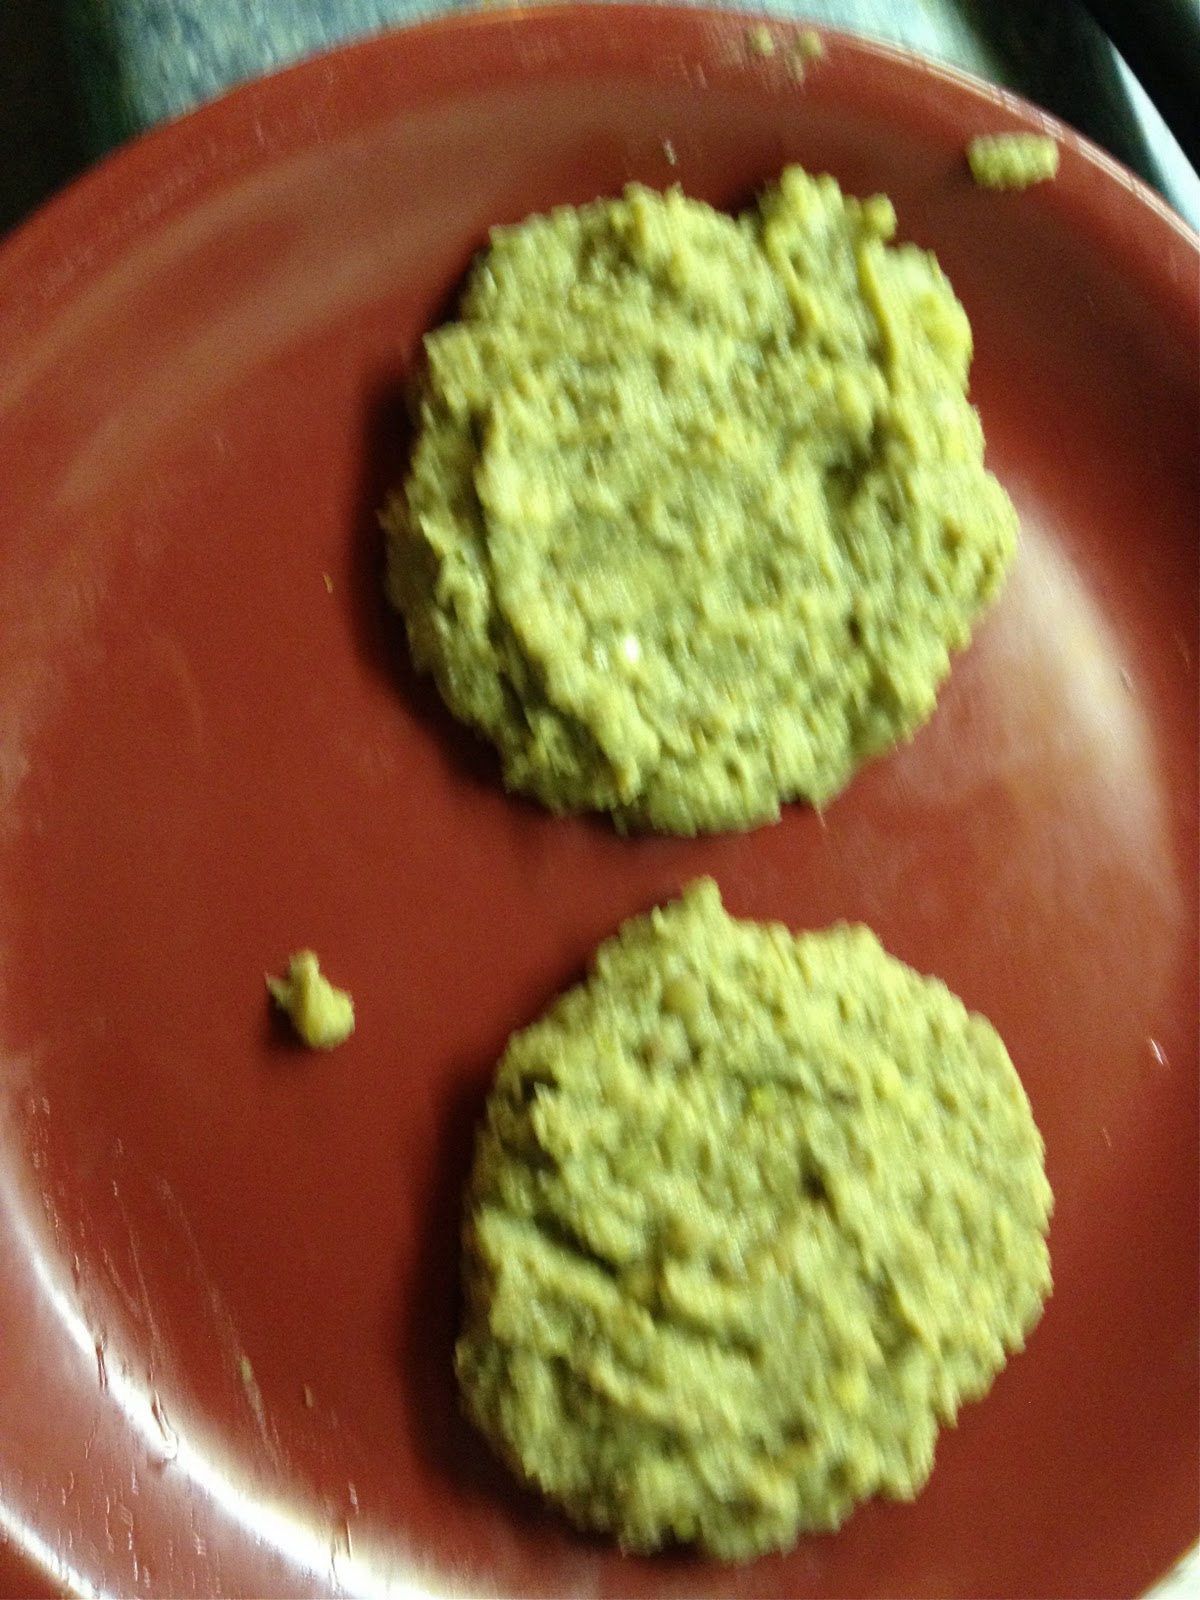
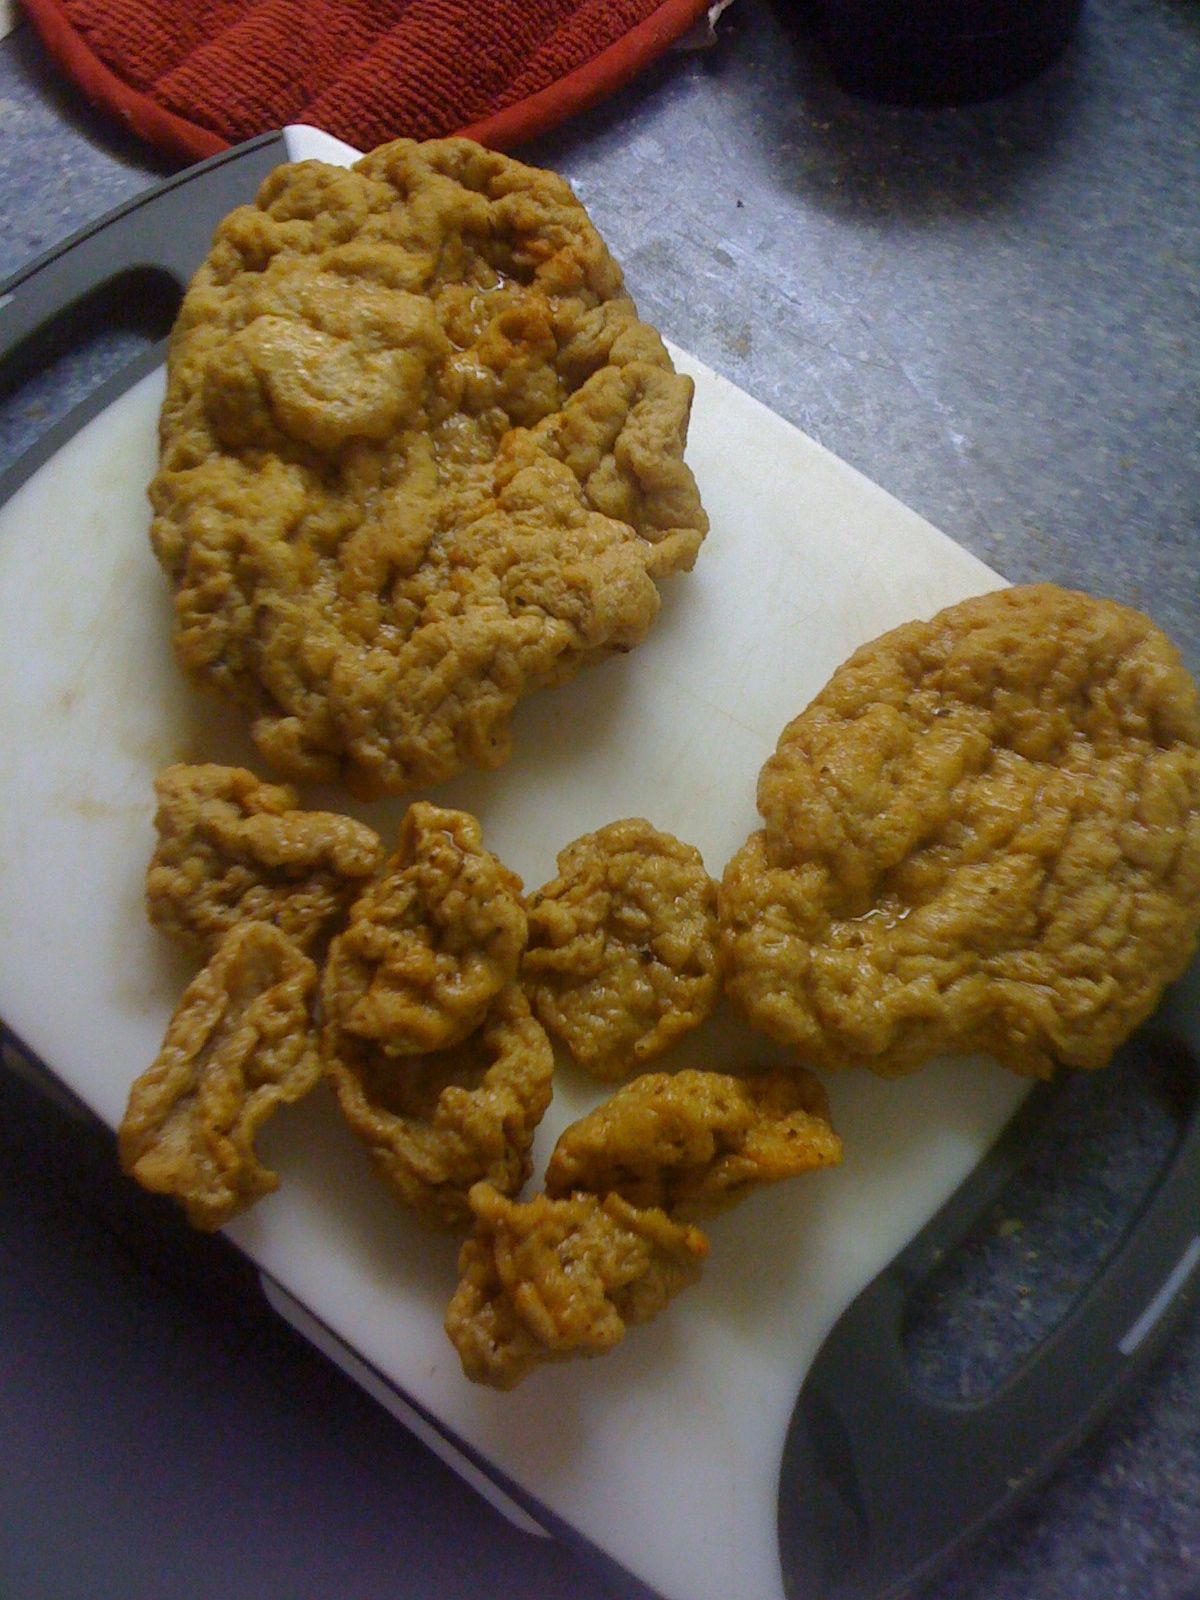
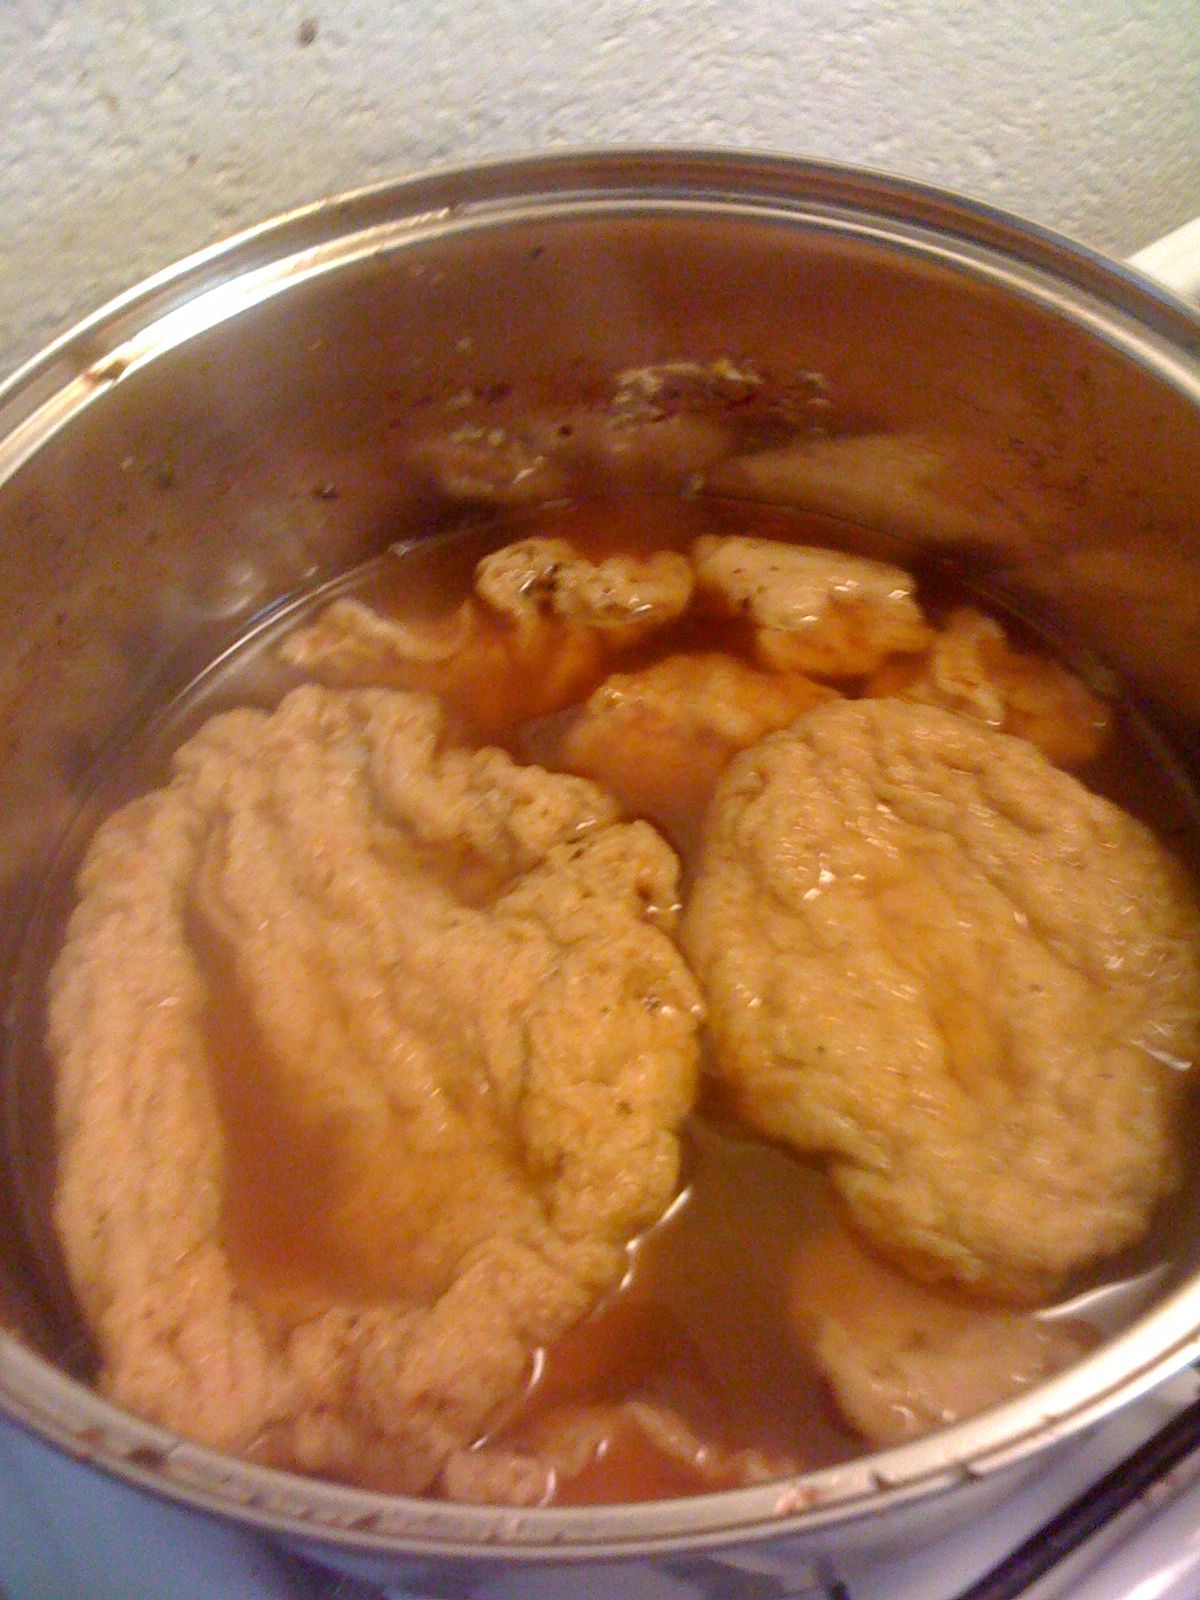
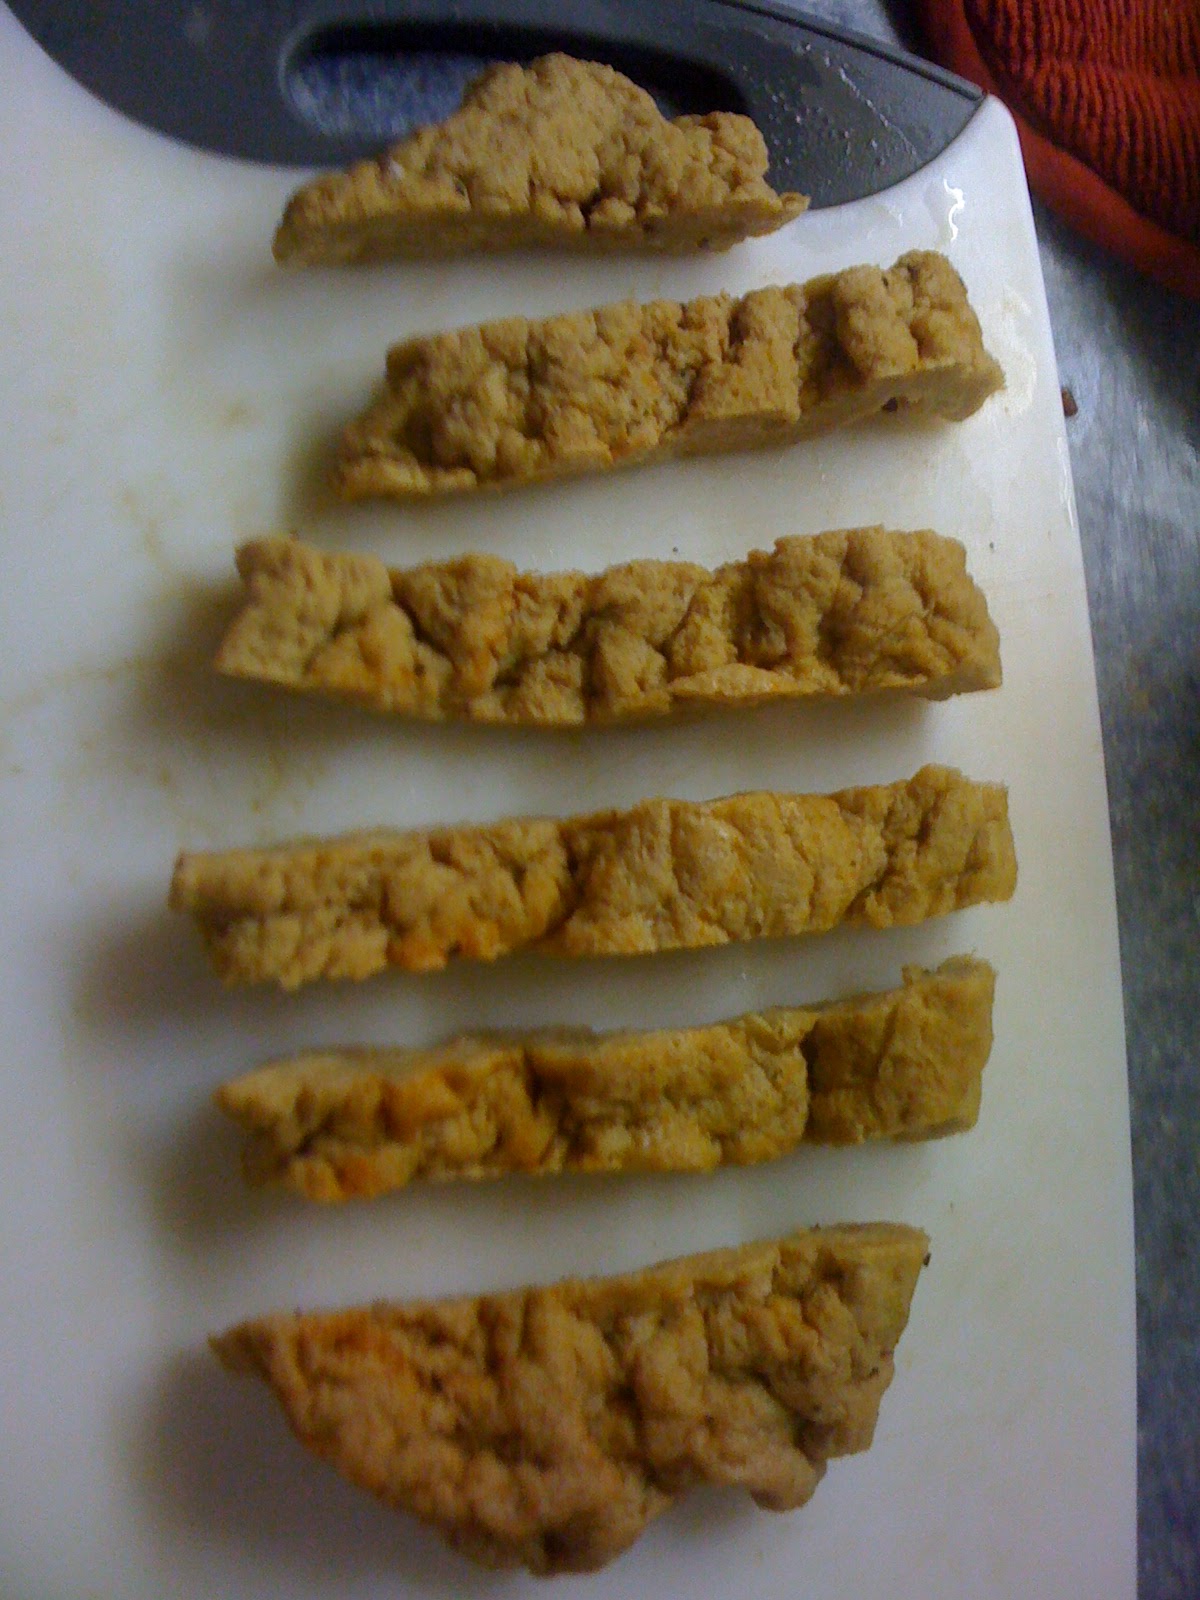
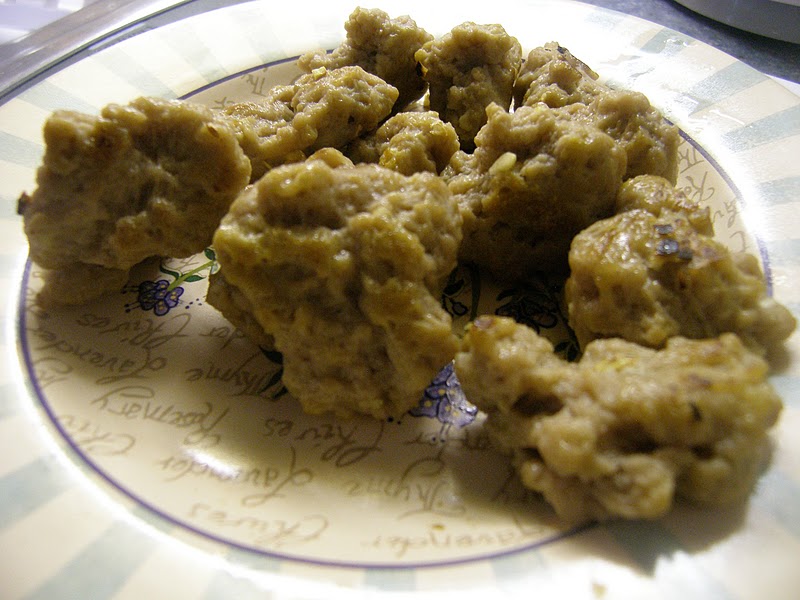
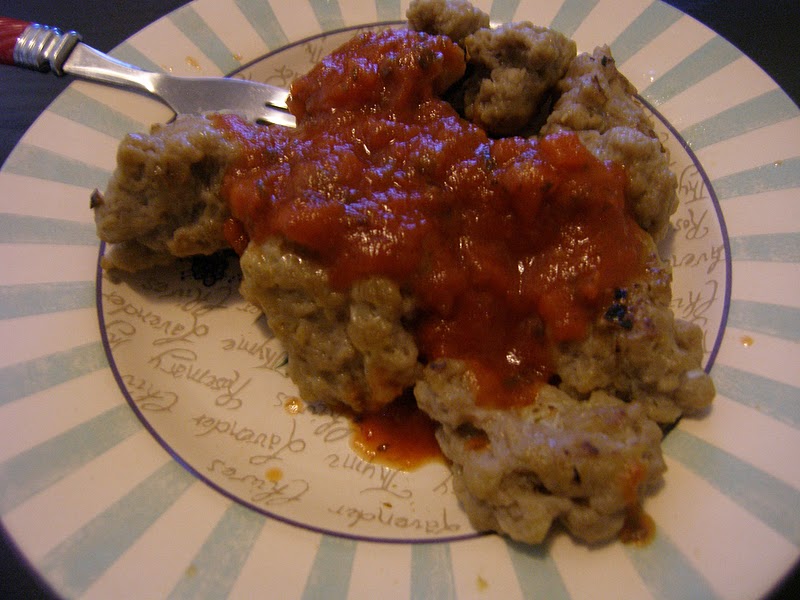
2 veggies patties (I used black bean burgers)
Pre-heat the oven to 450 degrees.
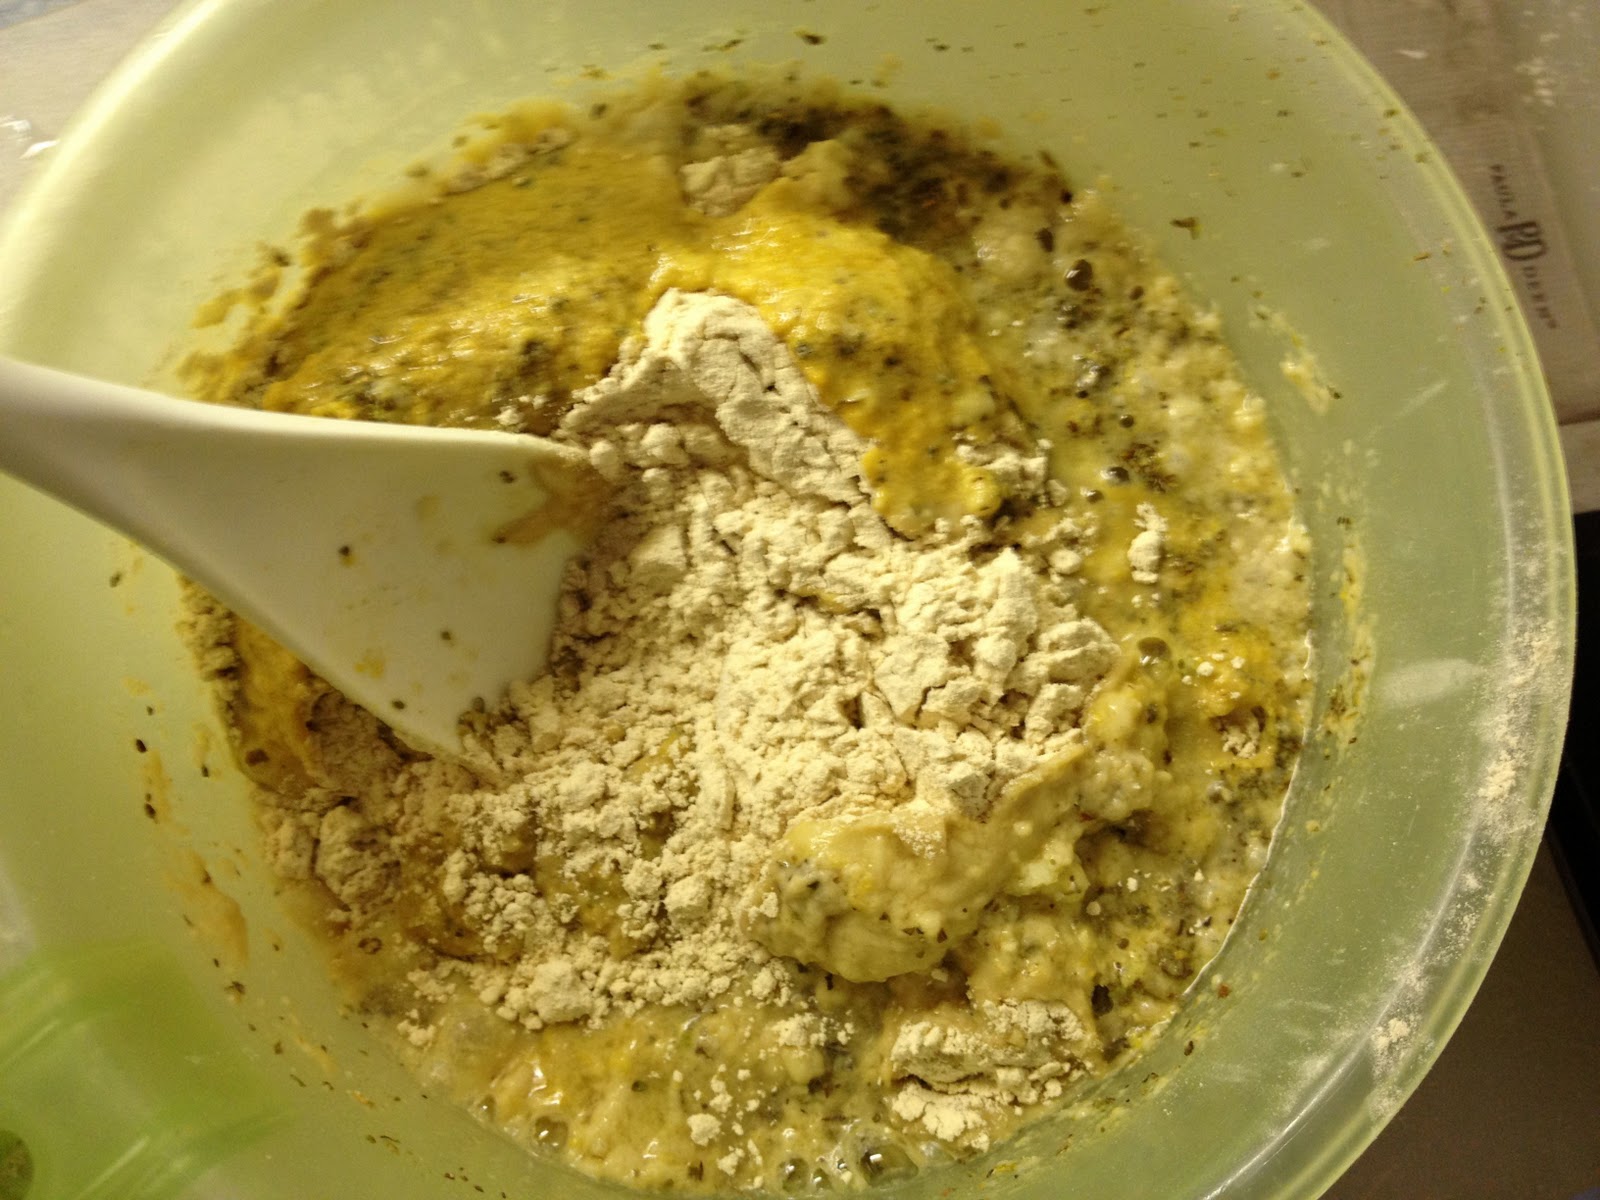
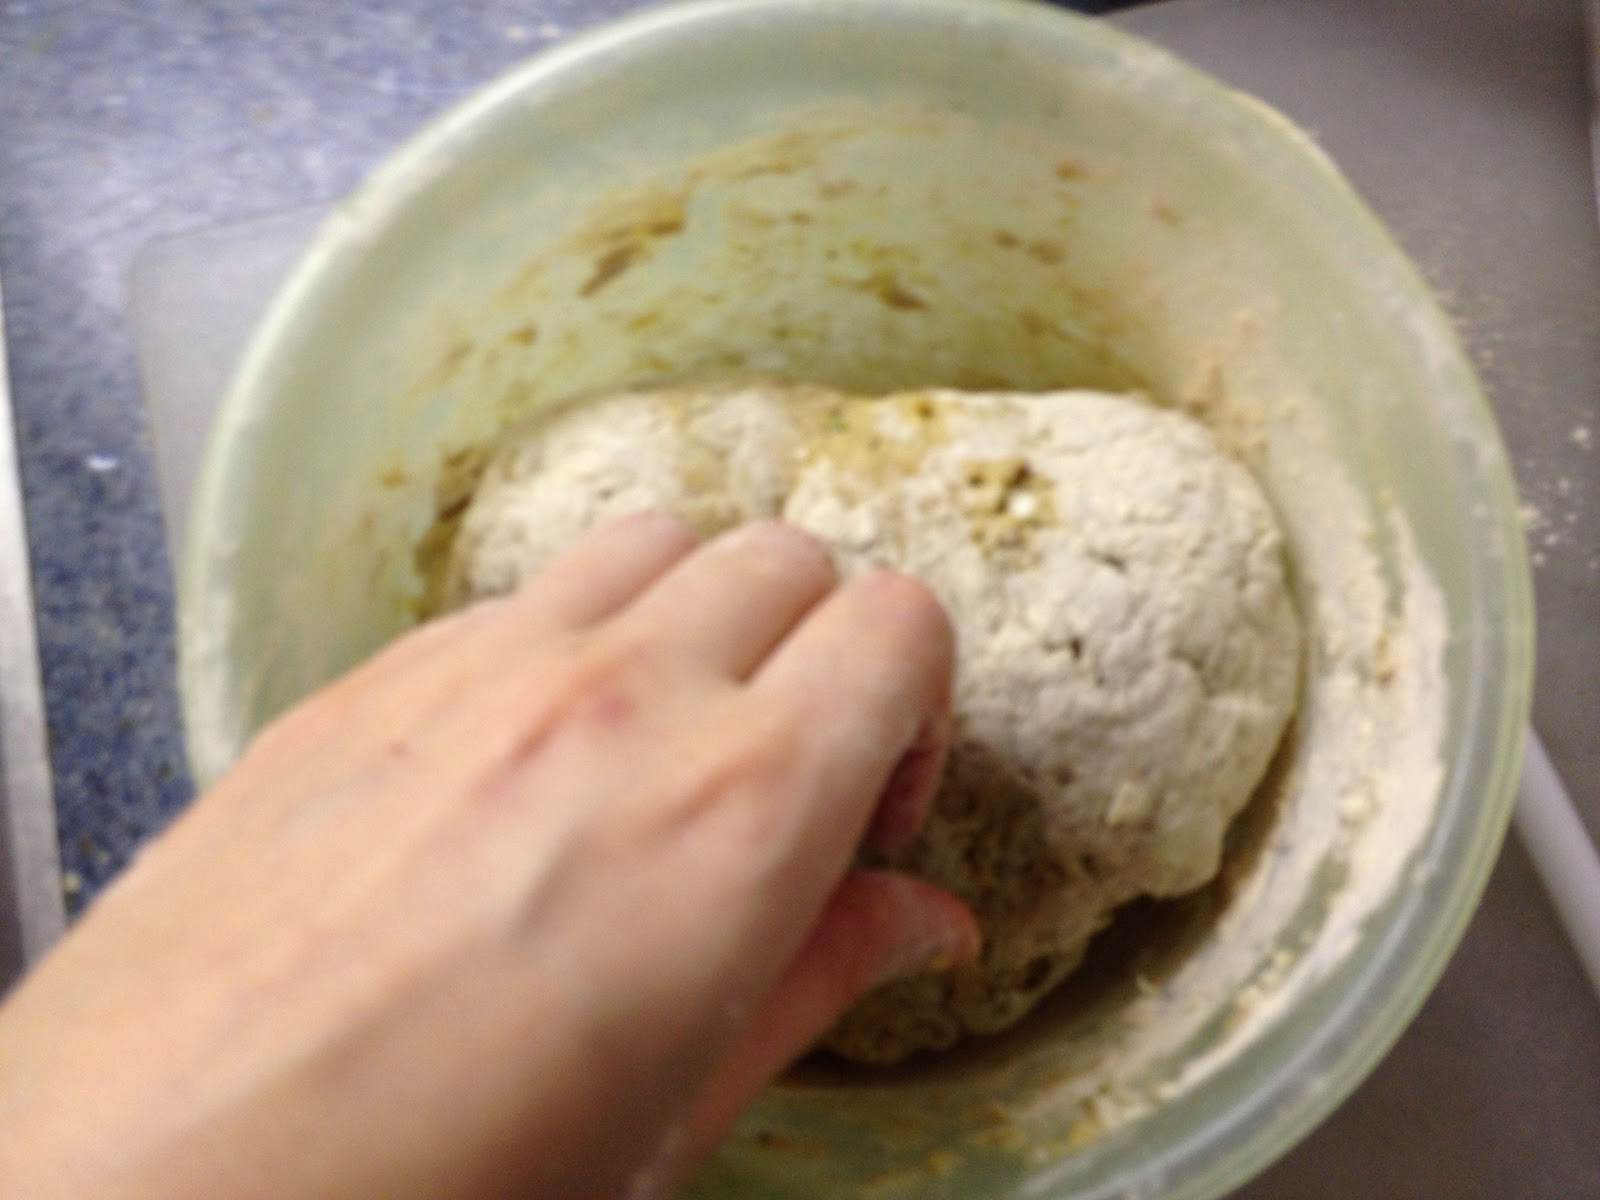
In a large bowl, mix together the Bisquick and soy milk. Once it comes together, transfer to a well-floured surface and knead until smooth.
Spray two ramekins or pie pans with cooking spray.
Roll out the dough into 4 circles. Make sure two of the circles can will fully cover the bottom and sides of the ramekins, with a little over hang. The other two need to cover the tops with a little overhang.
Cover the bottoms of the ramekins with the circles for the bottoms. Press the dough down firmly and seal the edges tight.
Heat some olive oil in a large pot over the stove.
Add the minced carrots, minced onion, mince celery, and the potato pieces. Saute until the veggies are soft.
Sprinkle the flour onto the veggies. Stir to coat thoroughly.
Add the can of veggie broth. Stir and break up any flour chunks.
Season to taste with the parsley salt and pepper.
Simmer for a few minutes until the gravy comes together. Remove from the heat.
Crumble up the veggie patties, add to the pot and mix together well.
Put half the filling into each ramekin. Cover each with the other dough circle. Seal the edges well.
Cut 4 slits into the top for ventilation.
Spray the tops with some cooking spray and place in the oven.
Bake for 10-15 minutes, until the crust is golden.

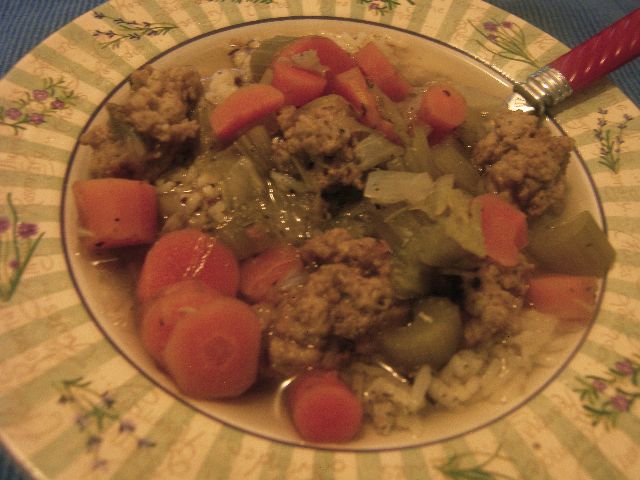
Creamy veggies and a crunchy golden crust! Yum!


