Today is my birthday! I am 24 years-old today and pretty happy about it. I am not where I thought I would be at 24, and that’s a really good thing. The most important thing I have learned in my 24 short years of life is to just go with it. Life takes you places you never imagined and the best thing to do is not fight it. If you told me when I was 16 that I would be living in Hawaii pursuing a degree in geology, I doubt I would have believed you. I still don’t have it all figured out, but life is more fun with surprises 🙂 I would have believed you if you told me I was going to become a vegan though.
I put more thought into what treat I wanted for my birthday than is probably needed because I hardly ever make sweets. It’s a real treat when I do. I searched the web, found many yummy options but none really caught my eye. I couldn’t decide between something coconut/mango-y or mocha/chocolate-y. Then I realized I could make both! But I didn’t want to end up frosting 48 cupcakes all day so I decided to make a normal 24 batch and just split the batter.
I used a box mix because, it’s just easier. But, it’s organic and does not have tons of scary chemical ingredients. I am not opposed to packaged products occasionally, but they should not be the stable of your diet. But a nice treat on your birthday is fine.
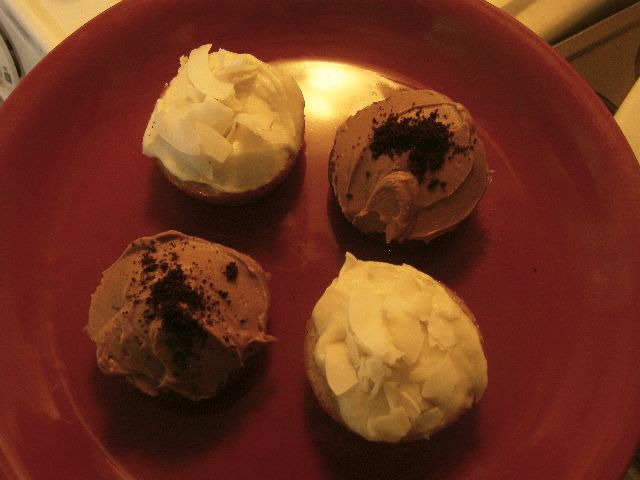
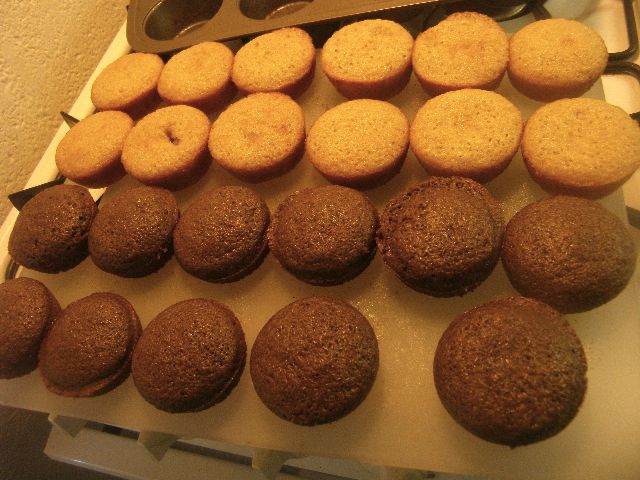
I made two cupcakes from a single box mix, Tropical Coconut and and Kona Mocha. It’s not hard to doctor-up a simple box mix with your own variations. The Tropical Coconut have pineapple-mango preserves in the batter, a pineapple-mango buttercream frosting and are topped with coconut shavings. The Kona Mocha have Kona coffee and chocolate added to the batter, chocolate buttercream frosting, and are topped with some coffee grounds. If you want to make full batches of either or both of these, just don’t split the batter and add double preserves in the pineapple mango and double the chocolate and coffee in the Kona Mochas.

By the way, Kona coffee is the only coffee that is completely grown and produced in US. Make sure it says 100% Kona coffee on the label for the real stuff.
The Cupcakes
1 box of vanilla cake mix (I used Dr. Oetker)
4 and 1/2 tsp Ener-G Egg Replacer
6 tbs water
1/2 cup soy milk
1/2 cup applesauce (I used cinnamon but plain is fine too)
Pineapple Mango Variation
3 tbs unsweetened pineapple-mango preserves
1/4 cup soy milk
1/4 tps baking powder
Kona Mocha Variation
1/2 extra strong Kona coffee
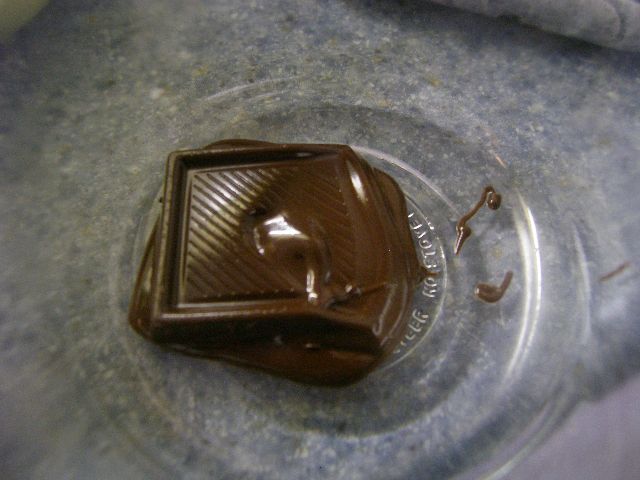
2 ounces of dark chocolate, melted
Pre-heat the oven to 325 degrees and spray a cupcake tin with cooking spray.
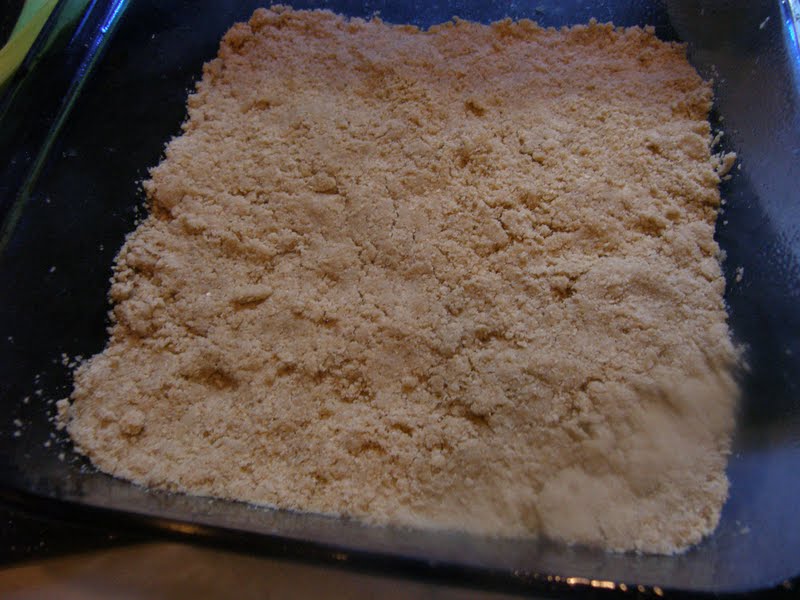
In a large bowl, add the cake mix.
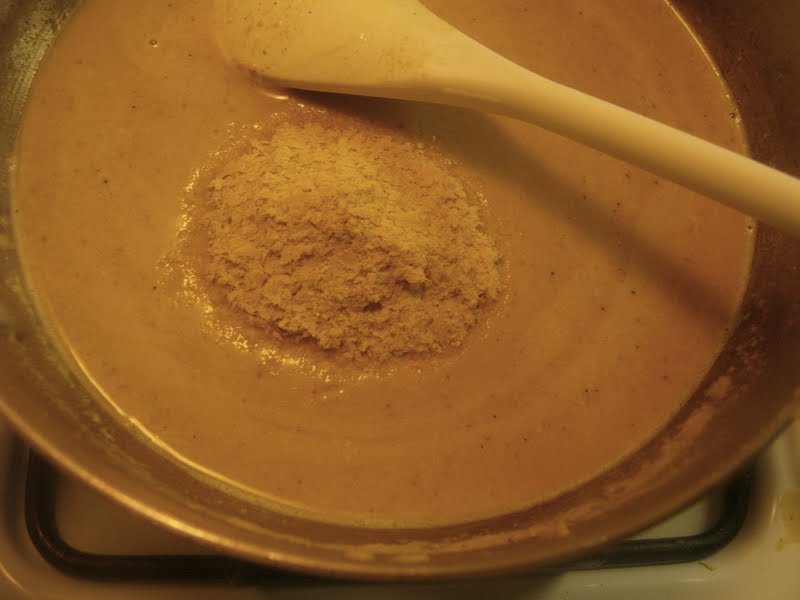
In a small bowl, whisk the Enger-G Egg replacer and water. Add to the large bowl.
Add the soy milk and applesauce to the large bowl, mix together well, making sure to get air in the batter. If you aren’t a broke college kid like me, you can do this in your stand mixer.
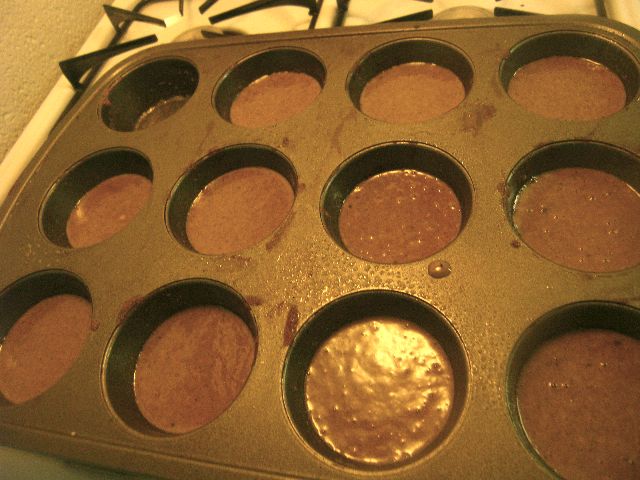
Now evenly divided the batter into two bowls. I only have one cupcake tin so I had to make them one at a time.
For the Tropical Coconut, in one of the bowls add the perseveres, 1/4 cup soy milk, and baking powder. Mix together well again.
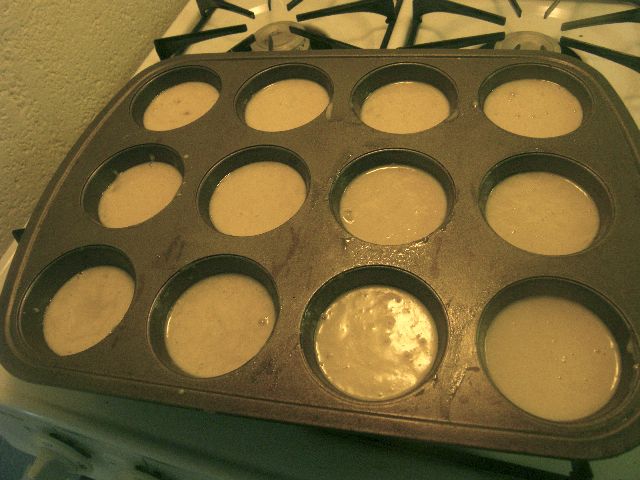
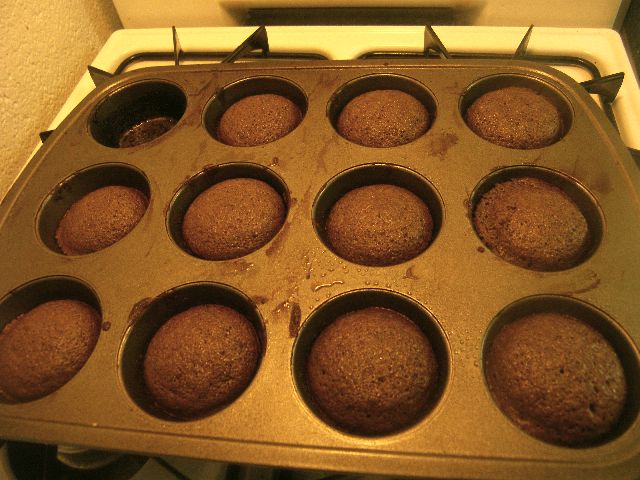
Pour the batter into the cupcake tin, filling eat 3/4 of the way full. Bake for 10-12 minutes. They are ready when a tooth inserted into the middle comes out clean.
Let them cool in the tin for bit, then remove from and let cool completely.
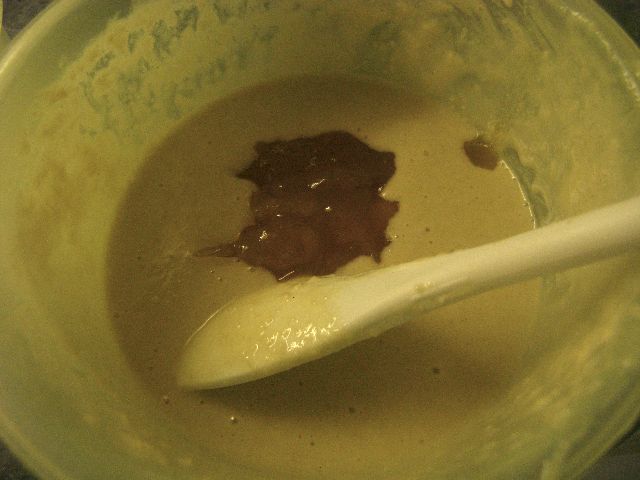
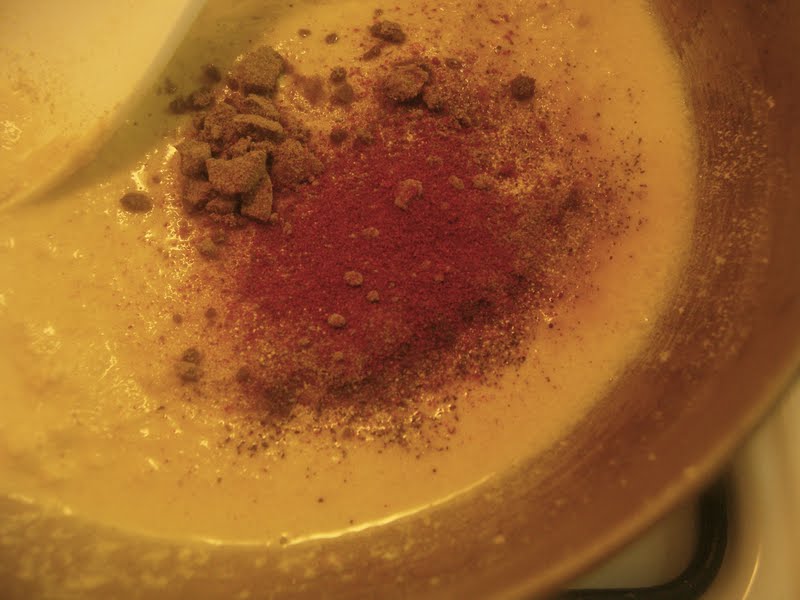
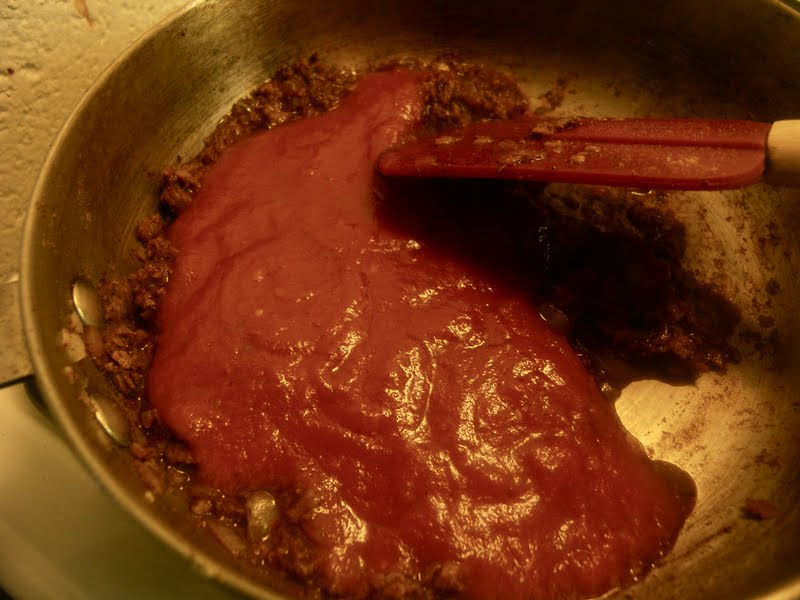
For the Kona Mocha, in the other bowl add the coffee and melted chocolate. I added some extra coffee grounds in for an extra kick too. Mix together well again.
Pour the batter into the cupcake tin, filling eat 3/4 of the way full. Bake for 10-12 minutes. They are ready when a tooth inserted into the middle comes out clean.
Let them cool in the tin for bit, then remove from and let cool completely.
The Frostings
2 stick soften vegan shortening
1/4 cup soy milk
Tropical Coconut Variation
1 tbs pineapple-mango preserves
unsweetened shaved coconut
Kona Mocha Variation
2 ounces dark chocolate, melted
Kona coffee grounds
If you have stand mixer, use it. It sucked mixing this all by hand.
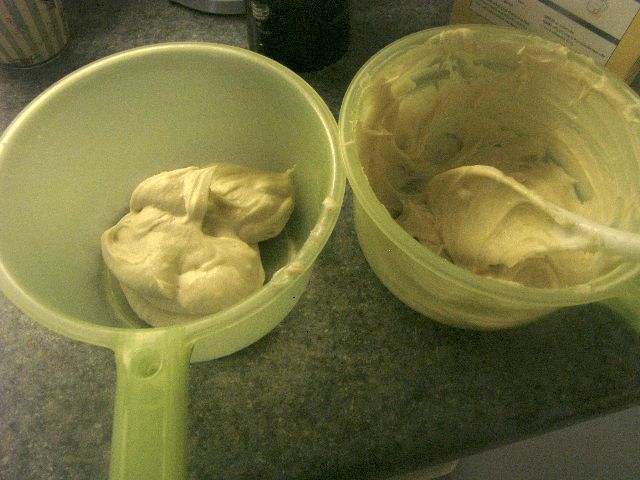
In large bowl, beat together the frosting mix, shortening, and soy milk until smooth.
Divide into two bowls.
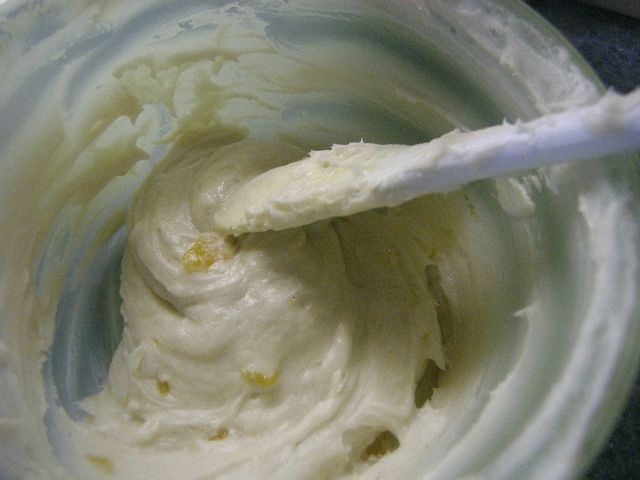
For the Tropical Coconut,in one bowl add in the preserves and mix well.
Frost the cupcakes and sprinkle on some shaved coconut.
For the Kona Mocha, in the other bowl add the melted chocolate and mix well.
Frost the cupcakes, and sprinkle on some coffee grounds.
I decided to be nice (and it’s healthier for me not to eat them all anyways) and share them with the geology department. So UHH geology majors, go check the seminar room today.
I left some out for me to eat tonight of course, but one conveniently didn’t fit in the box when I was packing them up last night 🙂 Oh, the frosting is so good. And I love how moist the applesauce makes the cupcakes. Not as pretty as my mom would have made but delicious nonetheless. Happy Birthday to me indeed!
PS, When I checked the geology seminar room at 12:30, only a few cupcakes where left. Guessing they were a hit!


