Seitan is my favorite meat alternative. As much as I love tofu, you can only eat so much soy before it gets old. Seitan is wheat protein that has all the starch washed away. If you have Celiac Disease or any other gluten allergy, it’s the exact thing you are allergic to, so sadly this tasty dish is not for you. But, if you have no issues with gluten, give “wheat meat” a try. It has a firmer and chewier texture, reminds me of chicken a little bit. Like tofu, it will take on the flavor of what ever you cook it in. It is sold in health food stores and you can find it in some normal grocery stores now too.
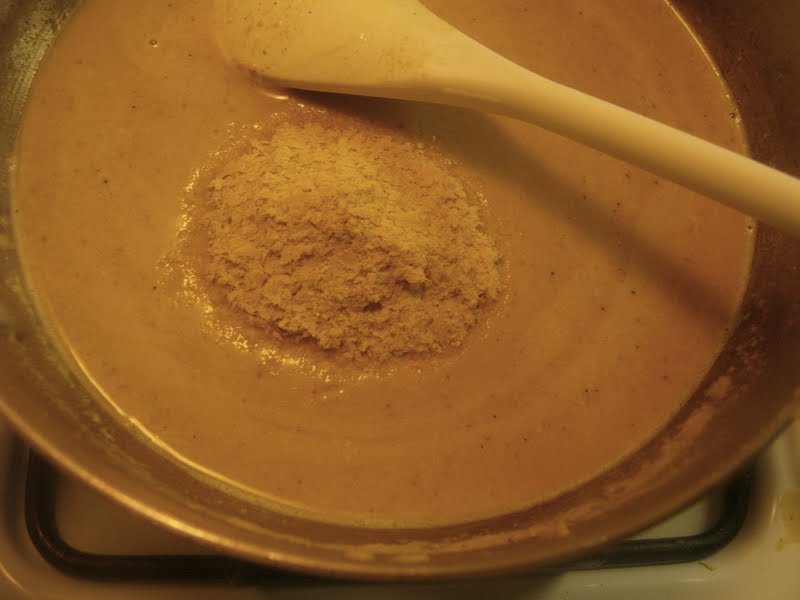
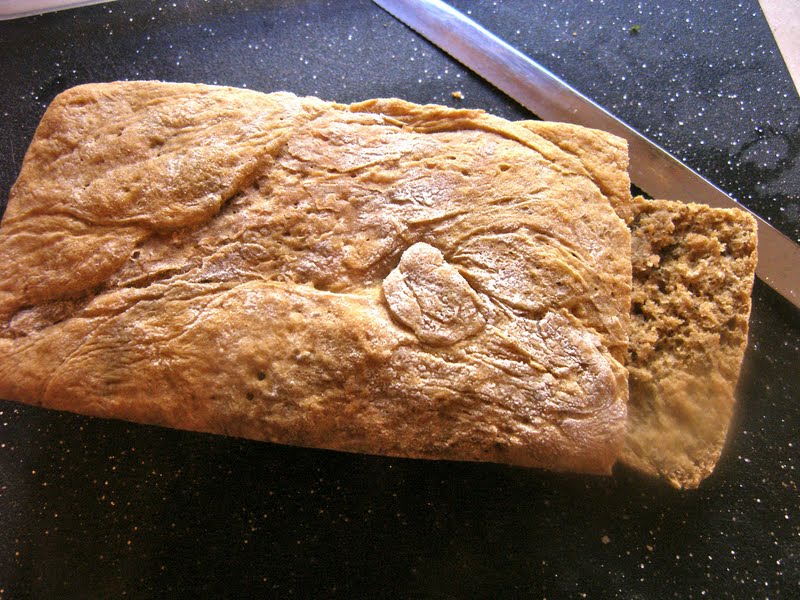
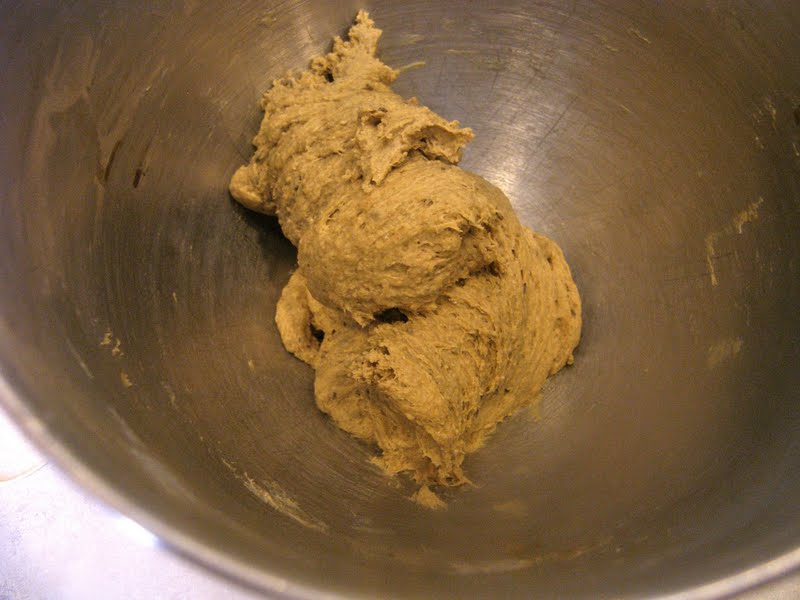
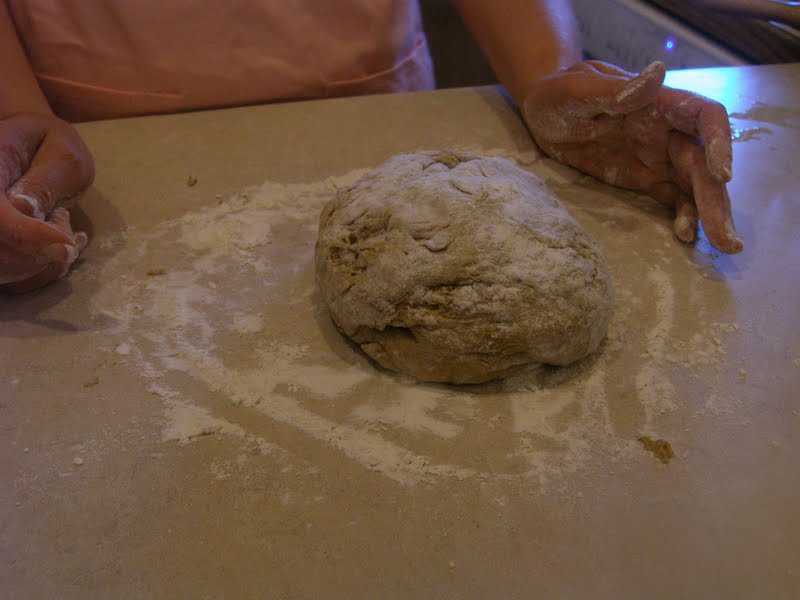
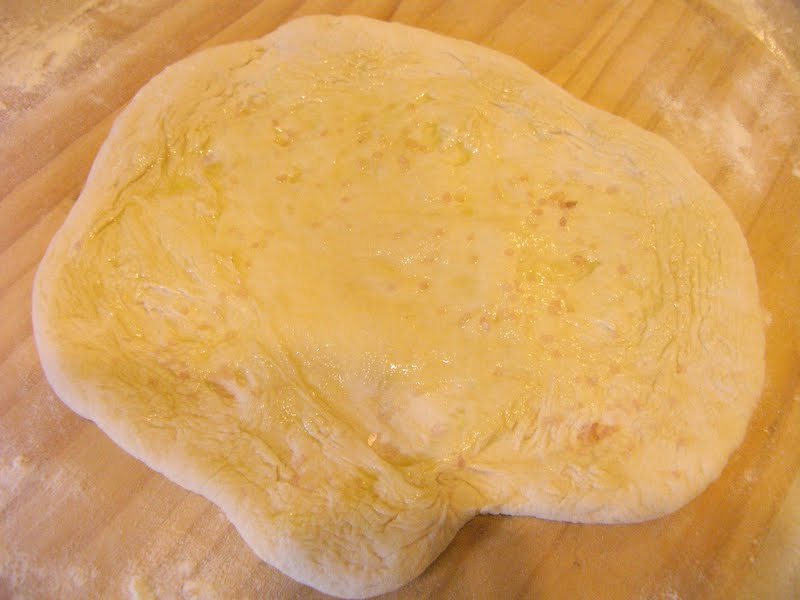
I have a hard time finding it in Hilo, so I decided to attempt to make my own. I actually made this awhile ago, but haven’t had the time to post it. I can’t remember where I first read about making your own seitan, but the idea stuck around in my head. I looked up some videos on YouTube and found the following to be the easiest to follow. I loved the final outcome but I have to admit, the process was a huge pain. The video says washing the dough takes 15 minutes but it took me more like 45 minutes. She says wash until the water is pretty clear, but trust me, wash that dough until the water is CRYSTAL clear. Any remaining starch (the stuff that makes the water whitish) will make your seitan tacky and gross. I had to make another batch because of that. So wash it more than you think is necessary, because it is totally necessary.
This is my version of the recipe in the video, it’s pretty close to hers though. I made my plain with no spices because I did not know what I was going to use mine in. So I omitted the spices in the actual dough. But I made sure I jazzed it up when I used it in the my final dishes.
Homemade Seitan
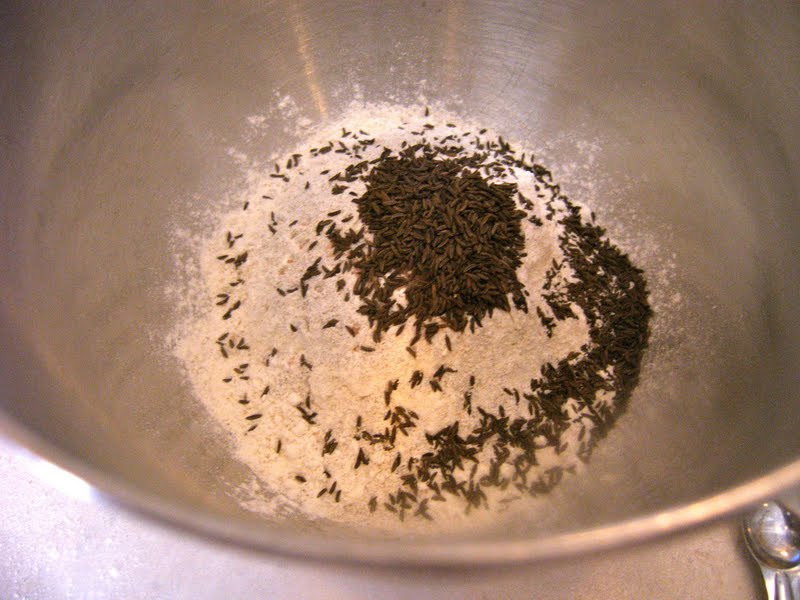
Dough:
8 cups white all purpose flour
3 tbs nutritional yeast
1/2 cup soy sauce
2 and 1/2 cups water
Cooking Stock:
4 cups vegetable broth
1/2 cup soy sauce
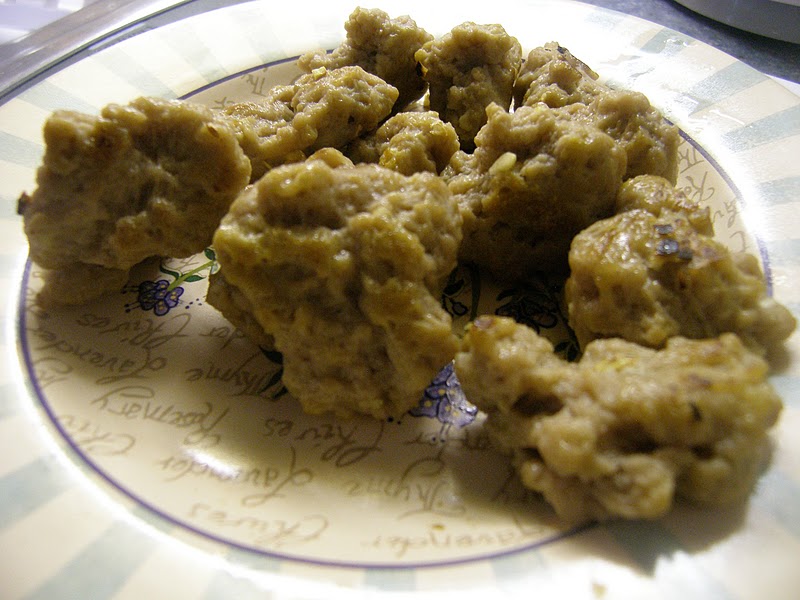
Follow this video, she explains everything very clearly and is easy to follow. Like I said earlier, wash until it is totally clear, not just pretty clear. It might take awhile, but it’s necessary. I cut mine into two shapes before boiling, steaks and nuggets.
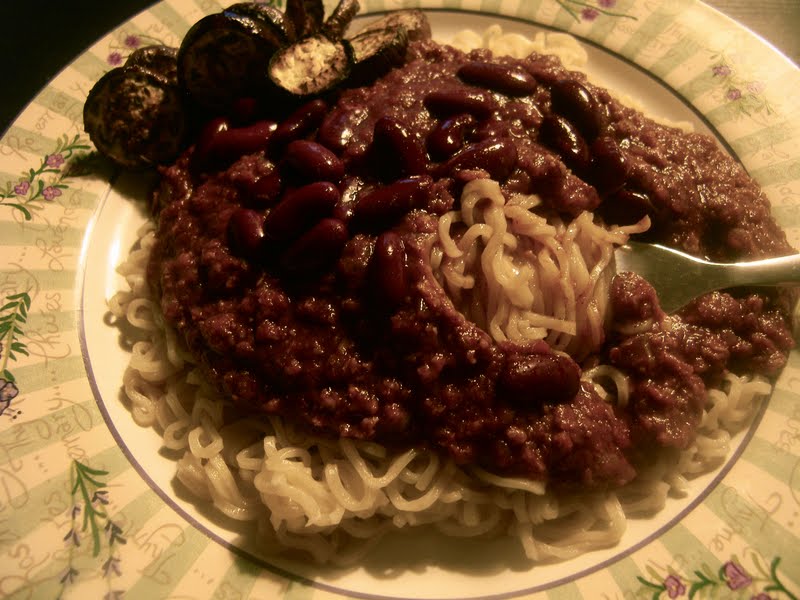
I used my seitan for all sorts of things. I fried it up like chicken and had it with some BBQ sauce and green bean casserole one night.

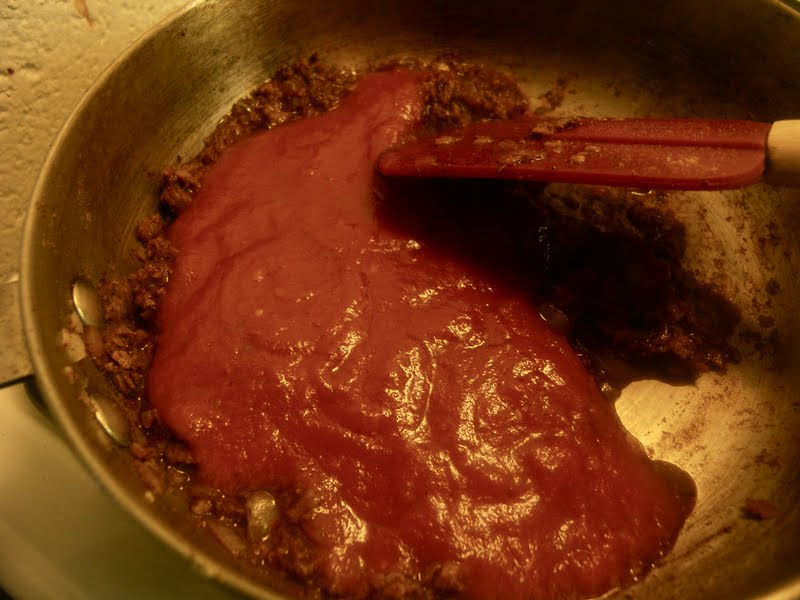
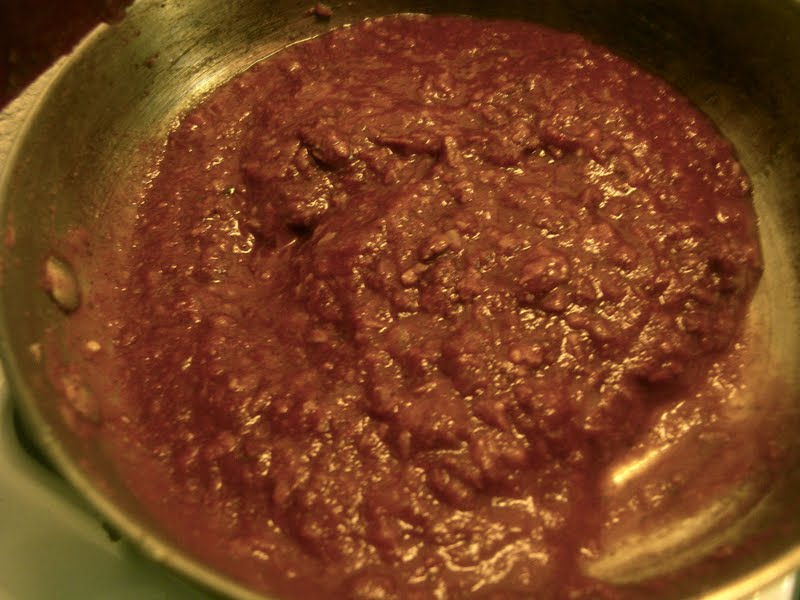
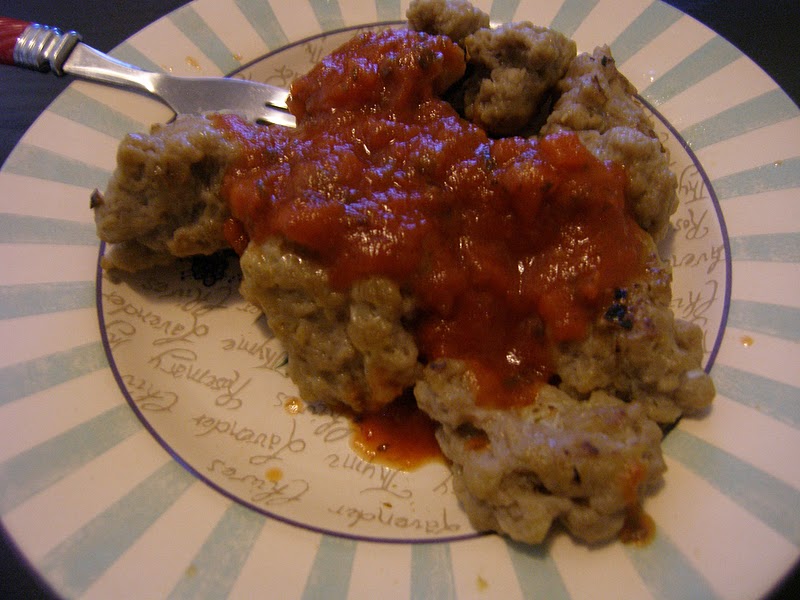
I sautéed it in olive oil with garlic and basil, then served with tomato sauce.
I even ate the nuggets plain with some ketchup for lunch one day too. It’s always good to know what actually goes into the food you eat. Making your own of something ensures that there are no scary ingredients. Plus, I like the texture of my homemade stuff better than the store bought.
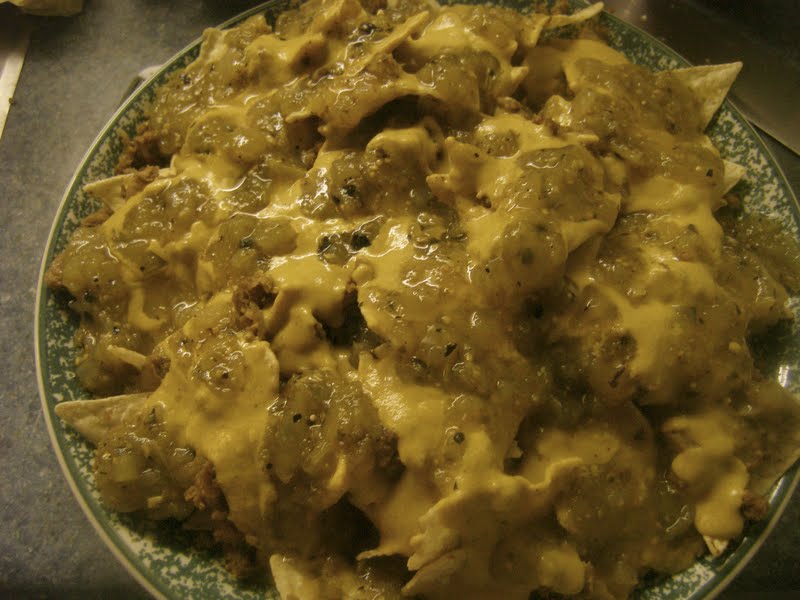
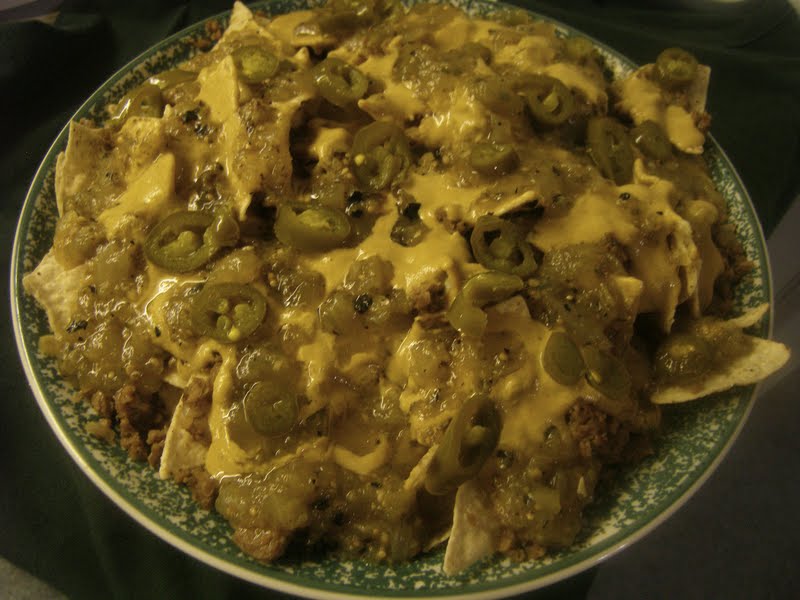
I think next time I am going to use it has taco filling….