Thanksgiving 2011: Garlic Mashed Potatoes

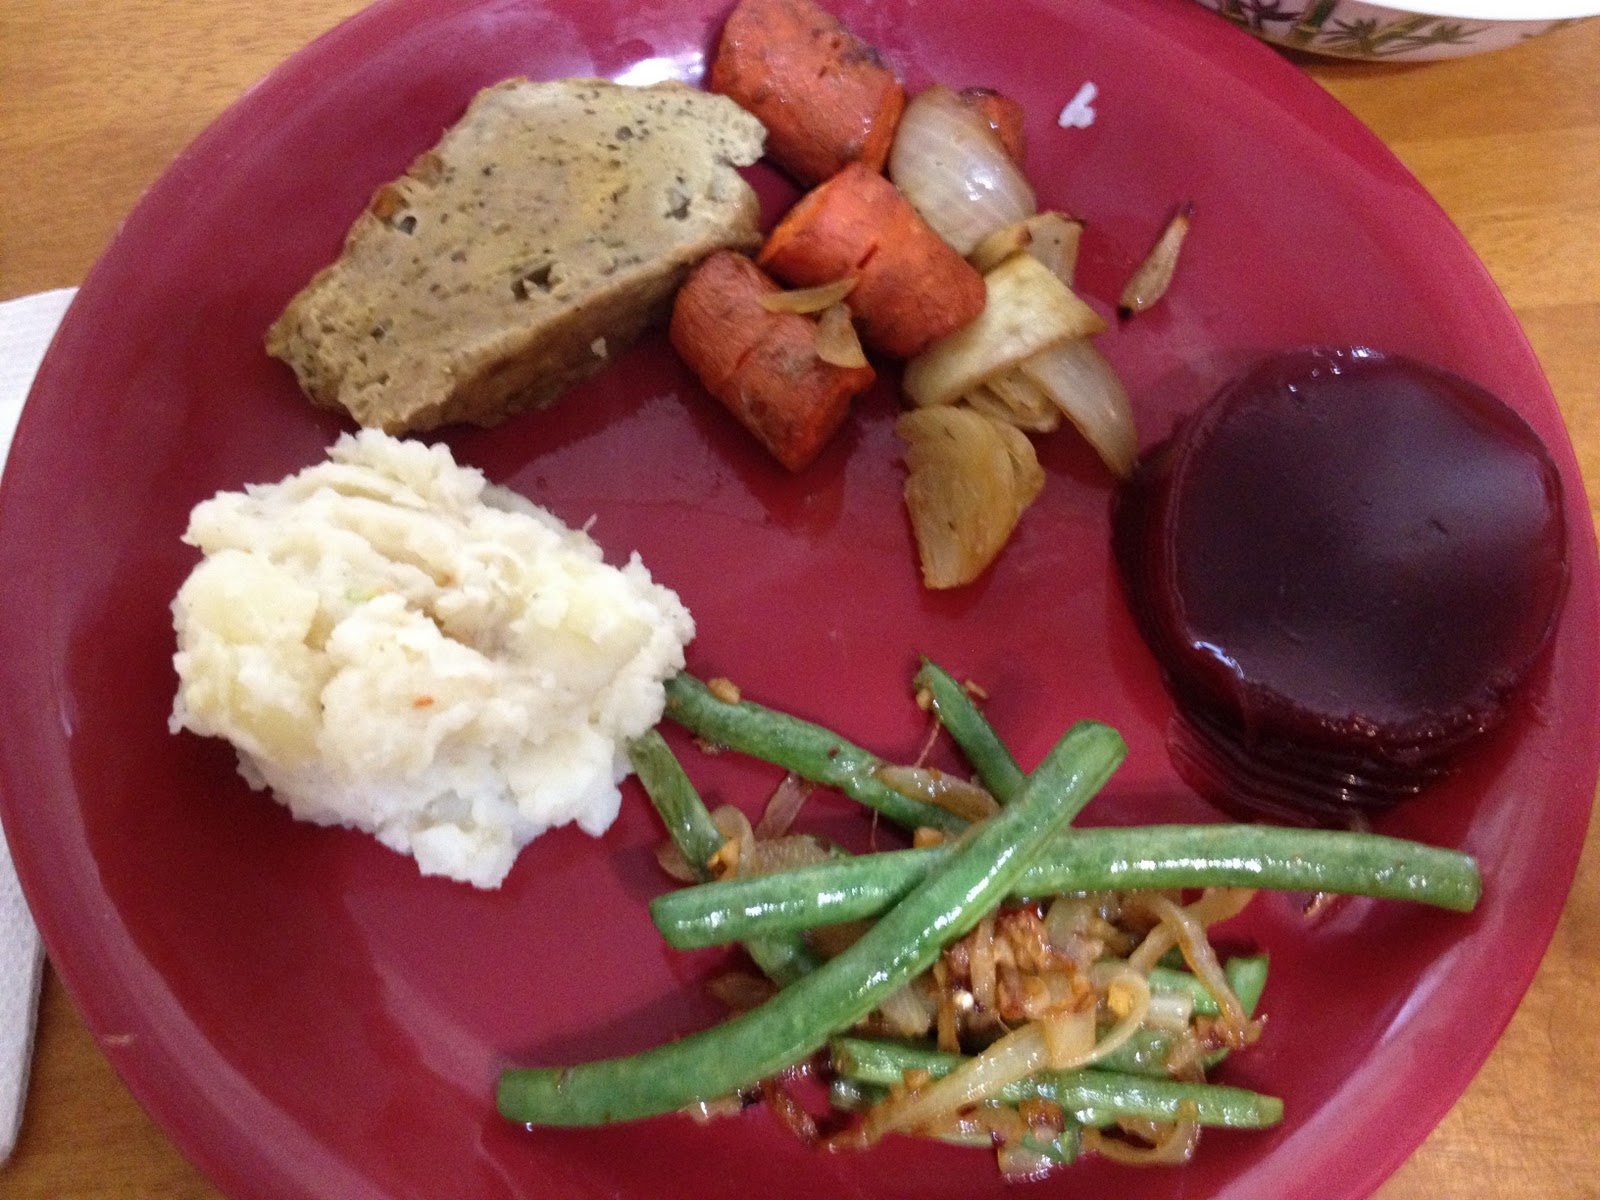
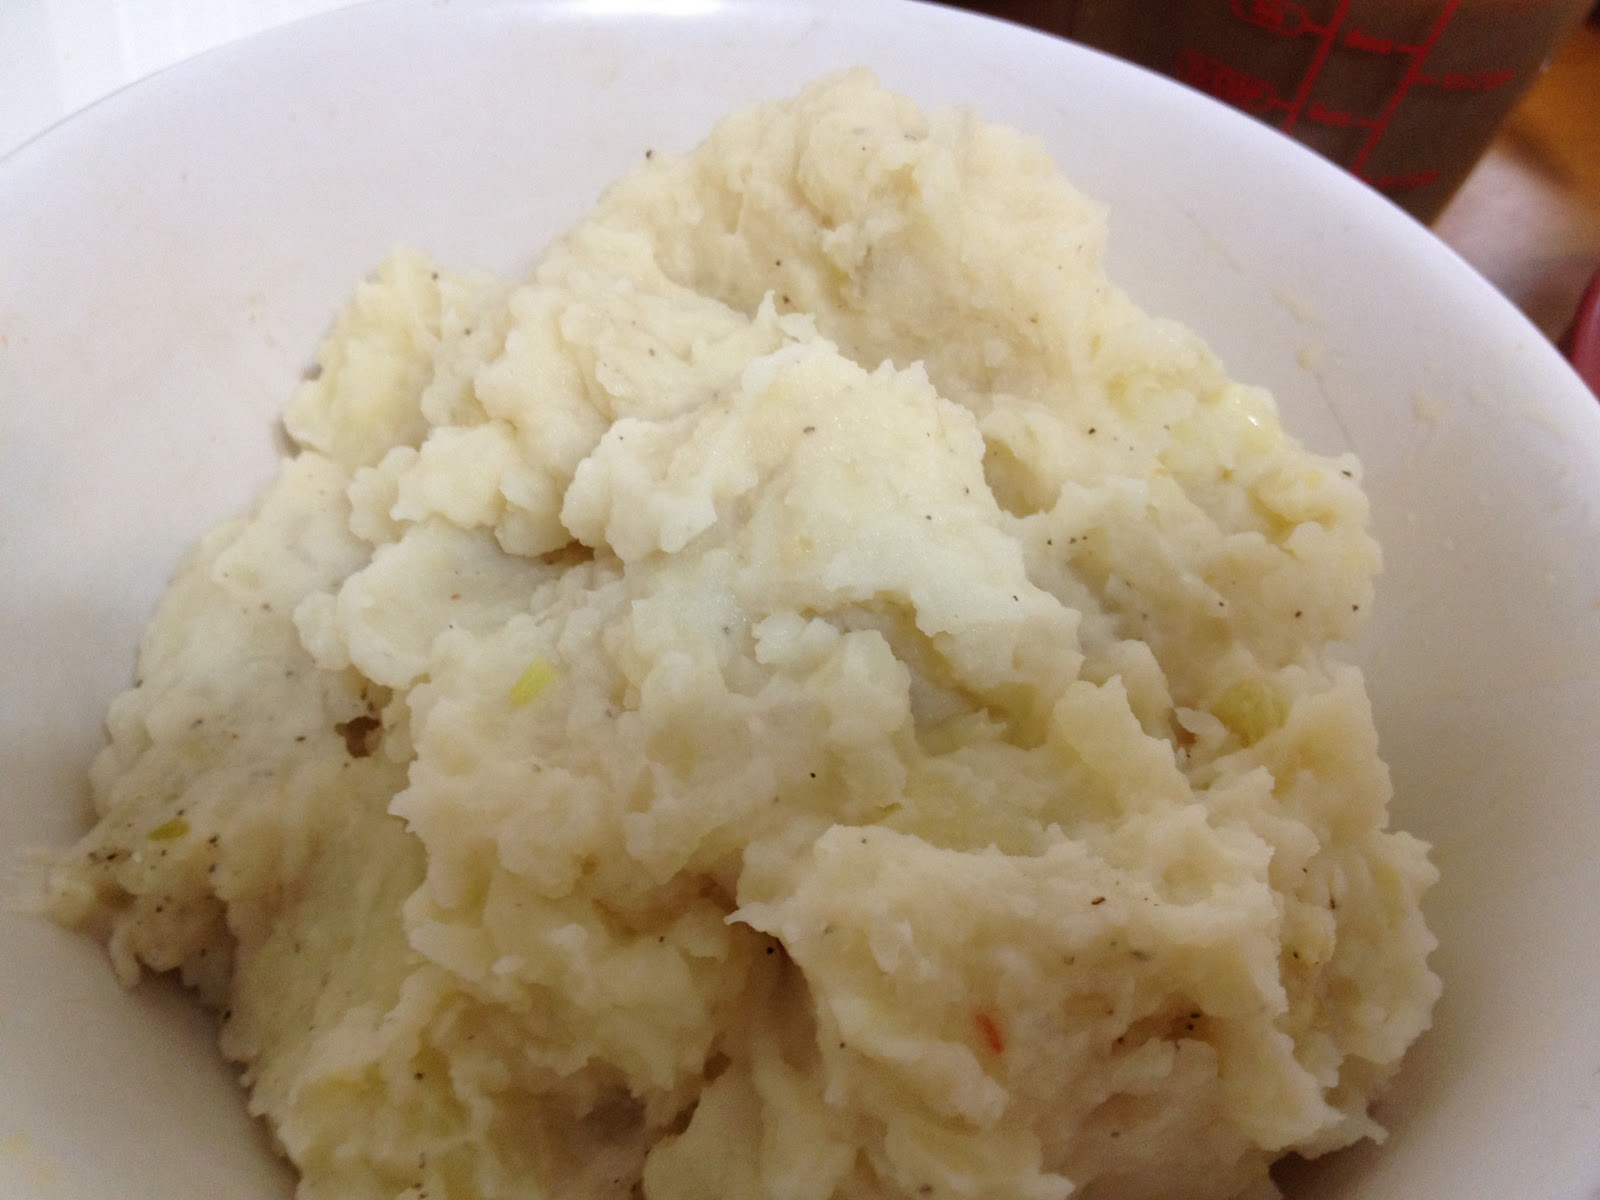
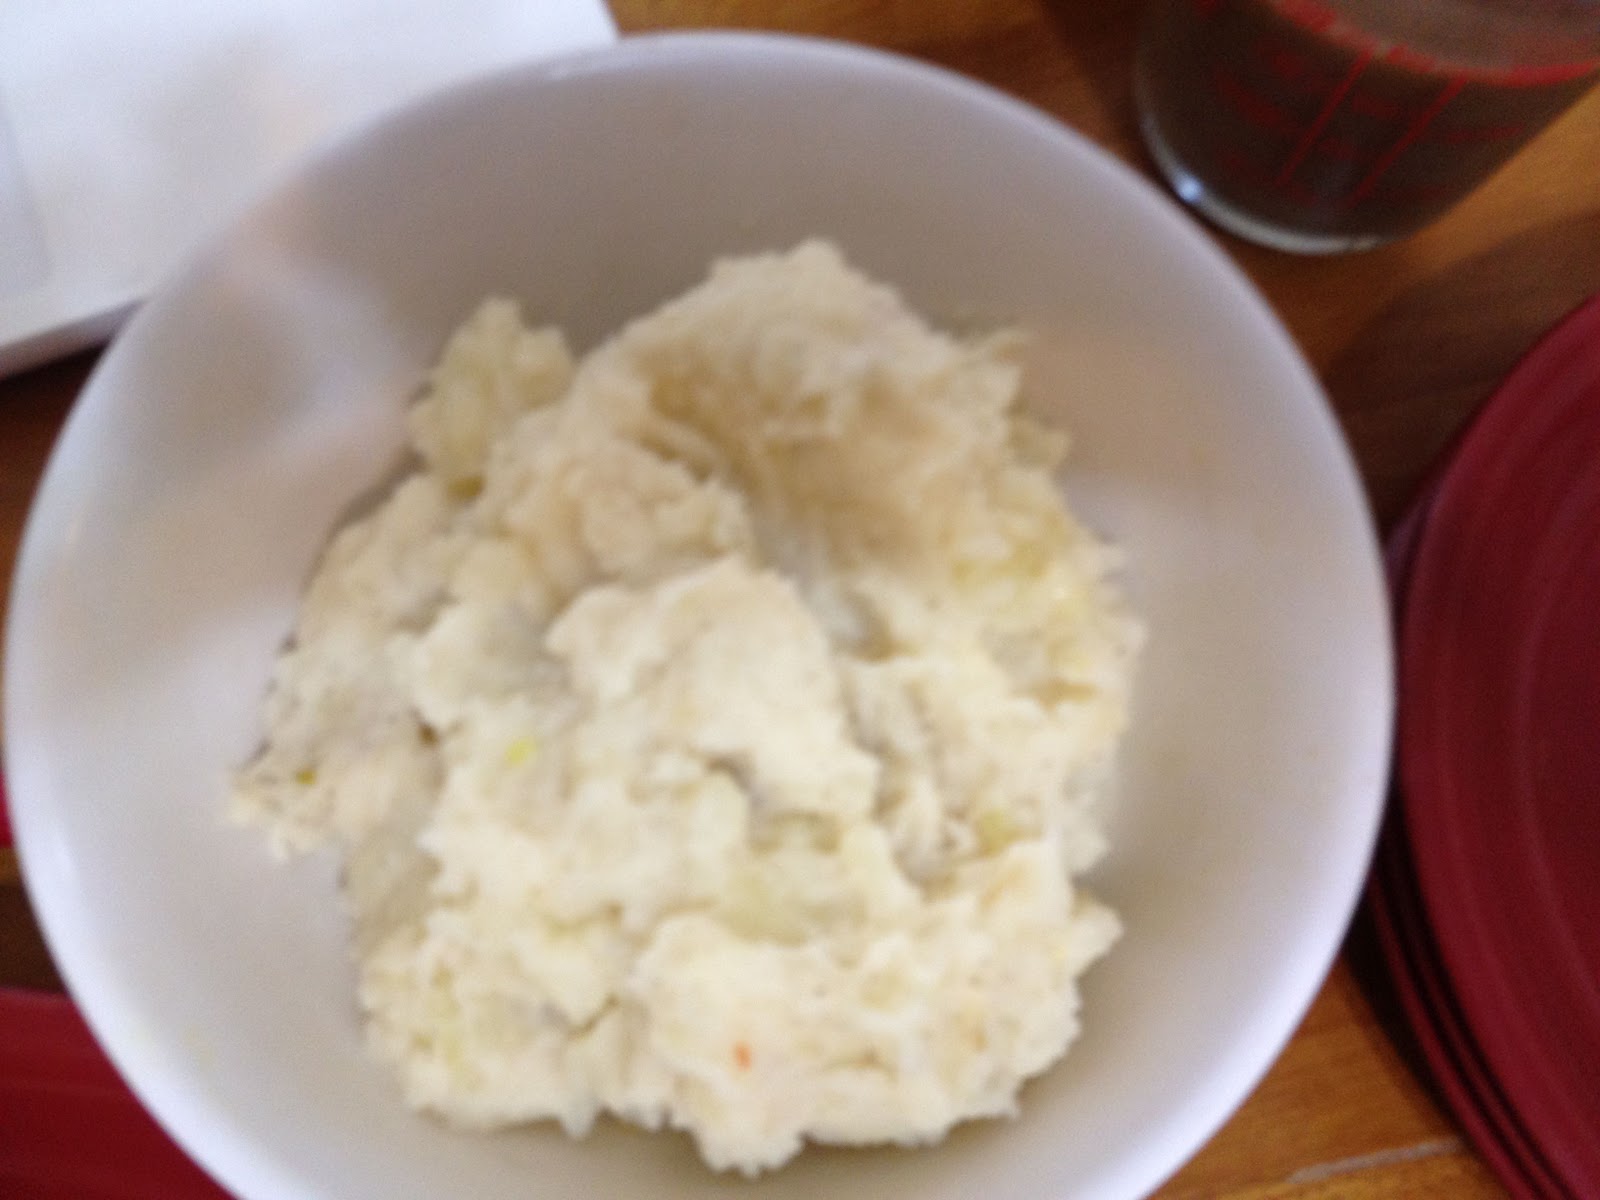
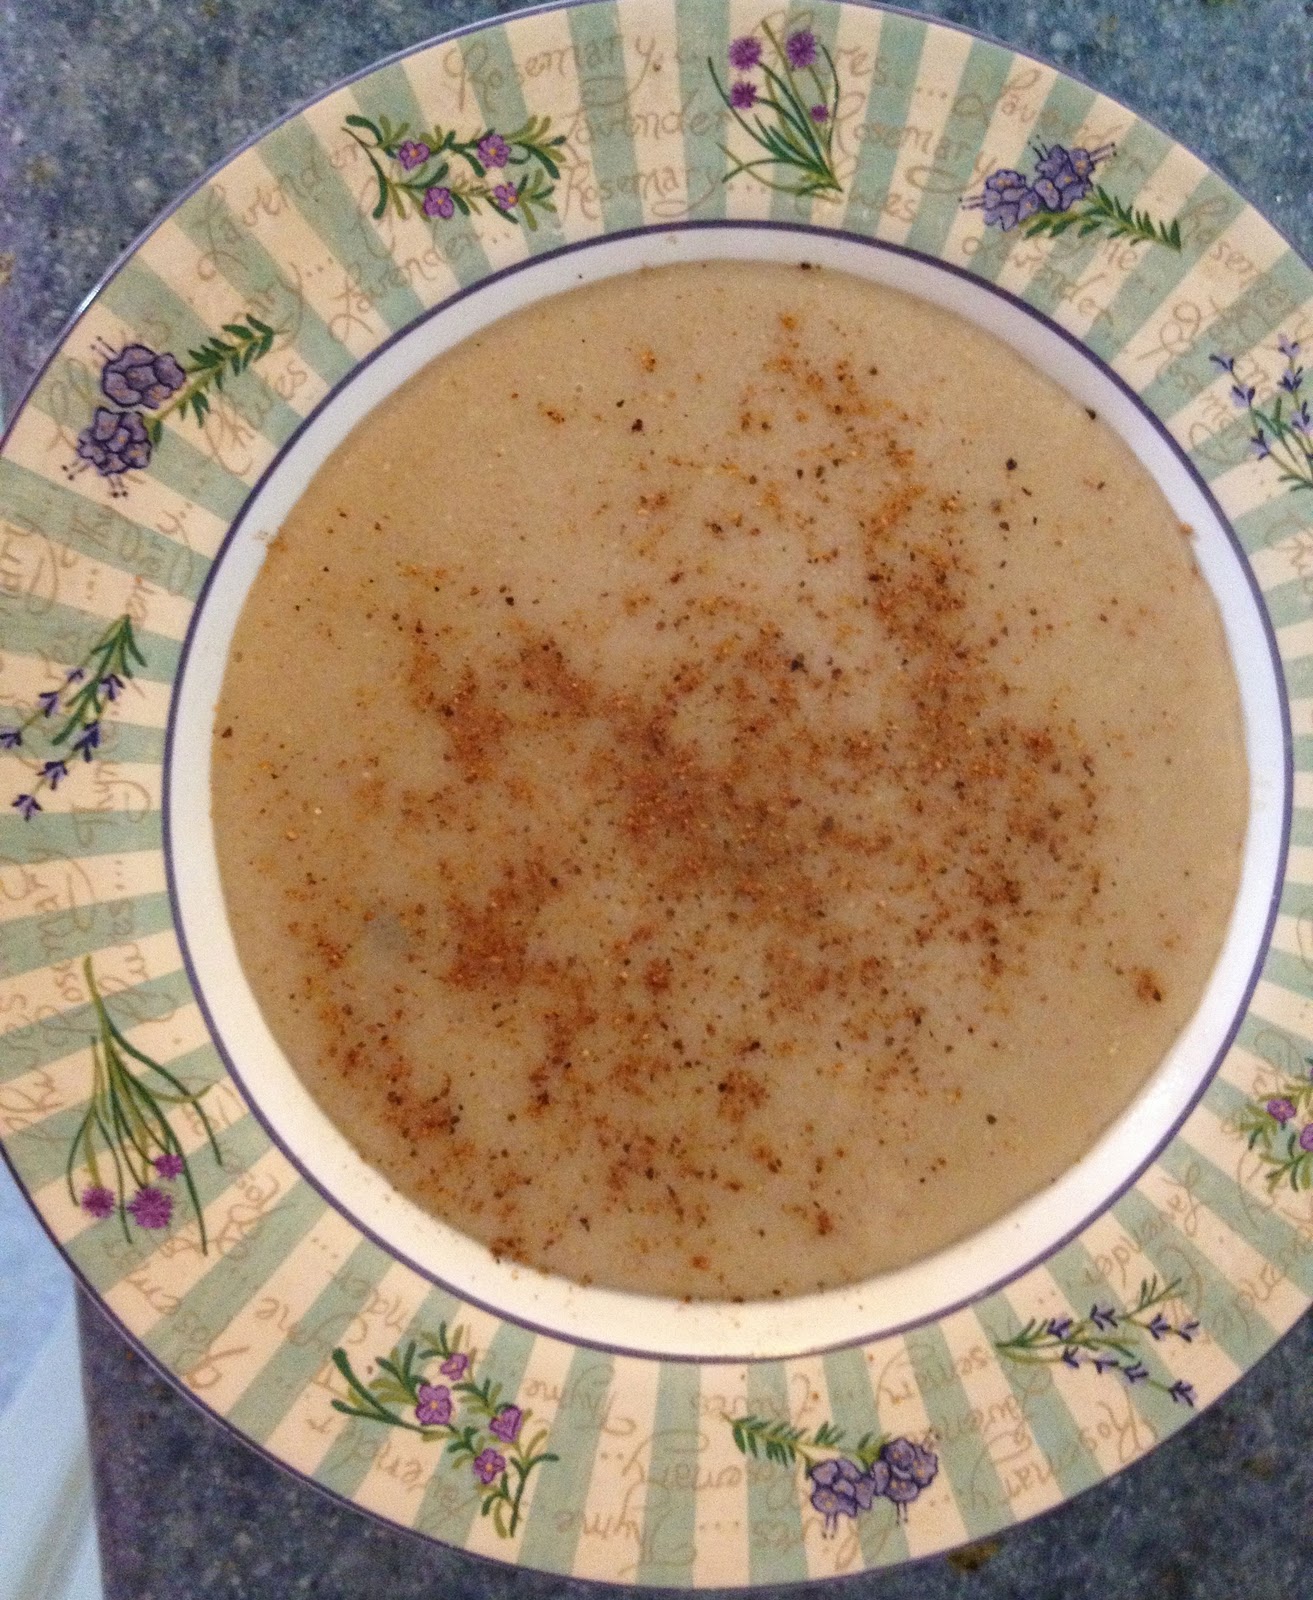
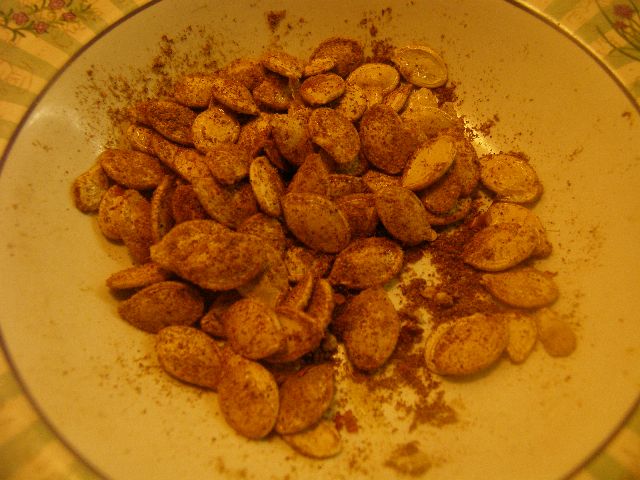
I saved my favorite Thanksgiving dish for last. I LOVE mashed potatoes. When I was a teenager I used to eat a bowl of instant mashed potatoes for lunch most days. I am happy to say I have grown out of those unhealthy days and I don’t eat mash potatoes that often anymore. But, they are still one of my favorite foods. Creamy, buttery, and fluffy—what’s not to love? And, I thought garlic would make them special for holiday.

Garlic Mashed Potatoes
4 Russet potatoes
1 tbs vegan butter (I used Earth Balance)
4 cloves of garlic, minced
1/2 tbs more vegan butter
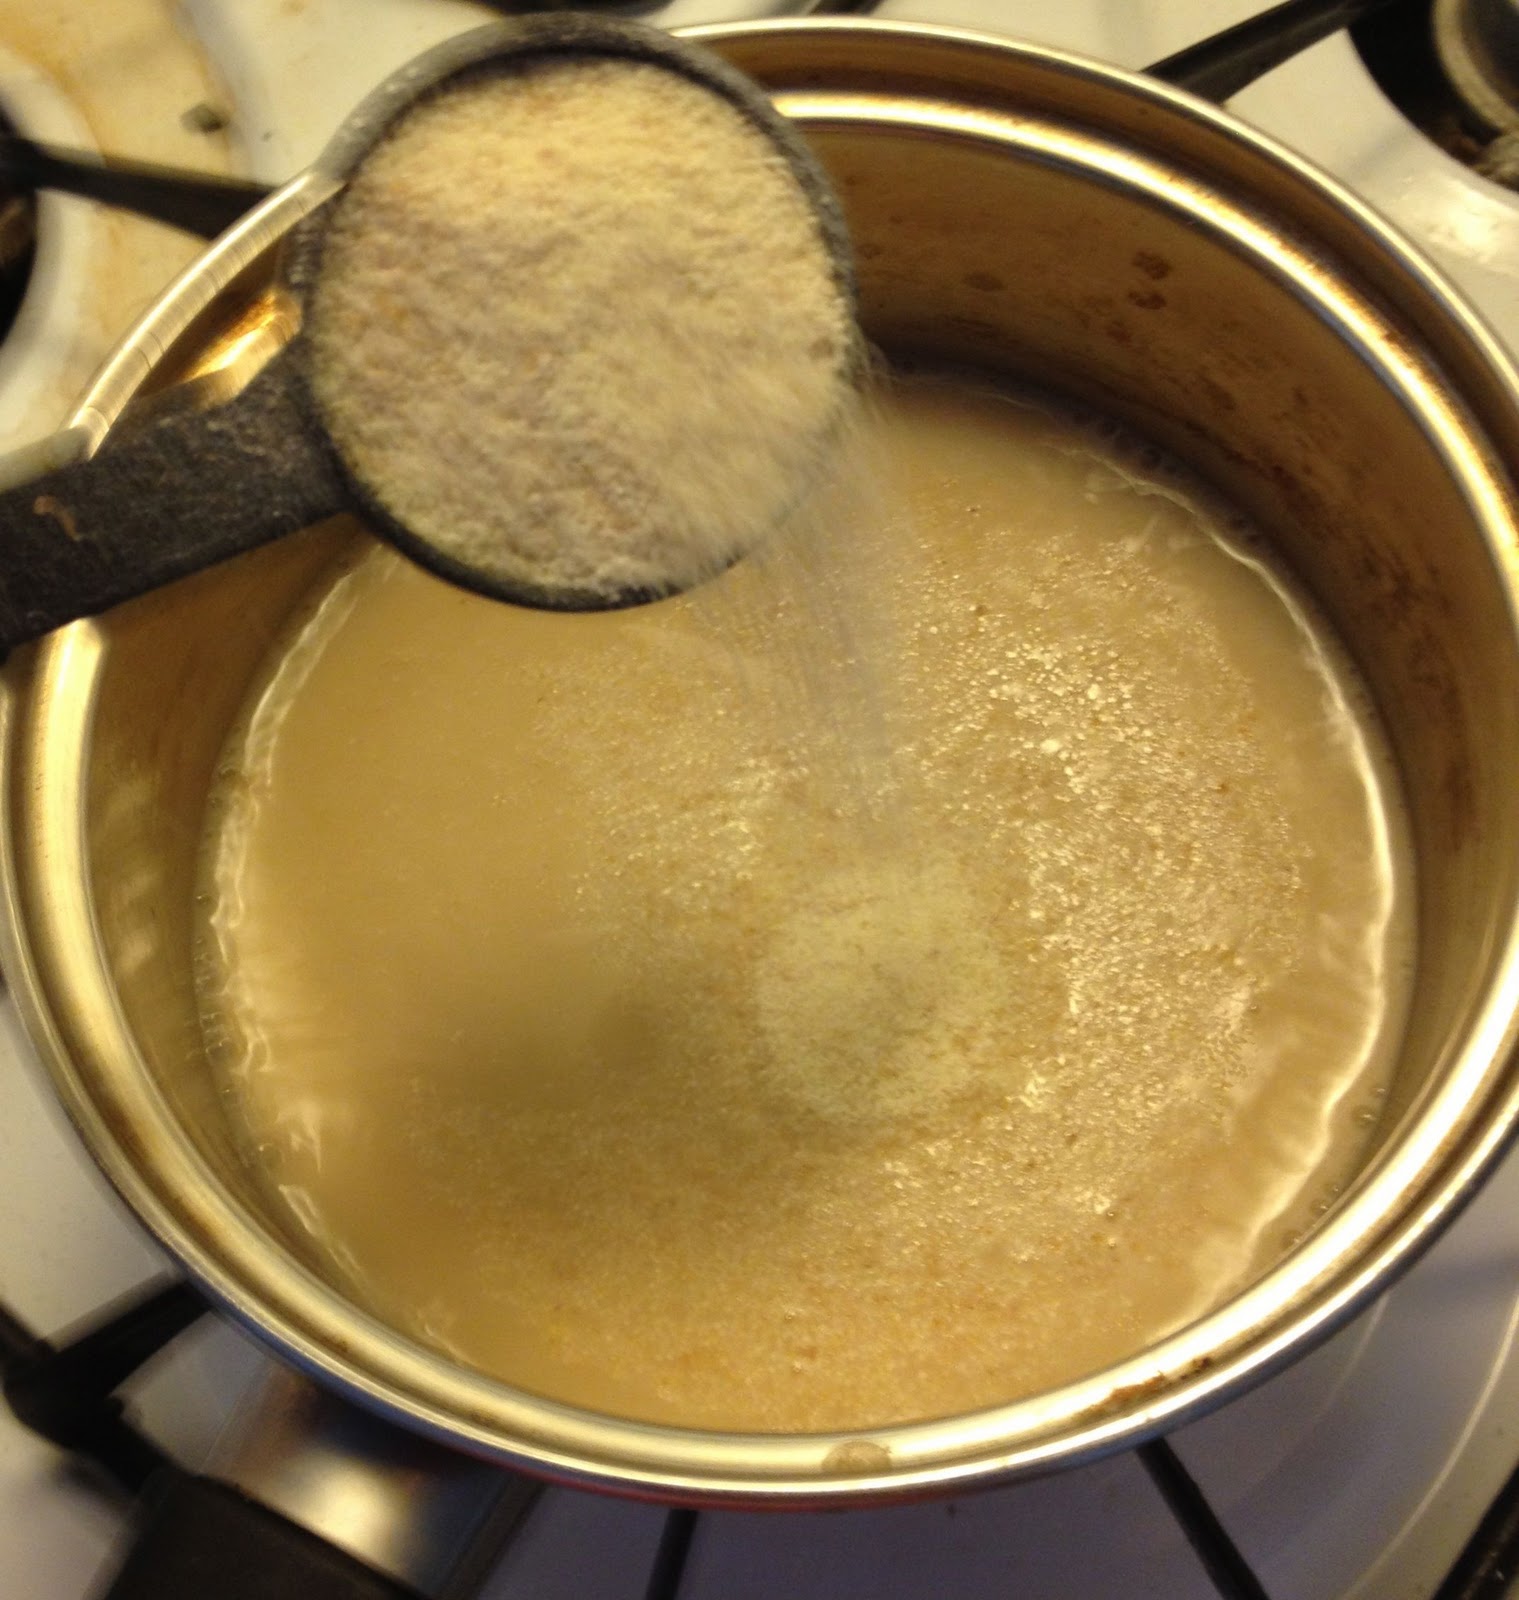
1/2 cup rice milk (soy milk works fine too) 
Salt and pepper, to taste
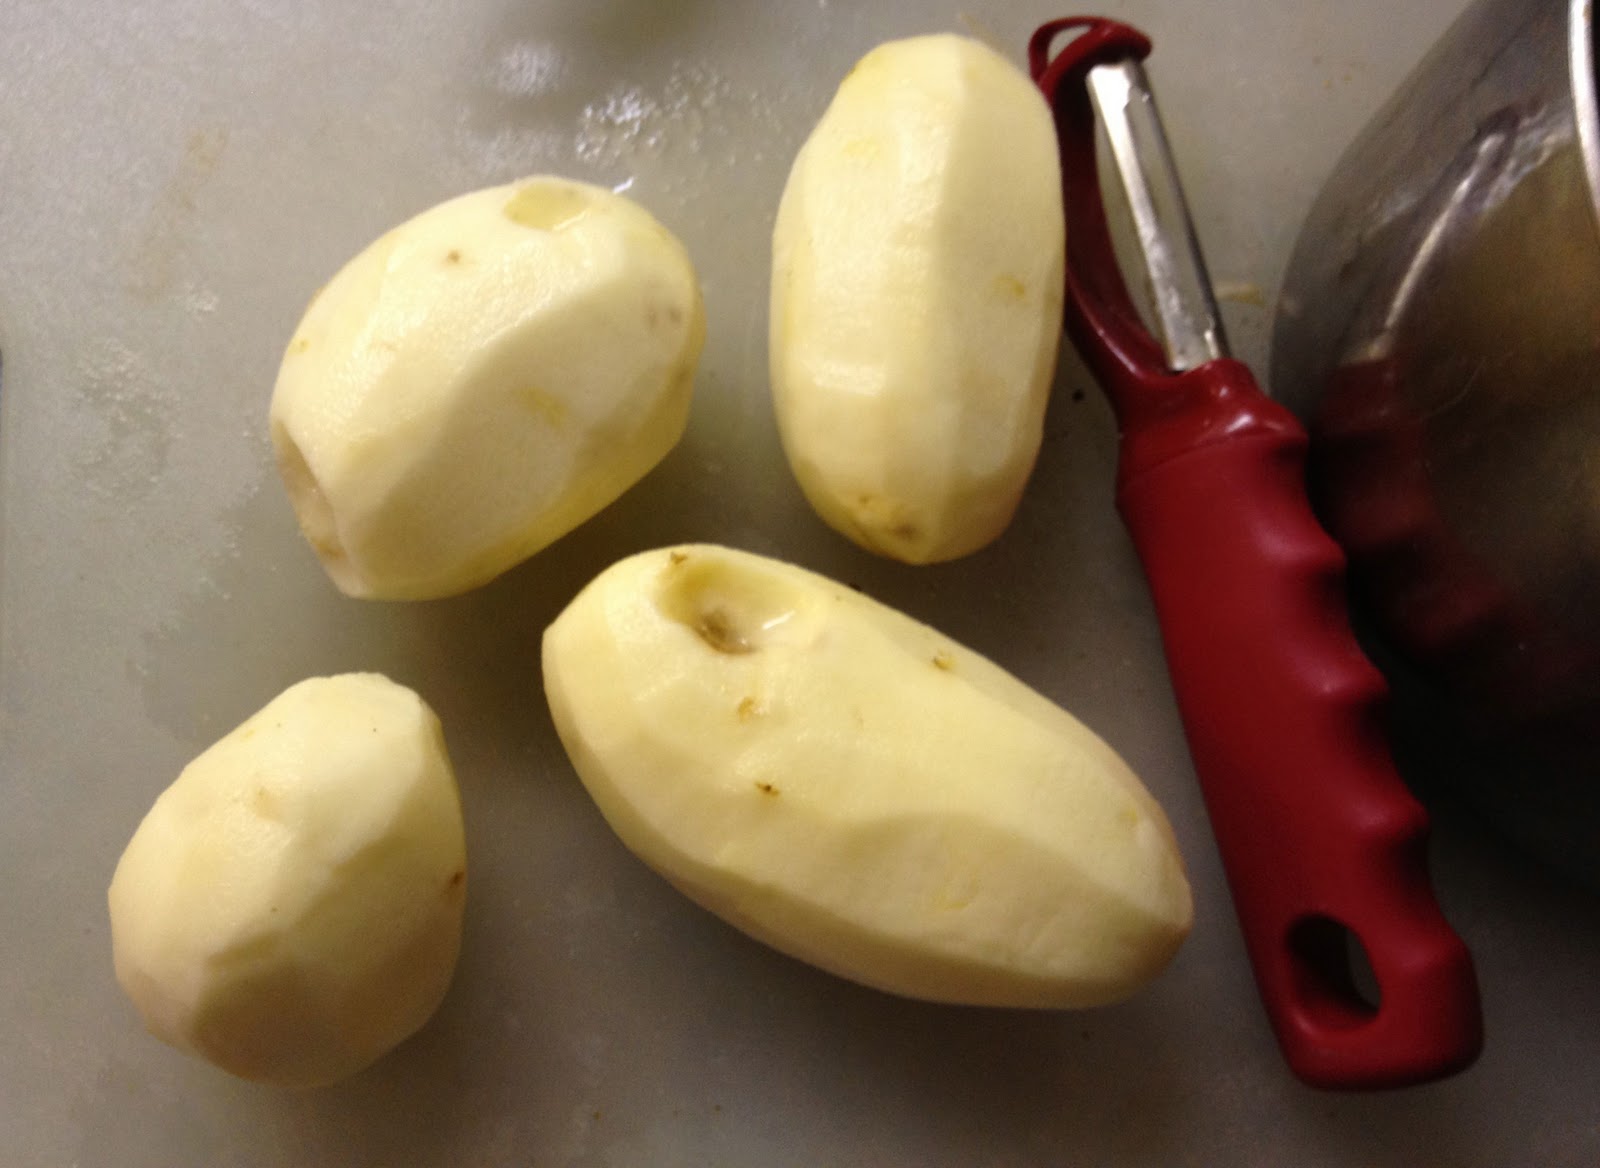
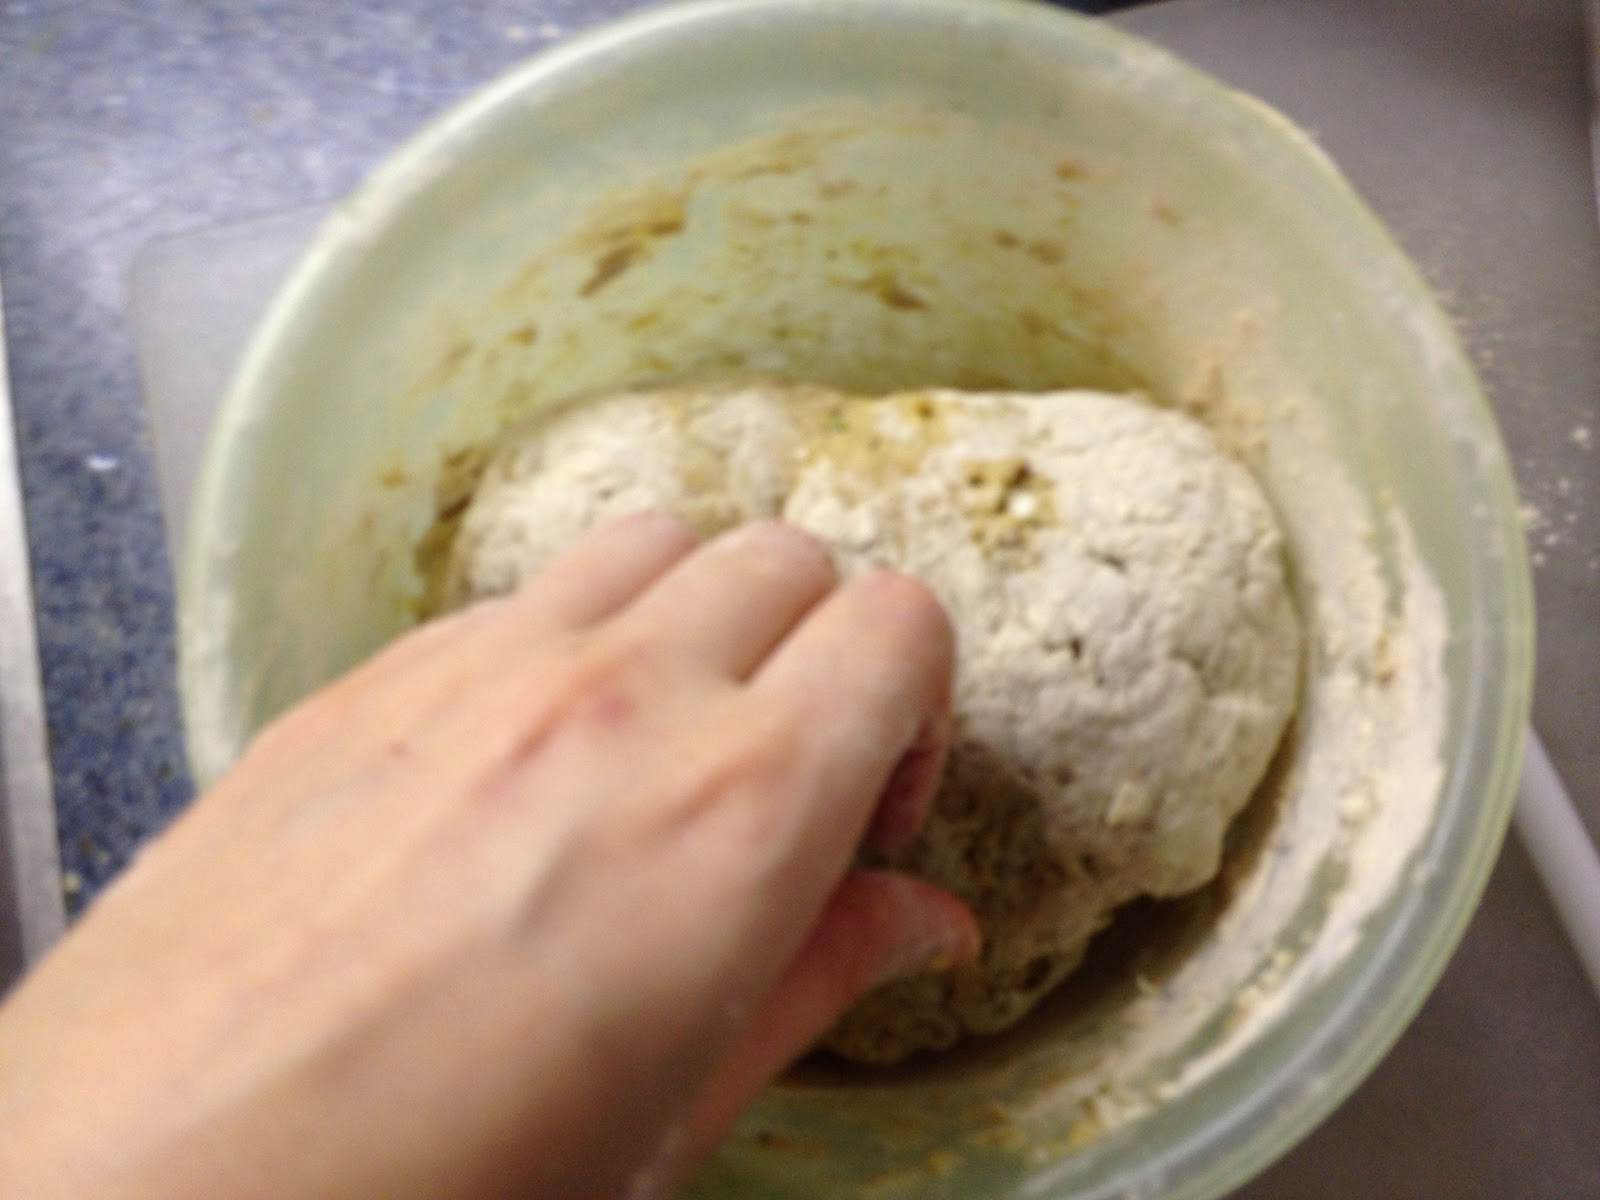
Wash, peal, and quartered the potatoes. 
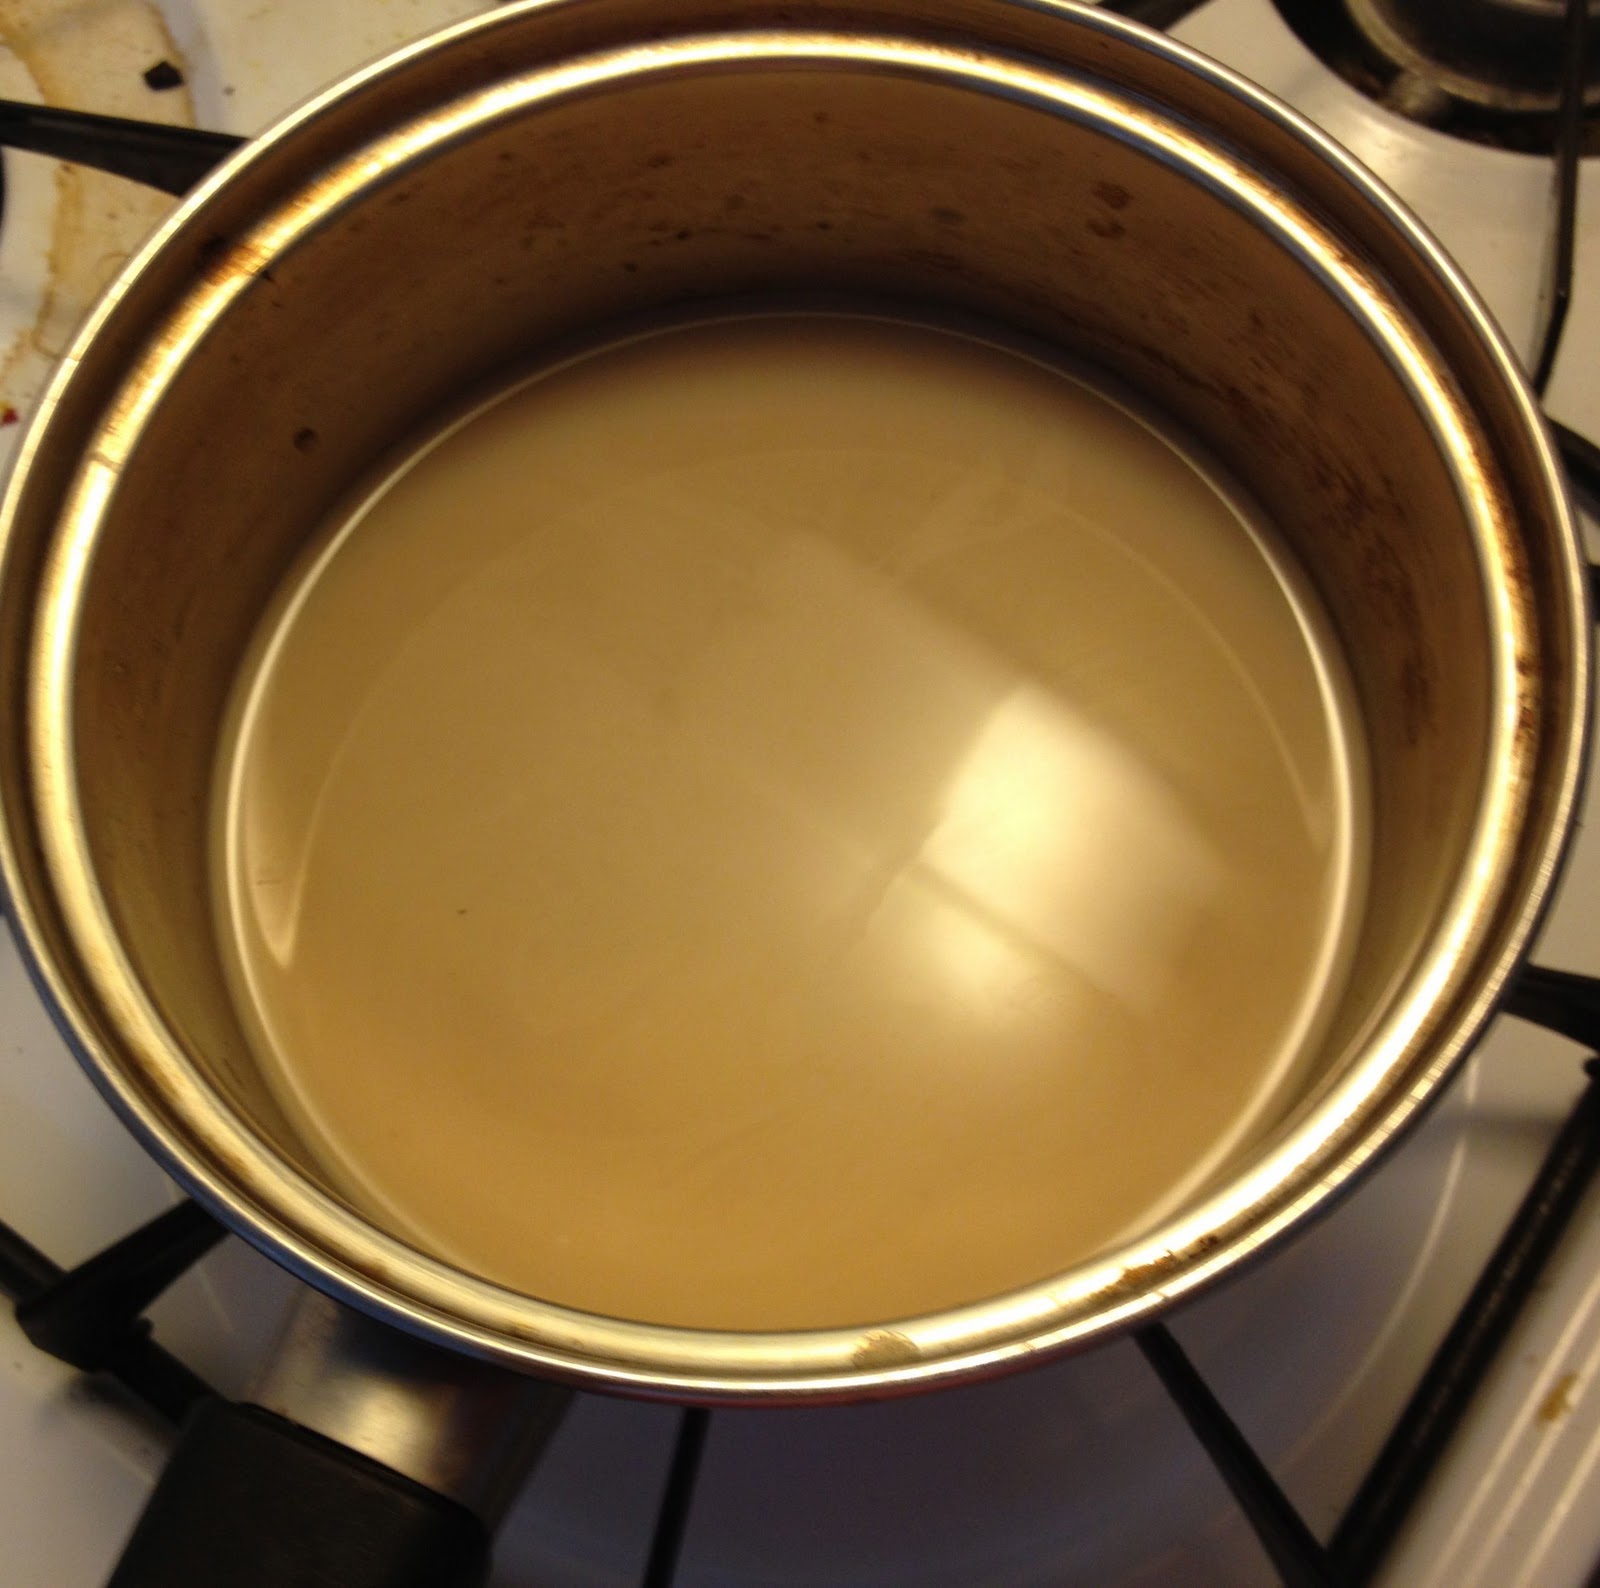
Place the potatoes in the pot you plan the boiling them in. Covered the potatoes with cold water. Let them soak for at least 15 minutes. This allows the starch to leach out so they mash better. 

Place a lid on the pot, place it on the burner, and bring it to a boil. 
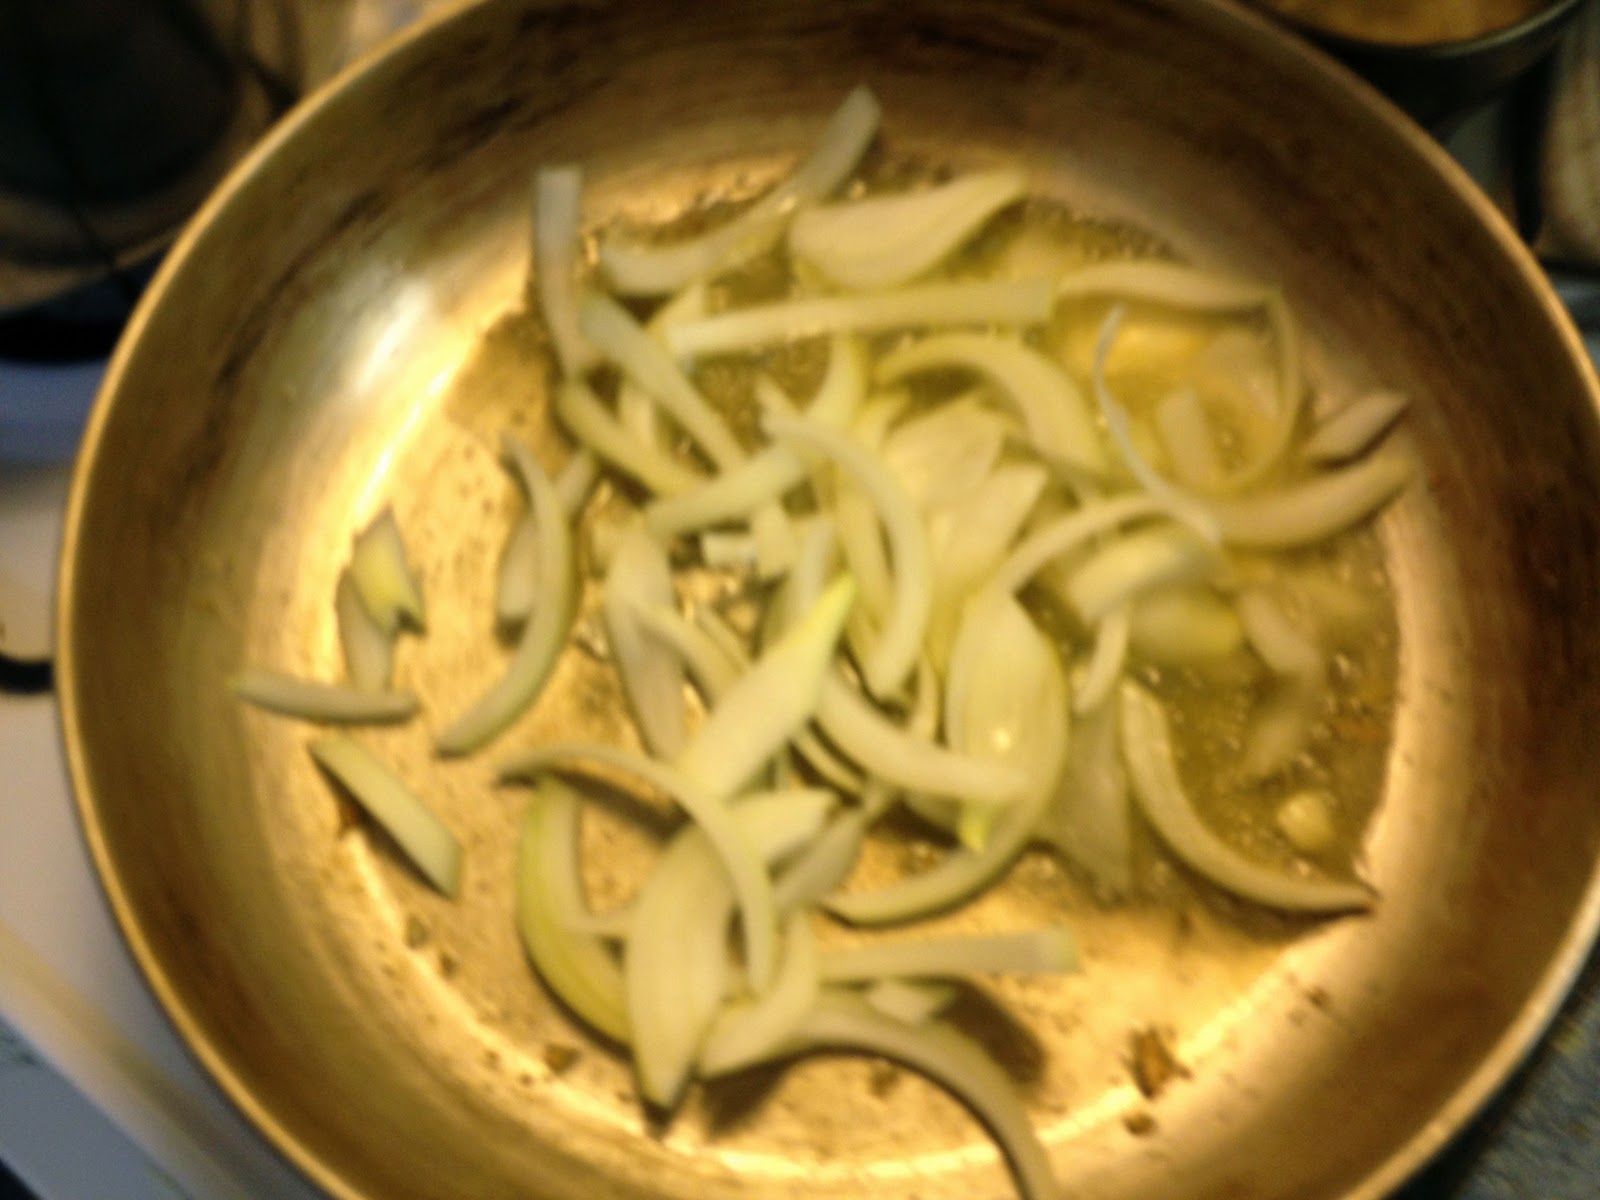
While that comes to a boiling, the 1 tbs of butter in a skillet over medium heat. Once it melts, add the minced garlic. Cook until golden, but careful not to burn it. 
Once it’s ready, remove from heat and set aside. 
Check the potatoes once they have boiled for a few minutes, they will be ready when a fork can be easily inserted all the through a quarter with no resistance. Once they are ready, remove from heat and drain. 
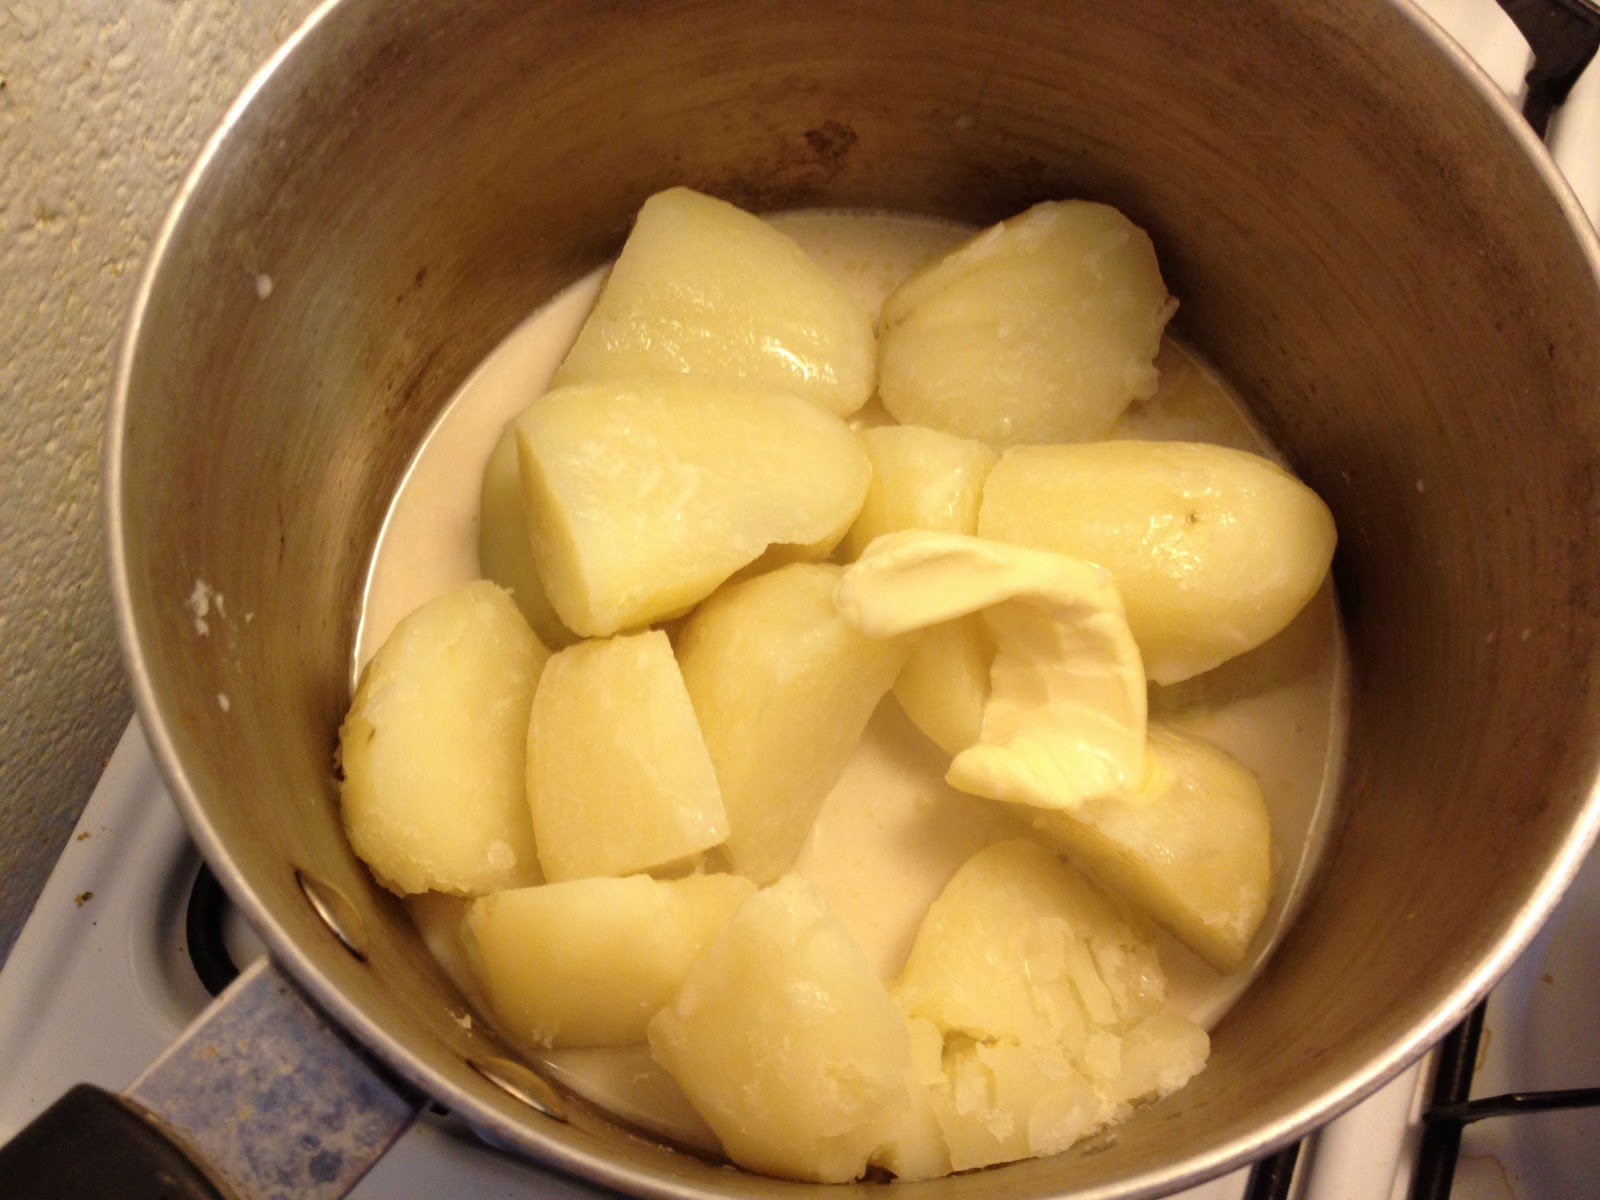
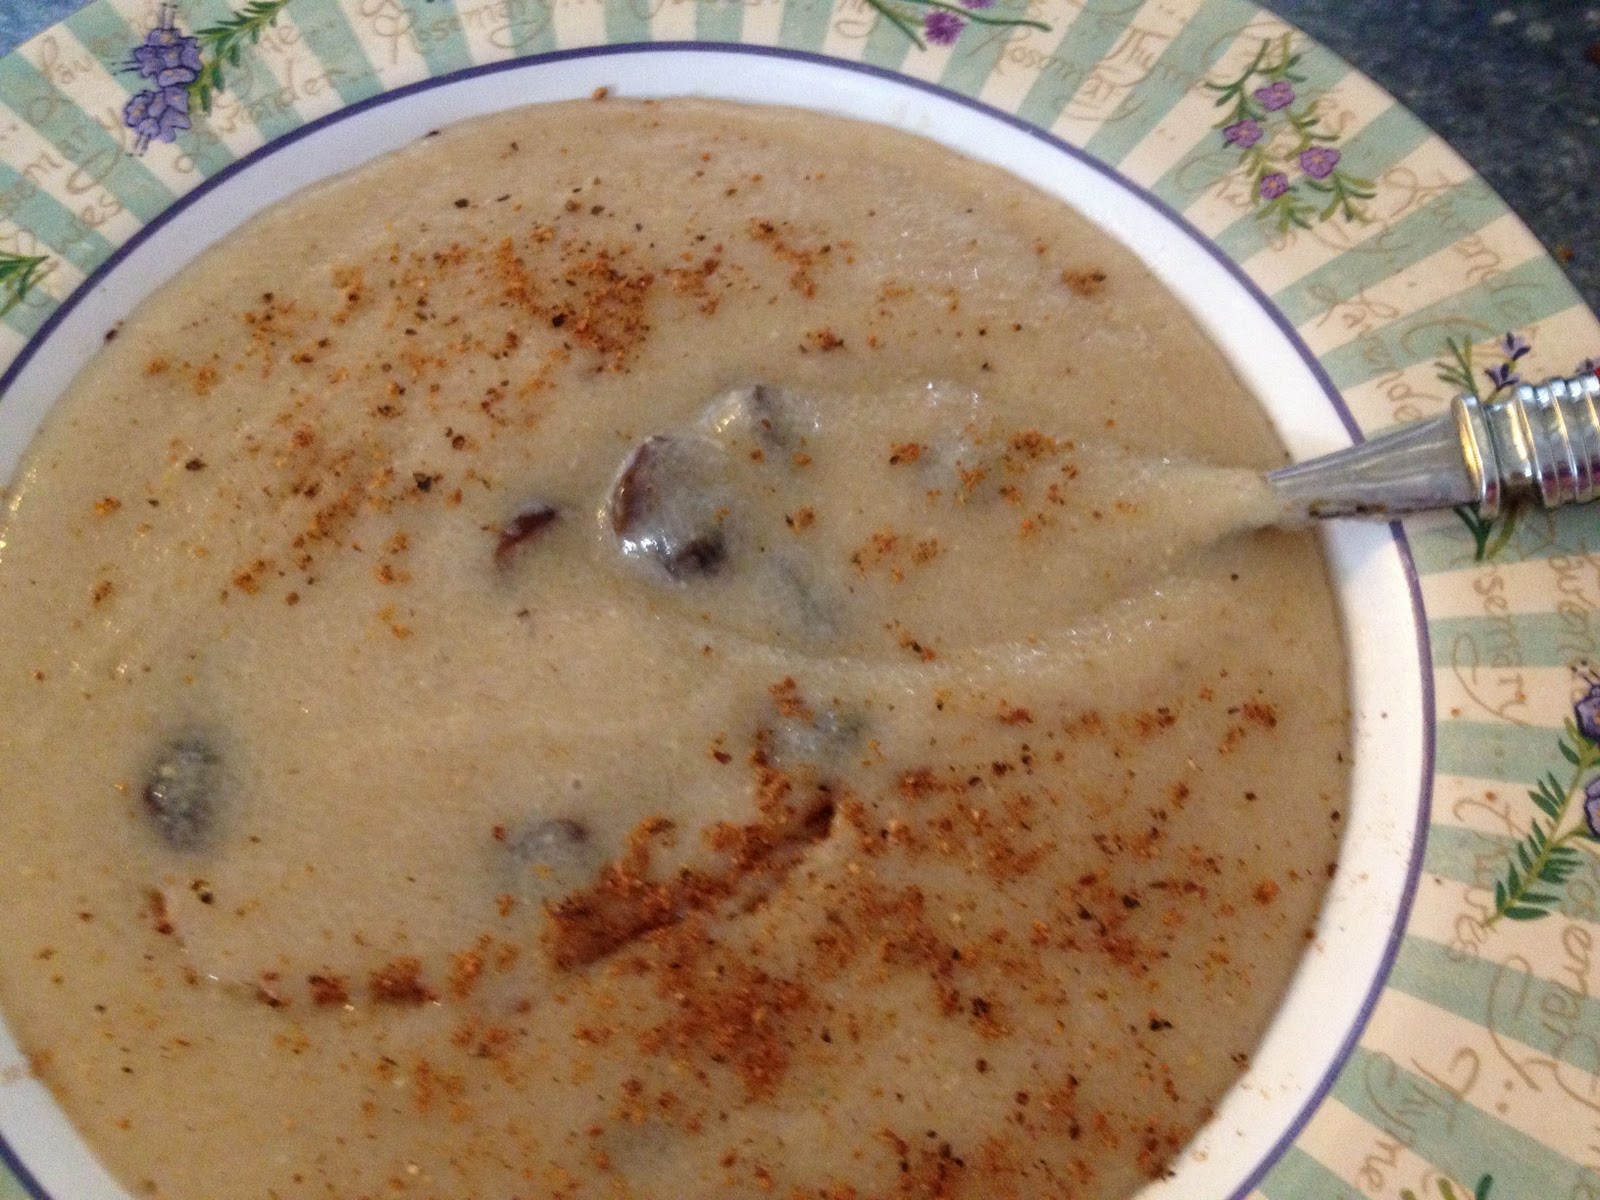
Return the potatoes back to the pot, add the garlic, the other 1/2 tbs of butter, and rice milk. Mash the potatoes until smooth and all the ingredients are incorporated. 
Now you have a big bowl of potato heaven! I hope you love this as much as I did. 

Thanksgiving 2011: Green Beans with Caramelized Onions

Green bean casserole was one of my favorite Thanksgiving sidedishes before I went vegan. But do you have any idea how many calories, sodium, and preservatives a traditional recipe can have? Even if you make it with all vegan ingredients like vegan sour cream and soup mixes, it still a lot of proceeded foods. I still wanted the taste of green beans and onions, but not all the junk. So I decided to keep it simple, caramelized onions and pan roasted green beans, cooked in just a little bit of vegan butter. This makes two servings.

Green Beans with Caramelized Onions
1 tbs vegan butter (I used Earth Balance)
1/2 medium onion, sliced into half rings
1 1/2 inch piece of fresh ginger, minced
2 clove of garlic, minced
1 cup green beans, washed and the ends cut off
Red pepper flakes
Salt and pepper, to taste

In a large skillet over medium heat, melt the vegan butter.

Add the onions and cook until the they are golden and caramelized. Turn the heat down as needed and be careful not to burn them. Be patient and don’t crank the heat in frustration if it takes awhile.

When the onions are just about done, add the ginger and garlic. Cook until the garlic is slightly golden and the ginger softens. Again be careful not to burn anything.

Add the green beans, and seasoning to taste. Cook until the green beans soften and start to brown.

It may take some time, but this recipe is simple and healthy. I loved the pop of green on my Thanksgiving plate. The ginger is what totally makes this dish.

Thanksgiving 2011: Seitan Roast

I saw the recipe on VegWeb for a Holiday Seitan Roast awhile ago and thought it sounded interesting. I love seitan, as evident in my two other posts about it, so I decided this year I would give the roast a try. But I deviated a from the recipe quite a bit. I boiled the roasts (the recipes makes two small loaves) first because I like the texture of boiled then baked seitan. Overall, I REALLY loved this dish. It was easy to make, flavorful and juicy. It even sops up gravy well. I am definitely be making this again sometime.

Seitan Roast
Broth:
5 cups vegetable stock
1 tbs soy sauce
1/4 an onion, cut into chunks
1 carrot, cut into chunks
A small pinch of salt and pepper 
Dough:
2 cups vital wheat gluten
1/4 cup nutritional yeast
1 cup vegetable broth 
1/4 cup low sodium soy sauce
2 cloves garlic, minced
1 tsp Italian seasoning
1 tsp house seasoning
A small pinch of salt and pepper 
Baste:
2 carrots, quartered 
1 small onion, quartered and sliced divided

2 cups vegetable broth (you can use the broth you boiled the seitan in)
2 tbs low sodium soy sauce 
1 tsp cumin
1 tbs Italian seasoning

In a large pot, add all the ingredients for the broth together and set aside. Do not turn the burner on yet. 

In a large bowl, add the vital wheat gluten and nutritional yeast and mix together lightly. 

Add the remanning ingredients and stir until it is too thick for a spoon.

Knead the dough the rest of the way until it comes together and is smooth. This should only take a minute or two so don’t over knead. 


Divided in half and form into small loaves. 

Put the loaves into the broth, turn on the heat, and bring to a boil. Make sure to cover with a lid. 

Once it starts to boil, reduce to a simmer and keep the lid on. Boil for about 30 minutes total. 

While that boils, pre heat the oven to 350 and spray a baking pan with cooking spray.

Combine the all baste ingredients except the carrots and onion.

Remove the loaves from the broth and place them in the baking pan. Spread the quartered carrots and onions around the loaves and cover with half the baste.

Bake for 15-20 minutes, until the broth is absorbed. Cover with the remaining baste and bake for another 10-15 minutes.

Plate, slice, and serve. I topped mine with some mushroom gravy. I think I will make this again for Christmas. 

Holiday Cream of Wheat

Happy Thanksgiving! I hope you all have a wonderful holiday filled with joy and are surrounded by those you love. I would like to take a moment to share what I am thankful for:

My amazing family who always supports and loves me.
My sorority sisters who still are my rock 2 years after graduation.
The privilege of higher education.
The aloha spirit of Hawaii.
All my readers and subscribers.
My darling litte kitty Penny who makes me smile everyday with her love and antics.

Took forever to get her to sit still and face the camera!

I will be posting the recipes for my dinner tomorrow, but I thought I would share a lovely idea for a holiday breakfast.

Like most babies, my mom fed me farina, more commonly known as Cream of Wheat. She says I loved it so much that I would practically fall out of my highchair in excitement the minute I saw the box. And to this day, it makes me so happy when I eat it. I have no idea why, guess it just brings back childhood memories. I saw a box of Cream of Wheat on sale at the grocery store and couldn’t resist. I normally eat oatmeal for breakfast because of all its health benefits, but I figured if I can’t have my family for the holidays, I can something that conjures up happy memories.

While I was heading to the registers, something else caught my eye: Rice Nog. It’s pretty much a spiced up version of Rice Dream’s Vanilla Rice Milk. I’ve only had egg nog once before I went vegan, and to be honest, I liked the flavor but it was too rich for me. I was curious if a non-dairy version with way less fat would be better, so I bought a carton. I poured a small glass of it the next morning and was pleased. The flavor is perfect, and creamy without being overly rich. My only complaint is that it isn’t thick like egg nog, but that probably because of the lower fat content.

Then I realized it would be perfect in farina because it is already spiced and sweetened. I added some raisins for added fiber and I made myself a lovely little holiday treat. This makes one serving, but can easily be multiplied.

Holiday Cream of Wheat
1 and 1/4 cup Rice Nog
3 tbs quick cook Cream of Wheat
Pinch of salt (optional)
1/8 cup raisins (1/4 is a serving, but I find that is too many raisins)
Nutmeg, to garnish

In small pan, bring the Rice Nog to a boil.

Add the Cream of Wheat, whisking continuously for a minute to prevent lumps.

Let it cook for another 2-3 minutes, stirring often to prevent lumps.

Once the farina is cooked and it has thicken to desired consistency, remove from heat and add the raisins.

Serve in a bowl and garnish with a touch of nutmeg.

A big bowl of holiday happiness!

Bloody Sangria

My friend had a Halloween party last night and I wanted something fun to drink. I was searching for Halloween cocktails while watching Semi-Homeade Cooking with Sandra Lee. She made Sassy Sangria and decided to make a blood-red sangria. I didn’t originally plan posting this, but it was so delicious I felt the need to share.

Sangria is a wine-based punch that originated in Spain and Portugal. It consists of mixture of wine, brandy, seltzer/ginger ale, and fruit pieces. Brandy is not something I normally drink so I added a bit of tequila instead. Also, Walmart did not have ginger ale for some reason, so I used Sprite instead. I normally don’t drink soda at all, but once in a while it’s okay to have a bit extra sugar.


Bloody Sangria
1 bottle of Cabernet Sauvignon
4 oz tequila
1 orange, sliced
2 limes, sliced
1/2 liter of Sprite

Pour the wine into a large pitcher.

Add the tequila.

Drop in to the orange and lime slices.

Chill in the fridge for 3 hours or overnight if you have the time.

Before serving, add the Spite.

If you want it “bloodier,” you can add some grenadine and some fake spider.

I hope you all have a happy and safe Halloween! Keep an eye on your keiki (Hawaiian for kid) and please don’t drink and drive. Also, please keep your pets indoors if possible. There are sick people who torment cats for fun or witchcraft.

I was one happy bunny. 

Jack-O-Latern and Spiced Pumpkin Seeds

I love Halloween. It’s my favorite holiday. Like I said in my Halloween Taco Rice Bowl post, I am named after Elizabeth Montgomery’s character Samantha from the TV show Bewitched, so this holiday is pretty much made for me. If I could get away with it, I’d still go trick-o-treating (and don’t pretend like majority you wouldn’t too!) As fun as dressing up and getting free candy was as a kid, my favorite part was actually carving pumpkins. It was good quality time I got to spend with my family while having fun and being creative. Those are some of my most cherished childhood memories. What kid doesn’t love to get messy and throw pumpkins guts at their brother? And, there was always the delicious toasted pumpkins seeds afterwards too. I haven’t carved a pumpkin in several years sadly. Now that I am not living in the dorms anymore, I decided it was time to carve and toast seeds again.  I also decided that I would spiced up my seeds this year, ya know be a little more adult. I divided my seeds in two in order to make some savory and some sweet.

You don’t have to carve your pumpkin like I did, you can just cut it in half length wise and scoop out the seeds. But what fun is that?

Spiced Pumpkin Seeds
1 large, ripe pumpkin
Oil or cooking spray
Savory Seasoning
1 tsp curry
1 tsp chili powder
1 tsp garlic salt  powder
Sweet Seasoning
1 tsp cinnamon
1tsp ginger
1 tsp black strap molasses

Setting up to carve on my balcony. 

First thing, carve your pumpkin. Since this can be get messy, I decided to do this on my balcony. You will need two bowls, a big knife, a smaller pairing knife, a spoon or ice cream scoop, and a dish towel to wipe your hands.

Draw the desired design on your pumpkin while it’s still whole.

Cut a circle around the stem, clean off the gunk and set aside.

Ew, slimy.

Scoop out the membranes, but separate out the seeds. The little tiny ones can be discard though.

Carve the design. I am not the best artist, but I like mine cock-eyed and crooked-toothed. I named him Igor.

Meet Igor. 

Clean up the edges and put the stem back on.

Put your beautiful pumpkin on display for everyone to enjoy.

Now for the seeds….

Pre-heat the oven to 300 degrees.

Rinse the seeds very well and get all the gunk off.

Dry them well too.

You can either oil or spray a baking sheet. Oil can give the seeds a bit more flavor but adds more calories. I just spray mine.
Spread the seeds into a single layer.

Bake for 30 minutes, stirring occasionally.

Once they are lightly golden, they are done.

Combine all the savory seasonings a bowl and add the seeds while still hot. Toss together to coat.

Combine all the sweet seasonings in another bowl and add the seeds while still hot. Toss together to coat.

Now you have a lovely jack-o-latern and delicious pumpkin seeds.

But, there is more a simple pumpkin can yield. Those slimy, nasty membranes can be added to a compost pile to give nutrients to your garden (assuming you have one). The pieces you cut out can be roasted in the oven and make a tasty addition to your dinner.

Baked tofu, pesto smashed potatoes and a side of roast pumpkin

Halloween Taco Rice Bowl

Apparently today is National Taco day. And Halloween is just around the corner. So I thought I would combine the two. But, my normal grocery store did not have vegan tortillas and I didn’t feel like driving around town to find some, so I decided to make a rice bowl instead. All the same stuff as a taco, just over rice. For the Halloween  aspect, I used orange bell peppers, black-eyed peas (wooo, scary your food has eyes!) and topped it with a slimy-looking (but actual texture far from it) green kale pesto. I made the pesto the other day so I don’t have photos, but it’s so easy they aren’t needed. This recipe makes 2, but can easily be multiplied. Black beans would be good for the Halloween theme too.

Halloween Taco Rice Bowl

Kale Pesto:
1 large bunch of kale (sorry I didn’t measure it exactly)
Handful of basil
3 cloves of garlic
1/2 cup pine nuts
1/4 cup of olive oil
1/4 cup of lemon juice
Salt and pepper to taste
Red pepper flakes (optional)
The Rest of the Stuff:

1 cup cooked brown rice
1 cup black-eyed peas (I used dried and cooked them myself but canned is fine too)
1 clove of garlic, chopped
2 orange bell peppers, sliced into strips
1/2 cup onion, sliced
Salt and pepper to taste
1 medium tomato, chopped
Cilantro, chopped
Jalapeños
Or any taco toppings you wish.

To make the kale pesto, first wash the kale and basil well. You can remove the stems if you like but I left them on. Peel the garlic too.

In a blender or food processor, add the kale, basil, garlic, and pine nuts. Pulse until ground up and combined.

Add the olive oil and lemon juice. Blend until smooth.

Season with salt and pepper to taste. I also added some red pepper flakes for a little kick.

The color might be reminiscent of slime, but it’s so good. And not to mention the wonderful health benefits of kale.

For the rest of the rice bowl….

Cook the rice according to the direction. I did mine in a rice cooker. Set aside.

I soaked my beans overnight and cooked them according to the package with just a bit of salt. If using canned, rinse them well and just heat them up. Set aside.

Slice the onions and peppers into strips. Chopped the garlic.

Heat some oil in a large skillet over medium heat. Add the garlic and cook just until it softens.

Add the onions and bell peppers. Season with a bit of salt and pepper and cook until the bell peppers start to blacken a bit and onions start to caramelize.

Time to assemble. In a bowl, put a serving of rice.

Next put on some black-eyed peas.

Then the orange peppers and onions.

Now put some of that lovely green kale pesto.

Lastly, I topped mine with some cilantro and jalapeños. But sour cream, vegan cheese, olives, or any taco toppings would be wonderful too. I am trying to eat more holistic foods so I kept it simple.

The pesto is what totally makes the rice bowl. And the orange peppers are just fun.

There will be more Halloween posts to come. It’s my favorite holiday because I am named after Elizabeth Montgomery’s character Samantha on the TV show Bewithched.

Happy Easter! Would You Like Some Green "Eggs" from Sam?

Happy Easter and happy spring! I thought I would make myself a little brunch today. I had some left over pierogi filling from last night, so I thought something egg-like with potatoes would be nice. Of course vegans do not eat eggs, but we make awesome things with tofu. Tofu scrambles are a great breakfast staple, but I wanted something a little fancier for Easter.

I found a recipe for Tofu Quiche with Spinach and Broccoli on VegWeb, and thought it would be tasty.  Instead of making a crust, I used my pierogi filling as a base and made little mini quiches. You can use just plain mashed potatoes or even instant too.

So creamy!

I used hemp milk in this recipe because it is my favorite non-dairy milk. It’s creamier and a little sweeter than soy milk. I haven’t been able to find it in Hilo, but to my delight I saw some in the health food store yesterday. You can use whatever milk you prefer.

I also decided to puree my tofu filling to make it all green in honor of my favorite childhood book, Green Eggs and Ham. Purees are a good way to get more vegetables into your meals, especially for picky little kids.

 
Green Mini Quiches
1 cup prepared pierogi filling or mashed potatoes
1 tub of extra firm tofu, drained
1/2 cub hemp milk
1/4 cup spinach, frozen or fresh
1 cup broccoli
1 clove garlic
1/4 of an onion
1/4 cup nutritional yeast
1 tbs turmeric
pinch of salt

Pre-heat the oven to 400 degrees F. 

I saved my stems for a stir-fry later this week.

Chop the broccoli into smaller pieces. They are going into a blender so don’t worry about size too much. Make sure to save the stem, it’s really the best part. Just peel off the outer tough layer. The inside is sweet and tender.

If you use fresh spinach, just tear it up a little first. If you use frozen, thaw it first.

Chop the onion and garlic a little too.

So easy, no hard chopping or mixing.

Drain your tofu and place into a blender or food processor. Add the broccoli, spinach, onion, and garlic. Pour in the hemp milk. Blend until smooth.

Lovely green color

 Next add the nutritional yeast, turmeric, and salt. Turmeric turns whatever you cook bright yellow so it’s normally used in tofu scrambles to make it look like eggs. But the pureed spinach and broccoli overpower the color, so the turmeric is more for flavor and it’s amazing health benefits.

Make sure the bases are even so the filling doesn’t leak.

Now spray a muffin or cupcake tin well with cooking spray. Evenly line the bottom of each cup with your potato mixture.

Fill to the top.

Pour the tofu filling on top of each potato base. Tofu does not rise like eggs, so don’t be shy about filling to the top.

They smell so good.

Bake for about 20 to 25 minutes until the quiches no longer jiggle in the middle.

Let them rest for 5 minutes before serving. I have to confess they can be hard to remove so just be careful.

I topped mine with fresh tomatoes and a little vegan sour cream. It went nicely with a cup a green tea.

All the taste of eggs, and no cholesterol and loads of fiber.

Even as a vegan, I am Sam, Sam I am!