I love Halloween. It’s my favorite holiday. Like I said in my Halloween Taco Rice Bowl post, I am named after Elizabeth Montgomery’s character Samantha from the TV show Bewitched, so this holiday is pretty much made for me. If I could get away with it, I’d still go trick-o-treating (and don’t pretend like majority you wouldn’t too!) As fun as dressing up and getting free candy was as a kid, my favorite part was actually carving pumpkins. It was good quality time I got to spend with my family while having fun and being creative. Those are some of my most cherished childhood memories. What kid doesn’t love to get messy and throw pumpkins guts at their brother? And, there was always the delicious toasted pumpkins seeds afterwards too. I haven’t carved a pumpkin in several years sadly. Now that I am not living in the dorms anymore, I decided it was time to carve and toast seeds again. I also decided that I would spiced up my seeds this year, ya know be a little more adult. I divided my seeds in two in order to make some savory and some sweet.
You don’t have to carve your pumpkin like I did, you can just cut it in half length wise and scoop out the seeds. But what fun is that?
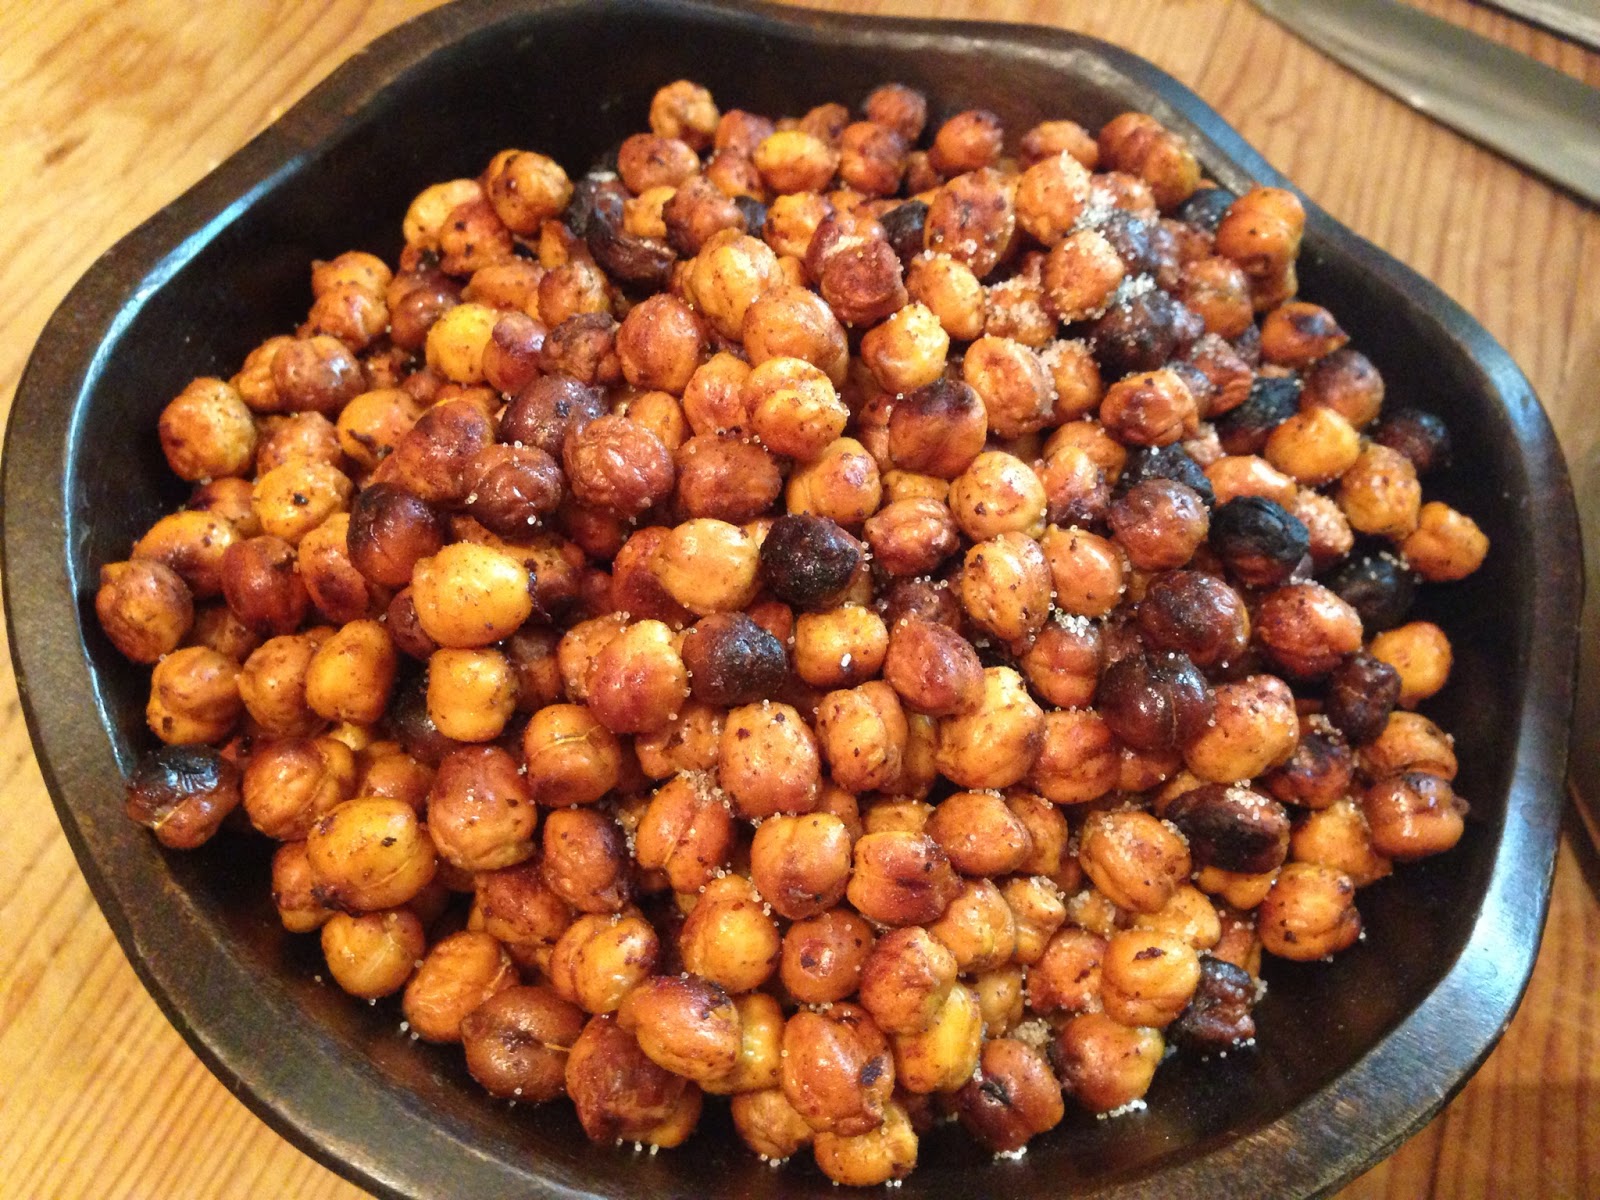
Spiced Pumpkin Seeds
1 large, ripe pumpkin
Oil or cooking spray
Savory Seasoning
1 tsp curry
1 tsp chili powder
1 tsp garlic salt powder
Sweet Seasoning
1 tsp cinnamon
1tsp ginger
1 tsp black strap molasses
 |
| Setting up to carve on my balcony. |
First thing, carve your pumpkin. Since this can be get messy, I decided to do this on my balcony. You will need two bowls, a big knife, a smaller pairing knife, a spoon or ice cream scoop, and a dish towel to wipe your hands.
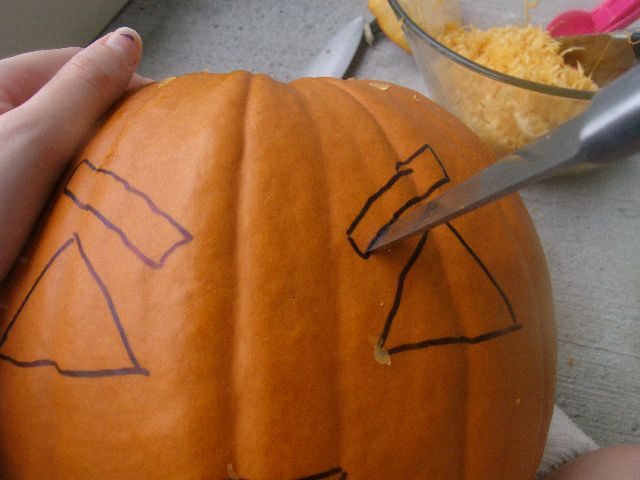
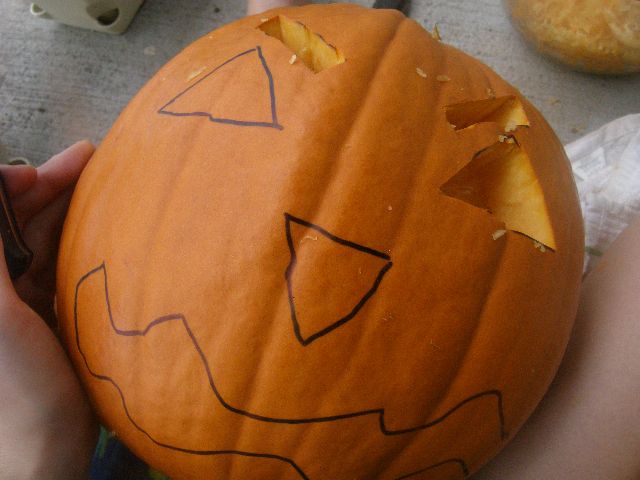
Draw the desired design on your pumpkin while it’s still whole.
Cut a circle around the stem, clean off the gunk and set aside.
 |
| Ew, slimy. |
Scoop out the membranes, but separate out the seeds. The little tiny ones can be discard though.
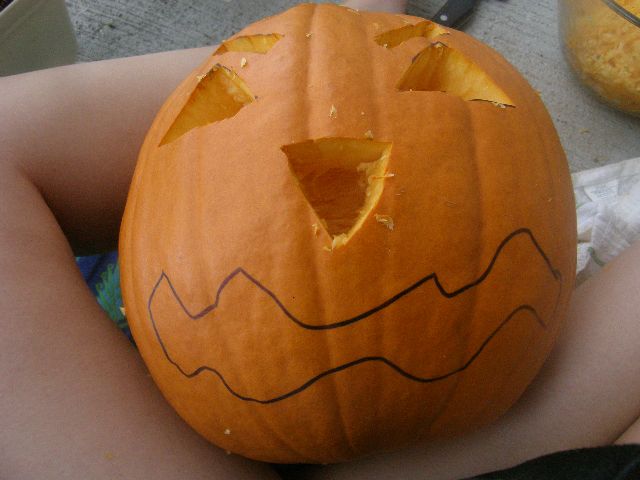
Carve the design. I am not the best artist, but I like mine cock-eyed and crooked-toothed. I named him Igor.
 |
| Meet Igor. |
Clean up the edges and put the stem back on.
Put your beautiful pumpkin on display for everyone to enjoy.
Now for the seeds….
Pre-heat the oven to 300 degrees.
Rinse the seeds very well and get all the gunk off.
Dry them well too.
You can either oil or spray a baking sheet. Oil can give the seeds a bit more flavor but adds more calories. I just spray mine.
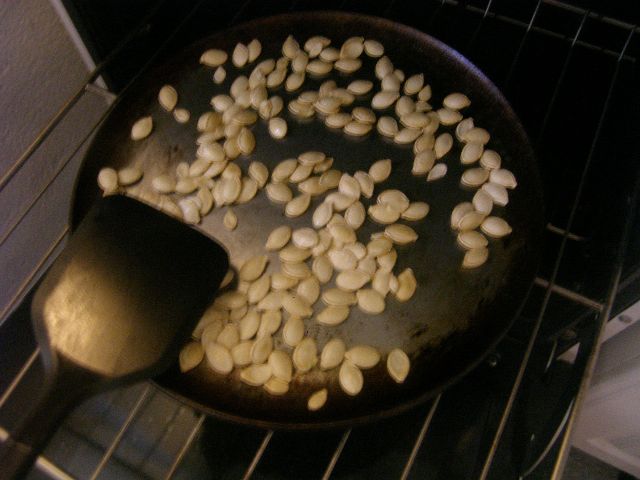
Spread the seeds into a single layer.
Bake for 30 minutes, stirring occasionally.
Once they are lightly golden, they are done.
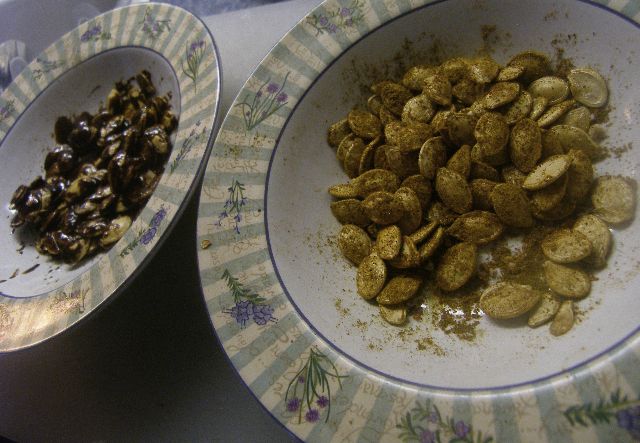
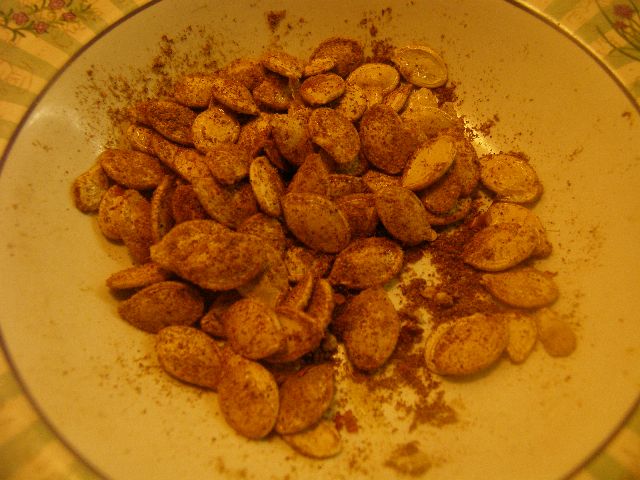
Combine all the savory seasonings a bowl and add the seeds while still hot. Toss together to coat.
Combine all the sweet seasonings in another bowl and add the seeds while still hot. Toss together to coat.
Now you have a lovely jack-o-latern and delicious pumpkin seeds.
But, there is more a simple pumpkin can yield. Those slimy, nasty membranes can be added to a compost pile to give nutrients to your garden (assuming you have one). The pieces you cut out can be roasted in the oven and make a tasty addition to your dinner.
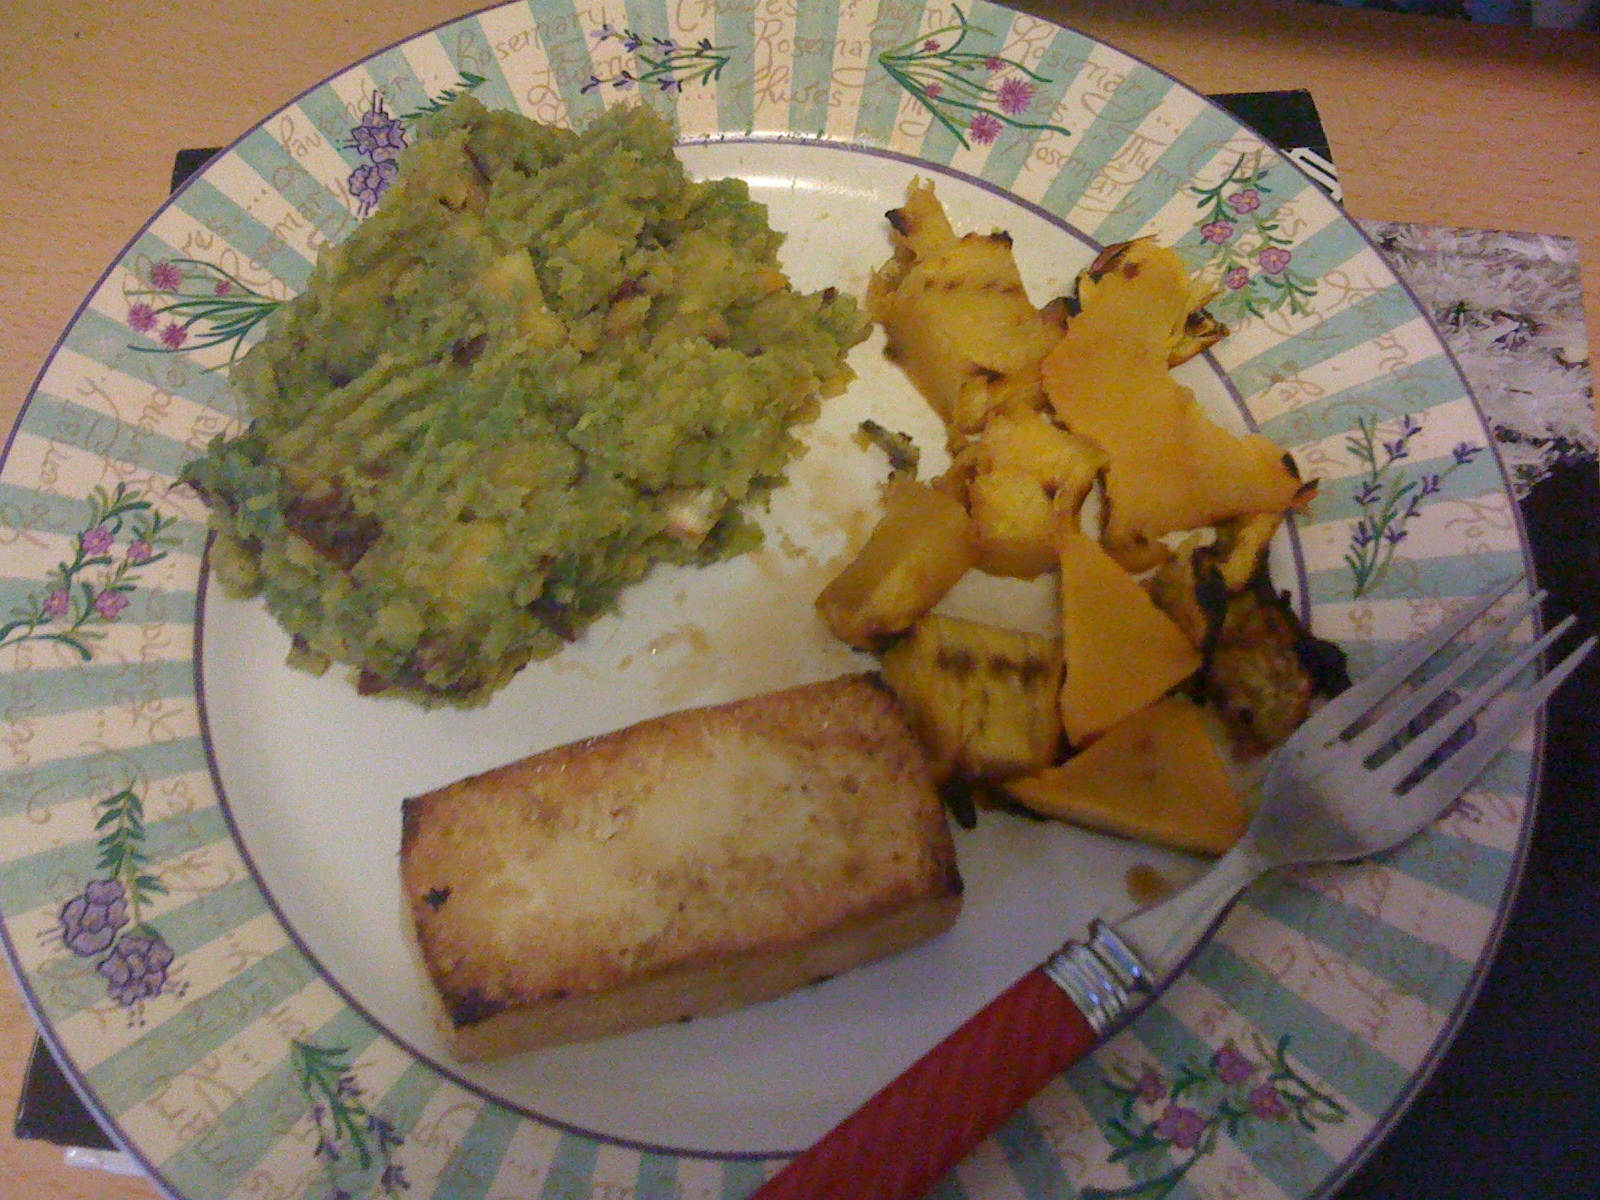
 |
| Baked tofu, pesto smashed potatoes and a side of roast pumpkin |