Will Your Baby Be Vegan?

source

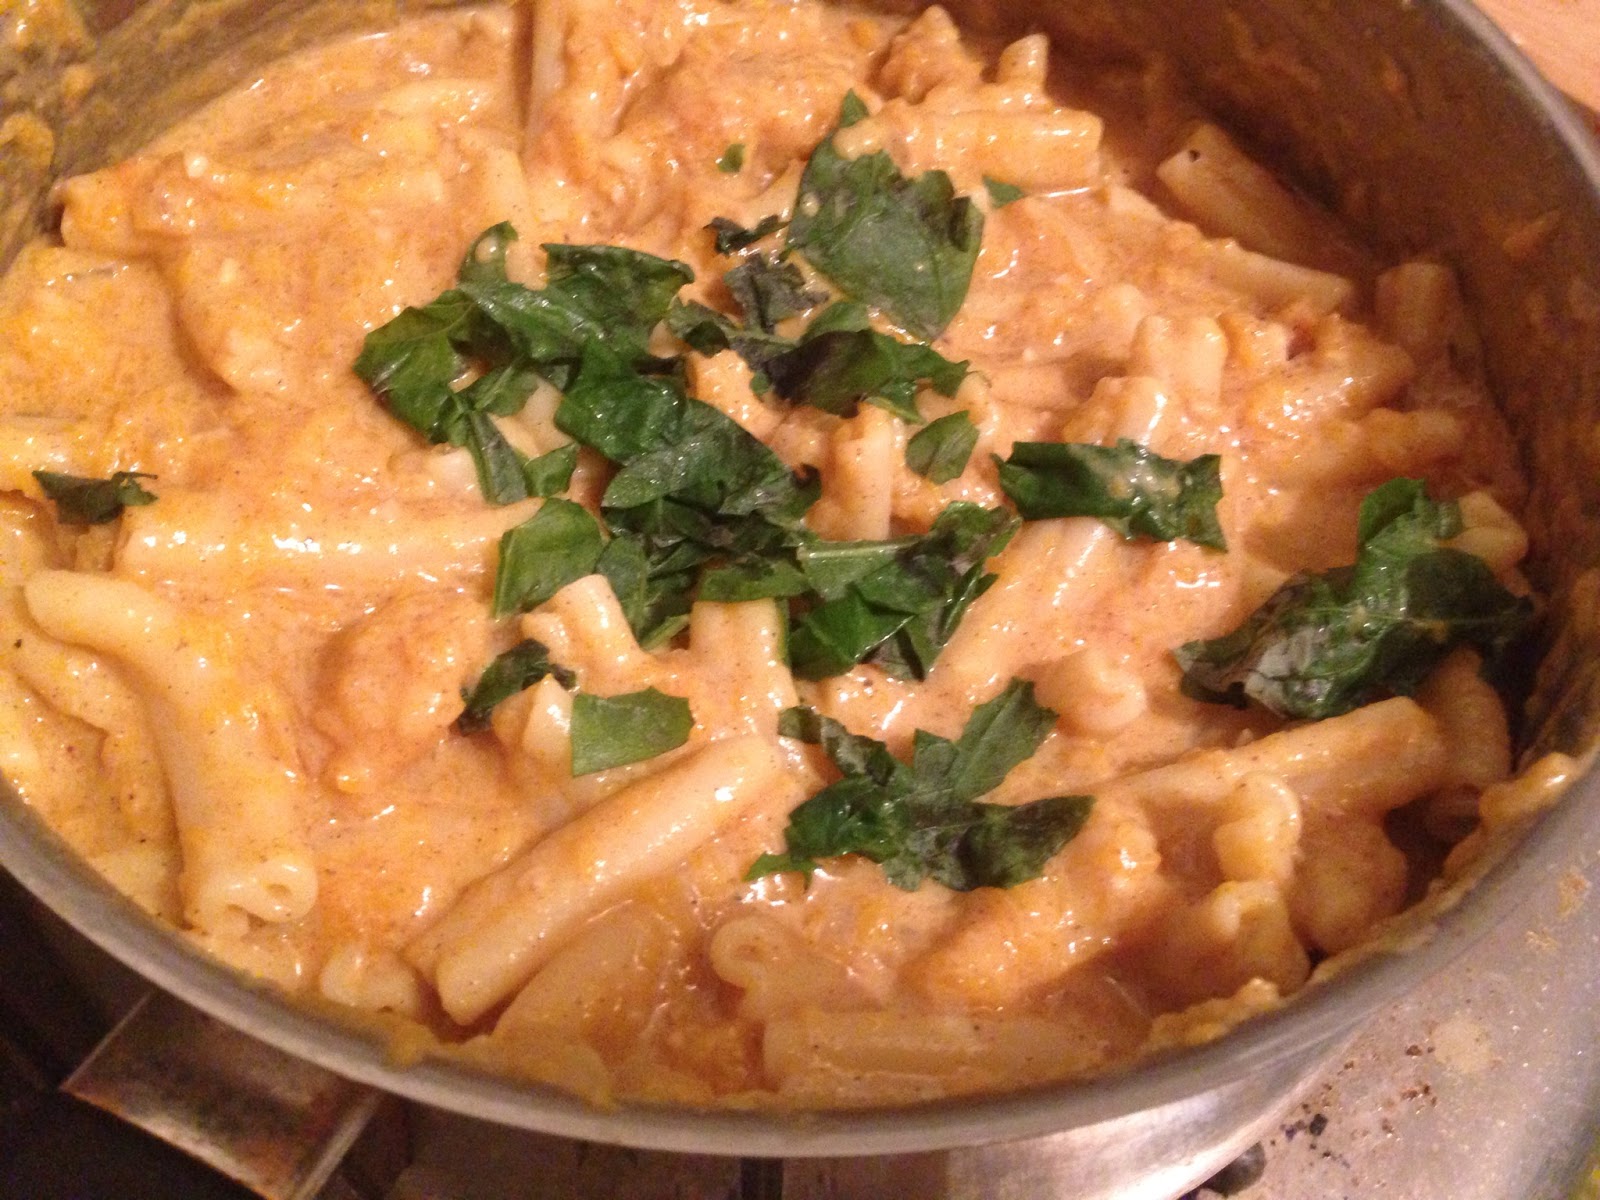
I fell in love with an amazing man—who loves meat. I do cook him meat, dairy, and eggs. Why would a vegan do such a thing? Well, because I love him and want him to be happy. And he doesn’t get meat every day, and he is a good sport about it. He eats vegans things quite often. What person would ever turn down a delicious home cooked meal in general?

So the most common question I have been asked since I announced I was pregnant is “Will the baby be raised vegan or not vegan?” The answer is both I guess. I want to respect Michael’s wishes, and he wants to respect mine. So we made the compromise to let the baby try all kinds of healthy foods, and when he’s old enough, he can decided for himself…..but let’s be honest here. I am the one who will be taking care of him most of the time (my choice), so he is going to end up eating a lot more vegan food.

source

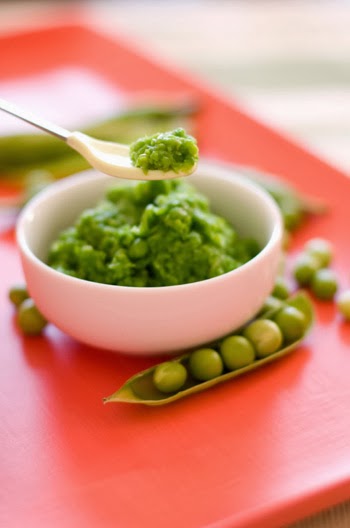
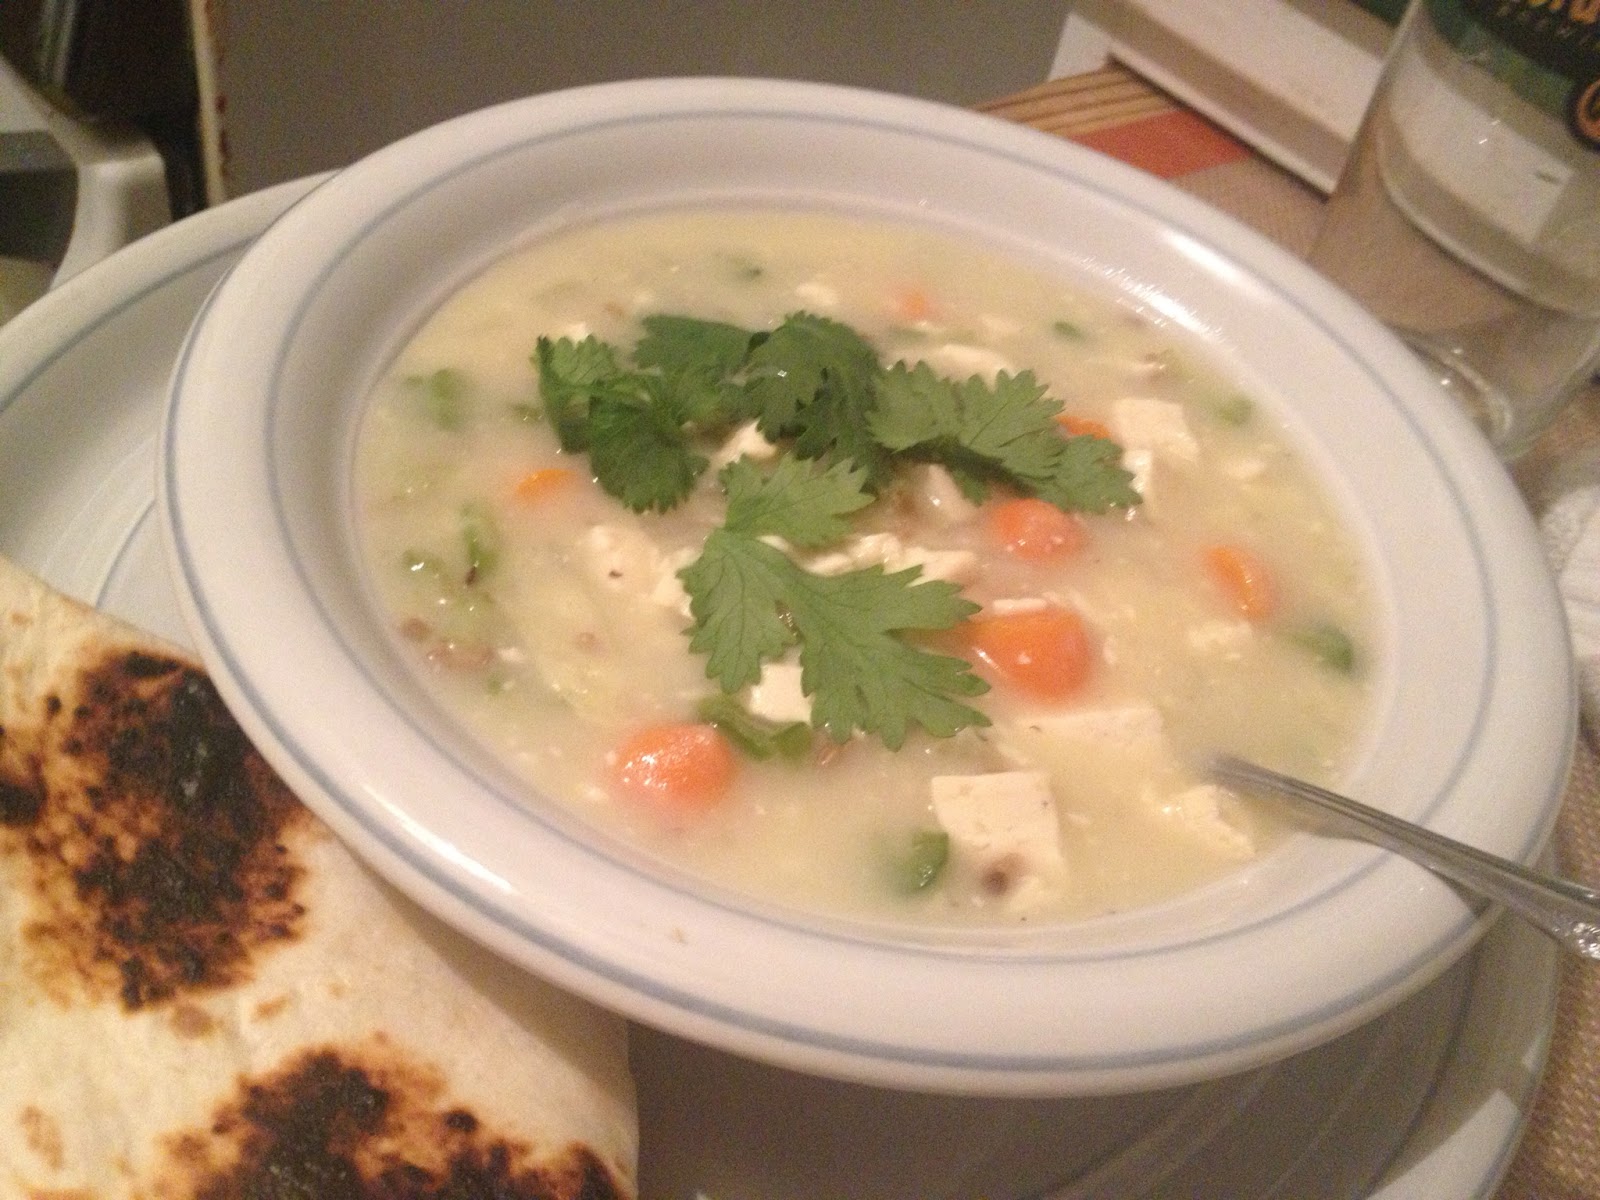
And for the most part, babies are meant to be vegan from the start. Their digestive systems are not ready for complex things right away. Hence why babies nurse first , then try cereals and veggies, then move on to other proteins and fats. As long as you ensure that your baby gets enough fats, protein, and vitamins from the plant-based diet, there is nothing wrong with it. Check out the post from my other blog about Vegan Myth Busting, it explains how you can have a balance diet as a vegan.

Then there is the annoying question…. usually from someone who is a major meat eater. The kind of person who feels the need to rub it everyone’s face and insult your lifestyle choice despite the fact you never said anything about it. “Are you going to breastfeed? That’s milk and milk isn’t vegan!!!”
First of all, there is a difference between cow’s milk and human milk. We are designed to drink human milk! It’s the whole reason we are mammals! We have boobs for a reason. We produce milk when we have children for a reason. I am willingly giving my milk to my baby, no one is forcing me. And when it dries up, he will eat solid food.
That ain’t natural…source

People are not really meant to drink cow’s milk. Yes, over time and out of necessity our ancestors began to consume it as a means of survival. That was their choice, and a very understandable one. But we have better nutrition and access to food now, we now have the ability to consume whatever we want. And if cow’s milk is not really meant for us, I have the choice to not drink it. Plus, cows are not willingly giving us their milk. They are pumped full of hormones and forced to be milked even though they don’t have calves (and will most likely never be pregnant). That’s not natural. Me making my own milk for my child is extremely natural.

*By the way, I am not judging women who can’t or chose not the breastfeed. I understand everyone has different circumstances, I am just stating what I believe work for me.

Gender Reveal Blueberry Cake

I actually meant to post this like two weeks ago, but life happens (sorry). Anyways, we had the anatomy ultrasound at 19 weeks (I am 21 week now). The baby is looked all healthy, developing correctly, and heartbeat was great. We also found out the gender….we are having a boy! We were hoping for a boy too!

Everyone was betting it was girl, but I had a feeling all along it was my sweet little prince. We decided on the name Jack pretty early on. It is male version of my mom’s name and the name of my father-in-law’s best friend who passed away.  Both our families are very excited too. He is gonna be one very well-loved baby.

So I decided to make a blueberry cake as my gender reveal announcement. I see the ones where people dye cakes half pink and half blue then cut the corresponding color, but I did not want to eat all the artificial dye. Same with the putting blue or pink candy on the inside of a white cake, but again, I didn’t want to eat a bunch of junk.

I did use a both cake mix for this,  I just looked for a one that was vegan and no high fructose corn syrup. I don’t mind using box mixes on occasion and using healthier ingredients to prepare them.

If you were having a girl, you could make this was strawberries or raspberries instead to make it pink. For a gender reveal party, you could frost the cake with white icing then cut into it reveal the berry color. Or if you could just invite people over for dinner and serve the cake without saying anything, and wait till someone asks why a blueberry cake.


Blueberry Cake
Cake:
2 ripe bananas
2 tsp cinnamon
1/4 melted coconut oil
1 cup soy milk
1/2 cup oatmeal
1 box yellow cake mix (I used Duncan Hines)
1 cup frozen blueberries
Optional glaze:
1/2 cup frozen blueberries
1/4 cup sugar
1/2 cup water
1/2 tbs lemon juice

Preheat the oven to 325 degrees.

Grease desired baking pan with a small amount coconut oil. I used a 13×9 dark metal pan.

In a large bowl, mash the bananas.

Add the cinnamon, coconut oil, and milk. Mix together well.

Add the oatmeal and cake mix. Mix together until it all the flour is incorporated.

Stir in the blueberries.

Pour into your baking pan and smooth out evenly.

I baked for 28 minutes, but you may need to adjust the time for different pan sizes. It is done when the center is firm to touch and a toothpick inserted in the middle comes out clean.

Let it cool completely. If you want frost or decorate it differently, then go right ahead. If you want to make the glaze I did…

Add the blueberries, sugar, water and lemon juice into a small pot and bring to boil.

Reduce to a simmer and cook for 10 minutes, until some of the liquid has evaporated and the berries are soft.

Let it cool to room temperature.

Pour evenly over the top of the cooled cake.

Now you a healthier blue cake to celebrate your baby boy (or girl if you do strawberries)!

Thanksgiving 2013: Thanksgiving Casserole

Happy Thanksgiving! I hope you all had a wonderful day with your loved ones. We had a wonderful time in Tracy, thank you so much Lori and James for having us!

I have a lot to be thankful for this year:
  • I am thankful to have married the man of dreams two months ago. Thank you for taking care of me this past few months, I know I have not been the easiest pregnant lady.
  • I am so thankful for my unborn son (I keep forgetting to make a gender reveal post….). This pregnancy has not been very fun so far, but I know he will be worth it. I can’t wait kiss his sweet little face in April.
  • I am thankful for my amazing parents. Thank you for always supporting me and loving me. We all might be crazy, but at least we can be crazy together!
  • I am thankful for all my amazing in-laws.  Thank you to my wonderful parents-in-law for being so kind and supportive through these crazy few months. And thank you to my wonderful sisters-in-laws for being so open and accepting from moment Michael brought me home.
  • I am thankful for my cats. Penny makes me smile everyday with her antics (Did you know a cat can be condescending?). And, I am grateful for Zoey’s snuggles. I am so happy my kama’aina kitties came to California.
So, as I said in my menu post, I made a layered casserole thing. I wanted baked tofu, stuffing, and mashed potatoes—but I did not want to bring 3 separate dishes. So I just combined them into one. It’s not that complicated to make, but a little time consuming.
Thanksgiving Casserole

Tofu Turkey Layer:
28 oz (2 blocks) of firm tofu, frozen then thawed
7 oz (1/2 block) silken tofu
1/2 cup soy sauce
2 cloves of garlic, minced
1 tbs herb de Provence
1/2 tps pepper
Stuffing Layer:
3 cups vegetable broth
1 cup fresh cranberries
2 tbs celery leaf
1 tbs herb de Provence
1 tbs sugar
4 cups vegan stuffing mix (just check the label, it’s not that hard to find)
1 medium carrot, chopped into 1/4 inch pieces
3 stalks of celery, chopped into 1/4 inch pieces
1 cup onion, chopped finely
Mashed Potato Layer:
5 medium russet potatoes, peeled and quartered
1 tbs vegan butter
2 tbs vegan cream cheese
1 cup vegetable broth
Salt and pepper, to taste
Pre-heat the oven to 400 degrees.
Coat a dutch oven pot or a deep casserole pan lightly with olive oil.
Tofu Turkey Layer:
In a colander, drain the firm tofu very well. I mean get it as dry as you possibly can. Squeeze it out with your hands. Don’t worry about crumbling it.
Drain off the liquid the packaging liquid from the silken tofu, but leave this tofu still moist.
In a food processor, all the tofu, soy sauce, garlic, herb de Provence, and pepper. Blend until smooth.
Pour into the dutch oven and smooth so the top is even. It will only cover an inch or so on the bottom.
Cover with foil and bake for one hour.
In the mean time…
Stuffing layer:
In a small sauce pan, bring the vegetable broth, cranberries, celery leaves, herb de Provence, and sugar to a boil over.
Reduce to a simmer. Cook until the cranberries burst open and soften.
Remove from heat.
In a large bowl, add the chopped stuffing mix, carrots, celery, and onion. Pour the broth/cranberry liquid in slowly, stirring gently.
Once the tofu has cooked for an hour, remove from the oven and spread the stuffing over top (without burning yourself on the hot pan).
Cover with the foil again and bake for 45 minutes.
And while that cooks….
 
Mashed Potato Layer:
Once your potatoes are peeled and quartered, add them to a large pot of cold water.
Cover and bring to boil.
Remove the lid and let them boil until tender (when a fork can be easily inserted).
Drain and return back to the pot.
Add the butter and cream cheese. Mash very well.
Slowly add a little bit of vegetable broth at a time until the potatoes come to a creamy but firm consistency.
Season with salt and pepper to taste.
Once the stuffing layer has cooked for 45 minutes, remove the oven and spread the mashed potatoes on evenly (again, be careful).
Turn up the heat to 425 degrees.
Cover with foil and bake for another 30 minutes.
I served this with some simple gravy. I also had some cranberry sauce and corn. It was so delicious, all the flavors of Thanksgiving all rolled into one. Everyone else tried it too and said it was good! I would totally make this again next year.

Thanksgiving 2013: Slow Cooker Seitan Roast

As I mentioned in my previous post I was going to make a seitan roast in my crockpot for my work’s Thanksgiving potluck. It came out awesome!!! This is my new favorite way to make seitan. So easy, very little mess, and it was so juicy!

Crockpot Seitan Roast
2 cups vital wheat gluten
2 cups vegetable broth
1/2 soy sauce
1 tbs herb de Provence
1 garlic, minced
1 large carrots, cut into 1/2 inch pieces
4 large potatoes, cut into 1/2 inch pieces
3 stalks of celery,  cut into 1/2 inch pieces
1/2 onion, cut into quarters

4 cups vegetable broth
Salt and pepper to taste

In a large blow, mix together the vital wheat gluten, 2 cups vegetable broth, soy sauce, herb de Provence, and garlic. It should form a moist—but not sticky-dough.

Knead the dough gently for a minute or two.

(I made my dough the night before and left it in the fridge overnight. I don’t think this changes the flavor or texture, so this step is optional).

Shape the dough into a loaf.

Place in your slow cooker.

Cover the loaf with the cut carrots, potatoes, celery, and onion.

Cover the loaf and veggies with the remaining vegetable broth.

Turn your cooker on medium-low and let it cook for 4-6 hours (I put mine in at 8 AM and it was ready around 12:45).

It’s ready when the seitan firm (but not hard) and no longer chewy….and obviously when vegetables are soft. There should be a little broth left (which should have tons of flavor by now and will make a great thin gravy).

I found a nice platter in the cabinet at work, so I sliced up the seitan and plated everything nicely. The president of the company—who is a big meat eater—took a sliced and liked it! I had to go back to work so I forgot to see if any was left afterwards….so  I am going to imagine it was all gone 🙂

This is a seriously awesome and easy meal, any time of the year.

Roasted Chickpeas

Being pregnant does not mean eating for two. And it is not an excuse to eat whatever you want. In reality, for a healthy single pregnancy, you do not need any extra calories the first trimester. The second about 300 more. And the third about 500 more.

So being 16 weeks, I need an extra 300 calories a day right now. This equates one extra snack.  I was having a glass of soy milk and a piece of fruit, but I was getting bored with that everyday. I wanted something crunchy and salty—like potato chips, but not as much fat. Plus I wanted more protein. Then I saw something on Pinterest about roasted chickpeas and knew I had to make them. I decided to just make up my own version to suit my taste. So feel free to change the spices to suit your tastes!
This recipe makes about 15 servings.
Roasted Chickpeas
1 bag of dry chickpeas
Water
4 tbs Olive Oil
Salt
Smoked Paprika
In a large bowl, add the dry chickpeas and cover with water.
Let for at least 6 hours, overnight is possible. Side note, the chickpeas making a popping noise as soak up the water. Took an hour for my husband and I to figure out where the noise was coming from…
Drain the chickpeas.
Pre-heat the oven to 400 degrees.
Coat with the olive oil, salt, and smoked paprika.
Spread onto a baking sheet in a single layer.
Baked for one hour. Give them a stir or shake occasionally.
Let them cool and enjoy!
These are even better than I hoped! I am one happy expecting mama!

Apple Walnut Salad with Tofu

Part of my prenatal care includes a nutritionist, which I think all prenatal programs should have. An expert separate from your OB/GYN that just focuses on how you are eating and proper weight gain. As knowledgeable and beneficial my nutritionist is, I am kind of annoyed with her. I told her I was vegan—no animal products, honey, or eggs. Then we went over my diet. She said it was one of the healthiest she has seen in awhile. Then she went over my blood work. Again, is was amazing. And she had no complaints about my weight gain so far. Then she hits me, “I am sorry, but legally I need to classify you as nutritionally high risk.”

WHAT? High risk nutritionally? Because I chose to break from the standard American diet and not to eat meat loaded with fat and antibiotics? Or dairy loaded with hormones?

Then she reassured me that I am healthy and the baby is healthy, so all that matters. It’s just a legal term. Her only suggestion was I eat one more serving of leafy greens every day. So I have made this giant, veggie-packed salad for lunch most days now.

And yes, this salad has plain tofu. If you do not like the taste of plain tofu (I actually do), you can marinade and cooked it first. But honestly, with all the dressing and veggies, you don’t even notice the tofu.

Apple Walnut Salad with Tofu
3 cups leafy greens (any combination of dark lettuce, spinach, kale, arugula, etc.), washed and dried
1/4 cup carrots, chopped or shredded
1 Fuji apple, chopped
1/4 small red onion, chopped
1/4 cup raw walnuts, chopped
3 oz extra firm tofu,  drained and cubed
2 tbs Annie’s Lite Goddess Dressing
Cracked black pepper, to taste

In a big bowl, mix together all the ingredients. It’s that easy!

You can use any dressing you like, but Lite Goddess is amazing! This is just not for pregnancy, but make a great lunch for everybody. The nutrients of the dark green vegetables, vitamin C from the apples, vitamin A in the carrots, and healthy fat from the walnuts. I even suggest throwing in some avocado chunks too. High risk pregnancy my ass…

Pasta with Butternut Squash Sauce

In last post, I mentioned that I also got a butternut squash at the pumpkin patch. I bought it randomly without a recipe in mind. Thursday morning I woke up and thought pasta with creamy butternut squash sauce would be amazing for dinner. Then my best friend (the maker of the amazing reception cake) and her boyfriend wanted to come over to carve pumpkins. So I decided to make a nice dinner for everyone.

This is recipe is similar to most other squash sauce recipes out there (except that it’s vegan), but it not based on any particular one. I just put in what I thought sounded good.

This recipe makes 6 servings.

Pasta with Butternut Squash Sauce
1 large butternut squash
1 tbs vegan butter (I used Earth Balance), divided
1/2 cup onion, chopped
1 clove of garlic
1 tps cinnamon
1/2 tps chili powder
1/2 tps smoked paprika
3 cups plain soy milk
1 cup low sodium vegetable broth
6 servings of any kind of pasta (I used strozzapreti)
Basil, to garnish

Pre-heat the oven to 400.

Cut the squash in half. Scoop out the seeds and membrane, and discard them,

Rub 1/2 tbs of the butter on the inside of both halves.

Roast in the oven until the squash is soft, like when a knife can be inserted without any resistance. This takes about 25-30 minutes.

Set the squash aside to cool.

Meanwhile, sautee the chopped onion in the remaining 1/2 tbs butter. Once soft and translucent, add the garlic. Cook for just a minute.

Now add the cinnamon, chili powder, and smoked paprika. Cook another minute.

Add the soy milk and veggie broth. Stir well.

Now, scoop out all the meat from the cooled squash. It should be soft, like mashed potatoes.

Mix and mash together the squash with the liquid. It’s okay if it is still a little lumpy.

Turn off the heat and let the flavors meld.

Cook your pasta according to the directions on the package.

Then add the pasta directly into the sauce.

Season with salt and pepper to taste.

Garnish with some fresh basil and serve.

We paired it with a nice salad and some bread, and it was a lovely meal indeed. Amanda said she could not believe how flavorful it was. Michael said the sauce tasted like Fall. I would just eat the sauce by itself honestly. With flavor like this—plus all fiber, vitamin C, and vitamin A—there is no reason not to make this lovely Fall dish!

Thai Pumpkin Curry

I have professed my love for Fall and pumpkins before (check out my pumpkin carving and Pumpkin Waffles posts).  This past weekend Michael and I went back to the Half Moon Bay area to pick pumpkins. We decided to skip the Pumpkin Festival and all the traffic/chaos this year.

We went Arata’s Pumpkin patch, a cute little place just south of Half Moon Bay on Highway 1. It was pretty busy, but not as crowded as the Pumpkin Festival would have been. We picked our pumpkins and smiled at all the cute babies running in the patch and climbing the hay bails. It got us excited to take our little pumpkin next year.

The bump has started to appear

We each got a pumpkin to carve. Plus, we bought an extra little pumpkin and butternut squash to cook with later. I am not sure what to do with the butternut yet, but I knew the little pumpkin was destined for Thai curry. Roasted pumpkin adds another layer of flavor to a creamy and spicy curry. This is variation of my Yellow Vegetable Curry, trying to make it more authentic tasting.  I decided to make it in the crockpot so it could have plenty of time for all the flavors to mend.

This recipe makes 4 servings.

Thai Pumpkin Curry
1 small pumpkin
1/2 tbs coconut oil
1 small white onion, chopped
1 half inch piece of ginger, peeled and minced
2 cloves of garlic
1 eggplant, chopped
1 yellow bell pepper, chopped
1 bunch of broccolini (normal broccoli is fine), cut into half inch pieces
1 large carrot (or 15 baby carrots), chopped
1/2 cup snap peas
1 can of coconut milk
4 cups water
1 tbs soy sauce
1 tbs curry powder
1 tsp turmeric
1 tbs Sriracha
1/2 tbs tamarind chutney (or paste)
Zest of one lime
Juice of one lime
1 bundle of lemongrass
3 cardamom pods
10 large basil leaves, chopped
6 mint leaves, chopped
Salt and pepper, to taste

Pre-heat the oven to 375 degrees.

Carefully cut the crown off the top of your pumpkin (see my pumpkin carving post for more details).

Now carefully cut the pumpkin in half.

Scoop out all the seeds and membranes.

Lightly spray the insides of the pumpkin halves with cooking spray.

Place skin side down into a baking sheet. Bake for 35-40 minutes, until soft and tender.

Set aside to cool.

Once cool, remove the meat from the skin (I suggest a small knife and just cut away the skin and rind).

Cut it into cubes.

Plug in your crockpot and set to low.

Add the coconut oil.

Once it is melted, add the onions, garlic, ginger. Let is cook for a minute.

Add the chopped eggplant, bell pepper, broccilini, carrots, and snap peas.

Pour in the coconut milk and water. Mix well.

Add all remaining ingredients, except the salt and pepper. Mix well.

Cover and cook until the veggies are soft, about 2 hours. You may need to adjust temperature and time for your crockpot.

Serve over jasmine rice. Garnish with basil, mint, and/or cilantro.

Tons of vitamins and flavor! I lovely fall dish.

Green Chili Stew

I fell asleep on the couch last week (one of the joys of being pregnant) while watching Food Network. As I started to wake up, I heard something about roasting hatch chilies for green chili strew. By the time I actually woke up, the show was over so I have no idea what it was or who was making. It still sounded good so I decided to make it for dinner.

This stew came out FANTASTIC. When Michael walked in the door he said it smelled like his grandma was cooking (he is half Hispanic, his grandparents were of Spanish decent born in New Mexico).  He is not a big soup or stew fan, but he asked for a second bowl!

Sadly, I don’t have hatch chilies right now. And, I did not feel like going to the store to by anaheims or some other chili. So I just used the jalapenos already in my fridge. It still came out AMAZING, but would be even better with hatches if you can get them.

This recipe makes 4 servings.

Green Chili Stew
6 jalapenos
3 tbs olive oil
1 block of extra firm tofu, cubed
1/2 red onion, chopped
1 large carrots, chopped
1 clove garlic, minced
2 tbs flour
4 cups water (or vegetable broth)
1 large tomato, diced
Salt and pepper, to taste
Cilantro, for garnish

Roast the whole jalapenos. I did this over my gas stove burner. You can also do it in the broiler or over a grill. You want a nice black char on the skins.

Pop the roasted peppers into a zip lock bag and let them cool. The steam will loosen the skins. Once cooled, remove the charred skins and the stems.

Chop the jalapenos.

In a large pot over medium heat, add the olive oil.

Lightly brown the tofu.

Add the chopped onions and carrots, saute until they start to soften.

Add the garlic and cook saute for a minute.

Add the flour and coat the veggies well.

Add the water and mix together well. Break up all the flour clumps.

Stir in the chopped jalapenos.

Turn the heat down the low and let the broth thicken slightly, about 10-15 minutes.

Season with salt and pepper to taste.

Removed from the heat and add the diced tomatoes.

Garnish with a little cilantro and serve.

A warm tortilla on the side and you have a very tasty dinner!

Kava Kava

Source

Michael is half Fijian-Indian. His dad was born and raised in Fiji. Wanting to explore his islander roots was one of the reasons he went to UH Hilo (and met me!). So for our wedding reception luau, Michael requested I make a popular Fijian drink, kava. I wanted to make him happy, so I said yes…but being a little Polish white girl, I knew nothing about it. I had before in Hawaii, but I had no idea how to make it. So I did some research.

Kava is made from the ground up root powder of Pacific pepper trees and water. It is a social drink, normally drank with good company to create good memories. It is especially popular among young men, as a way to bond. It is notorious for sedative and slight hallucinogen qualities. It is not like you are gonna have an acid trip, but you will definitely feel more relaxed and open.

Then Michael sent me to a Kumar’s Island Market, a Polynesian store in San Jose. It was small, rundown looking building. It reminded me of almost every building in Hawaii, so I loved it. The store is really small, but if you want anything from the islands, this is the place. The guy was really nice and got me enough kava powder for the party.

Then I still have the problem of making it…and Michael had no idea because his dad never really taught him how. “It’s like making tea,” was my only clue from him. So I turned to YouTube! I found tons of videos on how to make it. This is video I based my recipe on:

This recipe makes 2 gallons, enough for 30 people.

Kava Kava
2 gallons of purified water
1/2 lbs kava root
1 large mesh or nylon strainer bag

Bring all the water to boil. Turn off the heat.

Add the kava to the strainer bag. Do not tie the end yet.

Dip the strainer back into the water while still holding the open end (do not let go yet). Spoon some of the water into the bag to ensure all the powder gets wet.

Now tie the end of the bag and let it float. Cover with a lid and let it steep for 15 minutes.

Remove the lid and let it cool a bit.

Once it is cool enough, start ringing out the strainer bag into the pot. Once it dries out, dip in the water and ringing it out again. Repeat this 3-5 times.

At this point, I got Michael and had him taste it (did not think drinking a sedative was a good idea while pregnant). He said it was great so I served it. Traditionally kava is drank from coconut shells. We only had 6 of them, thinking everyone would not want to try it at once. We were wrong. All our guests wanted to do a big toast at the same time, so we had to pass out plastic cups.

Source

Everyone said the minute it hit their lips, their whole mouth went numb. And it continued to numb all the way down. Most were good with just one cup, but quite a few came back for more. I will have to wait until after the baby is born to try my version of kava. Good thing we still have half a pound of kava powder left! When I tried it in Hawaii, I remember thinking I needed to become one with my chair or else both of us would cease to exist…fun times 🙂

Kava is truly unique experience, highly suggest you try. Make a bowl and share with your loved ones.

BULA!