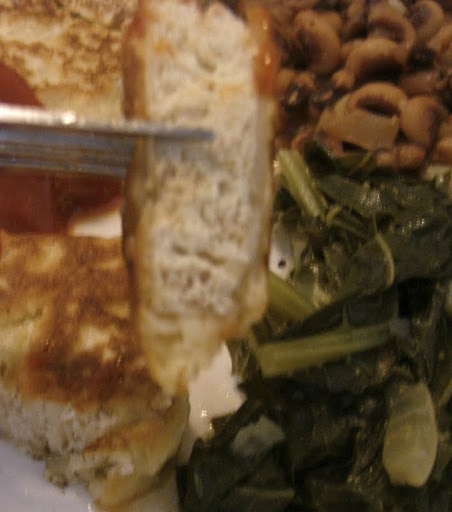
One of my favorite vendors at the Hilo Farmers Market had a special on greens—kale, Swiss chard and collard greens. I got a bunch of each for only $5 total. Like I said before, your local farmers market will always have the best deals. I haven’t had collard greens before so I thought I’d make a whole Southern dinner to have the full experience: collard greens, black-eyed peas, and fried tofu.
 |
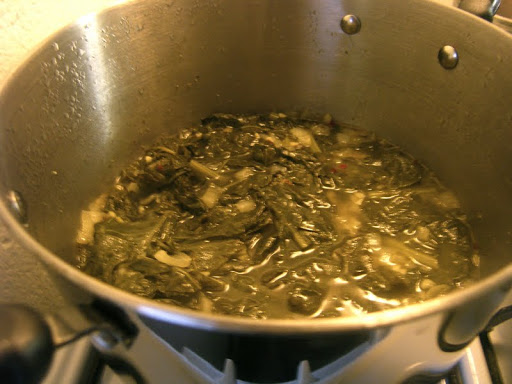
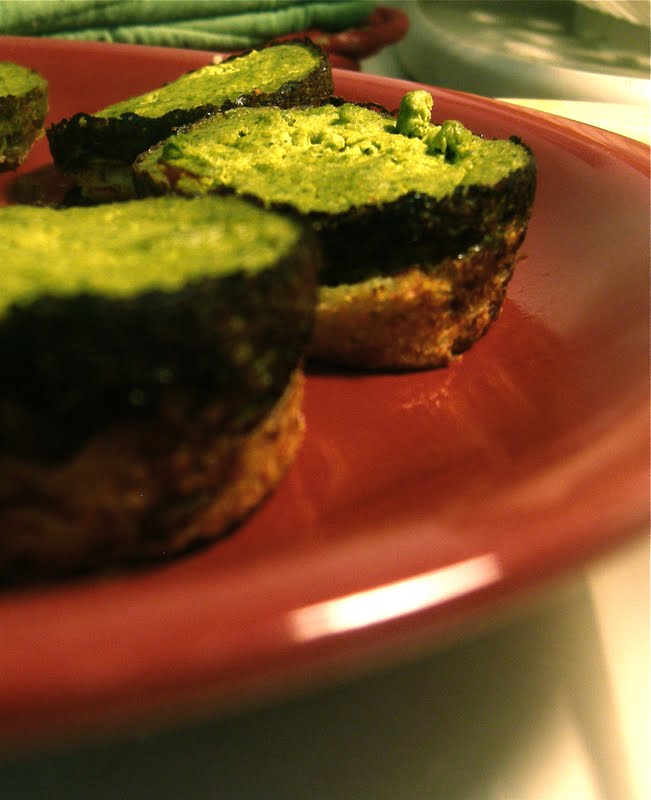
| Love the deep green color. |
Collard greens are amazing. Although kind of bitter raw, they are buttery and rich when cooked. They are also loaded with vitamin C, fiber and can even fight cancer. And it smelled sooooooo good while it was cooking. I looked up a bunch of recipes and decided to stay pretty traditional, just minus the bacon. I based this recipe on the Kickin’ Collard Greens from Allrecipes.com (although Paula Dean’s recipe looked really good too).
However, I am no stranger to black-eyed peas. They are buttery like collard greens but saltier, which is why they are perfect for a salt queen like me. I’ve tried several recipes before, but I came up with my own recently. It’s still fairly traditional, just minus the bacon and add some Tabasco.
Now, do not freak out at the sound of fried tofu. It is amazing. For those people who say they don’t like tofu, I question how they had it prepared. Is plain, unseasoned, undercooked chicken good? No. So why would plain, unseasoned, uncooked tofu be? Tofu will take on the flavor of whatever you cook or marinade it in, so don’t be afraid to experiment and slather it in anything. There are also several preparation techniques that can alter the texture to be more meat-like too. For fried chicken, I recommend freezing it, which I explain later in this post. There are many fried tofu recipes on VegWeb, but I had trouble with most of them. I came up with this recipe after many trial and errors. The tofu needs to freeze overnight. The other two dishes come together quickly, but you need to plan ahead for the tofu.
 |
| My kitchen smelled so good! |
 Collard Greens
1 large bunch collard greens (sorry I don’t have a precise measurement)
1/2 tbs olive oil
1/2 large white onion
2 cloves of garlic
3 cups vegetable broth
1 tsp red pepper flakes
Salt and pepper to taste
 |
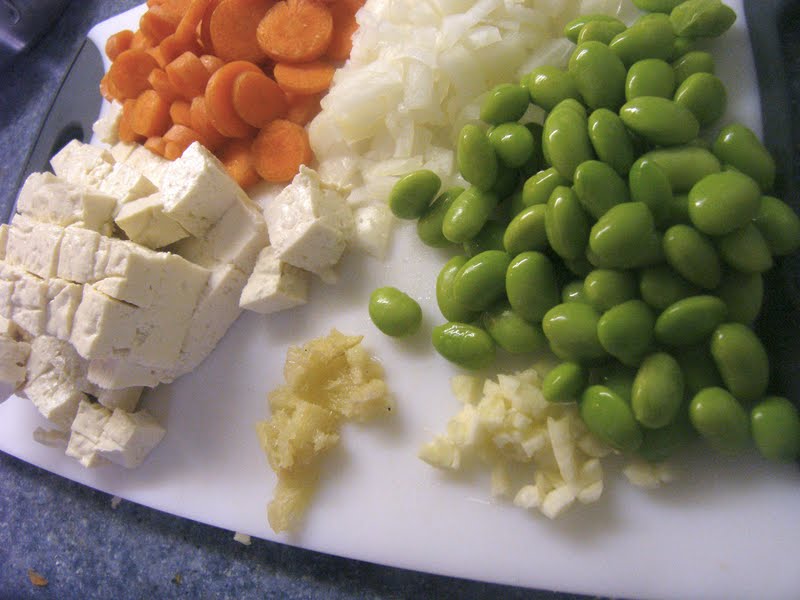
| Chop into smaller pieces so it cooks faster and is easier to eat. |
Wash and dry the collard greens. Chop off the ends, the stem is edible so only take off the browned parts. Chop the greens into 2 inch pieces.
Chop the onion and garlic.
Heat the olive oil in a large pot over medium heat.
 |
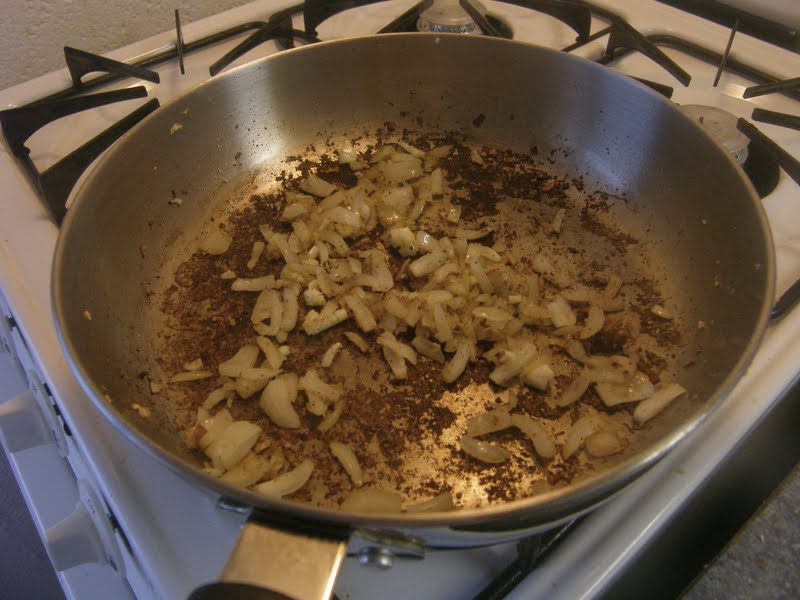
| Don’t burn the garlic, it gets bitter and nasty. |
Add the onions to the pot, cook until tender and slightly translucent. Add the garlic and cook for about another 2 minute. Be careful not the burn the garlic, it will ruin the flavor.
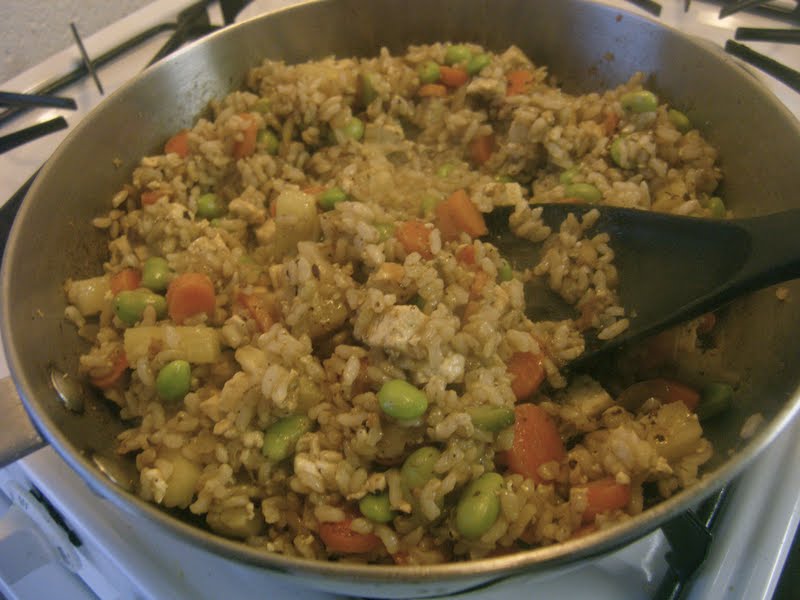
Add the collard greens and mix together well. Cooked for another few minutes, just until the leafs start to wilt.
Pour in the vegetable broth then season with the red pepper flakes, and salt and pepper.
Bring to a boil, then reduce to a simmer and cover. Cook until tender, about 45 minutes. Try not to open the lid unless absolutely necessary.
Spicy Black-Eyed Peas
1 can black-eyed peas, drained
1 clove garlic
1/4 cup white onion
1/2 tbs chili powder
1/2 cup water
5-10 shake of Tabasco sauce, depending on taste
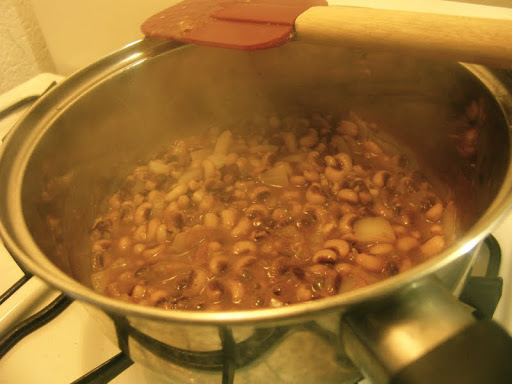
Put everything into a small pot, mix together well, and cook over medium-low heat until majority of the liquid is gone, about 10 minutes. So easy!
Fried Tofu
1 block extra firm tofu
Marinade:
1tbs soy sauce
1tsp garlic powder
1/4 cup vegetable broth
Batter:
1/2 cup all purpose flour
1 tsp Ener-G Egg replacer
1/2 cup plain, unsweetened soy milk
2 shakes Tabasco sauce
pinch of salt and pepper
1/4 cup all purpose flour
Pinch of salt and pepper
Olive oil
Drain the tofu.
This part may sound crazy, but it is very necessary. Place several sheets of paper towels on a flat, clean surface. Put the tofu on the paper towels, then place some more paper towels on top. Now get something heavy (I use my science textbooks, my mom uses stone bookends) and place it on top. This will squeeze out all the liquid so it will get a denser texture when cooked. Leave this for at least an hour, but the longer the better.
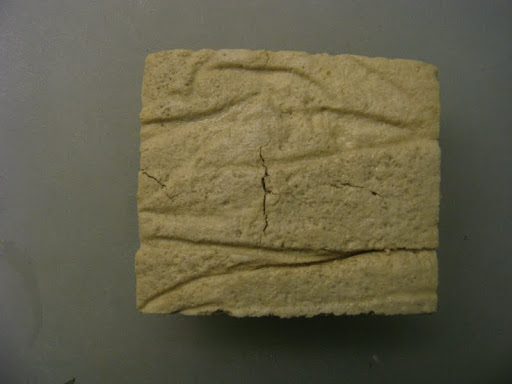
Next, place the tofu in a freezable container and freeze over night.
 |
| It will have a slightly leathery appearance. |
The next morning, place it on the counter to thaw.
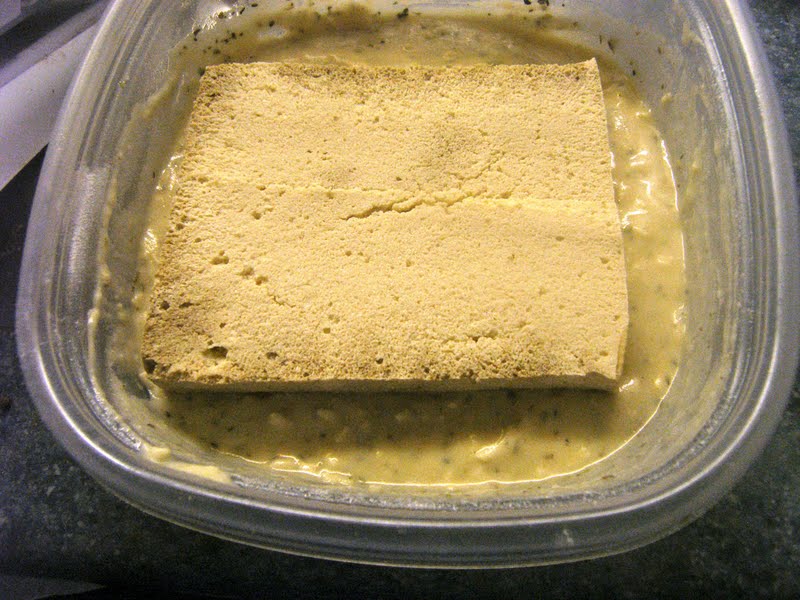
Once fairly thawed, combine all the marinade ingredients and marinade the tofu for at least 2 hours. I know it’s weird to put more liquid in when you just spent all that time getting it out, but now you are putting in flavor.
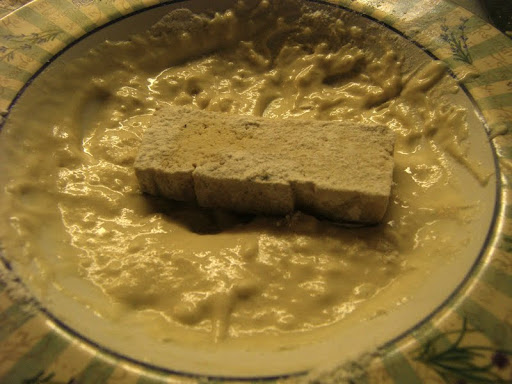
 |
| Marinated and dried again. |
Pour off the excess liquid and pat the tofu dry.
Slice the tofu into 1/2 inch strips. You can cut it lengthwise so it’s more steak-like, but I find it doesn’t fry as evenly.
 |
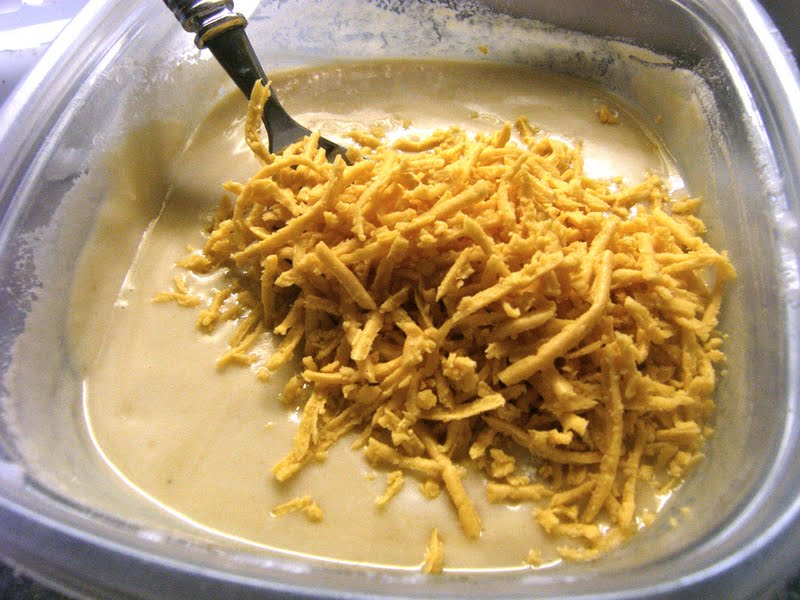
| Batter tastes pretty good on its own too. |
Now, in a small bowl mix together all the ingredients for the batter, except the 1/4 cup flour and second pinches of salt and pepper. It should make a fairly thick mixture.
In another small bowl, mix together the remaining flour, and salt and pepper.
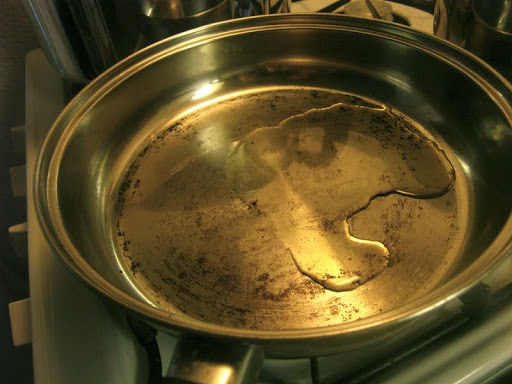
 |
| 1 tbs of olive oil, only 120 calories and gets the job done just fine. |
Heat the olive oil in a skillet over medium heat. Get the pan good and hot. The pan is ready when a sprinkle of water sizzles and bounces straight off. You really don’t need tons on oil if you have the pan heated properly and are patient.
Now it’s finally time to bread and cook the tofu. It’s best to set-up an assembly line: dry flour bowl, batter bowl, then the your heated skillet.
First, lightly coat the tofu strip on both sides in the flour.
Next dip the the strip in the batter, making sure it is coated in a thick layer on both sides.
Then drop it straight into the hot pan.
Repeat with the remaining strips.
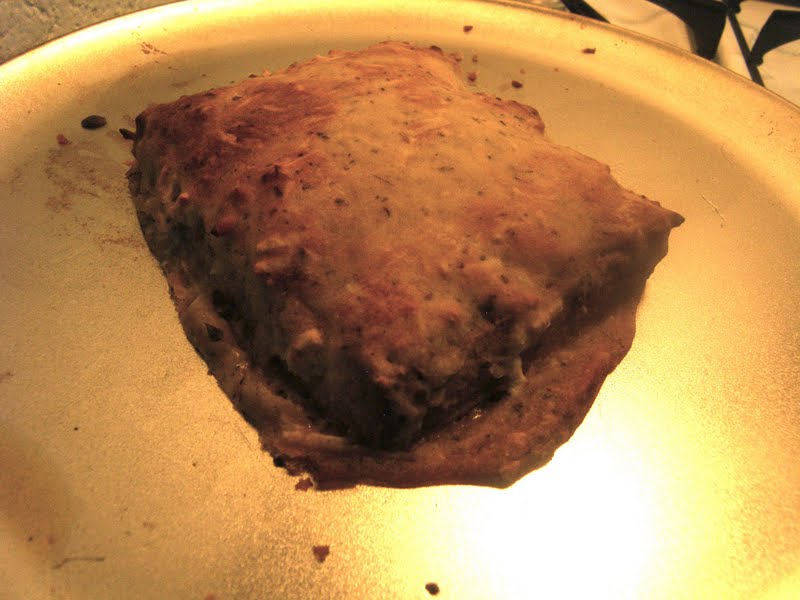
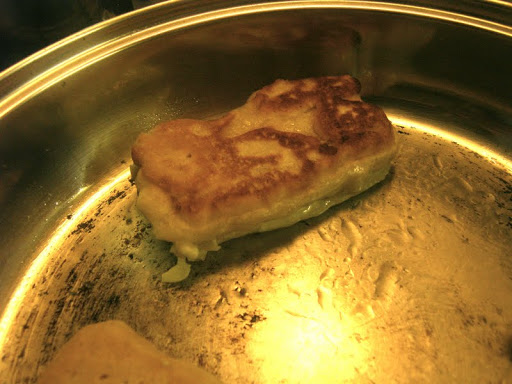
 Cook on each side till golden, about 3 to 5 minutes on each side.
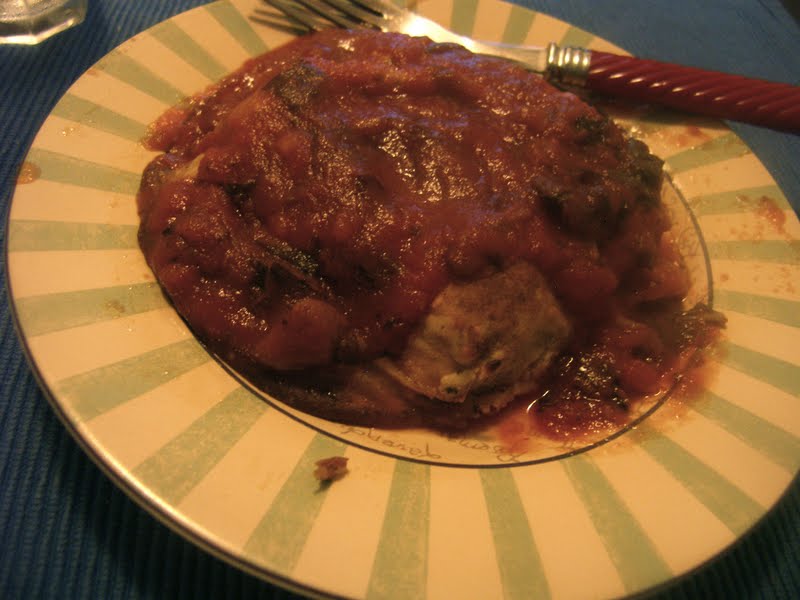
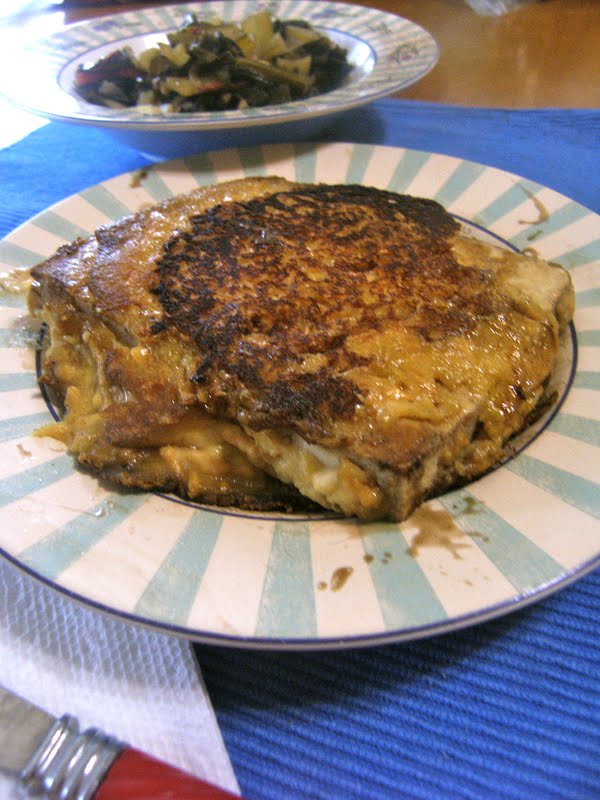
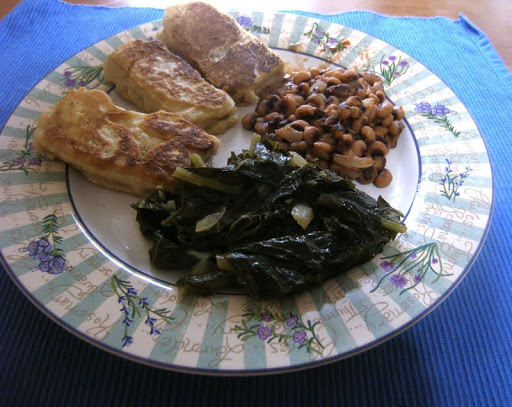
Plate up your fried tofu with generous scoops of the collard greens and black-eyed peas. It went lovely with a glass of ice cold lemonade.
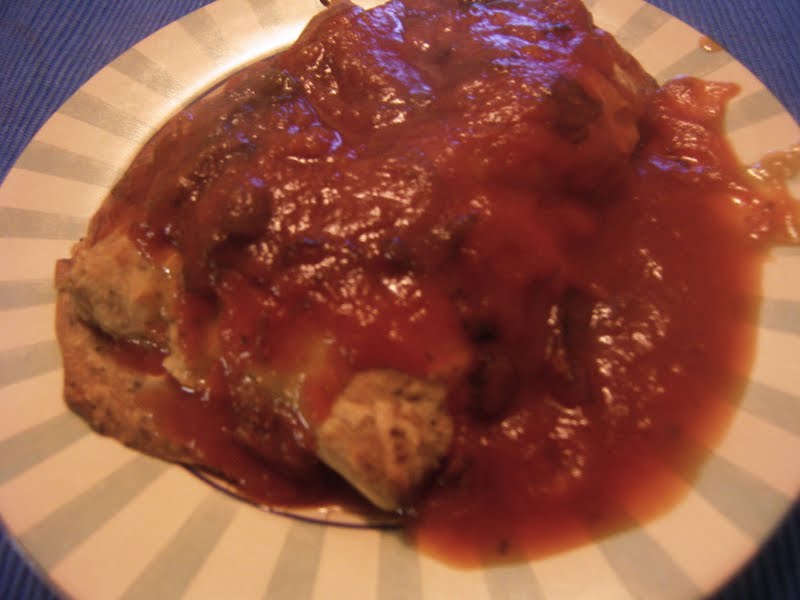
The tofu is crunchy on the outside and has the perfect “meaty” texture” on the inside. Some mushroom gravy would be good with the tofu….too bad I didn’t think of that beforehand. However, just like chicken, it also goes wonderfully with ketchup (and a bit more Tabasco).
 |
| Tastes like chicken, but even better! |
The black-eyed peas are a bit spicy and the buttery collard greens are heavenly. This meal is not only a good balance of flavors, but so good for you too. I am normally not a big leftover fan, but I am more than happy to have this again tomorrow.