Columbia River Gorge Trip: Brownies, Full Sail Brewery and Tofurky

Picture from here

Summer classes ended so I went home to Oregon for a little bit before fall semester starts. My friend Amanda invited me to come visit her in The Dalles (well, more like demanded since we haven’t seen each other in a year). Then my UHH friend Michael was in Hood River doing an internship for one of our geology professors, and said I should come see him too. So, I borrowed my dad’s car and headed down the beautiful Colombia River Gorge.

If you have never been, it’s defiantly worth a trip. The landscape is truly breathtaking.  As you drive east from Portland you transition from lush forests to a high desert, while passing alongside waterfalls, mountain peaks, high cliffs, and the lovely Columbia River itself. 

I stayed one night in Hood River with my professor and his family, which was very nice of them, so I decided to bring them a treat as a thank you. I made my favorite brownies, Chocolate Brownie Mix from Pamela’s Products. They can be made vegan or non-vegan, just follow the directions on the package. Here is how I make them:


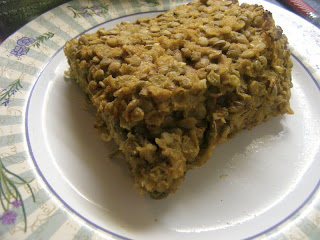
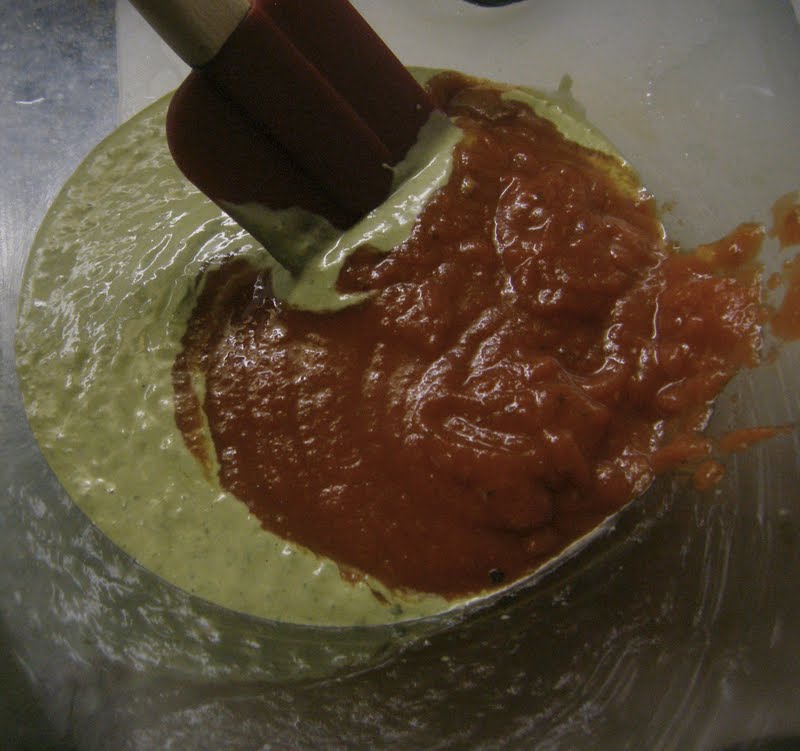
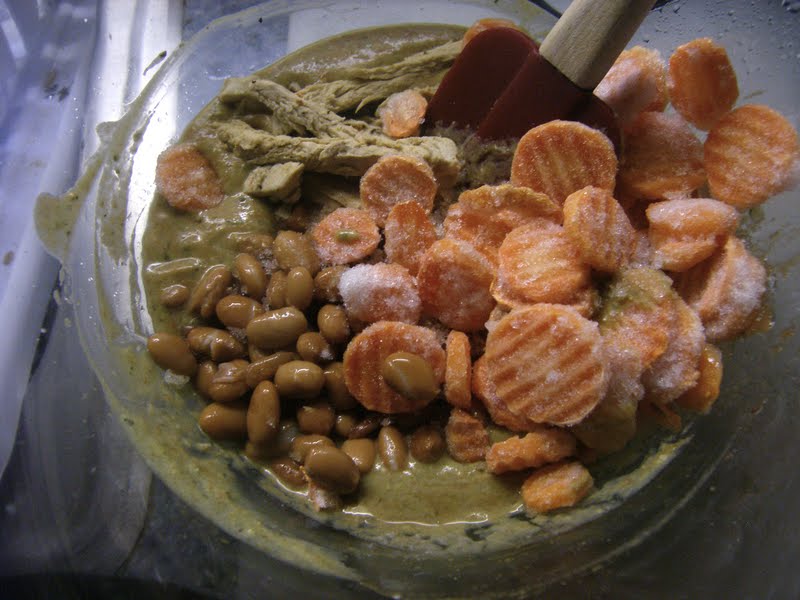
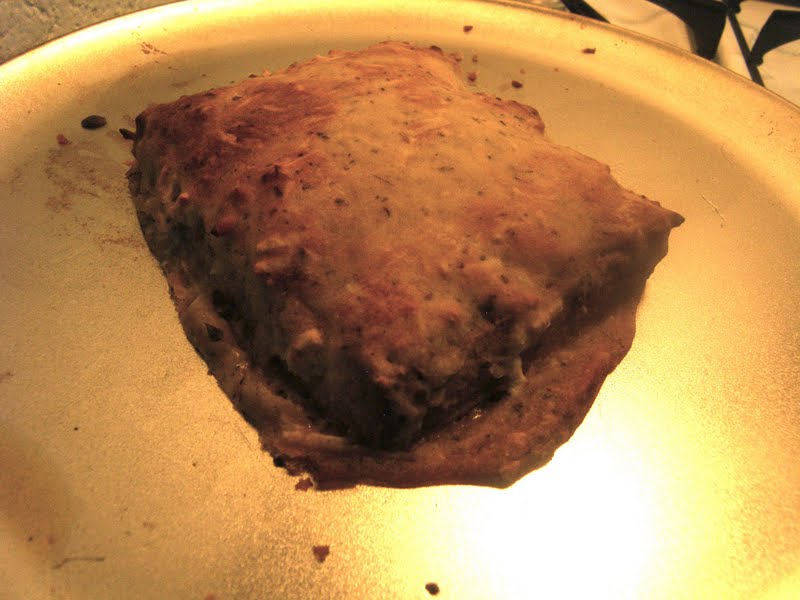
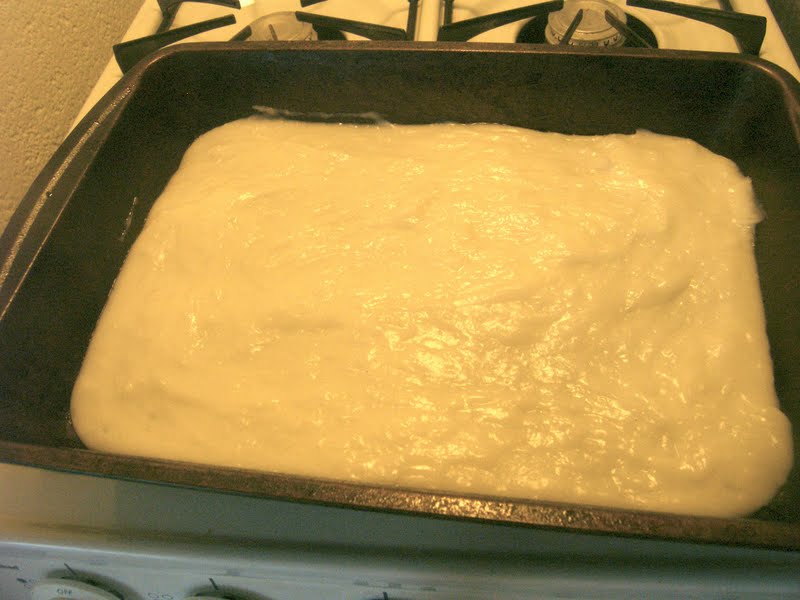
Pamela’s Product Brownies
4 tbs water
1/2 cup vegan margarine 
1/4 hemp milk

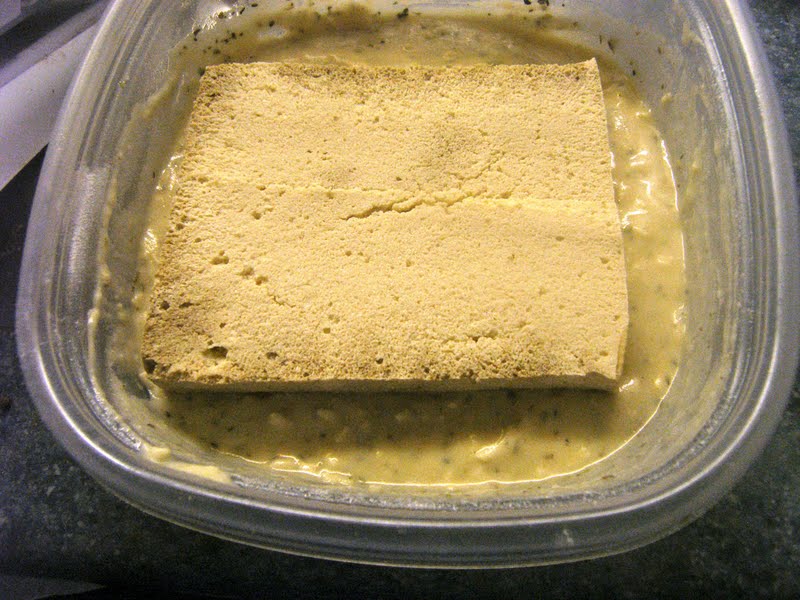
Pre-heat the oven to 350 degrees Fahrenheit and spray a baking pan with cooking spray. 

In a small bowl, mix together the egg replacer and the 4 tbs of water. 

In a large bowl, add the brownie mix, egg replacer and all remaining ingredients. Mix together just until combined. 

Pour into the pan and bake for about 20 minutes. They are done when a toothpick inserted comes out clean.

Even my non-vegan brother and dad wanted some. My brother happily ate the one that wouldn’t fit on plate I took to Hood River.

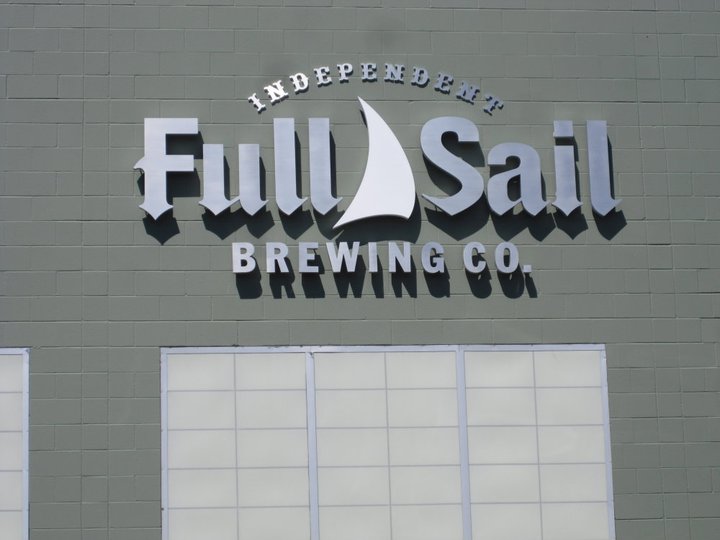
When I got into town Michael and Dr. Anderson were still out in the field so I explored downtown for a bit. It didn’t take too long before I ended up at Full Sail Brewery. Their beer is vegan (click here to learn about what makes beer vegan or not) and the food at the brewpub is good too.

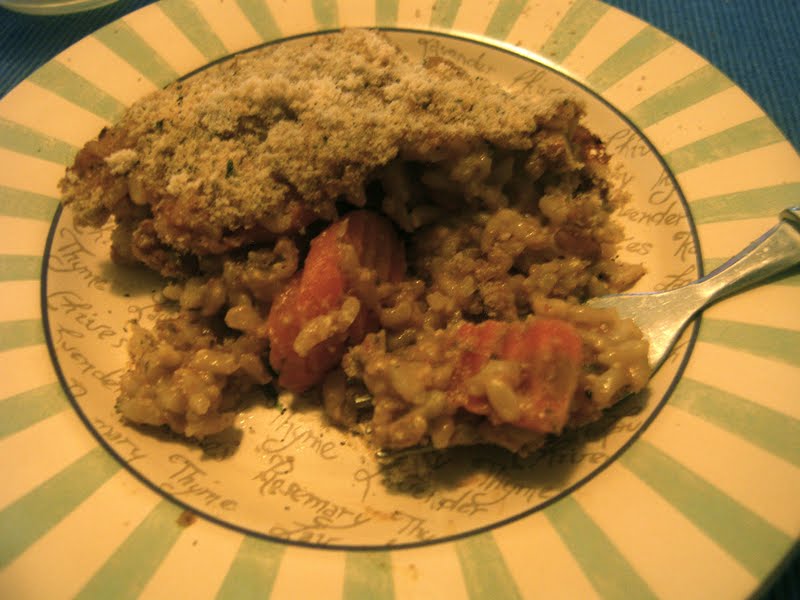
What I like about them, and most Oregon breweries, is that they use local, quality ingredients. I had the hummus plate–just didn’t eat the feta— and a pint of the LTD 03. The beer was very hoppy, but very good. Take the tour while you are there too, you get a free glass afterwards. 

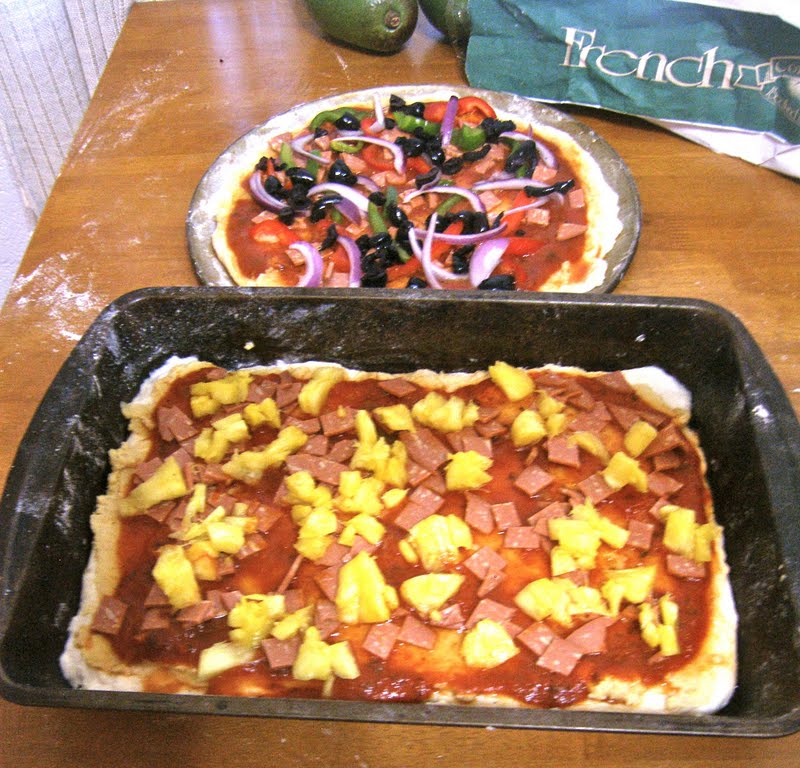
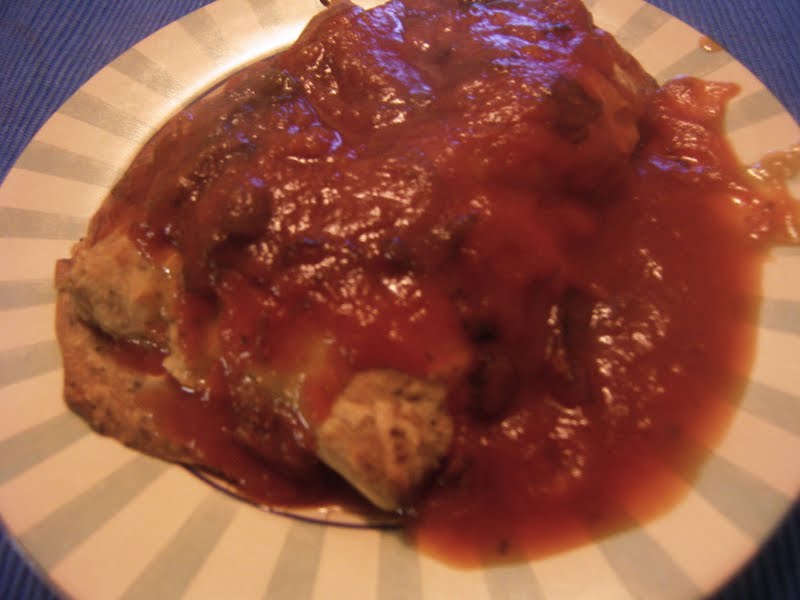
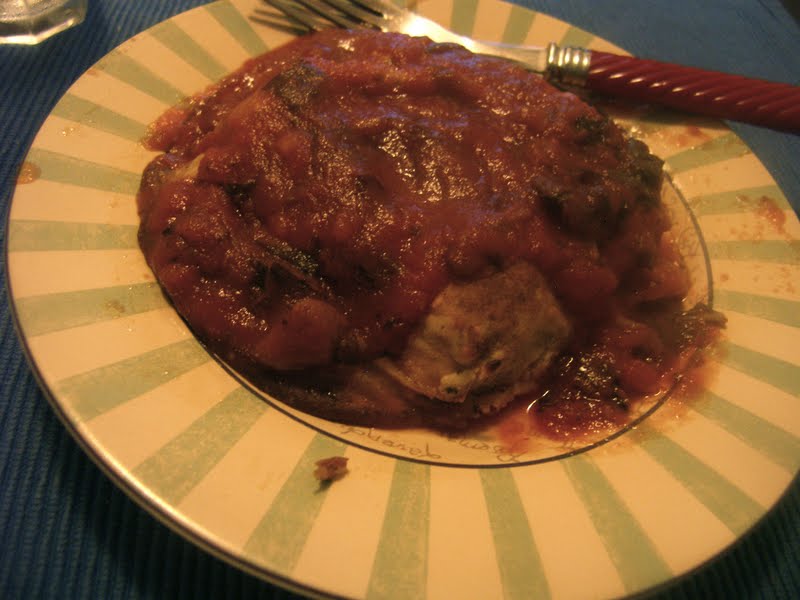
And, right next door to Full Sail is one of the best vegan things ever: the Tofurky Factory! I didn’t go in but when I go stay at peoples houses I usually bring my own food to make it easier on my hosts so I brought some Tofuky Italian Sausages with me. I don’t know how they do it, but Tofurky products actually taste and have the texture of meat. I cannot express how much I love this company and its products. The sausages are juicy and get nice grill marks on them too.

After Hood River, I stayed a few days in The Dalles with Amanda and her family. Although not vegan, I brought them Mauna Loa Chocolate Covered Macadamia Nuts from Hawaii. Amanda said her sister already devoured most of them. And, Amanda’s dog Lilly is so freaking cute I just felt the need to put her on here.

Guacamole 3 ways

I’ve lived in my new place all summer now and apparently never bothered to look up when I walked out the door. My friend Shane last week mentioned there was an avocado tree right outside my door and I was surprised. He picked a whole bunch of them for me and I’ve been patiently waiting all week for them to ripen.

I decided to make 3 types of guacamole: basic, mango, and hot roasted pepper. The basic is just the traditional with some tomatoes, onions, garlic, and lime juice. The mango is the same, just add some chopped mango. The roasted pepper obviously has a roasted bell pepper, and for some kick, some Serrano hot peppers.

Basic Guacamole
1/4 cup onion
2 cloves of garlic
2 medium tomatoes 
2 large ripe avocados
Juice of 2 limes 
Pinch of salt

Chop the onion and garlic into desired sizes. I like my a little guacamole a chunky so I did mine into small chunks. Add to a large bowl.

Cut the tomatoes into about the same size the onion. Add to the bowl.

Avocados aren’t hard to cut up, but they can be messy. Alton Brown explains it better than I can, so watch from minutes 2:50 to 3:40 of this clip if you don’t know how.


Chop the avocado into equal size pieces to the onion and tomato and add to the bowl.

Now squirt on the juice from the limes and sprinkle on the pinch of salt.

Mix it all up, breaking up the avocado chunks a little bit as you go and now you have yummy basic guacamole!

Mango Guacamole
1/4 cup onion
1 clove garlic
1 cup mango
1 medium tomato
2 large avocados
Red pepper flakes
Juice of 1 lime
Pinch of salt

 
Peal and chop up the mango into desired chunks.

Follow all the directions above for the basic guacamole, but just add the mango and some red pepper flakes. I add the red pepper in this one because I like the contrast with the sweetness of the mango.

Hot Roasted Pepper Guacamole
1/4 cup onion
1 clove garlic
1 medium tomato
1 bell pepper, roasted
2 ripe avocados
2 Serrano peppers
Juice of 1 lime
Pinch of Salt

I decided to puree this version because I thought the flavors would mesh together better. This is my new favorite way to make guacamole now!

You can buy the jarred roasted red peppers if you like for this, but I roasted my own. Just spray a pan with cooking spray and the pepper as well. Place under the broiler until the skin is charred black.

Once it is cooled (unless you like burning yourself on hot vegetables), peal off the brunt skin and chop into chunks.

Follow the steps for the basic guacamole, but this time throw everything, including the roasted pepper but not the Serrano pepper, into a blender or food processor. Blend until smooth.

Next chop the stem tops off the Serrano peppers. Then cut in half lengthwise. If you don’t like it hot, you can tone it down by scraping out the seeds.

I like it hot so I so i added the whole thing to the blender. Blend until it is incorporated.

I topped some homemade black beans with the basic guacamole for lunch today.

Good thing I like guacamole because I’ll be eating the rest of the week now!

Beer Crust Hawaiian Pizza

After about a month of conflicting schedules, my friends Rick and Kyla finally made it over from Kona to come visit me. It was nice to seem them and nice to have someone to cook for for once.

Awhile ago I saw a recipe for a pizza beer pizza crust. I can’t remember where I found it, but it was called something like “lazy single guy pizza crust” and that is essentially what it is. Just dump a some beer into flour and there you go. I was curious and decided to give it a try. The recipe claimed it would rise a little bit after 10 minutes, but it lied. It was still good though. It tasted just like a normal dough recipe, yeasty favor and all. It was a a little denser and chewier, but no big deal if you like thick crust.  Overall I liked it and it was definitely easy to make. I used Long Board from Kona Brewing Company because it’s awesome and thought it would be nice to use something local.

I made one Hawaiian pizza, topped with fresh pineapple that Rick brought and vegan ham from Yves (the store was out of vegan Canadian bacon but it’s same thing really), and one veggie with my usual toppings so refer to my Veggie Pizza post for those.

Both were cheese-less but topped with hummus instead. And, I am finally including my hummus recipe in this post. And yeah, I know traditional hummus has tahini and other fancy stuff, but this basic recipe is still good and easy to make (how many people really keep tahini in the house on a regular basis, let alone a single college girl?) And, I used a store-bought sauce this time because I had some on hand.

Easy Hummus (makes enough for 2 pizzas plus extra):
2 cans garbanzo beans, drained and rinsed
2 tbs olive oil
1 tbs Ener-g Egg Replacer
Red pepper flakes, to taste
Pinch of salt and pepper
1/2-1 cup water, ass needed


Beer Pizza Crust (makes 2 pizzas):
4 cups all purpose flour
22 fl. oz. of bottle of beer
1 tbs olive oil
1 tbs salt

Hawaiian Pizza:
1 beer crust, unbaked
3/4 cup hummus
1/2 cup tomato sauce
Vegan Canadian bacon (Try Yves), chopped
1/2 cup pineapple, chopped

For the hummus, throw everything into the blender and blend until smooth. I suggest adding the water in slowly as needed to help it come together so it doesn’t get too runny.

It may not be traditional, but tastes just as good to me.

The crust is just as easy. Pre-heat the oven to 500 degree Fahrenheit.

In a large bowl, add the flour. Next add the oil and salt. Then pour in the beer slowly. Add a little bit at a time and mix well before adding more. Depending on climate, you may need more or less. I actually needed a little less then the whole bottle. It is ready when it’s slightly tacky but moist.

Since it doesn’t need to rise, it’s time to knead. Sprinkle some flour on a clean surface and knead gently. Don’t over work it, just till it’s smooth and workable. Roll the dough into the shape of pizza pan. Transfer to your pan and shape to fit. If it tears, just mold it back together.

Time to top. Spread the hummus on in an even thick layer.

Spread the tomato sauce on top.

Then finally top it with the Canadian bacon and pineapple.

Bake for 15-20 minutes, until the crust is all golden and crunchy.

It was so nice to share lovely vegan food with lovely friends! Thanks for coming guys!

Pad Thai Fettuccine

I am not quiet sure how or why I came up with this dish, but it was sure tasty! It is like a mix between pad thai and pasta primivera.  Really easy to make too.

Pad Thai Fettuccine 
1 can stewed tomatoes
1/4 cup peanut butter
2 tbs soy sauce
1 tbs rice wine vinegar
2 tps garlic powder
1 tps onion powder
1 tbs chili powder
1/8 cup jarred jalapenos (less or more to depending on personal heat level)
1/2 box fettuccine (or enough for four servings, most boxes are actually 8)
Assorted veggies, fresh or frozen (I used a bag of stir fry mix but try any veggies you would put in Pad Thai)

Put a large covered pot of water on the stove to boil.


Toss the stewed tomatoes, peanut butter, soy sauce, rice wine vinegar, garlic powder, onion powder, chili powder, and jalapenos into the blender and blend until smooth. Taste it and adjust seasoning to your tastes. I added a little more chili powder because I like it spicy.

Once your water is boiling, add the pasta and cook according to the directions. Drain and return to the pot.

Heat up (or cook if you are using fresh) the veggies in a skillet with a bit of cooking spray or oil.

Add the cooked veggies to the pasta pot. Pour in the sauce and mix well.

I topped mine with a few more jalapenos and chili powder. A very lovely and easy dinner!

Lentil Loaf

I must confess, I have a love for infomercials.  My new favorite is that meat loaf pan that supposed to make the perfect loaf every time.  I question if the thing works but it made me want a delicious lentil loaf.  Meat loaf was one of the few meat dishes I actually liked when I was growing up, so I was kind of skeptical to see if a lentil one would compare. And I was surprised that it did! Now I make them often. Savory, a litte “meaty” and if you make them right, they can even be a little juicy.

Lentils are a pulse (don’t worry, I had to look that up too) that is part of the legume family. Their seeds are little lens-shaped pods that are high in protein, vitamin B, and fiber. They were consumed by neolithic Middle Easterners as far back as 13,000 years ago. And, surprisingly Canada is the top producers of lentils today.

Now, don’t judge this dish until you try it. It does not taste like a big pile of bland beans at all. Cooked lentils have a slightly “meaty” texture, which is why I love to put them in pasta sauces to create a heartier dish. The key to making a good lentil loaf, just like a meat loaf, is getting the consistency right. Make sure there is enough liquid and gluten in the mixture so it will stick without being mushy.

Lentil Loaf
1 cup dried green lentils
1/2 tbs vegan butter
1 cup vegetable stock
1/2 white onion, finely chopped
1/2 cup breadcrumbs
1 cup cooked oatmeal
1 tps Italian seasoning
2 tbs tomato paste (or ketchup works just fine)
1 tbs soy sauce
Salt and pepper, to taste

Pick through the lentils and throw out the bad ones. Soak the lentils overnight.

Heat a skillet over medium heat and add the vegan butter.

Drain and rinse the lentils. Add to skillet. Cook until the lentils are slightly golden.

Add the vegetable stock and bring to a simmer. Cover and let cook until all the liquid is absorbed, about 40 minutes.

Pre-heat the oven to 400 degrees Fahrenheit. Spray a sheet pan with cooking spray (I didn’t use a loaf pan because I think it is a pain to remove the loaf in the end).

In a large bowl, add the cooked lentils, cooked oatmeal (it must be already cooked, it will help the load adhere together) and the onions. Mix together well. Mix in all remaining ingredients.

Shape into a loaf on the sheet pan. Feel free to top with ketchup like a meat loaf before you pop it in the oven if you like. Bake for 30 to 40 minutes, until the top is a little golden.

I ate mine with some steamed green beans and some ketchup. So delicious. It makes nice leftovers the next day too. I think I will make a simple gravy for it tomorrow night, and maybe some mashed sweet potatoes.

Curried Split Pea Soup

I’ve had a bag of dried split peas sitting in my cupboard for awhile now. I saw them while I was cleaning my kitchen today and thought I should actually do something with them. So I decided to make good ol’ split pea soup. I hated split pea soup as a kid. Canned ones were way too mushy and way too salty. And homemade ones had chewy, overcooked ham pieces. So gross. But awhile ago I saw Alton Brown make a Curried Split Pea Soup on Good Eats and my faith was restored. His soup was smooth, not mushy, and properly seasoned. My version is based on this recipe, just minus the ham and add some green bean for extra nutrients. 


Curried Split Pea Soup
1 cup dried split peas
1 tps of vegan butter
2 cups water
Pinch of Salt
2 cups green beans, fresh or frozen, cut into bite size pieces
1 cup vegetable broth
2 cups water
1 tbs curry powder
1 tbs garlic powder
salt and pepper to taste

Put the split peas in a bowl and pick out all the bad looking pieces. Cover with water and soak for at least 2 hours, overnight if you can.

Drain and rinse the peas.


Heat a skillet over medium heat and melt the butter. Add the peas and cook until slightly tender, about 5-7 minutes.

Add the two cups of water and the pinch of salt. Bring to a simmer then cover and cook until completely tender, 10-15 minutes.

Transfer the peas to a bigger pot. You could saute them in the pot too, but I think they cook more evenly in the skillet.

Whether using frozen or fresh green beans, cook them first. I used frozen so I microwaved them. I suggest steaming fresh ones. Add the cooked beans to the pot along with all the remaining ingredients, then mix together.

To make the soup a thicker, puree it in a blender. Reserve about a cup and half of the pea and bean chunks first to add back in after. This way the soup has some texture and isn’t just green mush.

Once it is pureed to a smooth texture, return it to the pot and add the reserved chunky soup back in. Bring to a simmer and cover. Cook for about 25 minutes.

Ladle into serving bowls and enjoy. The curry gives it nice background flavor without overpowering the richness of the peas and beans. Love the color too.

Easy Rice Bake

I hate when it’s almost time to go grocery shopping so you don’t have enough of anything to make a real recipe. For dinner tonight, I decided to follow in the footsteps of generations of housewives and make a baked casserole. Casseroles became household favorites because they were a cheap way to stretch a a few ingredients into a hearty meal.  They really took off when companies like Betty Crocker made prepackaged versions like Hamburger Helper (ha, a Hamburger Helper commercial came on TV as I typed that). But, they aren’t vegan and aren’t the healthiest. I made my own version instead. I had some fresh basil and canned pasta sauce that needed to be used up, so I made an Italian-style rice bake. You can make a pasta bake with this recipe too, just replace the rice with any pasta you like. Besides being tasty, this dish is a good way to clean out the fridge. You can throw in whatever veggies or leftovers you have kicking around.

Italian-Style Rice Bake
4 cups cooked brown rice
1/2 cup fresh basil
1 garlic clove
1 tbs olive oil
1 tbs cashews
1/4 of a tub of silken tofu, drained
1 cup pasta sauce
1 cup frozen veggies (carrots, peas–whatever you have in the freezer)
1 cup canned beans (I suggest white or pinto)
Anything else you want to clear out of the fridge or freezer

Everyone claims to have the secret to perfect rice, so cooked the rice according to your own method.

While your rice cooks, pre-heat the oven to 400 degrees Fahrenheit and spray a baking pan with cooking spray, set aside.

To make the “pesto”, add the basil, garlic clove, cashews, and olive oil into a blender. Blend until the cashews are ground up and the mixture is smooth. Next add the tofu and blend until smooth. I suggest adding the tofu separately so the nuts gets thoroughly ground up.

Put the “pesto” into a large bowl. Next add the pasta sauce and mix together.

Now add your veggies, beans, or whatever else you want. I had a few fake chicken strips left over so I threw them in too.

Now add your cooked rice and mix it all together.

Spread evenly into your baking dish. Normally casseroles and other bakes are covered with cheese.  You could cover this with some vegan mozzarella, but I took a little healthier approach by just topping it with some Italian breadcrumbs.

Bake for 30-35 minutes in the oven, until the top is golden and crunchy.

This will easily feed a family of four or a college kid for a couple day. It would go lovely with a nice spinach salad too.

Tofu Parmesan

So, I know I called this dish tofu parmesan, but there is no parmesan in it. But, to be fair the mozzarella is the best part of chicken or eggplant parm so I think my title is still fairly accurate.  I love eggplant parm. I thought about it the other day, which is where I got my inspiration for this dish. I guess someone could argue this is more like Italian-style baked tofu but whatever. You can add some vegan parm into the batter, I just didn’t have any on hand. It’s delicious either way.

Tofu Parmesan 
1 block tofu
2 tbs soy sauce
1/4 cup+2tbs flour, (I used rice, but any kind is fine)
1/4 tbs Italian-style bread crumbs
1/2 cup soy milk, unflavored
2 tbs Ener-G Egg Replacer + 1 tbs water, mixed
1/4 vegan mozzarella (Try Dayia)
1/2 tbs soy sauce
1 tps garlic salt
Pinch of pepper

Drain the tofu.

Place several sheets of paper towels on a flat, clean surface. Put the tofu on the paper towels, then place some more paper towels on top. Now get something heavy (I use my science textbooks, my mom uses stone bookends) and place it on top. This will squeeze out all the liquid so it will get a denser texture when cooked. Leave this for at least an hour, but the longer the better.

Next, place the tofu in a freezable container and freeze over night.

The next morning, place it on the counter to thaw.


Once fairly thawed, sliced in half lengthwise so it’s like 1/4 inch thick steak. Since I am only cooking for me, I put one half back in the fridge for another day. Pour the 2tbs of soy sauce over both sides and let it marinade for at least a half an hour.

Pre-heat the oven to 400 degrees Fahrenheit and spray a baking sheet with cooking spray.

Mix together all the remaining ingredients, it should be slightly thick.


Dip the tofu steak in the cheese batter, coating well on both sides.

Place on the baking sheet and put it in the oven.

I forgot to set a timer so I don’t know exactly how long it took to cook. But something around 20 minutes I guess. Check yours after 15 just to be safe. It will be all golden and crispy when ready.

I had some basil-tomato sauce I made last week that needed to be eaten so I slathered my tofu with it. I loved the crispy and cheesy crust.

If you want to make this more chicken parm like, top it with the sauce and more cheese and bake for a few minutes longer. If you want to make this a full meal, pair it with some pasta and nice green salad.

Haupia, Coconut Pudding

Picture from here

Sometimes I browse the bakery section at normal grocery stores to see how horrible those innocent looking treats really are to remind myself why I am vegan. I know that sounds weird, but I wish everyone would do this just once. Take the time to actually read the ingredients in those doughnuts or cakes, and you will probably never want to eat them again. But one day I came across something I had never seen before. It was a small little white square covered with shredded coconut. It had only a few simple ingredients, was fairly low in fat and calories, and was made at a local bakery. And it was vegan. I bought the little white square and surprised when I bit into it. It was squishy like gelatin, but sweet and coconutty. I am not a fan of gummy or jelly things, but I love coconut so I was torn on whether I liked the treat or not. And to be honest, I am still torn. Yet, this is the second time I have made this dessert at home.

Haupia is a technically coconut pudding made from starch and coconut milk, but has the texture of gelatin. Gelatin is not vegan (ever heard the saying “take the horse to the glue factory”?) so I was kind of skeptical that the haupia square at the store was labeled properly. But my skepticism was set aside when my homemade version was just as gelatinous.

I can’t find much information on the history of haupia besides it became popular after World War II and was originally made with arrowroot starch. It is easy to make but requires your full attention while cooking. This recipe is based on two fairly similar recipes, one from a luau recipe website and one from Food.com. Both recipes call for cornstarch, which I don’t use that often so I usually don’t keep in the cupboard.  I was about to cave and buy some when I realized that Enger-G Egg Replacer, which I usually have on hand because it is so versatile, is made from starch. So I gave it a shot and it worked just fine.

A side note about canned coconut milk I mentioned in my Yellow Curry post: light coconut milk is a waste of money.  It is just watered down normal coconut milk and usually costs more. Save the money and just add water yourself if you want cut down on calories.

Haupia
1 and 1/2 cans coconut milk
1/2 cup water
1/2 cup sugar
1/2 cup Enger-G Egg Replacer or cornstarch
1/2 cup shredded coconut
1/2 teaspoon vanilla extract
pinch of salt


In a small sauce pan, heat the coconut milk, water, and sugar over medium heat while continuously whisking.

When it is about to boil, gradually add the egg replacer or starch and continue to whisk.

When it starts to thicken slightly, add the vanilla, salt, and shredded coconut flakes and continue to whisk.

Remove from the heat when it is smooth but as thick as pudding.

Pour into desired dish and chill for at least two hours so it can fully set up. Here is a little advice on what shape of dish to use. The first time I made this, I tried to replicate the one I got from the store so I used a square pan so it would be just as thick. But the pan was too small so it came out really thick. Since I don’t like squishy/gelatin things, I used a sheet pan this time so it would be thinner. But it was too thin and did not come out of the pan very nicely. So, I next time I make this I am going to use medium-sized square pan, and shoot for around 1/2 inch thickness.

Since they did not come out of the pan in a decent looking form, I didn’t take any final pictures. But I promise they were yummy, if you like squishy things that is. I topped mine with some additional shredded coconut too, it helped cut down on the squishyness.

Hawaiian Mac Salad

When you order a Hawaiian plate lunch, you can be certain of two things: large portions and macaroni salad. They usually aren’t vegan so I have to order all rice instead.  But to keep up with my Hawaiian post trend, I thought I should make my own version. There isn’t anything that makes this dish unique to Hawaii besides the fact it’s very popular here. It’s pretty much the same recipe you mom makes for picnics. I kept everything traditional, the only difference is I used Veganaise instead of mayonnaise.


Mac Salad
2 cups large elbow macaroni, dry
1/4 cup carrots, grated
1/4 cup celery, finely chopped
1 cup Veganaise
1 tbs sweet relish
Salt and pepper to taste

Bring a large pot of water to boil on the stove. Cook the macaroni according to the directions on the package.  Drain and set aside.


Broke college kid doesn’t have a grater, so I chopped my carrots

Grate the carrots and chop the celery.


The glass bowl makes it look like it’s sitting on the counter.

In a large bowl, add the macaroni, carrots and celery. Add the Veganaise and relish then mix together. Season with salt and pepper to taste.


Veganaise is the best thing ever. Way better than dairy mayo.

Cover and chill in the fridge for at least 2 hours. This gives the macaroni time to absorb all the flavors.

I ate mine on it’s own, but it’s a fabulous side dish for any entree…man, now I wish I made some BBQ tofu to go with this.