Breakfast is one of the hardest meals to eat out for vegans. No eggs, bacon or sausage. Plus most places use milk and butter in their pancakes, waffles, bread & etc. We are usually stuck with two options, fruit or hash browns. It is important to ask if they use butter on the hash browns, and if they can leave it out if they do. Most of the time they might look at you funny, but will do it.
Luckily I love potatoes so I am content with a small order hash browns. However, they are not the healthiest thing in the world. They are usually fried or pan-fried in tons of oil. A few years ago I discovered if you use a good non-stick skillet and a bit of cooking spray that you can get them as crispy as restaurants without all the bad fat.
Every kitchen should have a good non-stick skillet, so I highly suggest investing in one. Like I mentioned before, Michael and I moved into his grandparents old house. I use the non-stick skillet that came with house, and for some reason I cannot find the name brand on it. It works great, so just goes to show you sometimes you don’t need to spend a lot of money for a quality product.
This recipe makes 2 servings.
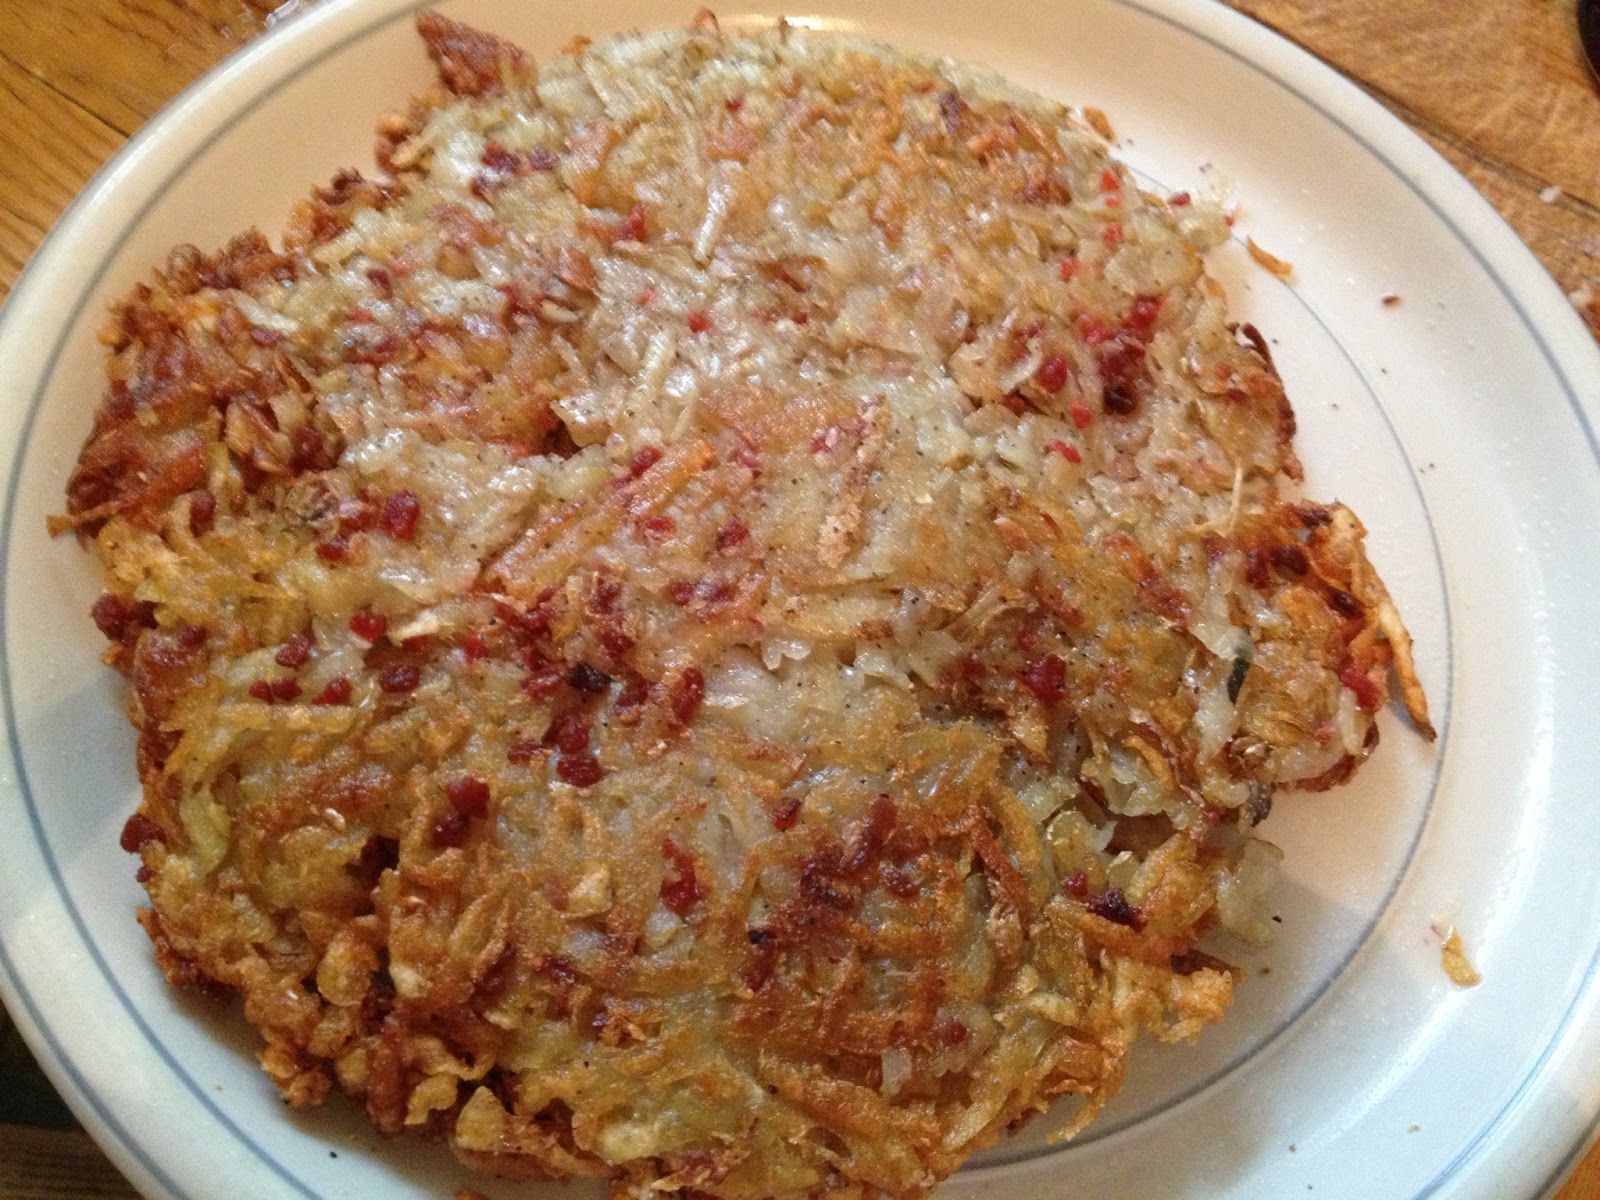
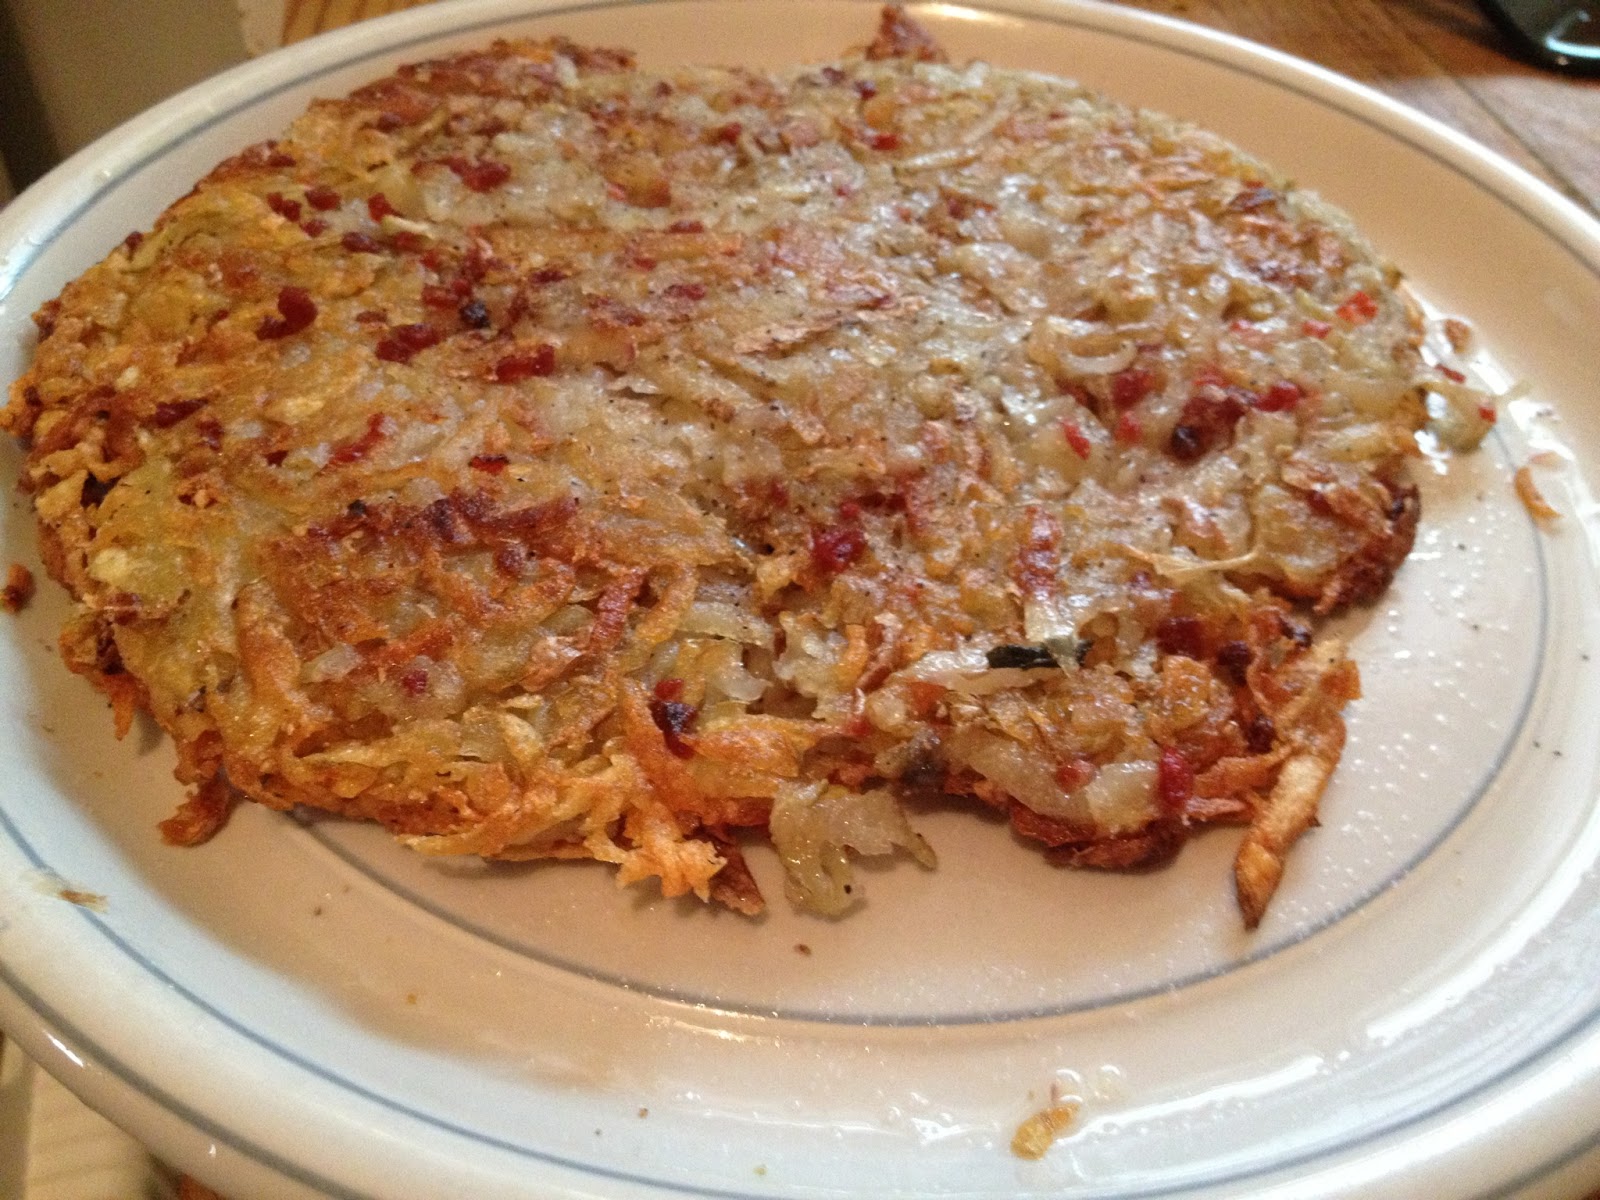 Almost Fat Free Hash Browns
2 small russet potato
Salt and pepper, to taste
Cooking spray
Non-stick skillet (Must be non-stick)
1/4 cup water
Wash and peal the potatoes.
Grate the potatoes.
Pat dry with a paper towels. Try to get as much liquid out as possible.
Shape into a large, flat patty. I suggest doing this on a plate.
Spray the non-stick skillet cooking spray and heat over medium heat.
Once it is hot, place the potato patty in the skillet. If you used a plate, you can simply flip it over into the pan.
Add the water and cover quickly. Keep covered until the water is evaporated, usually when it stops sizzling.
Uncover and let it cook until it is golden on the bottom.
Carefully, flip the hash brown over.
Let it cook on the other side until golden too.

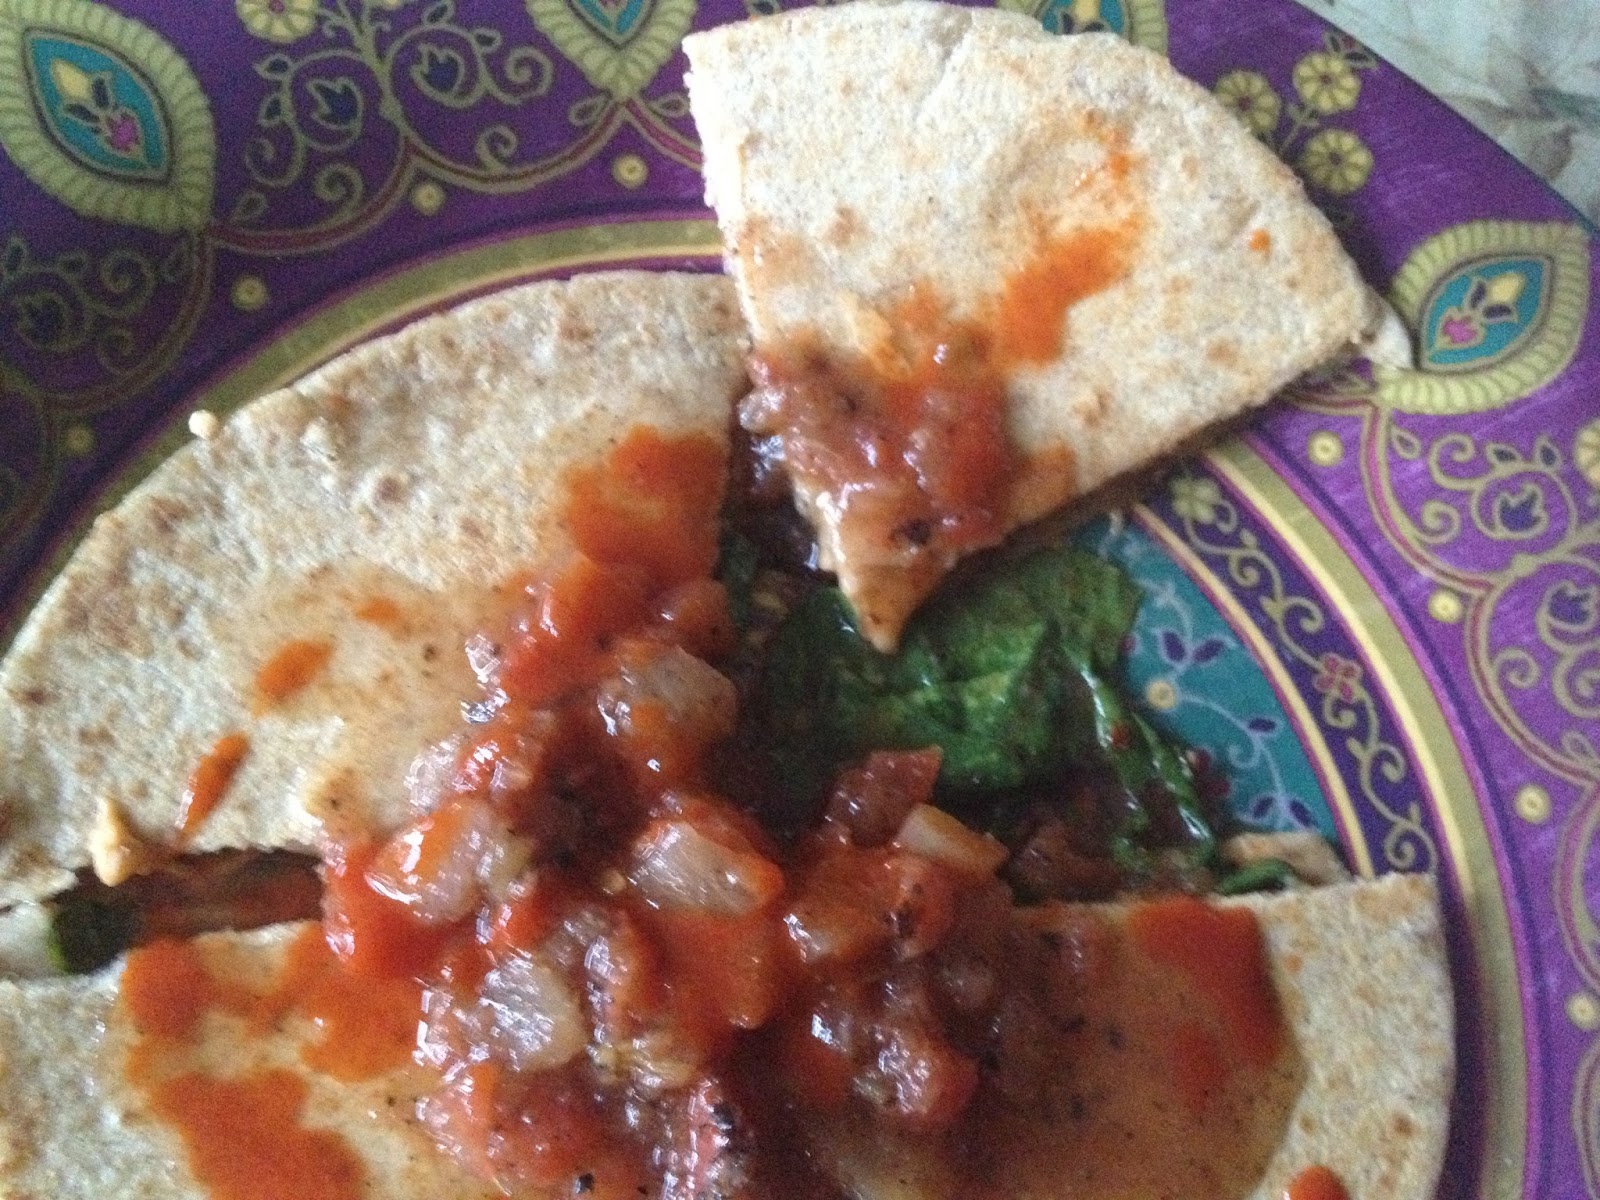
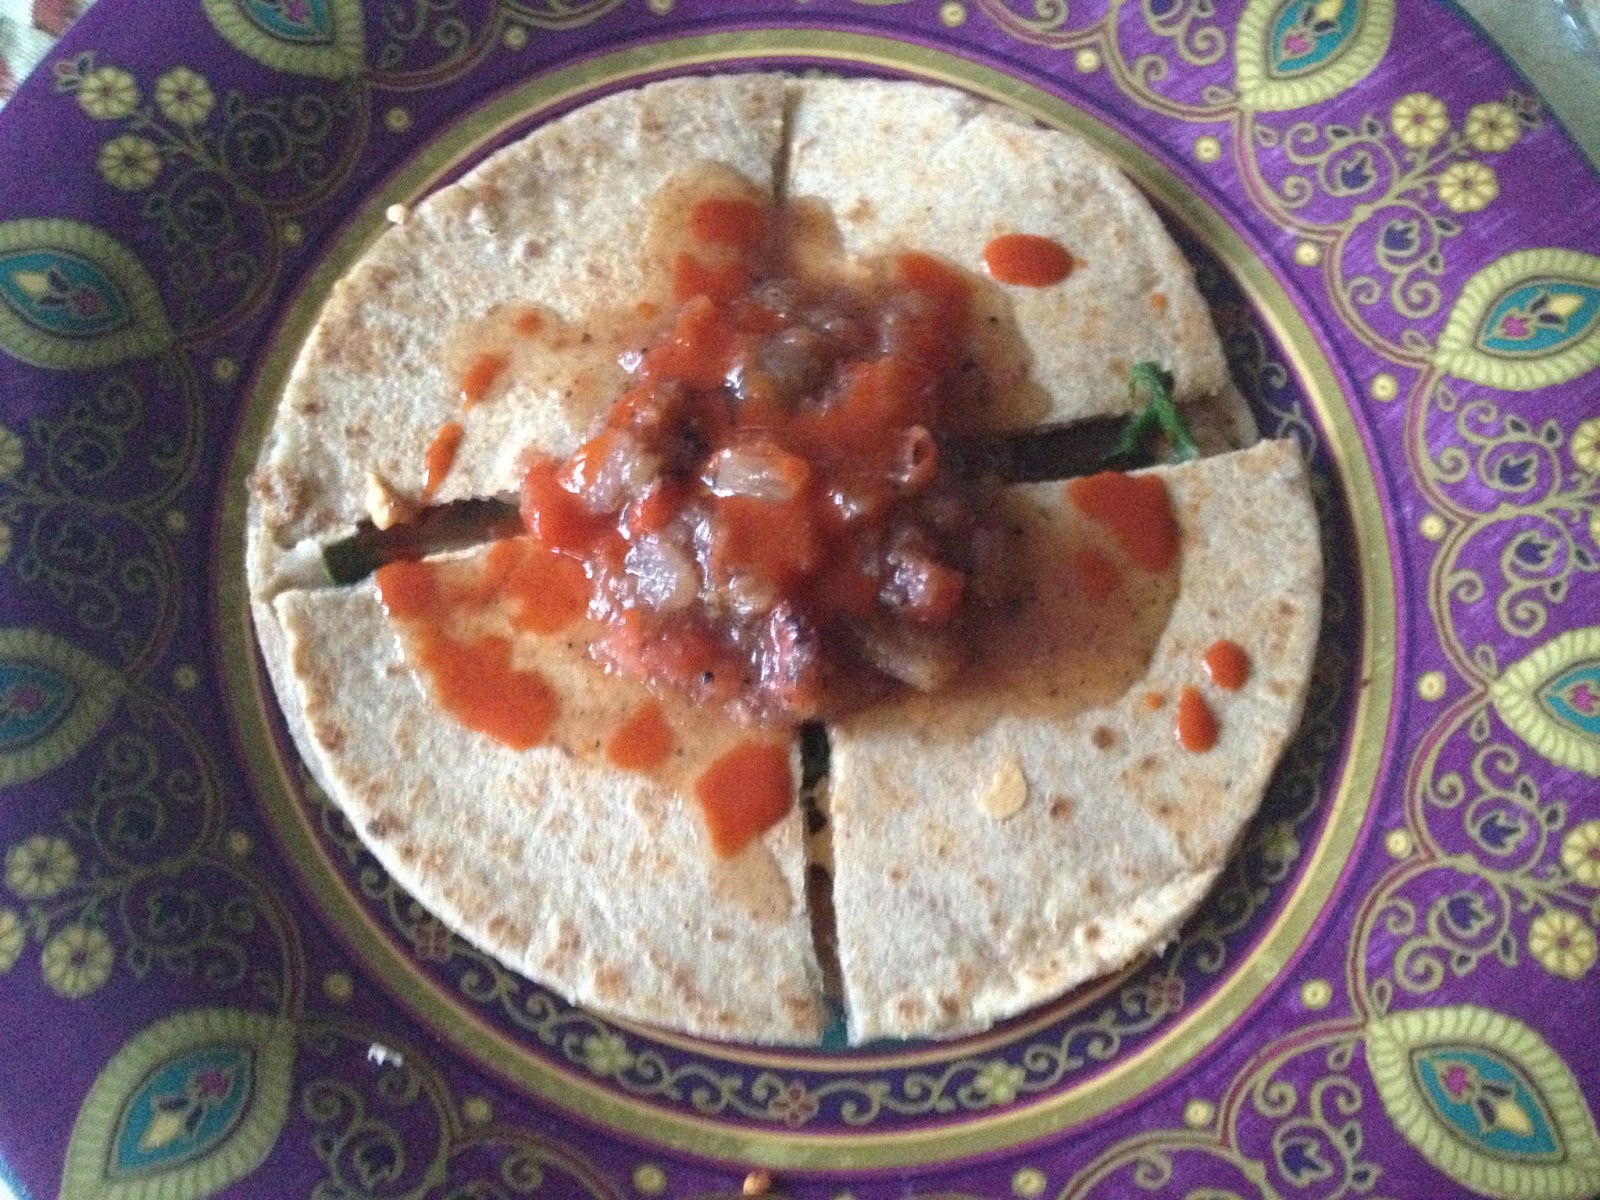
Season with more salt and pepper, or anything else you like! You can add condiments and make it the main dish. Or, you can serve it as side with some Tofu Scramble and soy bacon. I sautéed some bell peppers and onions, and added a few spoonfuls of salsa.