Spinach and Mushroom Pizza

I wanted something different for my Friday night pizza this week, and thought sauce-less might be nice. I saw an amazing spinach pizza recipe when I was looking at other vegan blogs last night…but I can’t remember which one I saw it on. There are great vegan sites out there and one of them has a fantastic spinach pizza recipe that I based this on.

Thrawed on the counter for 5 hours

My pizza dough recipe makes 2 to 3 pizzas easily, so I freeze some for the next few weeks. It should freeze nicely, and I heard on some cooking show before that it can last for up to 3 months (though I usually eat mine within a month so I don’t know). Again, I suggest pre-baking the crust since the veggies do not take long to cook.


Spinach and Mushroom Pizza

1 pre-baked pizza crust (try mine)
1 tbs olive oil
1 clove of garlic, fine chopped
1 cup spinach, chopped (frozen or fresh)
1/8 cup red onion, sliced
1/2 mushroom, sliced
1/8 cup kalamata olives, chopped.  
Pinch of salt and pepper

Evenly spread the olive oil and chopped garlic on the pre-baked pizza crust.

If you use frozen spinach like I did, thaw and thoroughly drain it, or else your pizza will be soggy.  If you are using fresh, wash it well and coarsely chop.

Evenly spread the spinach over the crust, then spread on the onions on top.

If you use fresh mushrooms like I did, wash and dry them well before slicing. If you use canned, drain them thoroughly like the spinach to keep your pizza from getting soggy. Evenly spread on top of the spinach and onions.

Top with the olives, then sprinkle on a pinch or two of salt and pepper. If you like a kick, add some red pepper flakes too.

Bake for 7-10 minutes, until spinach and mushrooms are wilted.

It’s a nice change from the same old tomato sauce pizza, plus it will make you strong like Popeye 😛

Yorkshire Pudding Attempts

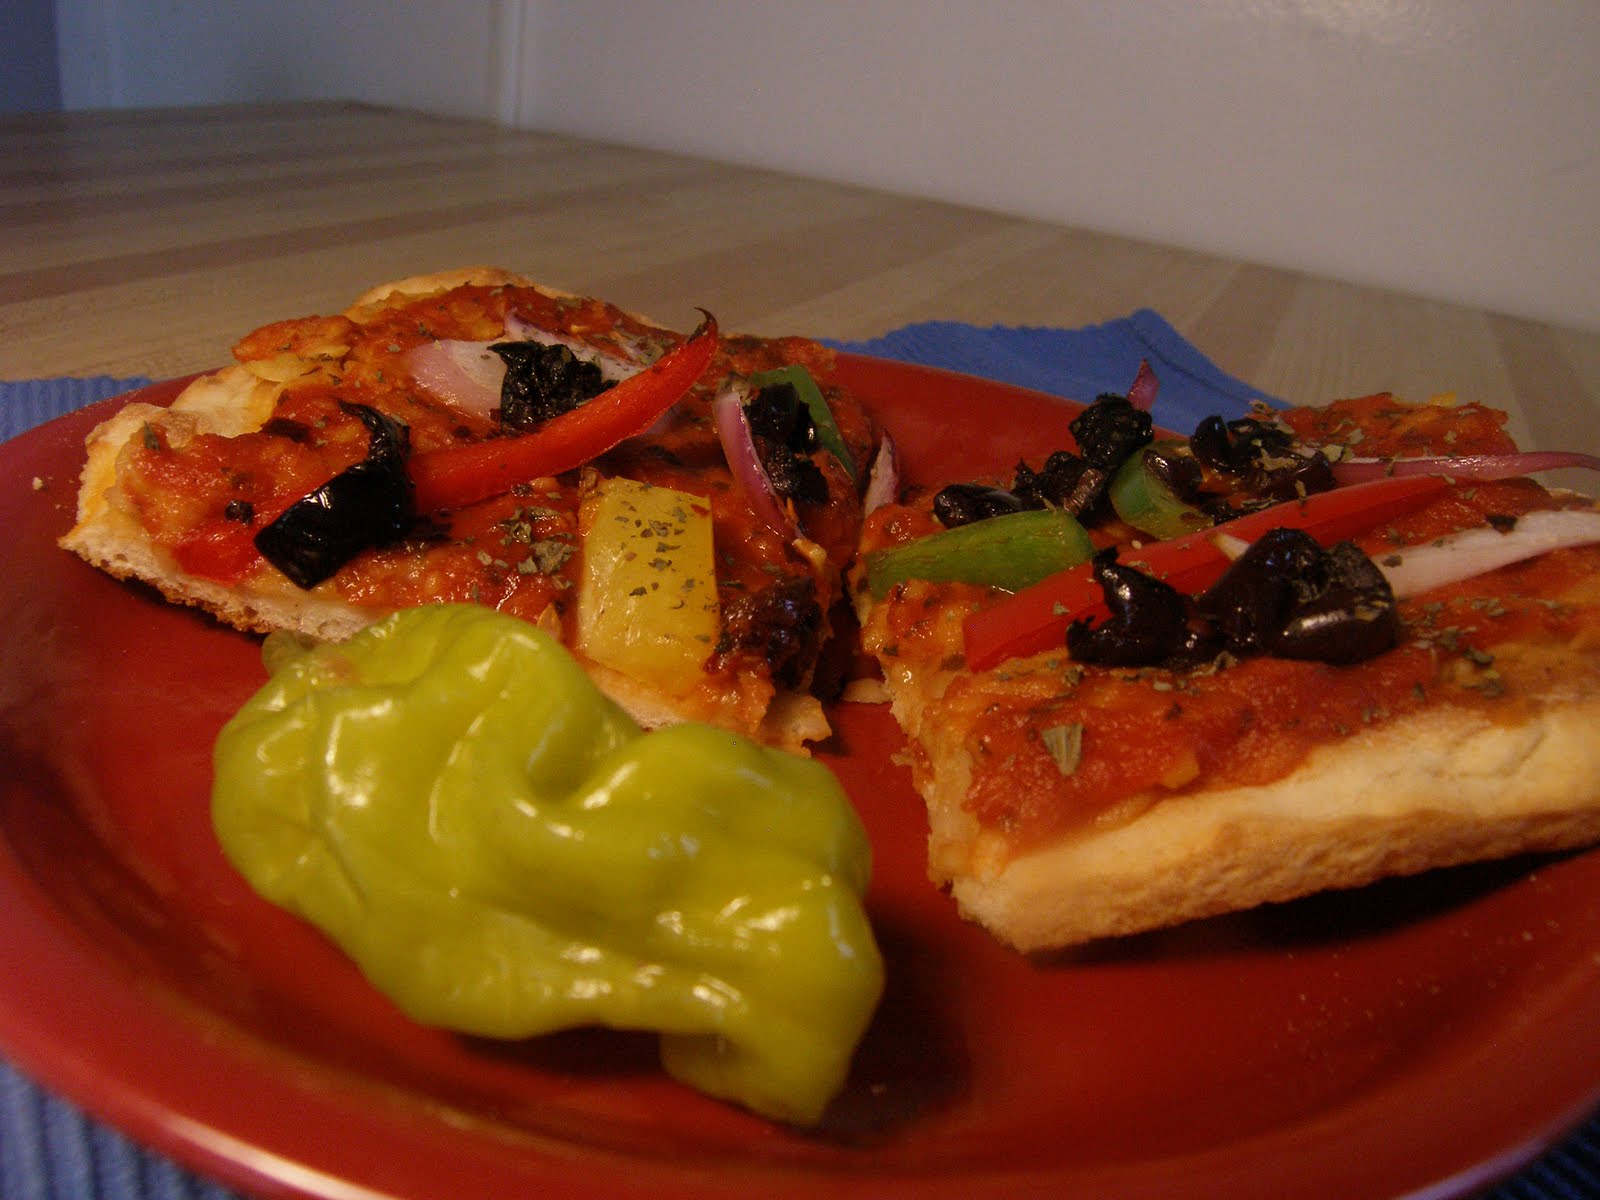
My Twitter follower @SaraLJohnson75 suggested another recipe and I accepted the challenge. She requested a classic British dish, Yorkshire Pudding. I tried other lovely British foods before I became a vegan, but never had the pleasure of Yorkshire pudding. So, I must admit I am at a slight disadvantage. After some consultation and research online, I got a pretty good idea of what they should taste like: savory, a little flaky and very rich.

I found a great traditional Yorkshire Pudding recipe on About.com (it even has a video) that I based mine on. In this recipe, the eggs are for binding, leavening and flavoring so I wasn’t sure what type of replacer was best (most have a hard time doing all three). The vegan recipes I found said they had trouble getting theirs to rise properly so they had used a lot of powdered egg replacer (usually made from starches) such as Ener-G Egg. However, this alters the texture a lot so I decided to try something different.

I came up with two recipes and made a small batch of each. The first uses ground flax seed as an egg replacer and the second uses yeast. I must confess neither one rises significantly, and although still pretty delicious, are not quite right.

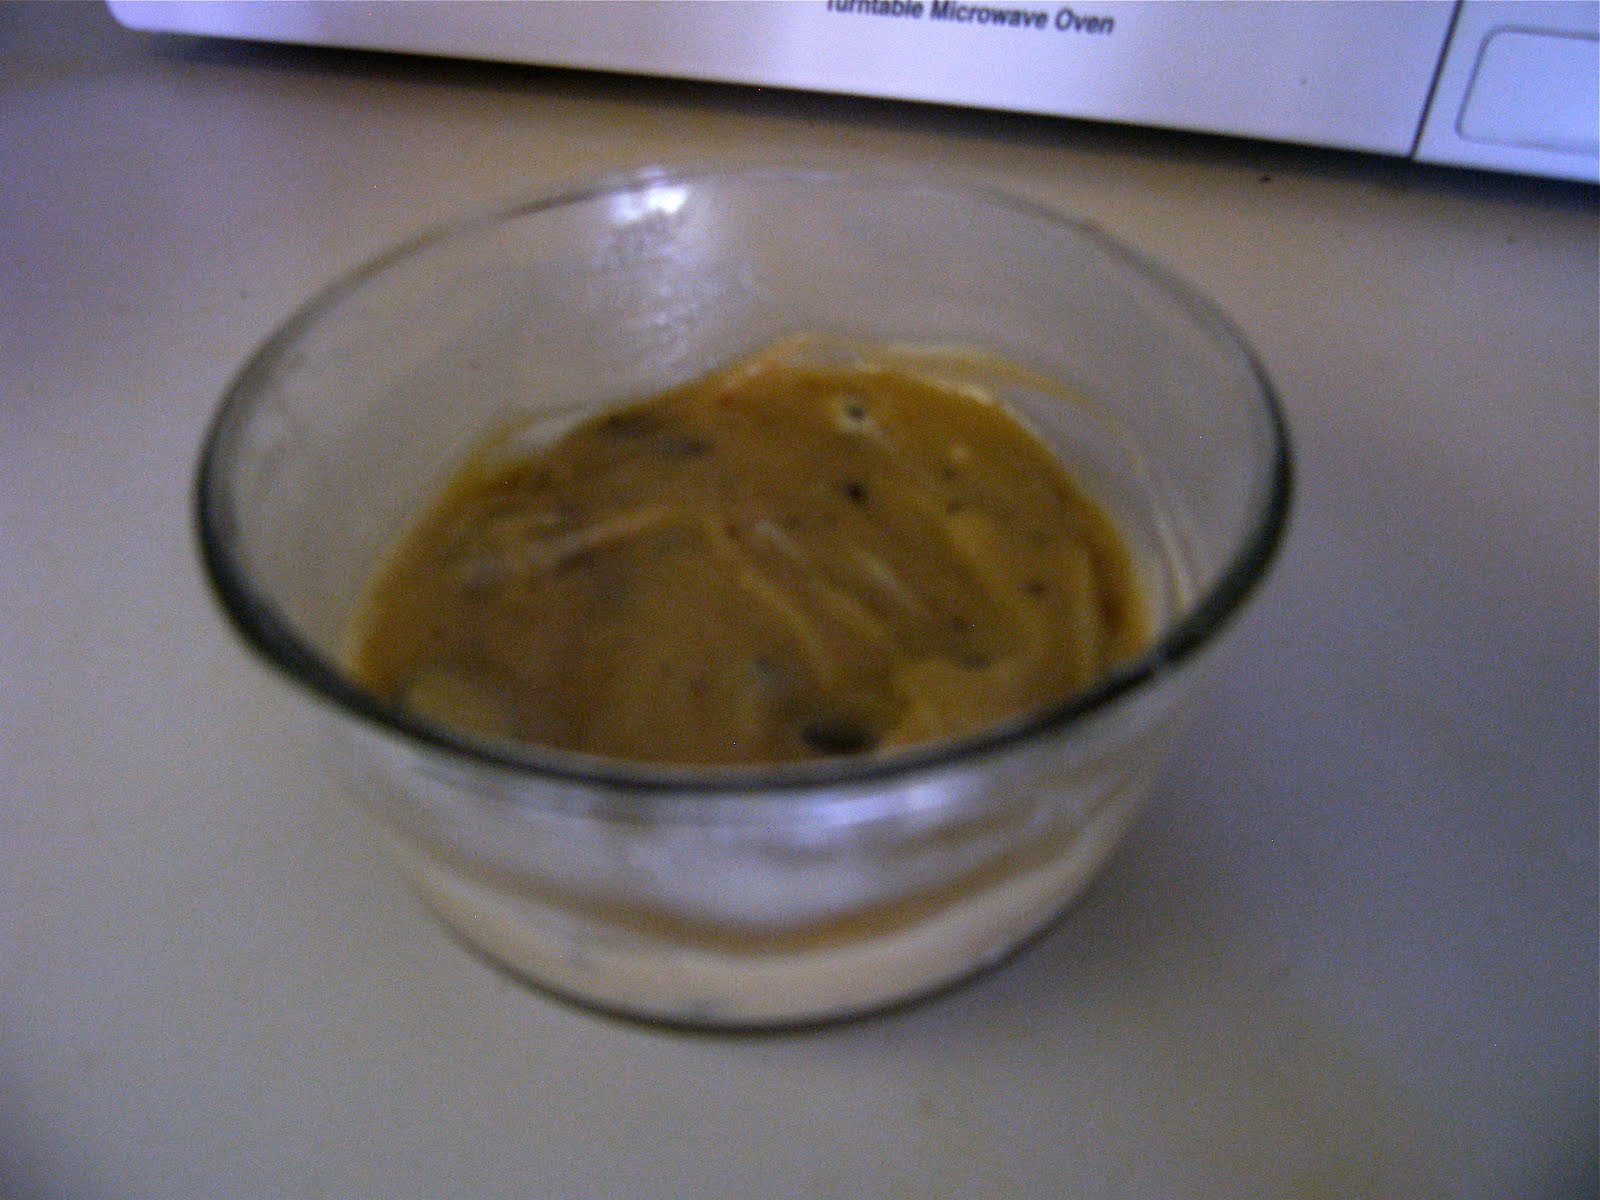
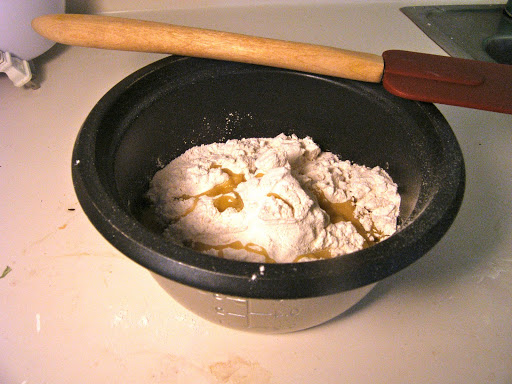
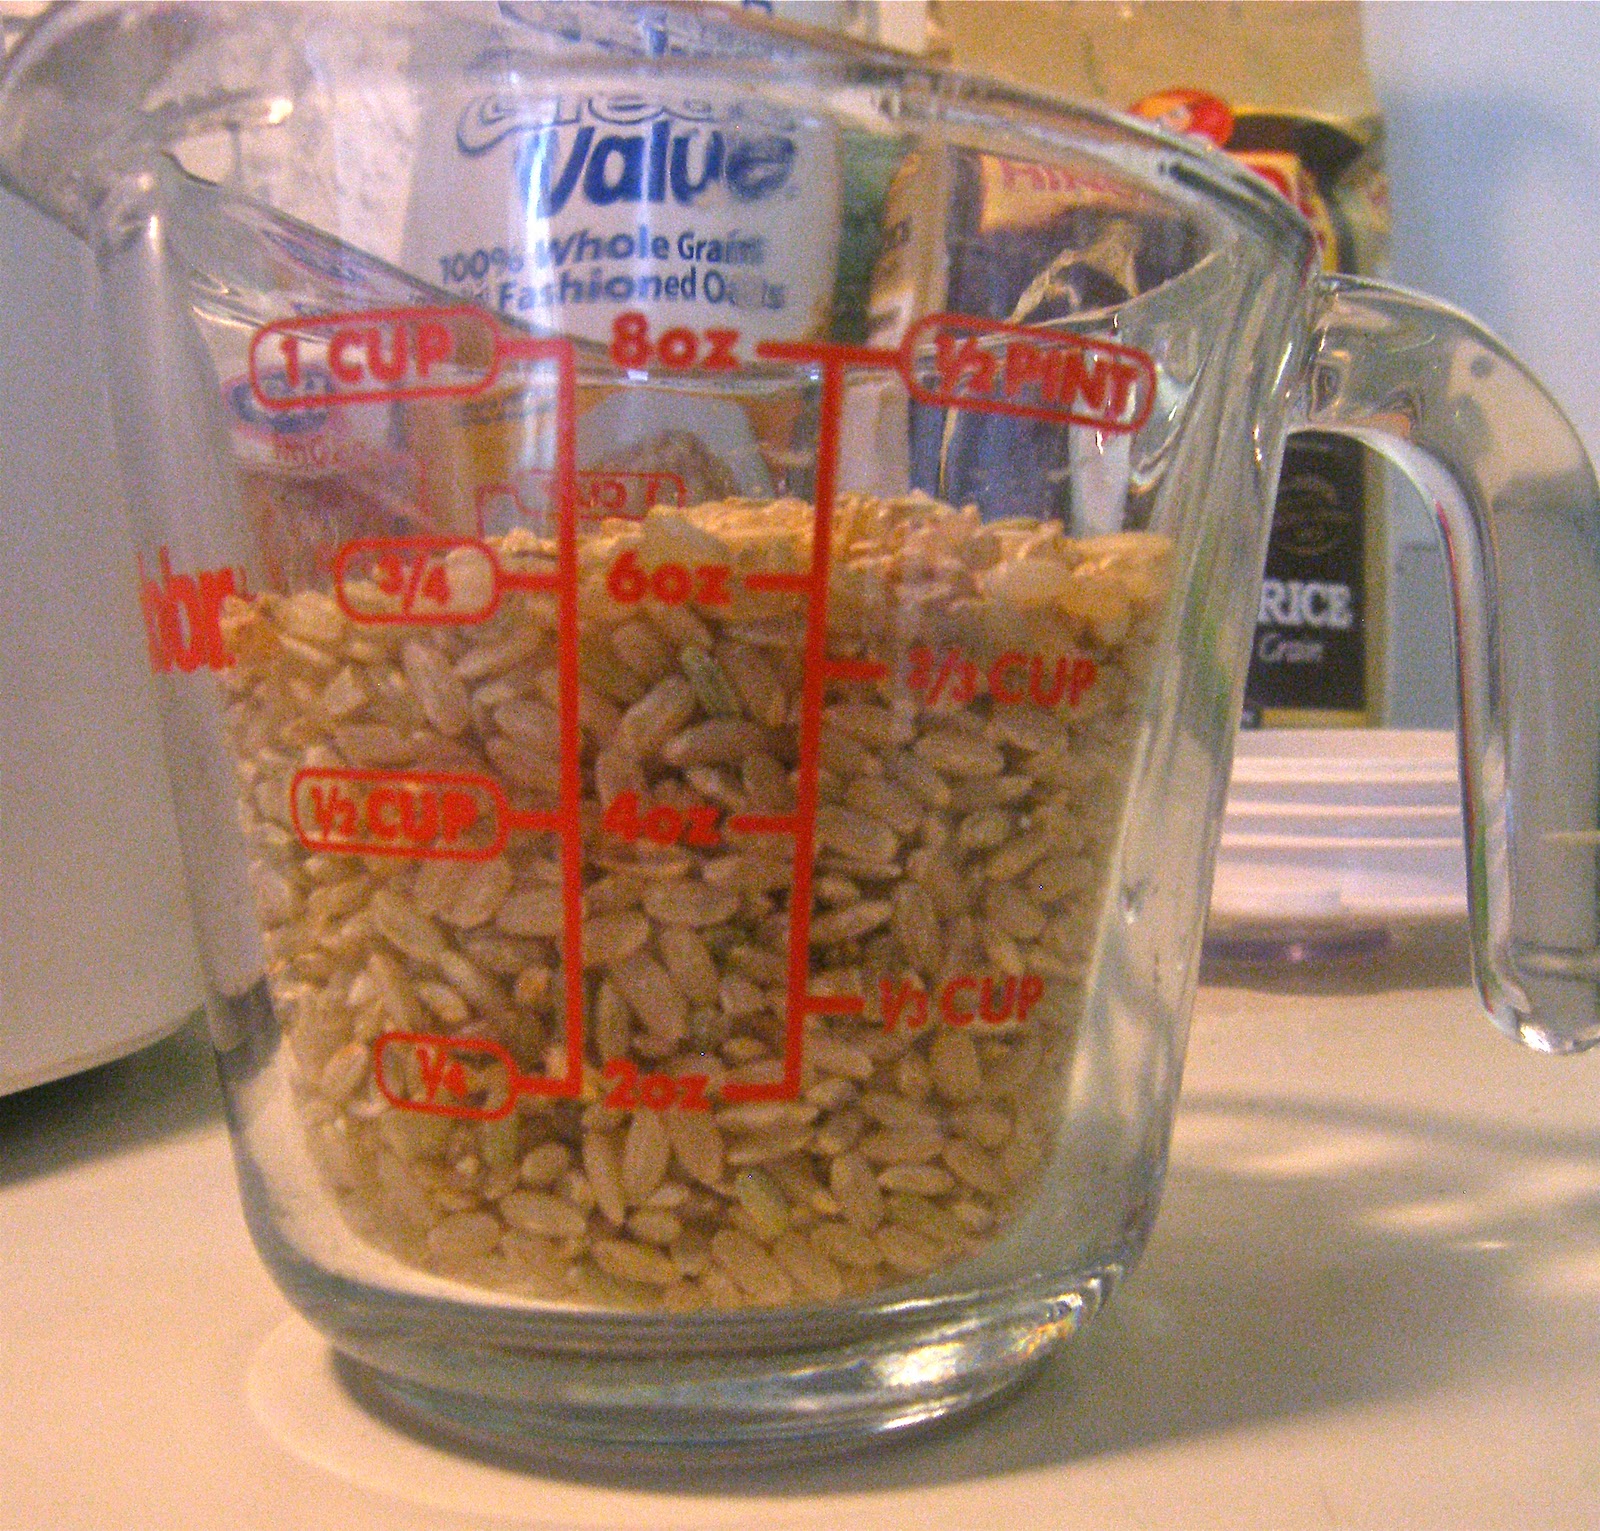
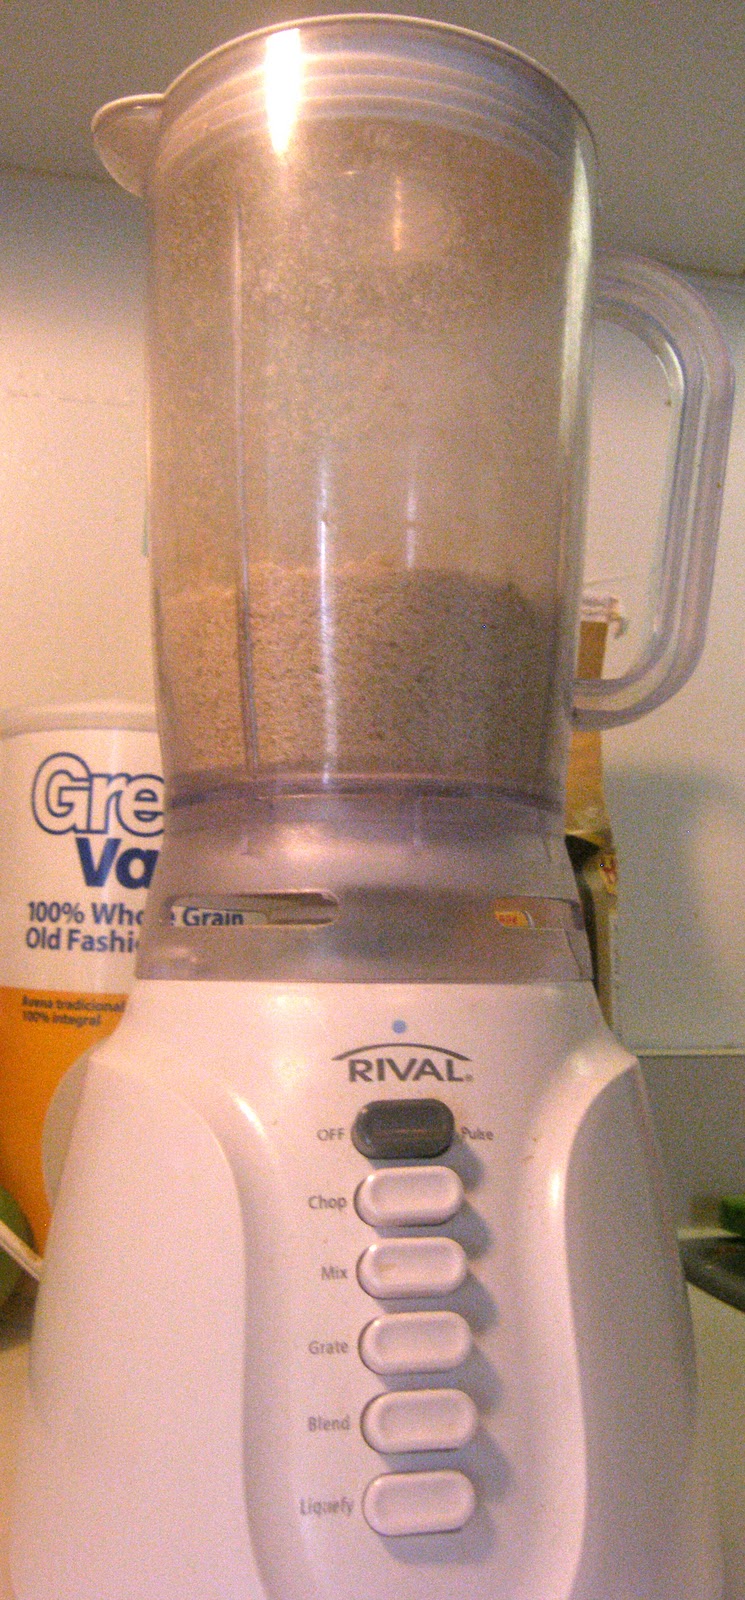
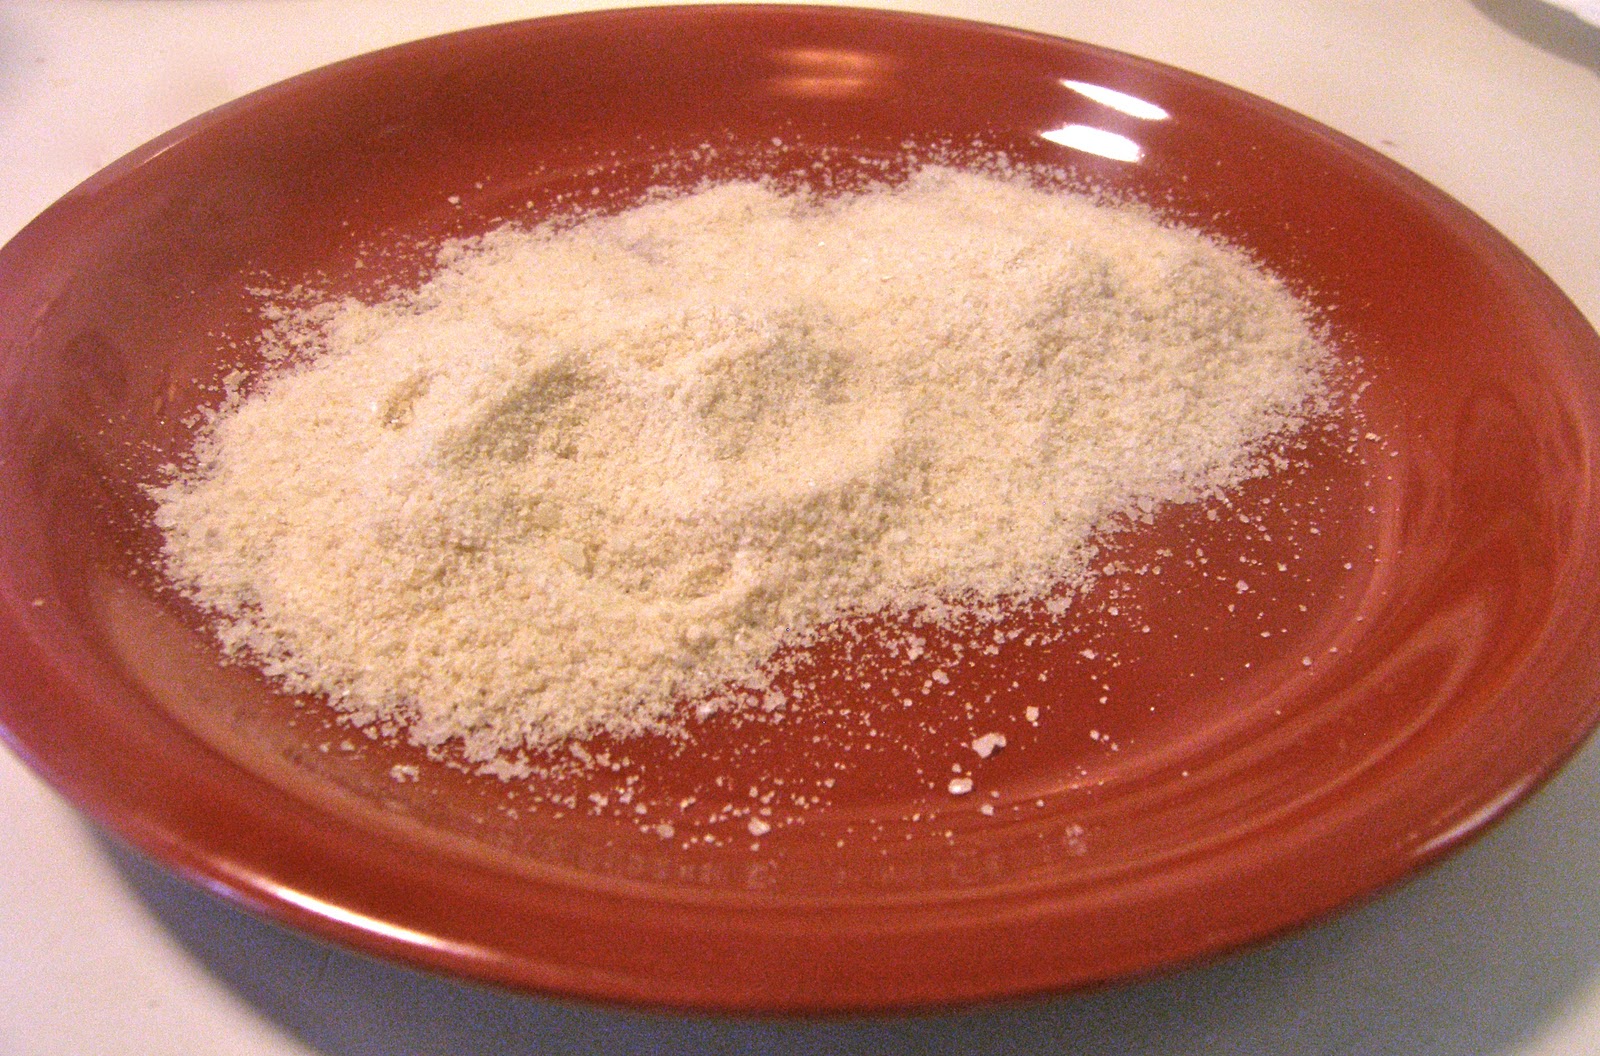
I ground the flax seed myself in a grinder.

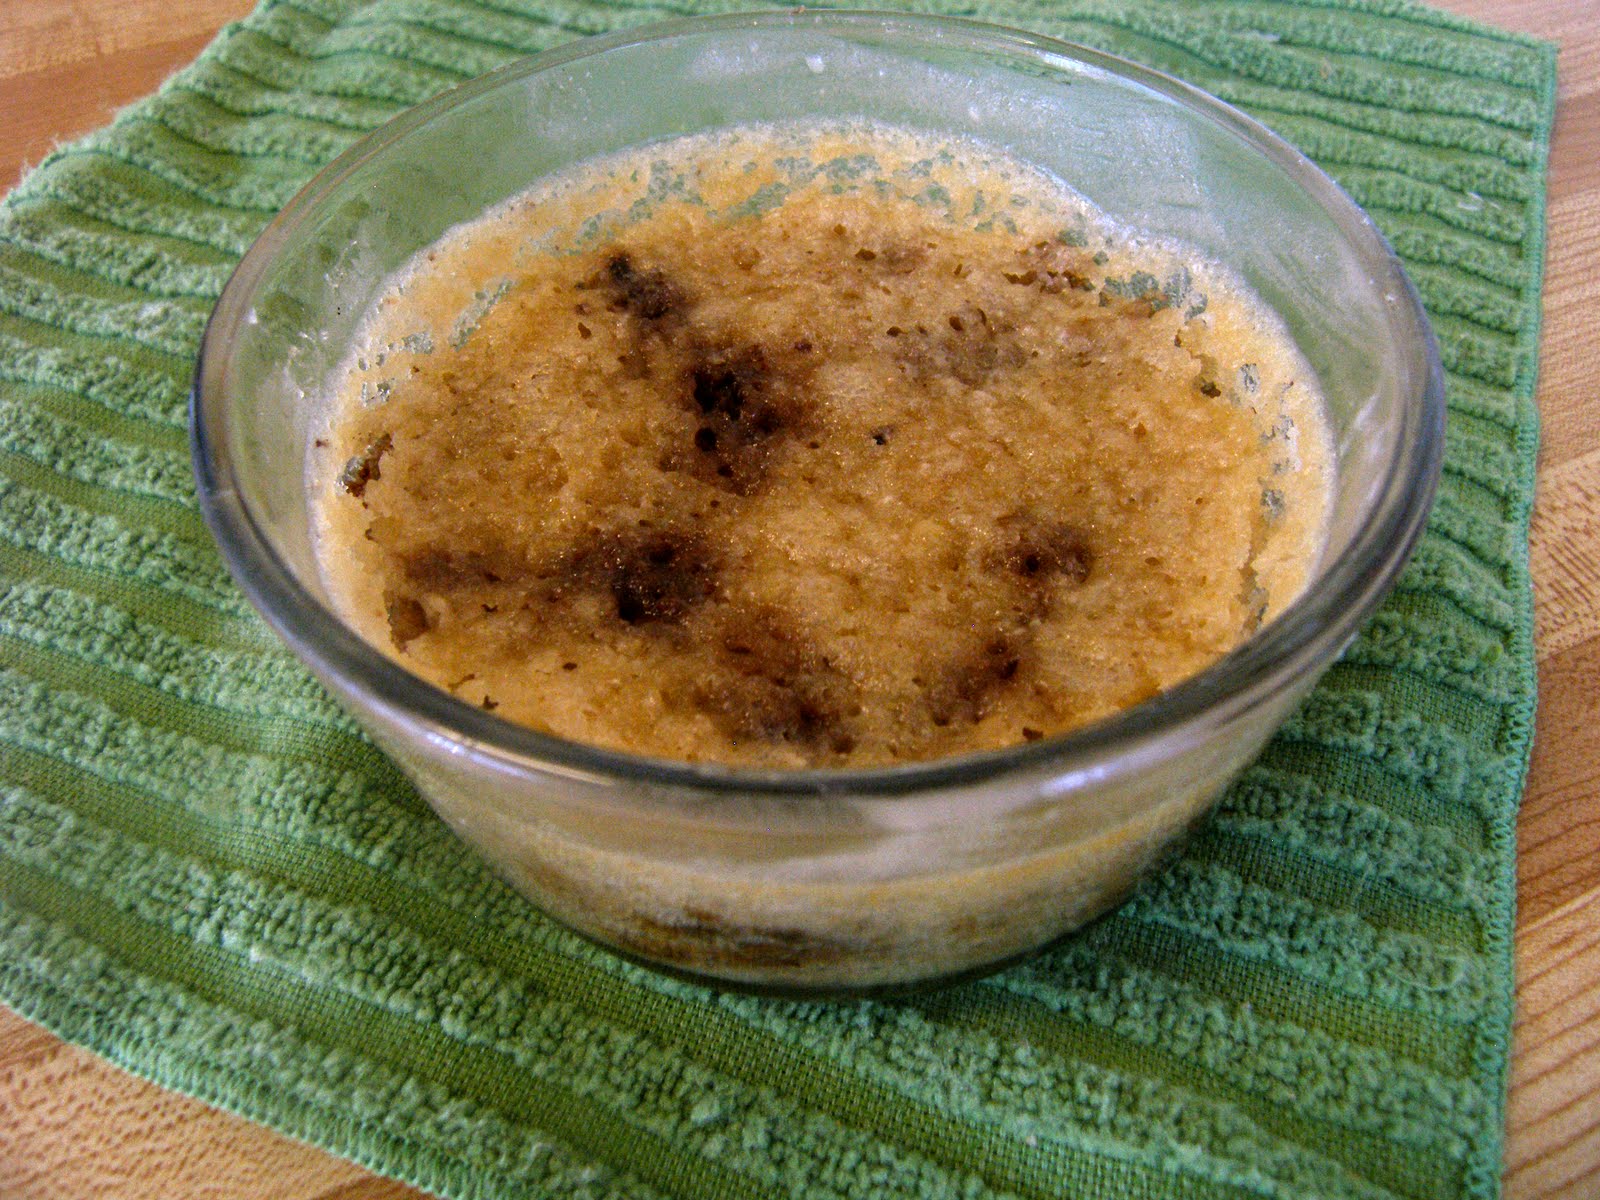
I had the highest hopes for the flax seed version because they are a good binder and have a rich flavor when cooked. These ones had an egg-like flavor, but they were flat. For some reason the pictures wouldn’t upload from my camera, but imagine little 1/4  inch brownish hockey pucks.

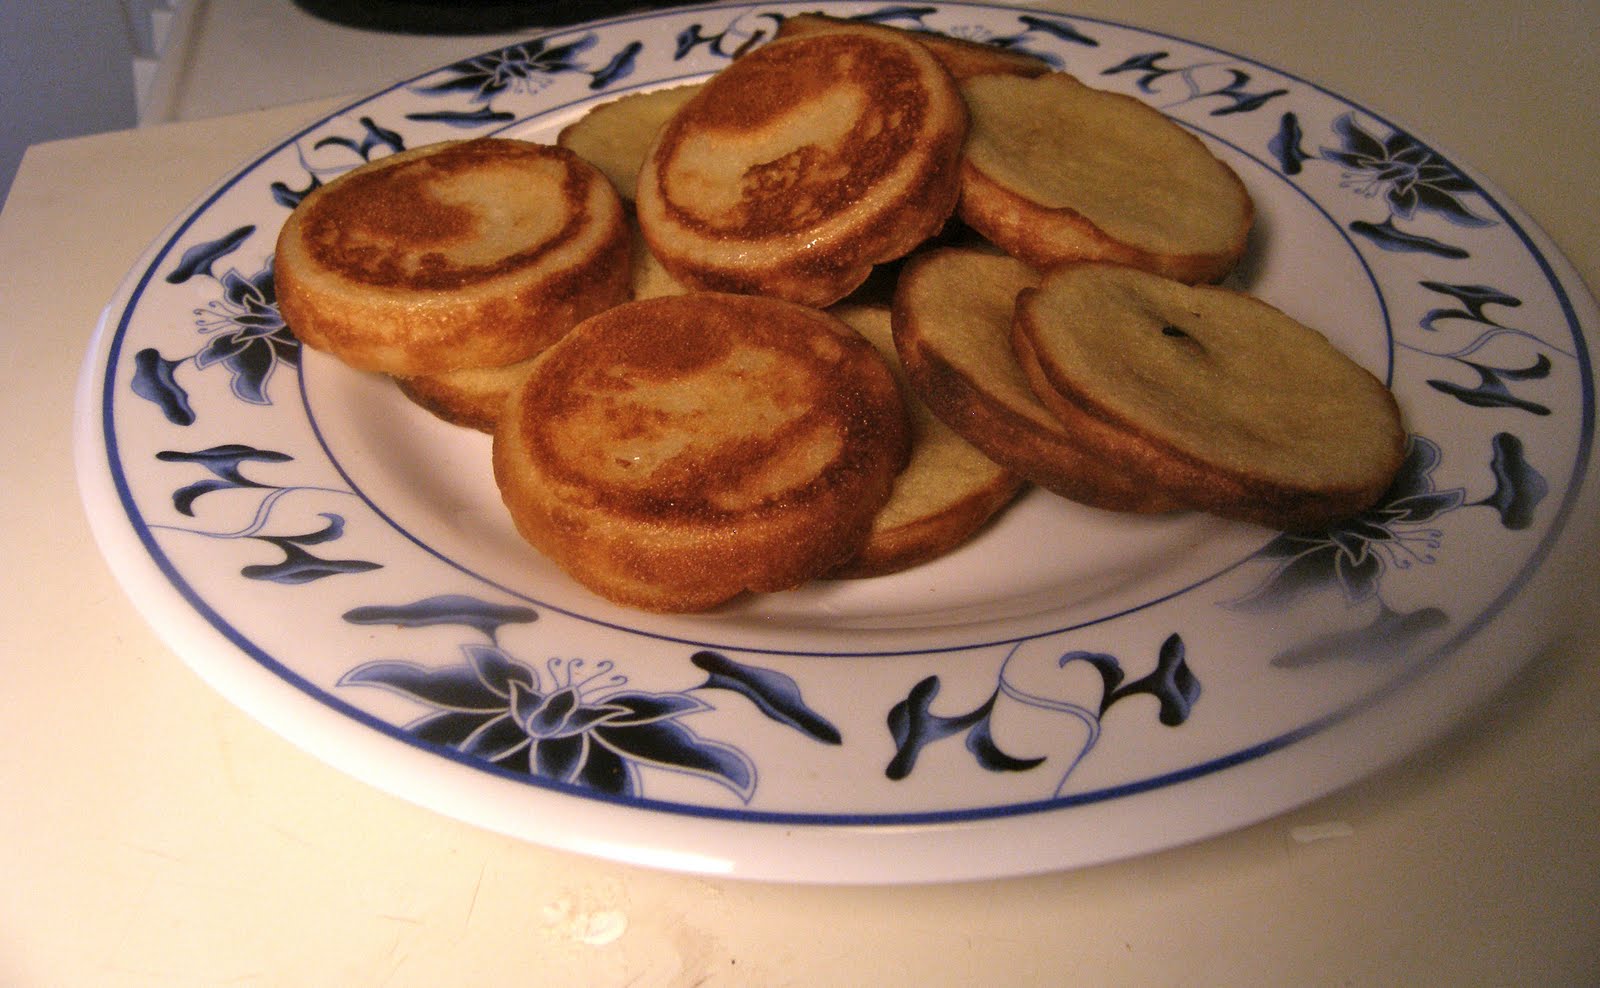
I worried the yeast ones would come out too spongy or puffy so  I made them second. They are definitely fluffier than the flax seed batch, but still aren’t the right density. I thought about combining the two recipes, to even out the texture and flavor, but I ran out of yeast. This a hard recipe to convert since it is so heavily dependent on the unique properties of eggs.

As a vegan, you learn quickly sometimes you just have to shrug your shoulders and say “oh well.” Another question I encounter often is, “Doesn’t it suck that you can’t have ____?” And I tell them that I don’t think of it that way. Veganism is a life-style change, not a diet. I chose to change my life because I wanted something better.  Yes a rich pudding would be lovely to eat everyday, but it leads to an unhealthy and unhappy lifestyle that I do not desire. I choose life over food is what I am essentially saying. But, that doesn’t mean I don’t get to eat good food (hence the whole point of this blog), it just means I choose different (and better) things to cook with.

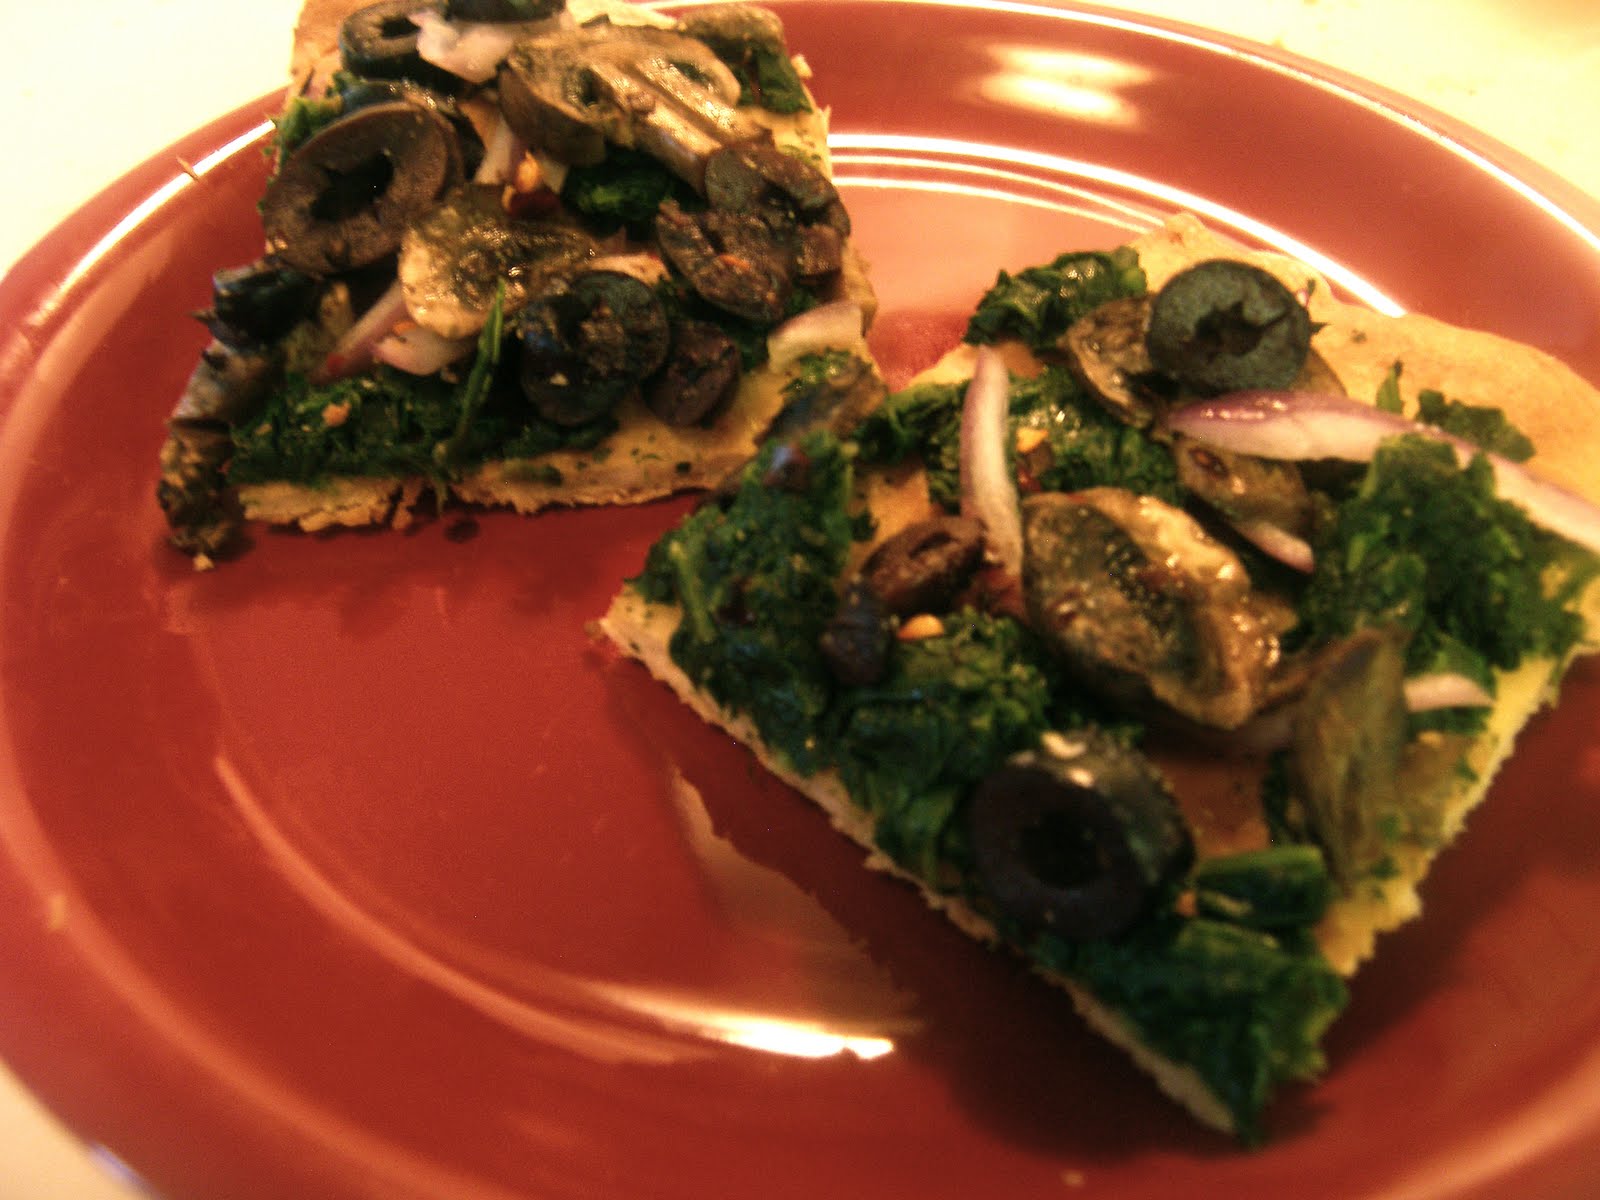
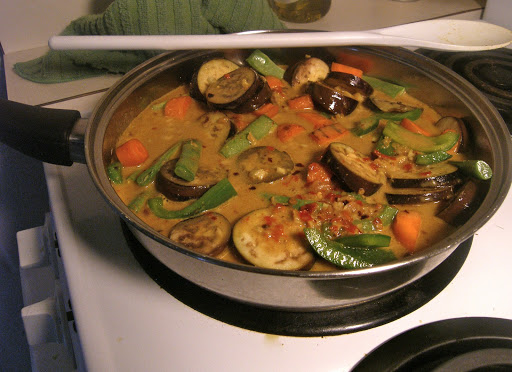
Anyways, these are still good—especially with some nice steamed veggies and a nice mushroom gravy (they soak it right up, gives them a yummy, gooey middle).  Try them both, and please let me know if you have a better recipe! 


Yorkshire Pudding with Flax Seed

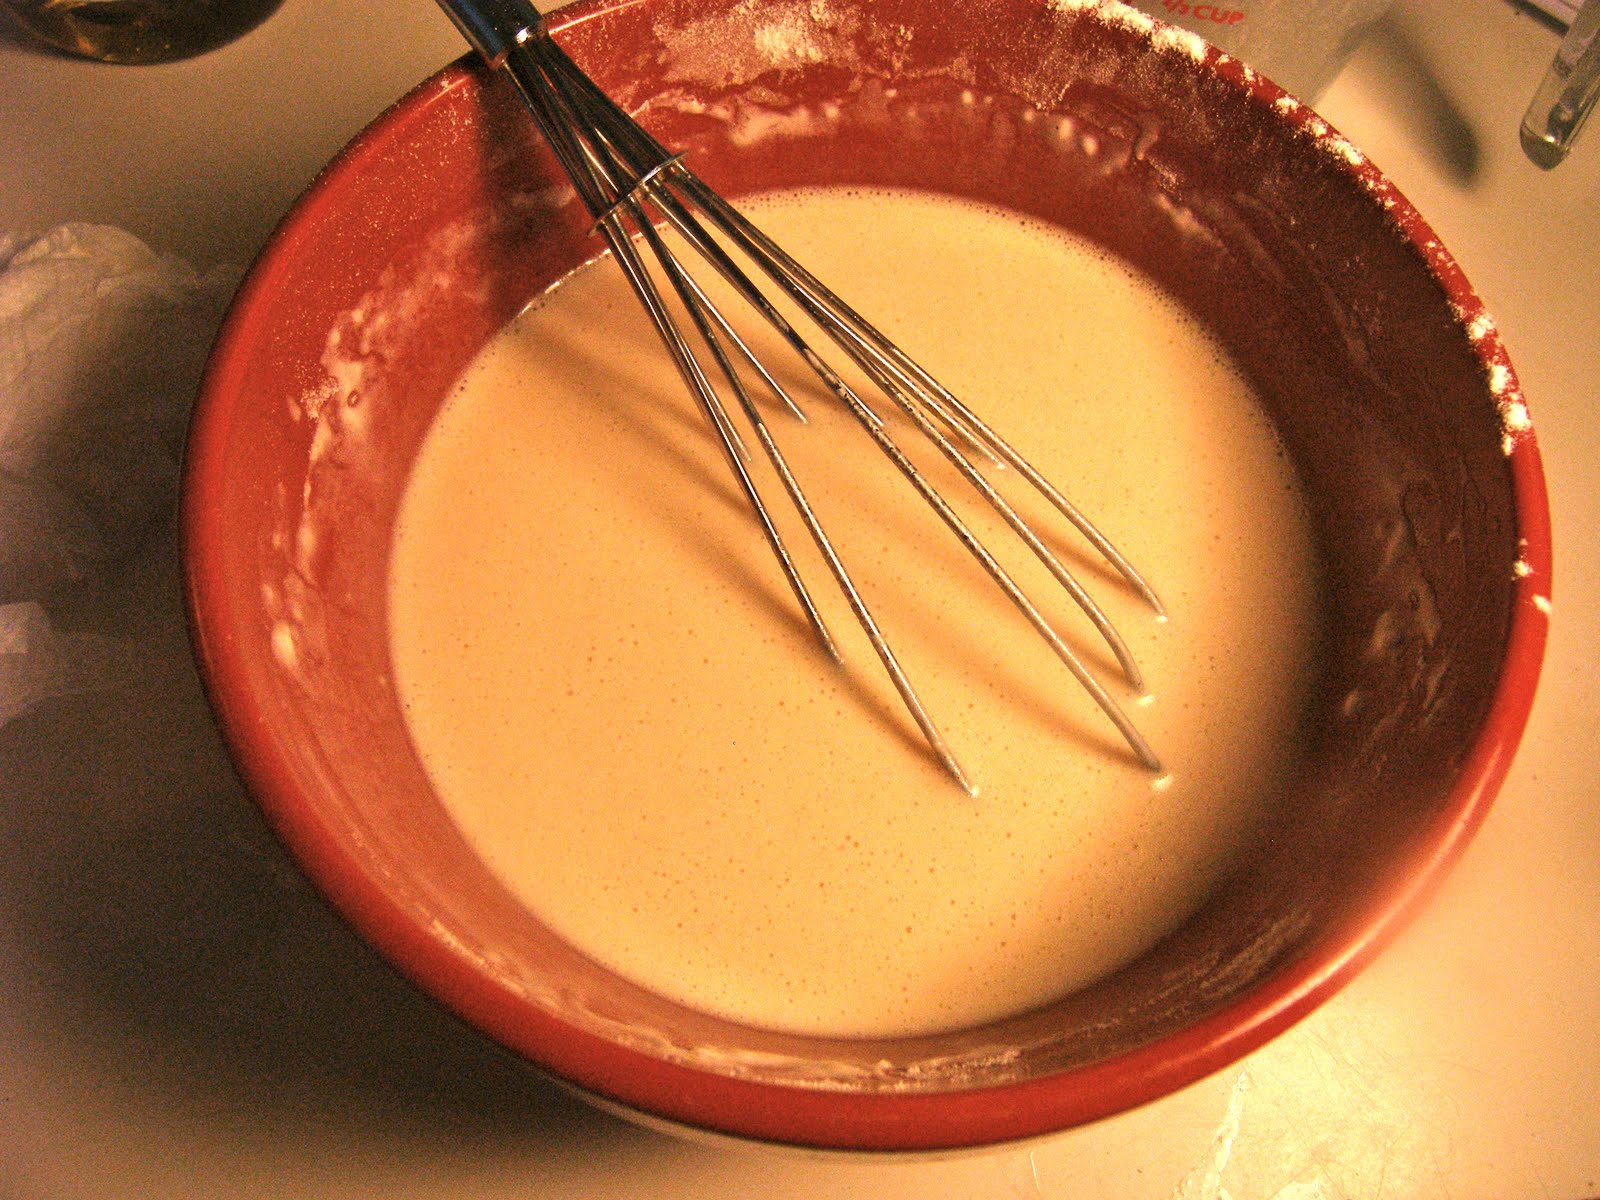
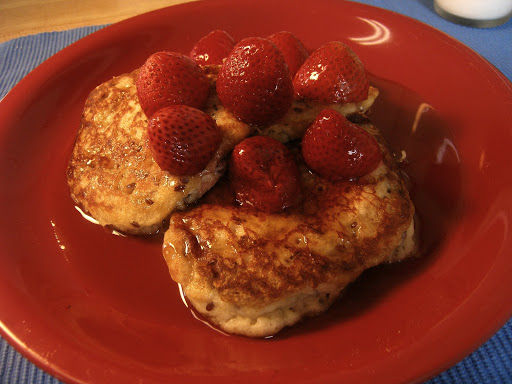
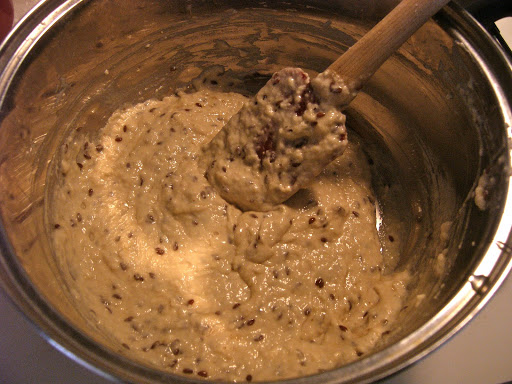
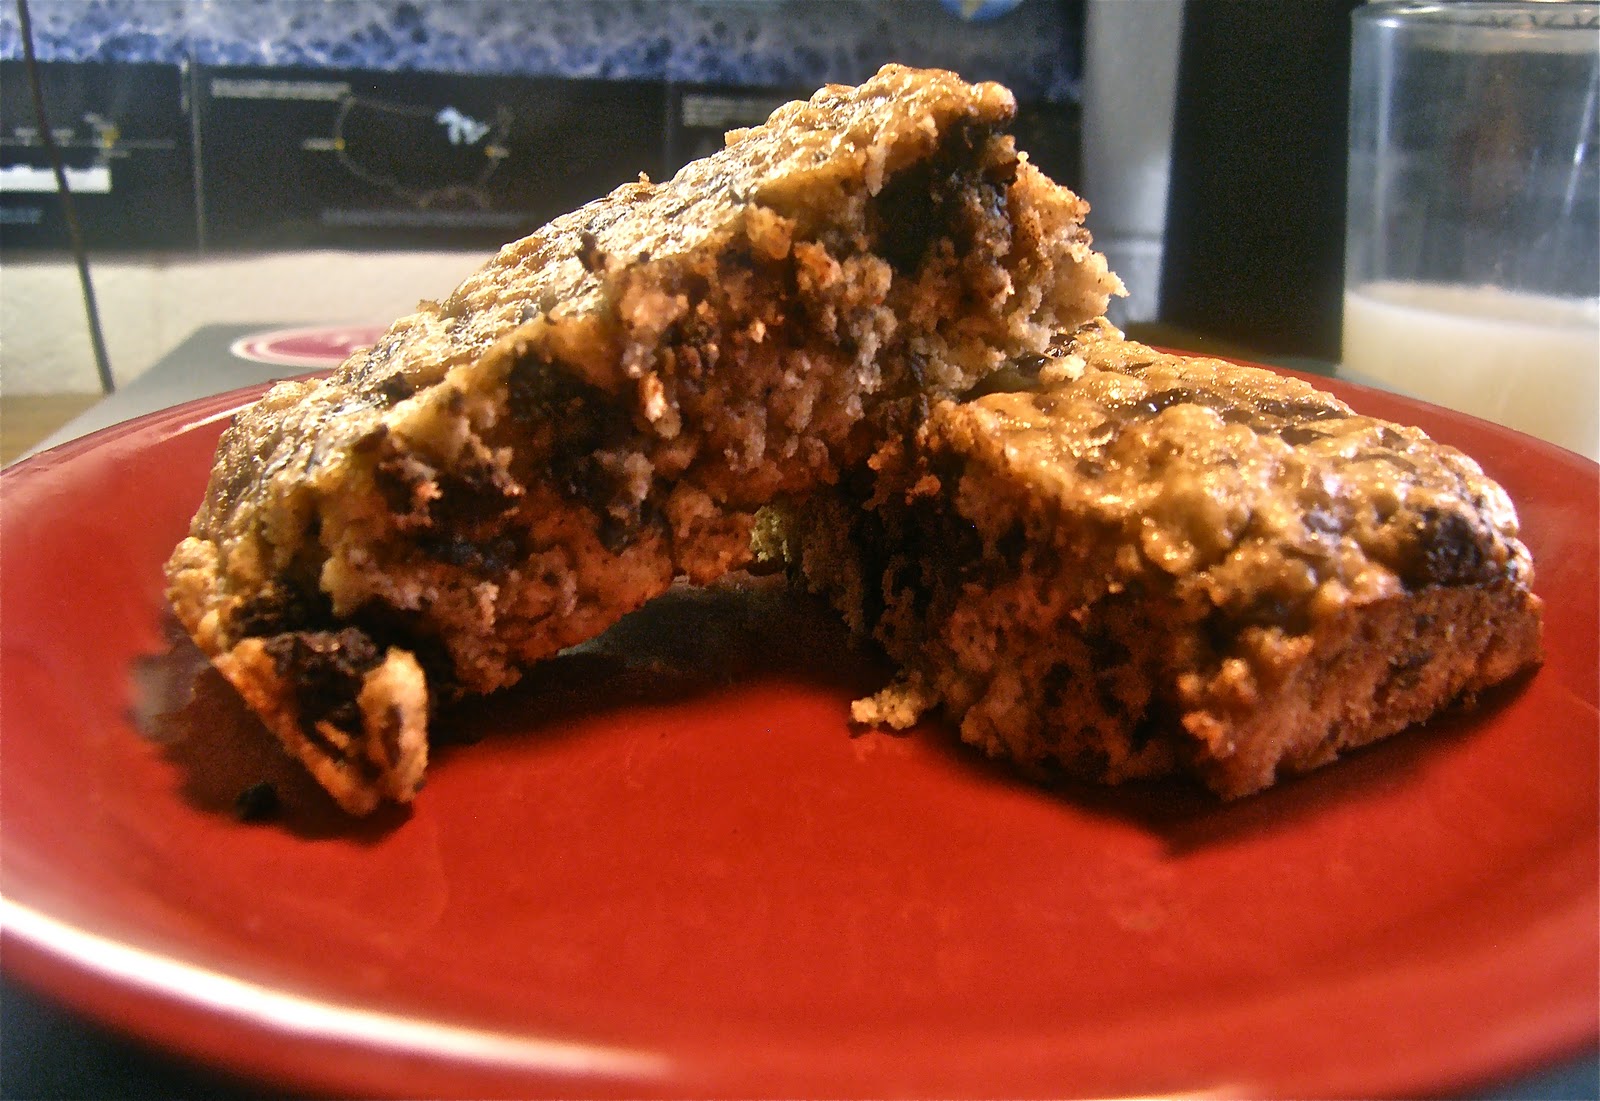
It doesn’t look like the traditional batter, but tastes more egg-like

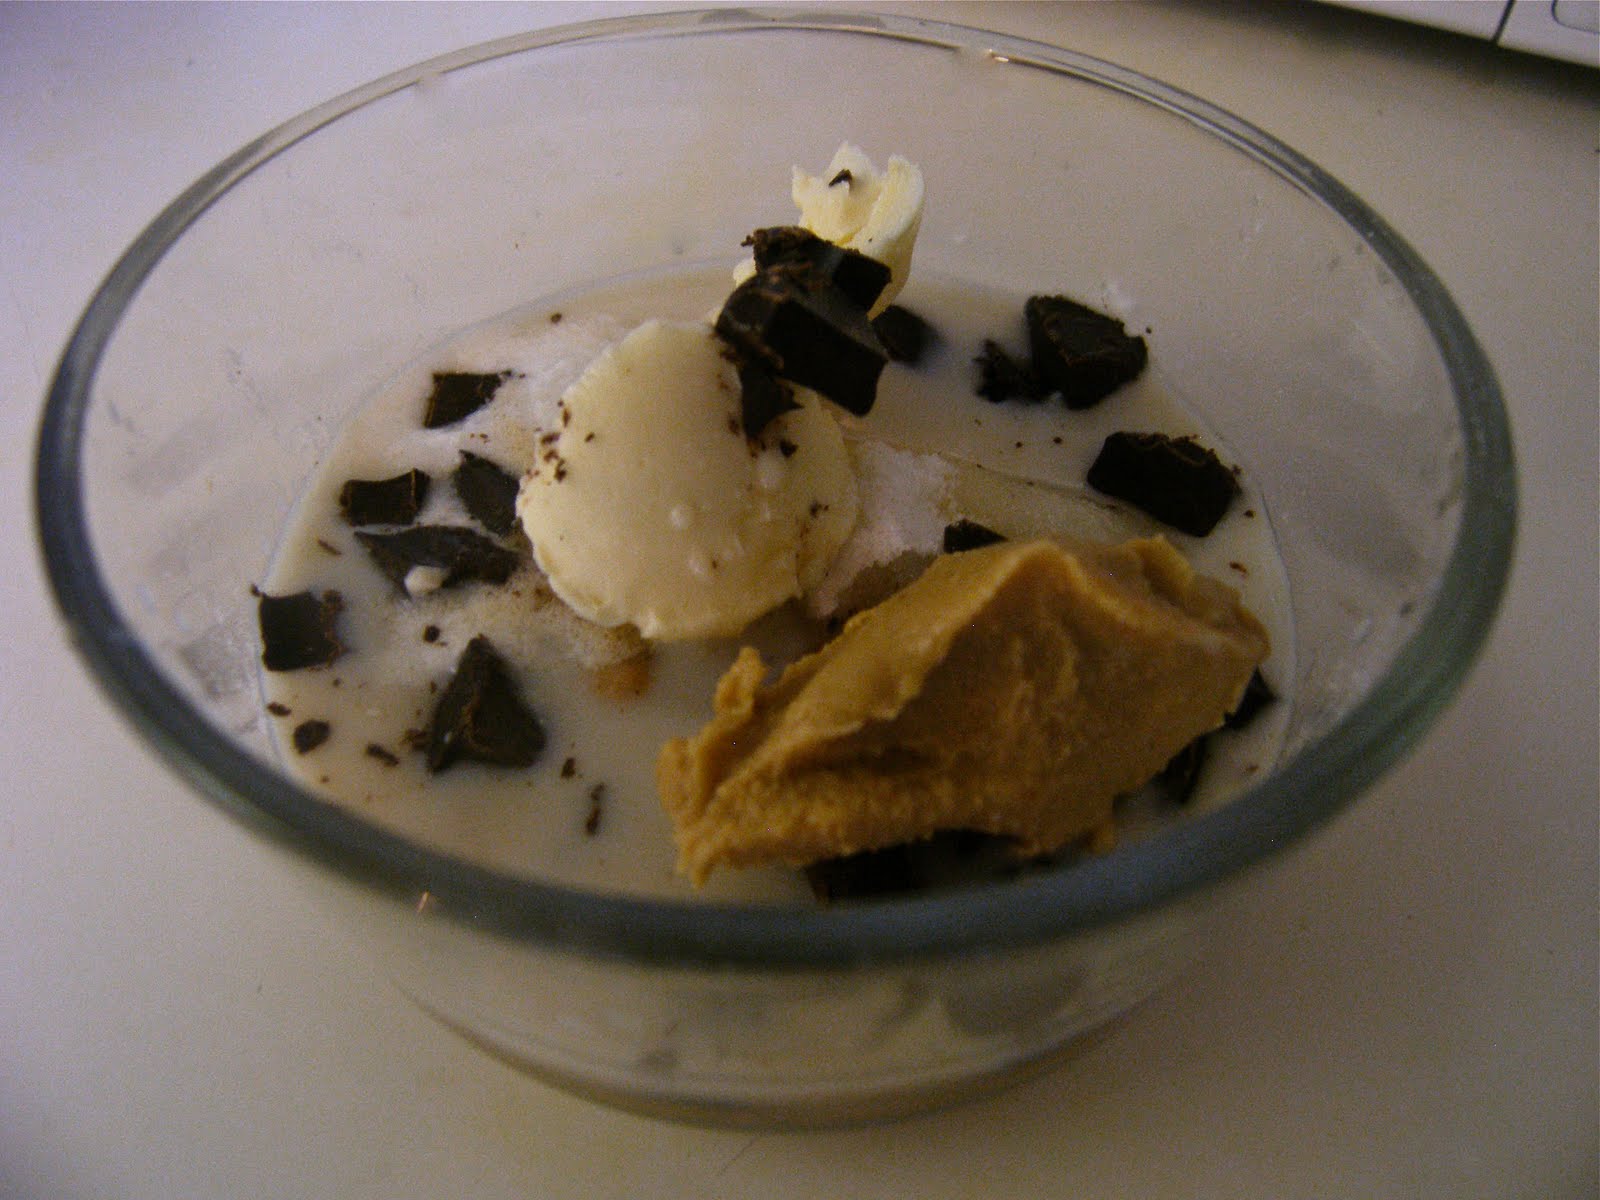
1 tbs ground flax seed
1/2 cup water
1/2 unsweetened soy milk
1/ cup self-rising flour
1/8 tps baking powder

Dissolve the ground flax seed into the water. Microwave or heat over the stove until slightly bubbly and thickens into a syrupy consistency.

Add soy milk and mix well.

Add flour and mix until smooth.

Set aside in a cool place for at least 30 minutes.

Yorkshire Pudding with Yeast

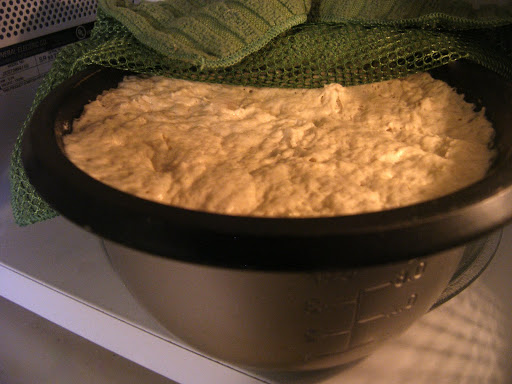
Looks and bakes more like the traditional batter.

1 packet active yeast
3/4 cup warm water
2 pinches of sugar
1/4 cup soy milk
3/4 cup flour

Proof the yeast by dissolving it in the warm water and add the sugar. Set aside for about 10 minutes, until it becomes frothy.

Then add soy milk and mix well.

Add flour and mix until smooth.

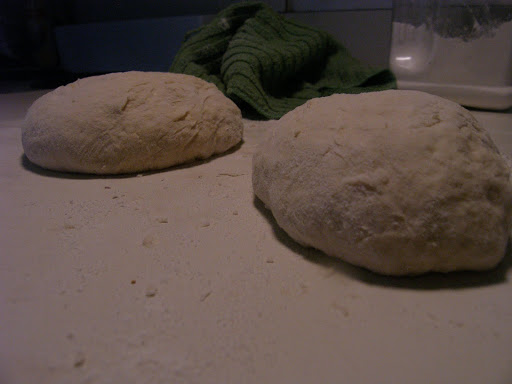
I let mine rise for only 10 minutes because I didn’t want them to puff up too much and be spongy. Both of the Brits I consulted said they should be more like crepes, not like bread. I suggest only leaving them a little bit longer, maybe 20 minutes or so.

Follow these baking instructions for both batters:

Pre-heat the oven to 400 degrees F.  Oil a cupcake or muffin tin well and place in the oven until the oil starts to smoke a little bit. Watch it carefully so it doesn’t burn and ruin your tin.

Remove the pan from the oven and fill each cup 1/2 of the way with batter.  I filled only 1/3 of the way because I expected them to rise more, so if you are using my exact recipe, I suggest filling them more.

Bake for 20-25 minutes until golden.

I will attempt Yorkshire Pudding again in the future, but I am happy with what I came up with for now. Hope you like them too!

Single Microwave Blondie

I came back from class today with a sweet tooth. I complained to my friend Amanda that it sucks to make a whole dessert when all you want is one serving. If only there was a way to make a single serving so I am not tempted to eat the whole thing…. Then I remembered a recipe I saw on Veg Web awhile ago, Microwave Brownie for One. Then I remembered I don’t have coco powder and thought my sweet tooth would go unsatisfied. But, a new recipe was posted a few days ago, Microwave Coconut Blondie for One. It is the same basic recipe, just without coco powder and coconut milk instead. I decided to make a chocolate chip blondie based on the two recipes. I threw in some peanut butter for protein too.


Microwave Blondie
1/4 cup flour
1/4 cup sugar
1/8 tps salt
1/8 tps baking powder
2 tbs soy milk
1 tbs vegan butter
1 tbs peanut butter
1/4 tps vanilla extract
Small handful vegan chocolate chips (I broke up 3 squares of a dark chocolate bar)


In a small microwavable bowl or ramekin, mix together all the ingredients until smooth. 

The batter is good all by itself.

Scrape down the sides, it will make cleaning the bowl easier later.

I was a little concerned when it puffed like a marshmallow at first.

Microwave on high for 3 minutes. Watch it carefully so it doesn’t burn. It will still be pale in color when it’s done. If it browns, you probably burned it. It will look kind of spongy, but be slightly firm to touch.

It’s not the best blondie I’ve ever had, but overall it’s pretty good. The texture is a bit chewy. Definitely cured my sweet tooth though— and is a much better alternative to eating a whole batch of cookies.

A nice treat for myself for doing well on my chemistry exam.

Did you know that microwaves are actually electromagnetic waves, not heat waves?  I learned something in astronomy!

Belgian Waffles (Or Pancakes)

I am up to the challenge of veganizing recipes. One of my twitter followers @SaraLJohnson75 requested a Belgium waffle recipe. I had to make pancakes because I don’t have a waffle iron. This batter should crisp up perfectly into lovely waffles.

I did some research, and came across a few vegan ones but none were like the original recipe. They called for coconut milk or bananas, which do make great batters but alter the taste significantly. Also, none of them called for yeast, which is key for the flavor and fluffy texture. So I decided to follow a traditional Belgian Waffle recipe I found on All Recipes but substitute in vegan ingredients.

Flax seed in hot water is the substitute for eggs.  It acts as both a binder and a leavener. 


Belgian Waffles (Or Pancakes)
1 packet active yeast
1/2 cup warm (around 105 degrees F) sweetened soy milk
1/2 cup hot water
1 and 1/2 tbs flax seed
1/2 cup melted vegan butter 
1/4 cup brown sugar 
1/4 tps salt 
1 tps vanilla extract 
1 cup all purpose flour 


The water should be HOT to touch

Place the flax seeds into the hot water and let them sit for 10 minutes. It will make a slightly syrupy liquid. If you don’t want seeds in your waffles or pancakes, you can strain them out. But I left them in because I don’t mind. Alternatively, you can grind the flax seeds into a powder first then add it to the hot water. 

Dissolve the packet of yeast into the warm soy milk. The milk needs to be sweetened so the yeast has something to eat.  Set aside to proof for 10 minutes as well. It will be creamy and frothy when it’s ready.

In a large bowl, whisk together the vegan butter, brown sugar, salt, and vanilla extract. Add the flax seed mixture and mix well. Then add the yeast and mix well. 

Mix gently

Add a half cup of flour at a time, mixing well before adding the next. 

Risen for an hour and double in size

Cover with plastic wrap and set aside to rise for an hour. It should double in volume. 


“The first crepe is for the dog,” so don’t worry if the first one isn’t pretty.

For Pancakes,  spray a pan with cooking spray and heat over low heat. 

Pour 1/2 cup batter in the pan, and cook for 2 to 3 minutes on each side until golden brown.


This recipe should yield about 5 to 6 medium pancakes.

For waffles,  follow the recommended amount and directions for your iron. 


I topped mine with strawberries and maple syrup. They are very rich already so I skipped butter. 

Someone please tell me how these come out as waffles,  I bet they are even better! 


Hope these work for you @SaraLJohnson75!

Veggie Pizza

Like I said in my Pad Thai Pizza post, Friday night is pizza night for my family, and I am trying to keep the tradition alive now that I live on my own.

This is my go-to pizza. It’s simple, but always delicious. Like the Pad Thai Pizza, it has no cheese. Instead there is a layer of hummus that gives it a creamy texture that makes you forget about cheese all together. I used homemade hummus, which I will post a recipe for later, but  I used store-bought tomato sauce because I don’t have enough tomatoes right now.

I get the veggies for my pizza from the salad bar at the grocery store. They are already cut up and ready to go.

I posted a recipe earlier for an Easy Pizza Dough. You can use a pre-made or pre-baked one, but try making one for yourself. It really makes a difference.


Veggie Pizza

1 pre-baked pizza crust (try mine)
1 cup hummus 
1 cup tomato sauce
1/4 cup kalamata olives
1/4 cup sliced red onions
1/4 cup red/green/yellow peppers

Pre-heat oven to 350 degrees F. 

Evenly spread the hummus on the pizza crust.

I sprinkled on some dried basil, oregano, and red pepper flakes.

Next spread the tomato sauce on top of the hummus.  I suggest the hummus goes first because it is easier to spread that way.

Next top with the remaining veggies.

Bake for 10-15 minutes, until the crust is golden and the veggies are heated.

Pair with your favorite vegan beer or naturally sweetened soda, and you have yourself a yummy Friday night treat. 

If you like wheat beer, I suggest Blue Moon. And if you like spicy, throw in a hot pepper in too.

Pizza Dough

In my Pad Thai Pizza post, I posted a link for pizza dough but I thought this time I would demonstrate how easy it is to make. This is my mom’s recipe. I am not sure where she got it from specifically, but most pizza dough recipes are the same anyways. 

Easy Pizza Dough
1 cup warm water (around 105 degrees F)
1 packet active yeast
1 tbs sugar
2 cups all purpose flour
1/2 tps salt
1 tbs olive oil

Dissolve the packet of yeast into the warm water. The temperature of the water is very important—too hot will kill the yeast and too cold wont activate it. Add the sugar and set aside to proof. It should get all bubbly and frothy like in the photo. If nothing happens, then you will have to throw it out and try again. I had trouble getting this right when I first started working with yeast.

In a large bowl, mix together the flour and salt, then drizzle olive oil on top.

Tacky

Once the yeast is proofed, pour it over the dry mixture and mix together until well combined. Do not over work the dough, it will get tough and chewy. It should be moist and tacky between your fingers.
 Cover the bowl with a damp towel (if you live in a humid place then it doesn’t need to be damp) and set aside to rise for at least 30 minutes (I forgot it for 2 hours once and it was still fine).

Pre-heat oven to 500 degrees F and spray your pizza pan with cooking spray.

I put mine in the microwave while it rises so it’s out of the way.

Once it’s puffed up significantly, punch it down and place on a well-floured surface.

Knead gently, just until it’s smooth. Again, try not to overwork the dough. No one likes a chewy pizza.  Just be patient and gentle with your dough,  and all will be well.

I split mine and freeze half.

Roll the dough into the shape of pizza pan. Transfer to your pan and shape to fit. If it tears, just mold it back together, no big deal.

Bake for 10 minutes, until slightly golden, turning over half way through. This is only a pre-bake so it should not be golden and crispy just yet.

Now you have a prefect pizza crust ready to be topped and baked!

Smooth Breaskfast

Great for a snack, meal or even as dessert, smoothies are amazing. You can get a day’s worth of fruit and veggies in a glass. I like them for breakfast. A quick, cold and creamy treat while I run out the door for class. You pretty much cannot make a bad smoothie as long as you use fresh ingredients that mesh well together. You can even add in greens like spinach or kale. The sweet fruits mask their favor so you hardly taste them. Here is one of my favorites:

Strawberry Pineapple Smoothie
1 cup vanilla soy milk
1 cup frozen straw berries
1/2 crushed pineapple
1 small banana
1/2 tbs flax seed
Handful of ice

Put everything in a blender and blend until smooth. The flax seeds get ground up so don’t worry They add extra fiber and omega-3 fatty acid (something that is vital for our bodies but most Americans lack in their diet).

Mac and Cheese

Bet you didn’t think vegans eat mac and cheese? Well, we do. I don’t think I could be a vegan if I couldn’t have it. Of course it’s not real cheese. There are two ways to make it, with nutritional yeast or with alternative cheeses.

It smells kind of like Parmesan.

Nutritional yeast is deactivated yeast made from cultured sugarcane or molasses. It’s similar to brewer’s yeast, the left over stuff from making beer, but way less “yeasty” tasting. I had never heard of the stuff until I became a vegan. It has a slight earthy/cheesy/yeasty flavor that can boost up any dish that normally has cheese or meat in it. It’s available at health food stores, usually in bulk but I have seen it in packages too. It is fairly inexpensive, so don’t be a afraid to buy some. It’s good on popcorn or pasta for a “cheesy” topping.

It looks like cheese…

I stated before in my Pad Thai Pizza post that I am not a big fan of most alternative cheeses. Although some claim they “really melt,” they don’t. I choose the word pliable to describe them. They are more pliable when heated but not melty and bubbly.  However, I  heard all these rants and raves about Daiya. So I thought I would give it a try. It tasted pretty good out of the bag. The texture is not quite right, but way better then some other brands I’ve tried. It didn’t totally melt, but it got pretty bubbly and gooey. For something I am not a big fan of, I do like this soy cheese. I used both nutritional yeast and the soy cheese in this recipe. 

Mac and Cheese
3 cups elbow macaroni
2 tbs vegan butter

Cheese Sauce:
1 cup nutritional yeast
1 cup non-sweetened soy milk
1 tps mustard 
1 cup soy cheese (I suggest Daiya)
1/2 tps turmeric
1/2 tps cumin
1 tps garlic powder
1 tps soy sauce
1/4 tps pepper

Pre-heat oven to 350 degrees F, if you want to bake it.

Cook macaroni according to directions. Return to pot or a large bowl after it’s drained for mixing. If you are baking it, leave the pasta a little undercooked, it will finish cooking in the oven.

It’s not quite a roux but it keeps the sauce together.

In a small sauce pan, heat butter over medium until melted, then add the nutritional yeast. It will make a lumpy mixture, just stir until everything is well mixed.

I was skeptical when I saw the cheese clump, but it smoothed out

Add milk and mustard, whisk well.  Add soy cheese while continuously whisking. It may clump on the bottom, but should come together as it warms. 

Add turmeric, cumin, garlic powder, soy sauce, and pepper. Heat until it starts to simmer. Taste, it may need a bit of salt.

Pour the sauce over the macaroni and mix thoroughly.

If you like stove-top style,  you can eat it just like this. But if you prefer baked, pour into a baking dish and pop it in the oven for 15 minutes or until it gets golden-brown and bubbly.

Since I’m only cooking for one, I baked mine in individual ramekins. 

I topped mine with some extra cheese and red pepper flakes before I baked it. Breadcrumbs are a good choice too, gives it a nice crunch.

It’s creamy and gooey just like dairy mac and cheese. See, being a vegan does not mean just boring vegetables.

Here are some other recipes to try too:
http://vegweb.com/index.php?topic=8295.0
http://www.thekindlife.com/user_recipe/view/10014/115/1 
http://allrecipes.com//Recipe/vegan-mac-and-no-cheese/Detail.aspx

Yellow Vegetable Curry

I LOVE coconut curry. Red, green, yellow—doesn’t matter, I love them all. I fell in love with curry the moment I tasted the Green Curry from Sweet Basil in Eugene, Oregon. Eggplant, bamboo shoots, and green peppers is my favorite combination.  It’s my ultimate comfort food—and it will definitely clear-out your sinuses if you get it hot enough. I eat it so often that I’ve had to up my spice level from medium to hot recently. Curry is still good mild, so don’t let it scare you away. Fresh vegetables smothered in a creamy sauce over fragrant rice, what’s not to love?  

There are tons of good curry recipes out there and after trying several of them, came up with this recipe based on my own tastes. Because it is fairly basic, you can easily adjust it to your preferences. You can put in your favorite veggies and toppings.

As for the hot level, every teaspoon of chili sauce will kick it up a notch. For mild, one teaspoon. Medium, two. And hot, three. And for Thai hot (I am still working my way up to that), four or five.

I strongly suggest if you have never had curry before, to go with only one teaspoon. It would be a shame if it was too hot for you to enjoy.


Not as thick as the can stuff, but still good.

Most recipes call for canned coconut milk. Don’t bother with “light” coconut milk. It’s just watered down and usually costs more. If you want to cut down on calories, water it down yourself and save some money.  I came across boxed coconut milk from So Delicious today and thought I would try it in the curry. It was the same price as a can but 3 times the amount. It’s not as concentrated but I did not notice a big difference in the sauce. By the way, they make AMAZING ice cream too.

Yellow Vegetable Curry
Olive or peanut oil
2 cloves of garlic, minced
1/2 tbs minced ginger
1 can or 1 and 1/2 cups coconut milk
1 tbs sugar (optional, but I like mine a bit sweet)
1 tbs yellow curry powder or 1/2 tbs yellow curry paste
1 tbs cumin
1 tbs tumeric
1/2 cinnamon
1 tbs soy sauce
1 to 4 tps chili sauce (can be sweet or standard), depending on personal hotness level
3 Japanese eggplant
1 cup fresh green beans
2 red or green peppers
3 carrots

I used 3 and 1/2 tsp, I like to sweat after my curry

Saute garlic and ginger in a little oil, until slightly golden. Add coconut milk, sugar, curry powder, cumin, turmeric, cinnamon, and soy sauce. Whisk together, then add desired amount of chili sauce. Cook for about 5 minutes.


Chop all the veggies into bite-sized pieces. Remember to snap the ends off the green beans.

I really suggest using fresh veggies, frozen ones get too soggy in the curry sauce. I got all my veggies, except the carrots, from the Hilo Farmers Market.

Always try to buy local organic produce if you can, it really does taste better and it’s always good to support local businesses. If these veggies aren’t in season where you live, use ones that are, it will be just as good. I’m lucky to live in a tropical climate that grows most veggies all year round.

Saute the veggies in a little oil over medium heat, just until the carrots soften a bit and the eggplant starts to sweat. Don’t over cook them now, they will get too mushy in the sauce.

Pour the curry sauce in with the veggies and mix together well. Bring to a simmer and cover. Cook for 10 minutes, stirring as needed so it doesn’t burn.

Curry is so delicious that you can eat it on its own, but it goes great over a grain too. I served mine over brown rice. I also suggest jasmine rice, mainly because it smells so amazing.

Like my new bowl?

Fresh basil on top is a wonderful addition…but I forgot to buy some at the store.

Curry is also wonderful for your health. Here is an article from USA Today I found awhile back. And check out good ol’ Wikipedia for its article on curry too.

Behold the power of spices

Galletas con Chispas de Chocolate…or so Google Translator Says….

Photo from Veg Web user buttercup954

Cookies are one of the best things in the world. And you can still enjoy them as a vegan or even if you are gluten-free like my friend Leslie. She asked me for a gluten-free pumpkin pie recipe at Thanksgiving and I forgot to send her one. To make up for it, I promised to post a recipe for something she misses: chocolate chip cookies.

Unless you are allergic to gluten, there is no reason for you to cut gluten totally out of your diet.  This recipe calls for rice flour, which is gluten free. You can totally use white or wheat flour instead if you do not have a gluten allergy.

Most grocery stores carry rice flour (I bought mine at Safeway), and if not your local health food store will. If you are in Hawaii, Down to Earth sells it in bulk and in bags. Whole food and Trader Joe’s should have it too.

If you can’t find it or just want to make your own, it’s pretty easy. Put dry rice into a food processor and grind into a fine powder.

I, as a broke college kid, do not have a food processor, so if I need to make rice flour, I use my blender. It gets the job done but it takes a lot longer and does not get the flour super fine.

Get it as powdery as you can

Whether you use a food processor or a blender, it’s best to work in small batches, 1 to 3 cups at a time depending on your machine. This ensures all the rice is powdered evenly, because the last thing you want when you bite into a soft chocolate chip cookie is a big rice grain.

I adapted a recipe from Veg Web called Happy Vegan Chocolate Chip Cookies. If you read the comments on the post, the most common complaint is that the dough is either too crumbly or will not come together at all. The first time I ever made it, the dough held together but turned into a crumby mess when I baked it. The users who had the most success are the ones who made a few alterations to the recipe, so I caution you about following the exact recipe listed.

As for the “vegan” ingredients, you can find them in most normal grocery stores just like the rice flour.  Vegan butters, or “buttery spreads” as they are sometimes called, are made from oil or soy and will do just as good a job as milk butter. I like Earth Balance, which most stores carry. You probably won’t need to go to another store for the vegan chocolate chips either. Just read the labels. Find a package that has no milk or milk products–which includes whey and casein. Usually darker chocolates are the dairy free, and have more antioxidants in them too. 

Galletas con Chispas de Chocolate (Leslie’s Bolivian, hence the Spanish) 

Happy Vegan Indeed

2 cups rice flour
1 tps baking powder
1/2 tps salt
1/4 tps cinnamon (Optional, I don’t taste the difference but cinnamon is great for your metabolism so why not) 
1/2 cup vegan butter
1 cup raw sugar or 1 and 1/2 cups brown sugar
1/2 cup vanilla soy milk (Or, use plain plus some vanilla extract)
2 tbs flax speeds (Optional, it doesn’t change the taste but adds fiber)
1 cup vegan chocolate chips

Pre-heat oven to 350 degrees F.

In a large bowl, mix together the flour, baking powder, salt and cinnamon.

In a separate bowl, cream together the butter, sugar, soy milk, and flax seed.

Add the wet to the dry mixture, and add the chocolate chips. Mix until it forms a ball. It may be crumbly, but add a little more milk if it just a big crumbly mess. It should be able to hold a shape.

Spoon tablespoon-sized rounds onto an ungreased cookie sheet and bake for 7-10 minutes. Or,  if you prefer bars like me, spread the dough evenly in a baking pan and bake for 15-20 minutes. The cookies, or bars, will be slightly golden, and soft—softer than you think they should be. Let the cookies rest for a few minutes before removing them from the sheet or pan, they stiffen up as they cool.

Mine came out chewy and soft, just how I like them. A nice break from my math homework. Hope you like them Leslie!